


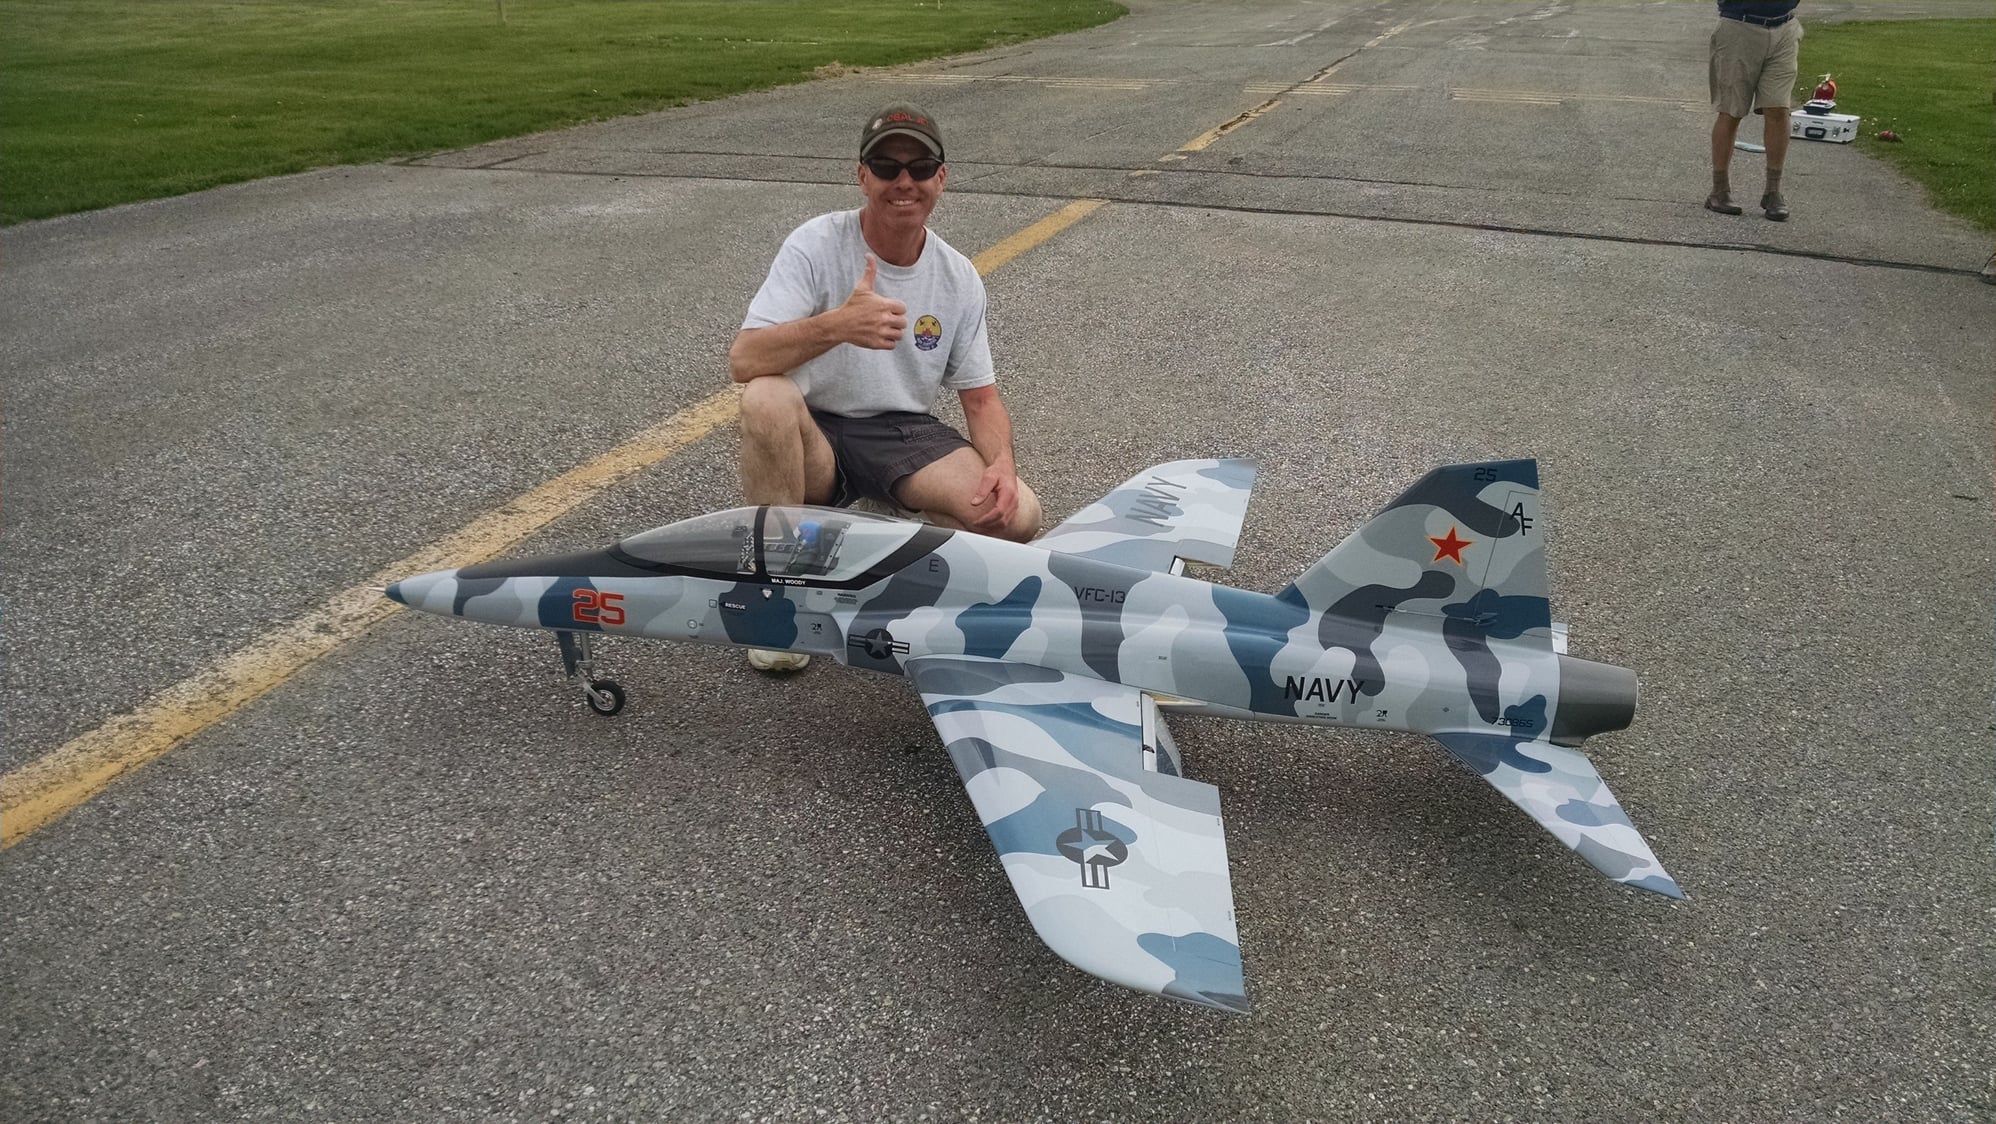
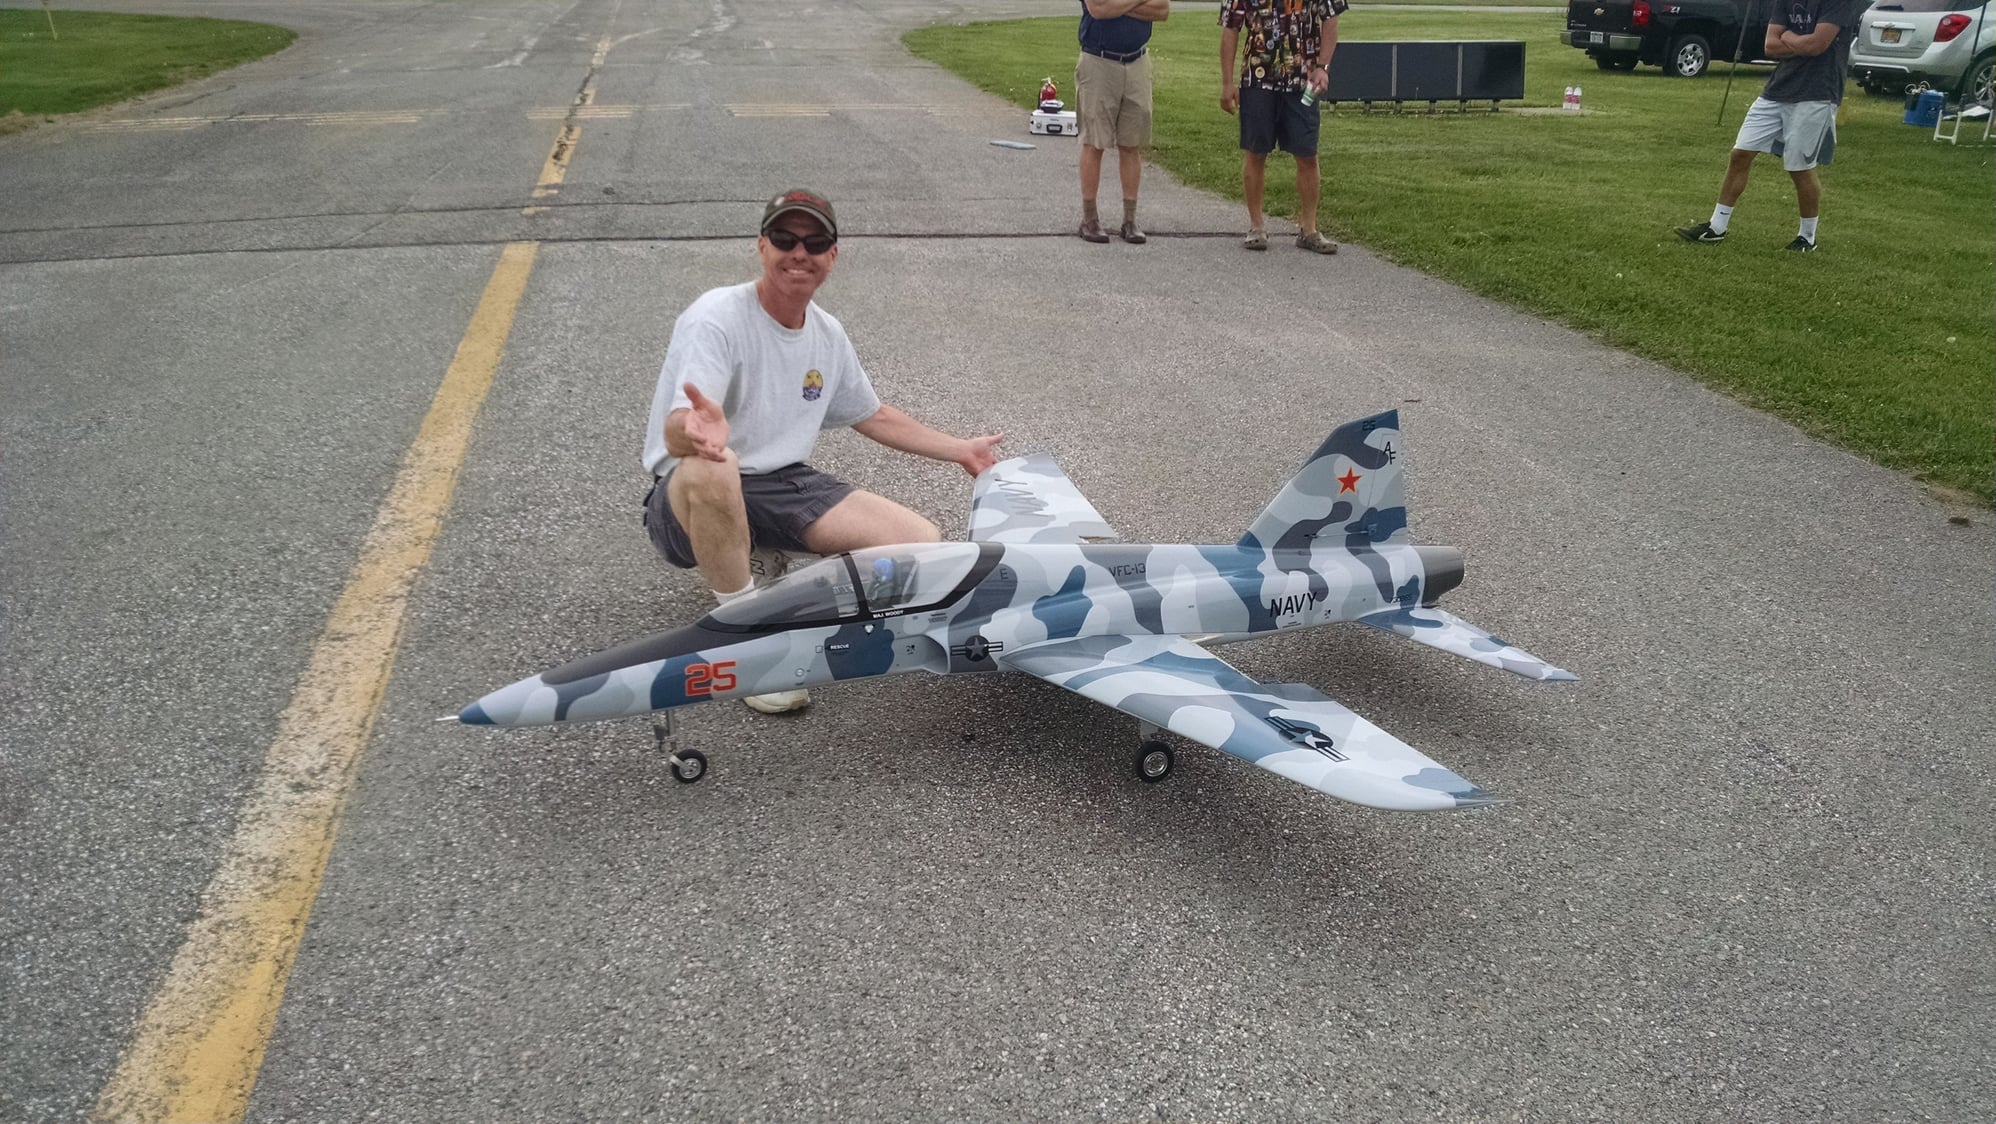
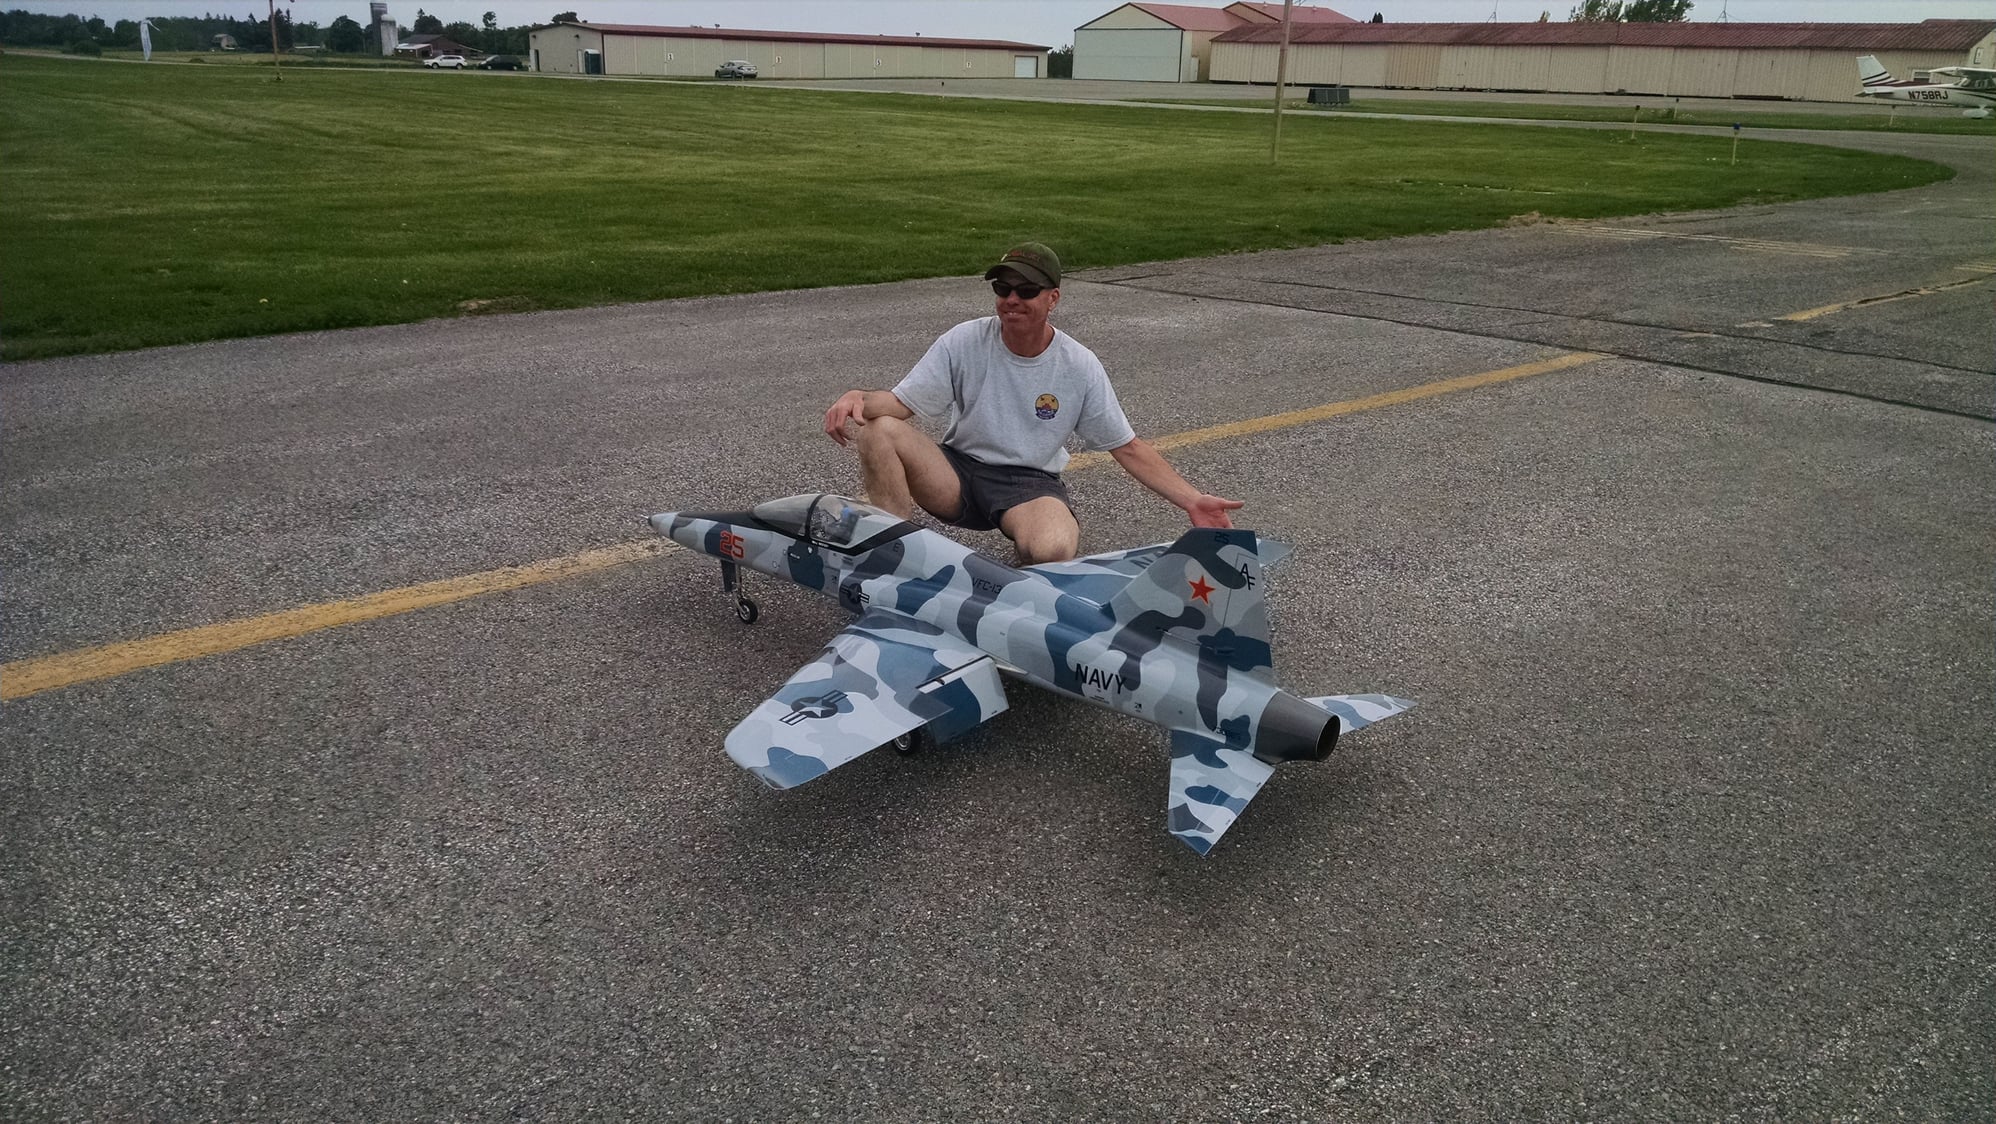
Maj. Woody's Ultra Flash
 05-19-2018, 01:51 PM
#701
Hi Maj,
I have really screwed up the rudder servo install not knowing how to accurately cut the slot in the fin, ended with big rectangular cutout which is ugly and now need to figure out how to best cover? Also the standard plastic servo arms do not extend out enough, and can't use metal servo arms since screw and nuts will not allow full movement, on top of that no where in the manual it shows the best way to locate and make the slot, and not even a word about how much rudder travel is standard, just says max. Can you provide me some feedback on what rudder setup, servo arms, sulivan links or ???
any ideas on how to fix my big ugly open slot?
Tx
jason
To locate the slot, I cut down a servo arm which just touched the skin. Once I scored it, I used a sharp piece of music wire with a 90 on it to puncture the skin from the inside out. Once I had the location I worked slowly to open the slot. I also used a long metal arm so I could keep the length of the slot shorter. The whole process took me about 3 hours no joke but I am anal and slow. The slot is perfect though! If you messed it up, I would start with trying to use the plastic fairing.
Last edited by MaJ. Woody; 05-19-2018 at 07:16 PM.
 05-19-2018, 06:49 PM
#702

Woody:
When I read what you did re. putting 4x40 rods in 3mm ball links, I was going to say something about my experience with that not working. But, you appear to be anal about testing things on the bench, so I kept my trap shut. Fortunately for me, I too caught the same type failure before the plane crashed. I am kind of anal like that too. But, I too will take some calculated risks and follow-up with a lot of bench testing.
For me the UF is not a pleasurable plane to fly. I'll probably eventually sell it. I saw a UF with a P-180 in it at Jet Week. That had to be a real handful for the pilot. It was the fastest plane at the show. But for me, I would like a plane that flies slower w/o the constant threat of a stall. I have had several good flights and several good landings. But the stalls I experienced while learning the UF's peculiarities still loom in my mind every time I even think about flying it.
I am working on another sport jet today. I did like the way you lined the rear fuse of your UFs with aluminum tape. I just spend this evening doing that on this new jet. It is not as easy as it looks. But aluminum tape has got to be a lot lighter than BVM Heat Shield.
One thing I have to give CARF credit for is they do a pretty good manual. This new jet here, has no instructions and I am just following the sequence I used on building the UF. All seems to be going together O.K., except I have a questions about the nose gear's landing light wiring. There are no instructions for the light controller nor the gear controller. Got to "nuke it out" on the bench.
You do an excellent job with your level of detail! Wish I had the patience for that.
05-19-2018, 07:14 PM
#703
Hi Len.
thanks for the compliment! Chime in anytime you see something not right. As I said earler, I tested the linkage by hanging a 20 pound dumbell from it, then jerking the lingage with the dumbell attached, putting it in a vise and using a fish scale pulling over 50 pounds of force...and finally it broke loose at about 100 pounds. When it did, I split the ball link down the center and peeled it open. Inside there were no threads but a few gohst threads (where you could see a shadow of what looked like threads but yet it was Still smooth). Could not believe it.
thanks for the compliment! Chime in anytime you see something not right. As I said earler, I tested the linkage by hanging a 20 pound dumbell from it, then jerking the lingage with the dumbell attached, putting it in a vise and using a fish scale pulling over 50 pounds of force...and finally it broke loose at about 100 pounds. When it did, I split the ball link down the center and peeled it open. Inside there were no threads but a few gohst threads (where you could see a shadow of what looked like threads but yet it was Still smooth). Could not believe it.
Last edited by MaJ. Woody; 05-19-2018 at 07:17 PM.
05-26-2018, 11:02 AM
#704

My Feedback: (55)
Join Date: Mar 2005
Location: Mission Viejo, CA
Posts: 171
Likes: 0
Received 0 Likes
on
0 Posts
To set the pipe gap I made a spacer out of balsa. With the spacer located on the point of the pipe I want top set the gap from, I carefully positioned the turbine in place till the turbine tailcone contacted the spacer. Perfect pipe gap established! Use your centering pin vise to locate and drill pilot holes for your blind nuts. The turbine mounts are secured to the fuse with 6-32 bolts and blind nuts. When its all bolted up, a look up the tail pipe confirms the turbine is centered in the pipe.
Just getting to the turbine install and need addl info, can you comment on what is the spacer width, or turbine reference to pipe reference and the distance i should set? In the manual it says to line up the chrome housing of the jetcat turbine to the inlet to pipe interface? i am installing a KT 120, and not sure if the exhaust cone length is the same as a JC?
some guidance on that would be great and also your updated method on centering the turbine?
tx
jason
05-26-2018, 04:35 PM
#705

I've been flying jets for many years. Big ones, little ones, fast ones, scale ones. The UF is the ONLY jet I never mastered. Crashed 3 of the damn things. Has totally unpredictablable at stall characteristics. Great jet going 200....sucks at landing speed.
05-26-2018, 05:28 PM
#706
Really intersting that you find the UF unpredictable. My experience with the model is quite the opposite. Admittedly, I havent flown a whole lot of jets to compare, but I would say that the UF is the best model I have flown so far. Accurate at speed and very easy to land. I have had one stall on me but it was 100% operator error.. I was not concentrating on airspeed due to being distracted by landing gear issues.. When the stall occured it was flying so slow.. Far slower than I imagined it could fly..
 05-26-2018, 05:48 PM
#710
HI Maj,
Just getting to the turbine install and need addl info, can you comment on what is the spacer width, or turbine reference to pipe reference and the distance i should set? In the manual it says to line up the chrome housing of the jetcat turbine to the inlet to pipe interface? i am installing a KT 120, and not sure if the exhaust cone length is the same as a JC?
some guidance on that would be great and also your updated method on centering the turbine?
tx
jason
Your manual for the turbine should specify the specs for the turbine pipe gap.I measured that distance from the turbine tail cone to the joint of the pipe / bellmouth.
Last edited by MaJ. Woody; 05-27-2018 at 01:23 AM.
05-27-2018, 12:40 AM
#711

Hello friends, I bought a second hand UF and I will make Aggressor scheme too, but polygonal lines and grey tones.
i will install a Merl�n 160 and of course my CMJETS tanks, I will try find the problem of main tank, because some people told me that the clunk take air and the Kero go ahead and not spend all, I think the main tank not is flat into fuselage and when there are few kerosene the clunk not is able suck.
Someone has same problem ???
i add picture of my scheme.
Regards from Spain
Carlos

www.cmjets.com
i will install a Merl�n 160 and of course my CMJETS tanks, I will try find the problem of main tank, because some people told me that the clunk take air and the Kero go ahead and not spend all, I think the main tank not is flat into fuselage and when there are few kerosene the clunk not is able suck.
Someone has same problem ???
i add picture of my scheme.
Regards from Spain
Carlos
www.cmjets.com
05-27-2018, 02:04 AM
#712
With a felt clunk as designed it sucks the main tank dry.
Yes, if you do lots of vertical stuff at the end of the flight the hopper will tank more air. Its possible to make a tank with a slight drop and curve at the rear end, but there is not a lot of space if you use the full ducting.
Yes, if you do lots of vertical stuff at the end of the flight the hopper will tank more air. Its possible to make a tank with a slight drop and curve at the rear end, but there is not a lot of space if you use the full ducting.
05-27-2018, 03:39 AM
#713
Flew the UF yesterday. It was like a maiden as I had to replace the stab/elevators over the winter. Also, over the winter I researched and collected all the various control surface settings and put in the settings that are basically an average of what UF Pilots are currently claiming. Also, I added 4 mm of crow on full flap and a much larger hopper tank. I have the main fuel tank, the saddle tanks and the new hopper. I also own the wing tank, but I took it out as it is a PITA to have to hook up a fuel tank every time I use the plane.
Yesterday, I used the old flap settings I had before because I had that worked out and was getting good landings last year. But yesterday with the new control surface settings and crow on full flaps, the plane ballooned severely when I went to full flaps. Either I am going to have to risk slowing down a lot more than I had in the past before going full flaps, or I am going to have to add more down-elevator on full flap. But, ... The plane was flying really slow and was stable on the straight. I think the crow helps. I went back to half-flap, went around and landed. Given my past experience with this plane stalling, I was not comfortable taking it around on full-flap, ... yet.
Landing this plane is easy. While it does need a lot of speed on the approach pattern to avoid the stalls, I just keep the nose down slightly whenever I am off the power and until I am lined up on the final. As I come within 10' or so of the ground, I drive it down to about 2' from the ground using a bit of power as needed to keep the speed up. Through that transition the nose is kept fairly level. Then I go totally off the power and draw the nose up slightly. I land on the mains and hold the nose up until it comes down by itself. Once the nose is on the ground, due to loss of most of the ground speed, then I let off the elevator. Seems to work every time. If I let off the elevator before the nose comes down by itself, the plane bounces. The more speed you have the higher the bounce. If it bounces, well your looking at a nose gear pin and maybe some tail plane painting. Maybe more work if you screwed in the gear versus nuts and bolts. In my cases, it cost me a new tail-plane too. Learning to fly this plane can be expensive!
The OEM Main Tank has a baffle glued in it. In mine, the glue was letting loose. A large chunk of glue plugged the fuel line. I was in a 45 up-line climbing curve when the fuel ran out. There was no tell-tale puff on the flameout and the plane was as far away in the pattern as it could get. The plane stalled before I realized I had a flame out. It went into a death spiral and dropped below the line of sight. As I turned to walk to the truck to go clean up the mess, it flew straight at me just slightly over the top of the bushes, totally on its own. I dropped the gear and landed way down the 3800' runway. Got a free UF that day! DreamWorks replaced the tank with a Jet-Tech tank.
The UF's tail plane is mounted on the bottom of the fuse. If you have a bit to much elevator set on the rotation, the Elevator's control horns hit the pavement. When that happens, the hinging starts cracking and the upper surface of the stab starts cracking, Next thing you know, the cracks are bad enough to flutter. Good thing they make replacement tail planes. I bought two, one for a spare.
If you read this far, one can see I had a really hard time transitioning to this jet. It may not be the best jet to transition off a trainer. For me, flying at the speed it requires is a bit nerve wracking. I am still trying to decide if I want to keep the thing. I bought a T-One hoping that it becomes my "go to plane" and may keep the UF around for thrills and chills of flying that fast. But, I have to finish ironing out the bugs in the UF and my flying of it before I would consider getting rid of it. I would hate being defeated by an inanimate object and I am learning a lot as I work out the bugs!
Last edited by Len Todd; 05-27-2018 at 03:43 AM.

 05-27-2018, 04:49 AM
#715
I will try find the problem of main tank, because some people told me that the clunk take air and the Kero go ahead and not spend all, I think the main tank not is flat into fuselage and when there are few kerosene the clunk not is able suck.
Someone has same problem ???
i add picture of my scheme.
Regards from Spain
Carlos
www.cmjets.com
Someone has same problem ???
i add picture of my scheme.
Regards from Spain
Carlos
www.cmjets.com
05-27-2018, 03:31 PM
#716

It went into a death spiral and dropped below the line of sight. As I turned to walk to the truck to go clean up the mess, it flew straight at me just slightly over the top of the bushes, totally on its own. I dropped the gear and landed way down the 3800' runway. Got a free UF that day!

Your Ultra Flash obviously has a strong will to survive. Perhaps it's not so inanimate after all.
05-28-2018, 04:06 AM
#718
When my UF sits on the gear, the front of the main tank is lower than the back of the tank because the nose of the plane is down a little. I think when it is flying, the fuse is level and the tank is more level. So, ... I assume when testing for when the fuel runs out, that the fuse would be leveled. But, I could see where the OEM tank could be installed with the rear end of the tank high. When I put in the Jet-Tech tank to replace the OEM tank, I had to rework the rear support to even get it in there. If I recall correctly, the front support was O.K. But, I would be interested in what is found out about the Jet-Tech tank mounting because I thought about lowering the back of the tank to sort of consolidate remaining fuel in the back of the tank. The OEM Tank has the baffle. I figured that is in there to help keep some fuel in the back of the tank. I do not recall seeing the baffle in the Jet-Tech tank.
I use BVM's heavy hi flow clunks. They have a small O.D and a large I.D. My tanks usually have little fuel left in them. I also use the Hi flow vents and 3/16" fuel lines up to the new hopper. I just added a much larger hopper than the OEM hopper. Actually, given that I only initially added a UAT to what the manual calls for. I never put in the OEM's hopper. I figured the UAT would replace the hopper. But after noticing what Woody did with his last build, I added a large hopper. I feel a whole lot more comfortable with 7 minutes on the timer now.
I too had the UF's UAT over half full of air once and had what I would consider a lot of fuel left in the Main Tank. However, I found that the UAT's fill line's plug was not sealing well allowing air to be sucked into the UAT. Now, ... occasionally, I see maybe a 1/4" of air in the UAT. These "experiences with air in the UAT" and the short flights are why I added the large hopper. I think I have the air in the UAT cured and now am working on figuring out the added flight times.
One last thing, ... After talking with some other UF pilots, I figured out that I maybe was using too much rudder on my slower turns. This may have been adding to the planes unexpected snaps, of which I had several. When I fly the prop planes, I use a lot of rudder. I can get away with that on the Boomerang, too. But after resetting my control throws way back and adding in much more expo, the last UF flight was much more controllable. The biggest difference from past flights though was I made a conscious effort to stay off the rudder except for when I was on the final. To make the turns, I put in the ~ 1/5th roll and used the elevator to make the turn, staying off the rudder. That was a big change for me. Typically when I fly, I automatically put in rudder with aile in turns. Sometimes I even cross control with the aile. I am finding that these rudder combinations may not be so good with sport jets.
05-28-2018, 04:30 AM
#719
Join Date: Sep 2007
Location: buenos aires, ARGENTINA
Posts: 181
Received 0 Likes
on
0 Posts
to guys stalling UF: please re-check CG. it�s almost impossible to crash UF by stalling it.
my dad is 73 Yo, yesterday he vaseline landed his 120 powered UF.
my UF has 170 flights,760 minutes turbine running and never ever shown stall tendencies.
or get in contact with someone who knows this birds....
my dad is 73 Yo, yesterday he vaseline landed his 120 powered UF.
my UF has 170 flights,760 minutes turbine running and never ever shown stall tendencies.
or get in contact with someone who knows this birds....
05-28-2018, 05:05 AM
#720
For me, I am pretty sure it is not a CG issue. I have put it on the EZ Balancer CG stand and I have had it on the Xicoy scales. I have moved the CG forward and back. I currently have set it right where the UF "experts" claim it needs to be. In spite of all these variations, I have had it snap on me several times. Never on a landing final approach though. The snaps I have experienced have been while it is up flying the pattern while flying it slower than half-throttle. Keep it flying fast and it is locked in. But slow it down and on approach turns, it occasionally just snapped over.
But, I think I have it figured out. I just keep the speed up. On landing approaches I keep the nose down. Then I keep the nose up in the flair until it comes down by itself. I am staying off the rudder in turns.
I do need more practice with full-flaps going around the pattern to figure out how much power to be applying and get the down elevator dialed back in. Over the winter I replaced the tail plane and dialed in some crow. These changes appear to have greatly affected the previous DE setting I had on full flaps. Other than these adjustments, the last flight was solid.
Electric brakes have been a PITA though. One click on the slider and they were locking up. Spend hours trying to get transmitter ATV adjustments to work correctly. Gave up on ATV adjustments and went into the Gear Controller. Set it at 20% max braking and now the slider is proportional w/o locking up the brakes. It took a long time to figure out how to get some resolution on the brake slider, ... and I got the bumpy tires to prove it!

 06-09-2018, 11:36 PM
#722
you can see more photos in my website:
https://cmjets.com/login?back=my-account
Thanks for ask.
Carlos
06-10-2018, 05:22 AM
#723
My Feedback: (21)
My flash with a p-120sx will maintain altitude in the pattern with 5 clicks of throttle from idle. This is with full flaps and gear down . You can do steep turns and maintain altitude in this configuration with this throttle setting. You do NOT need rudder ! My CG is where the manual says it should be. I have 1/8” of crow with landing flaps selected. You can not snap it as long as you are smooth on the controls.
06-10-2018, 09:41 AM
#724
I had several nice flights and landings this past week. No snaps or any other unexpected perturbations.Getting used to the speed. Even started a bit of aerobatics the last couple flights. For me, the answer was to stop using rudder. I use a lot of ruder on the piston powered planes and could get away with it on the sprint. But on the UF it has to be banked and use the elevator to make the turns. Got to keep on the power, especially on the final into a 10 mph headwind. Just can't fly a UF like a piston powered plane.
I have 5mm of crow on full flaps and am using Dave W's recommended settings. However, I ended up taking out a bit of flap after adding in the crow. It was like slamming on the brakes once the flaps were fully deployed. I also, set up a landing flight mode that takes out 10%of Aile and Elev for landings. I am not a big fan of using more than 35% expo.
I have 5mm of crow on full flaps and am using Dave W's recommended settings. However, I ended up taking out a bit of flap after adding in the crow. It was like slamming on the brakes once the flaps were fully deployed. I also, set up a landing flight mode that takes out 10%of Aile and Elev for landings. I am not a big fan of using more than 35% expo.


