T-One Models 2.7m F-22 build
 12-10-2019, 05:28 AM
#26


Also looking in the pictures I see they did add the metal to the rear section next to the thrust vectoring nozzles. This is a nice improvement since mine was getting pretty cooked at that location. I think the biggest reason why is because I had a ton of throw on the thrust nozzles so it diverted the thrust out onto the outsides of them because of the triangle shape of the nozzles. So even though it was not really a design issue they still added the metal to that area.

 12-10-2019, 09:20 PM
#28

Thread Starter

So a little equipment breakdown for anyone that maybe curious. Going to be installing twin M166TS like the F-18, futaba Sbus servos with my usual Sbus power system battery backer on twin receivers/batteries. I’m planning to give the new A700 Sbus servo on the stabs. Air system will be jettronics valves to include the brake valve and JMP medium air tanks. I’m going to use actuonix linear servos on the canopy, missile bay doors and possibly the gear doors. I will have to see how things are in the model. The fuel system will be my usual hi-flow setup with MAP hi-flow UATs, and the Bvm hi-flow vent system that matches my taxi tank. Cheers!
Last edited by FenderBean; 12-10-2019 at 09:31 PM.
12-30-2019, 03:58 PM
#29
Thread Starter
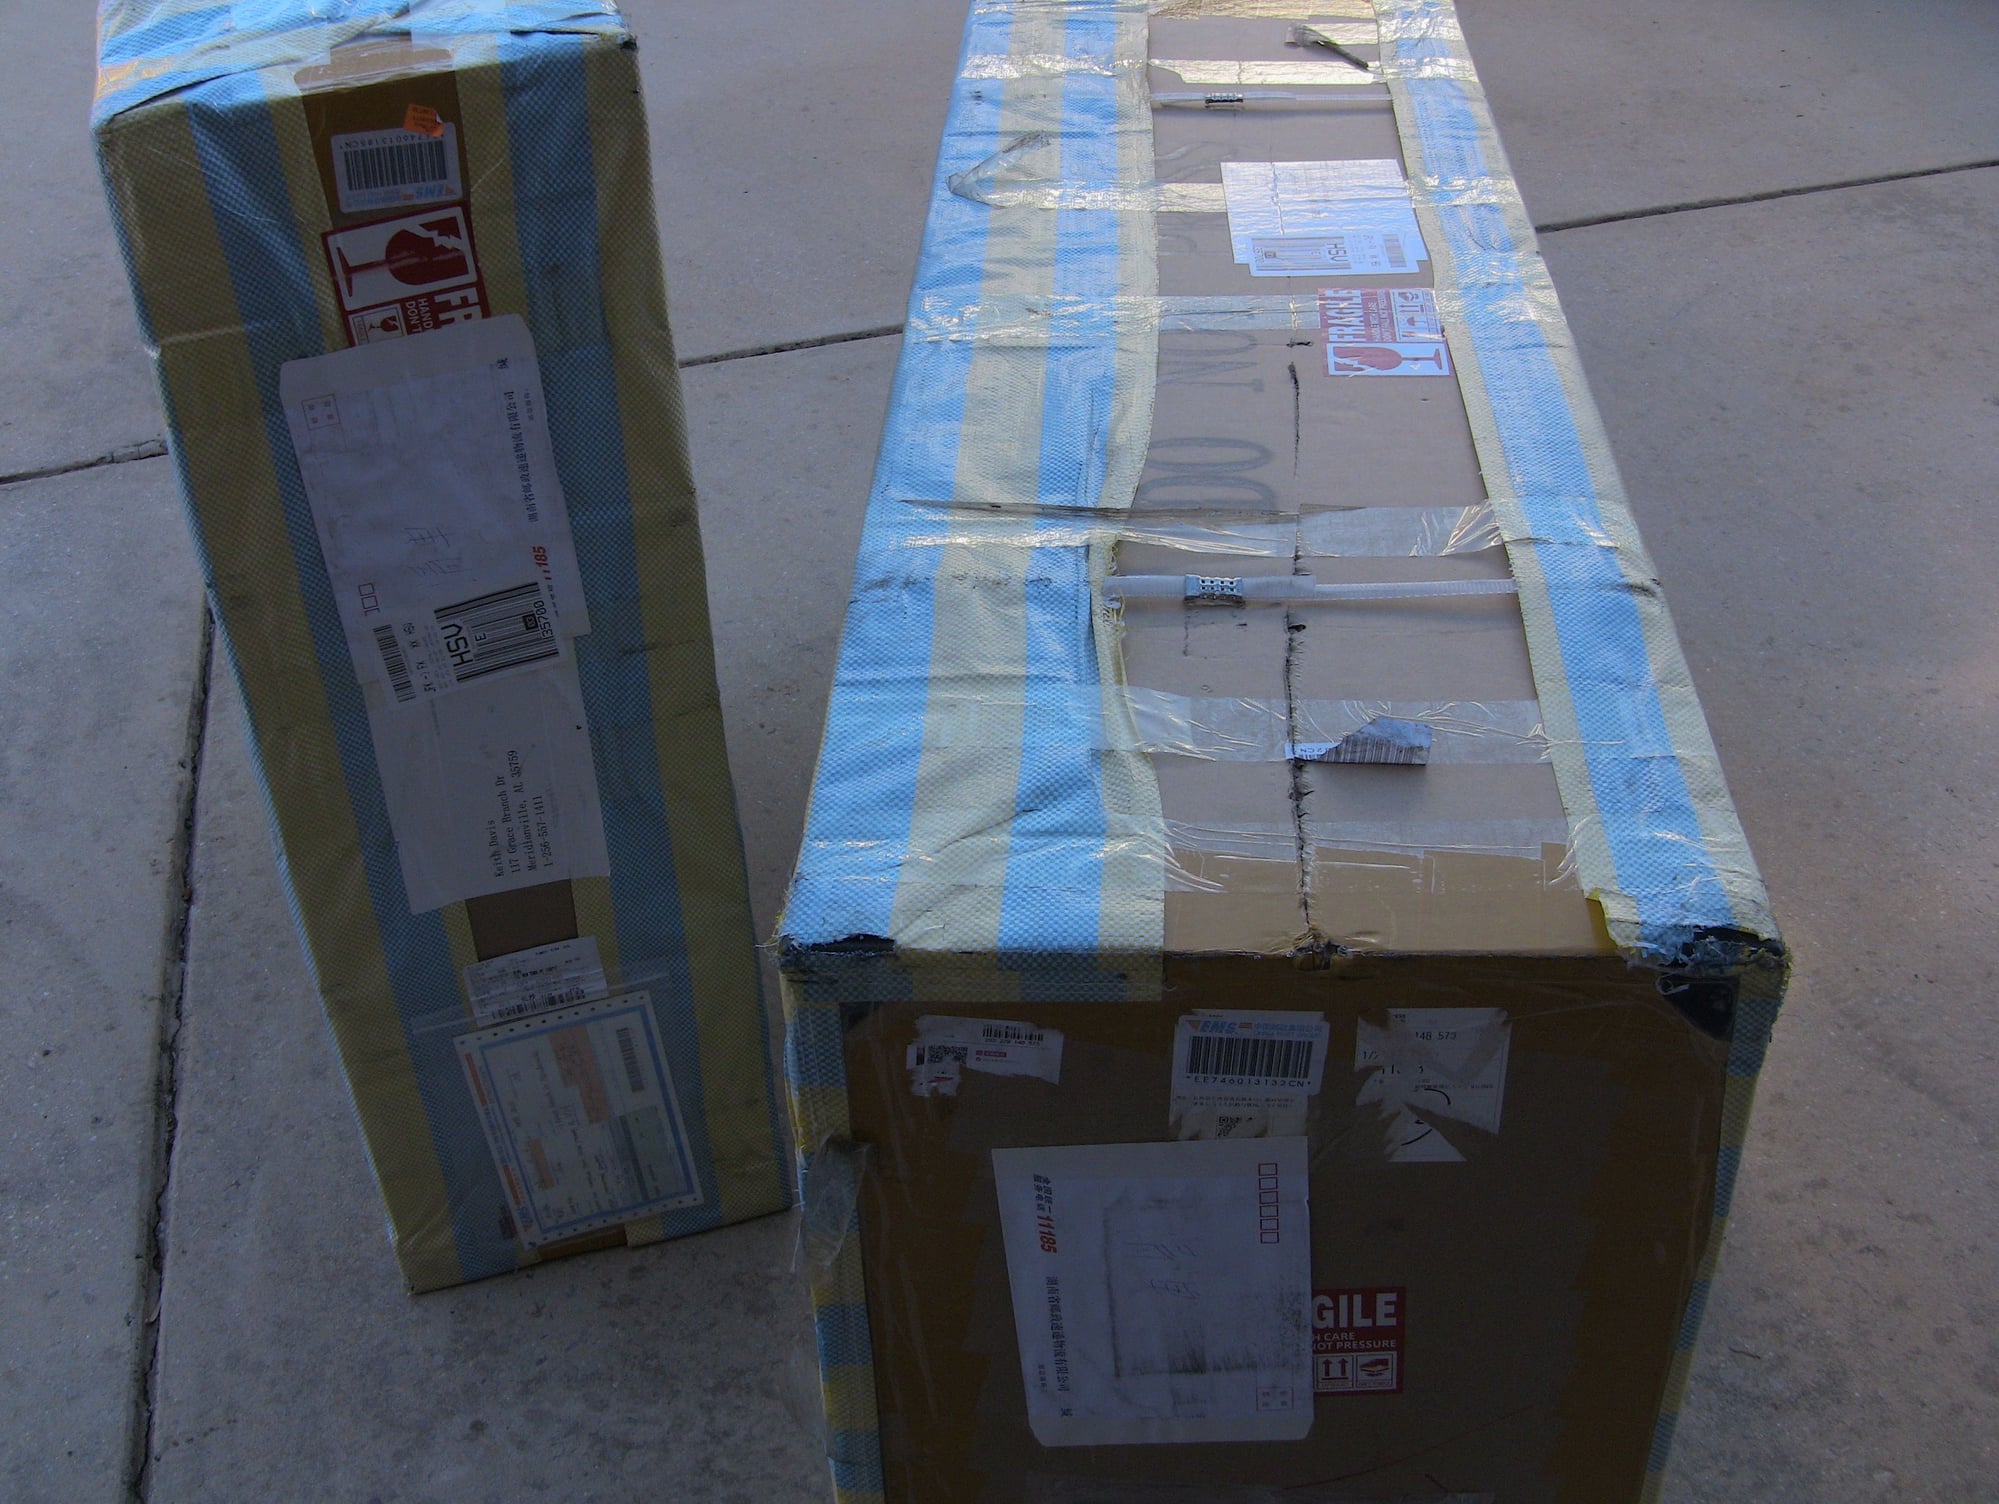
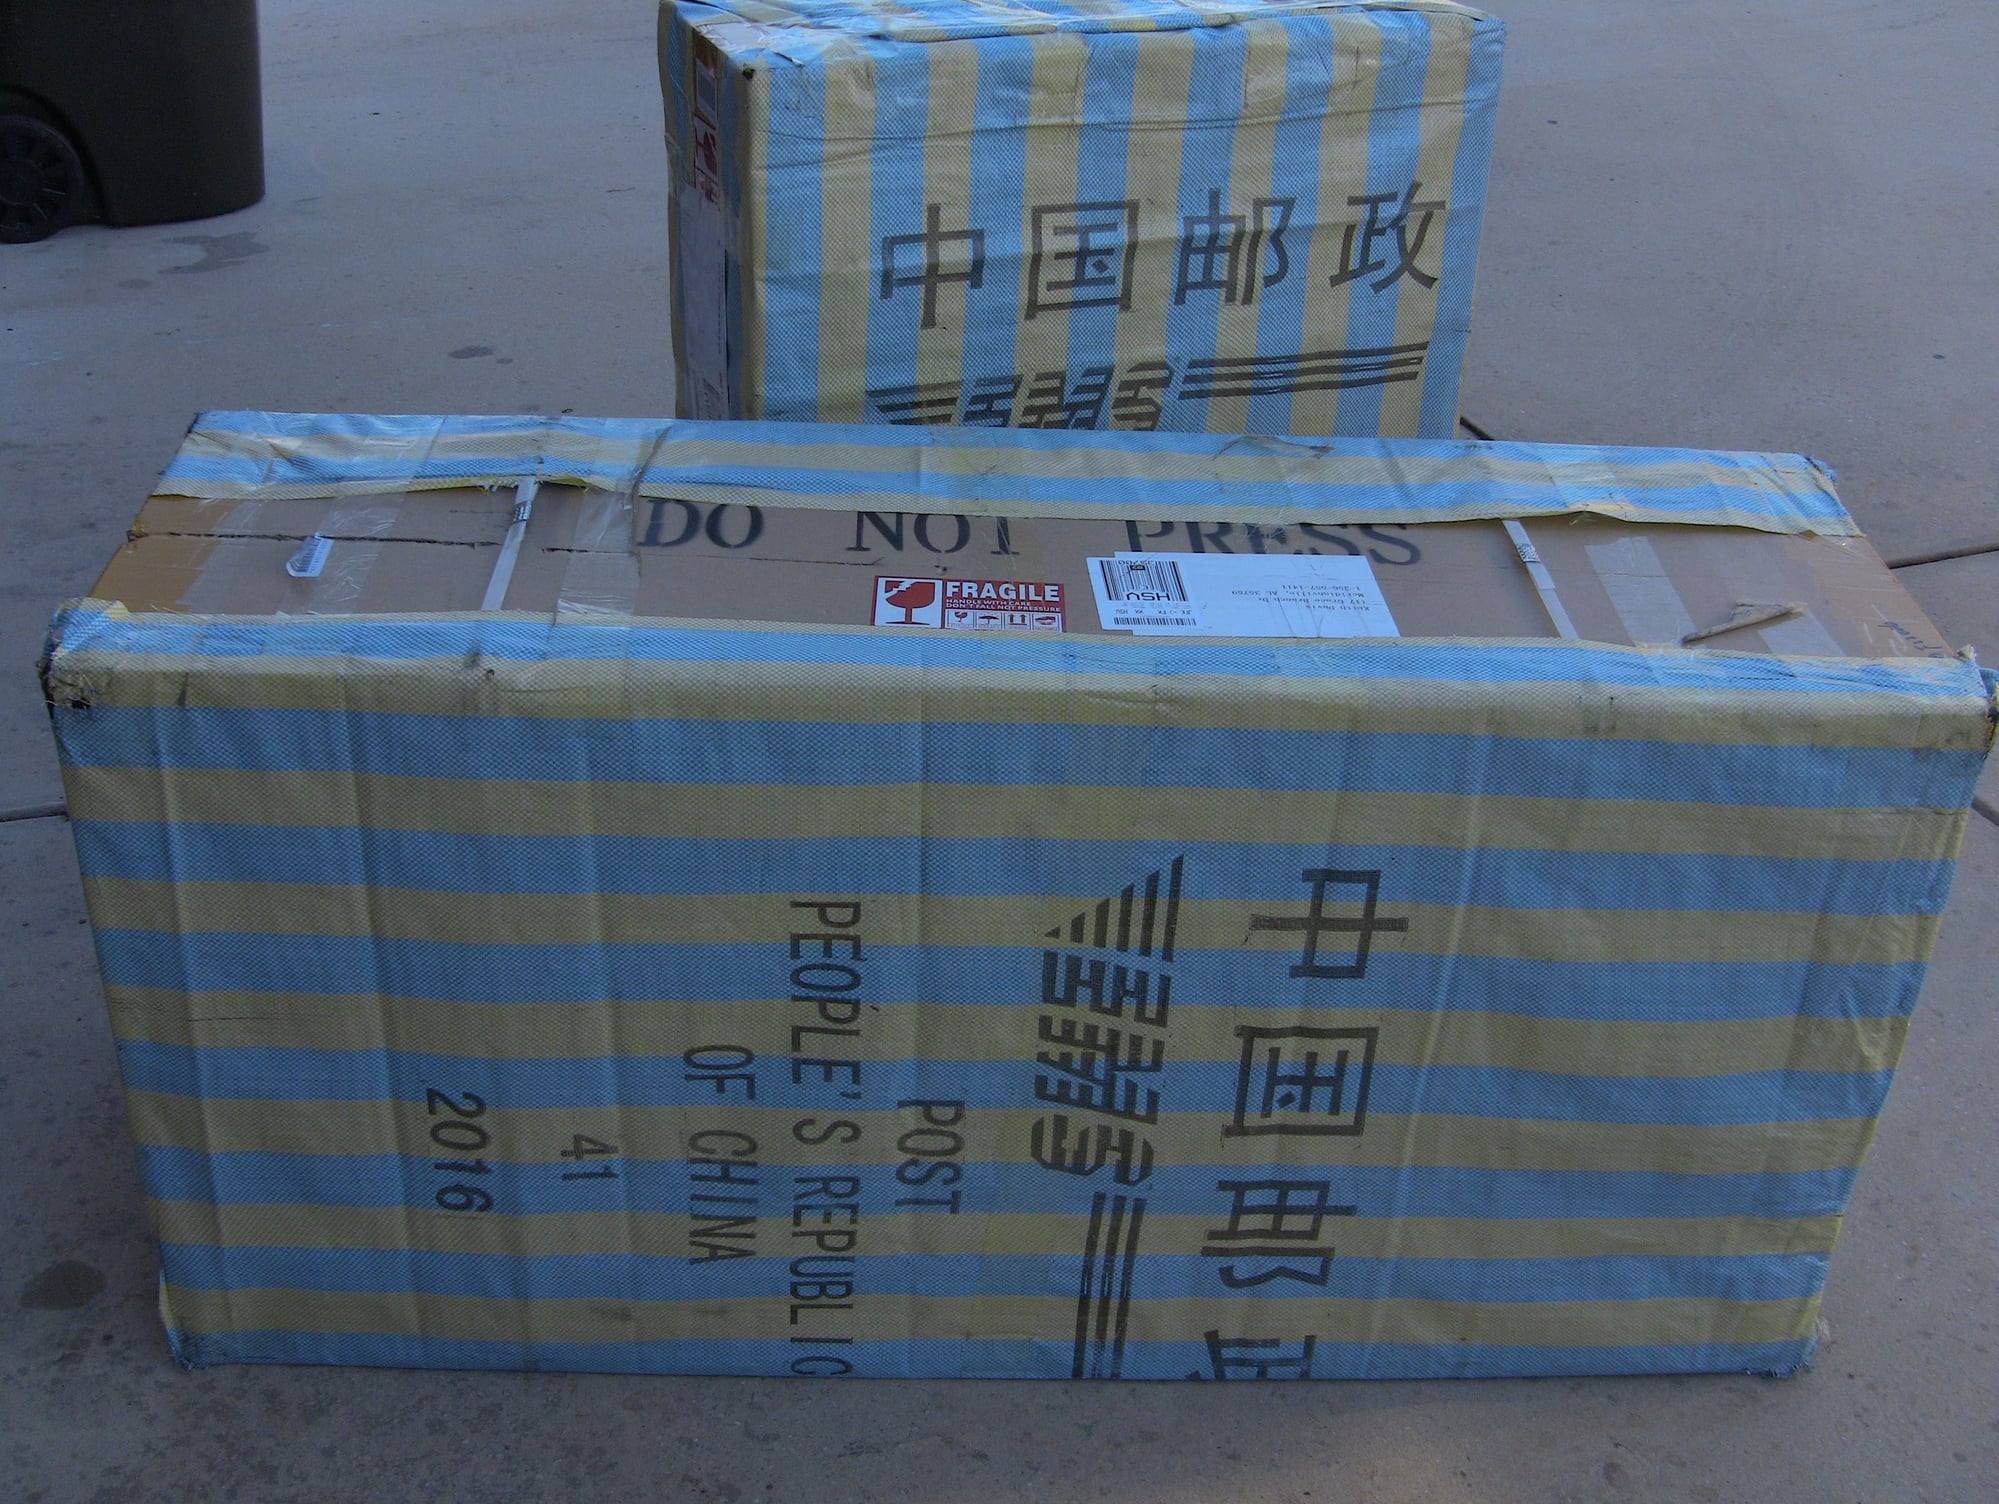
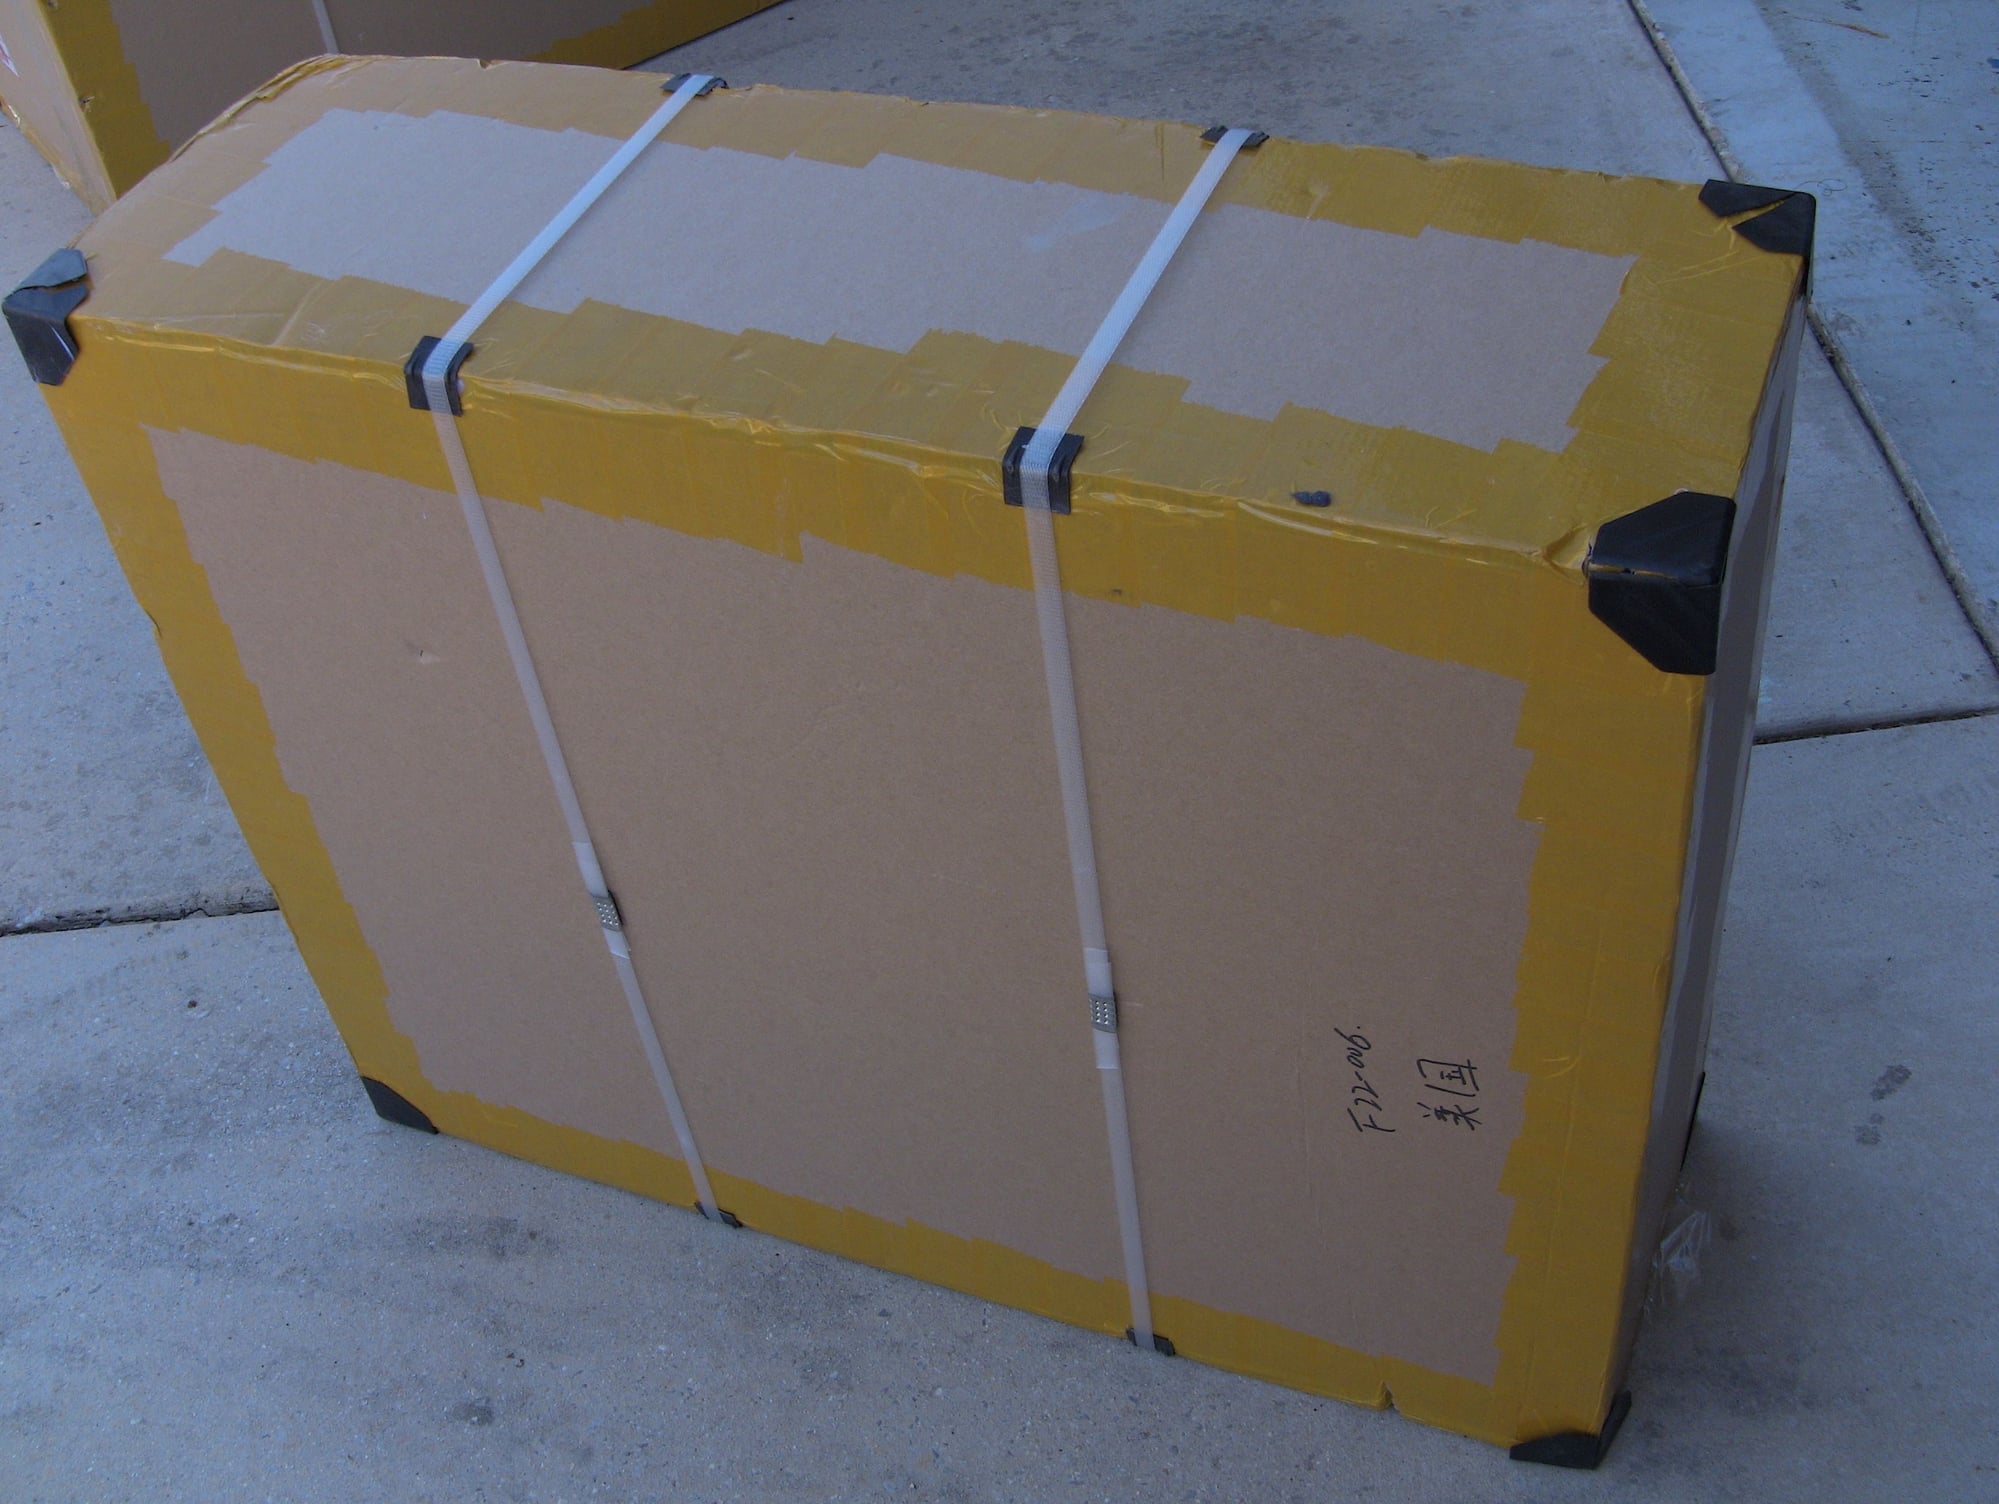
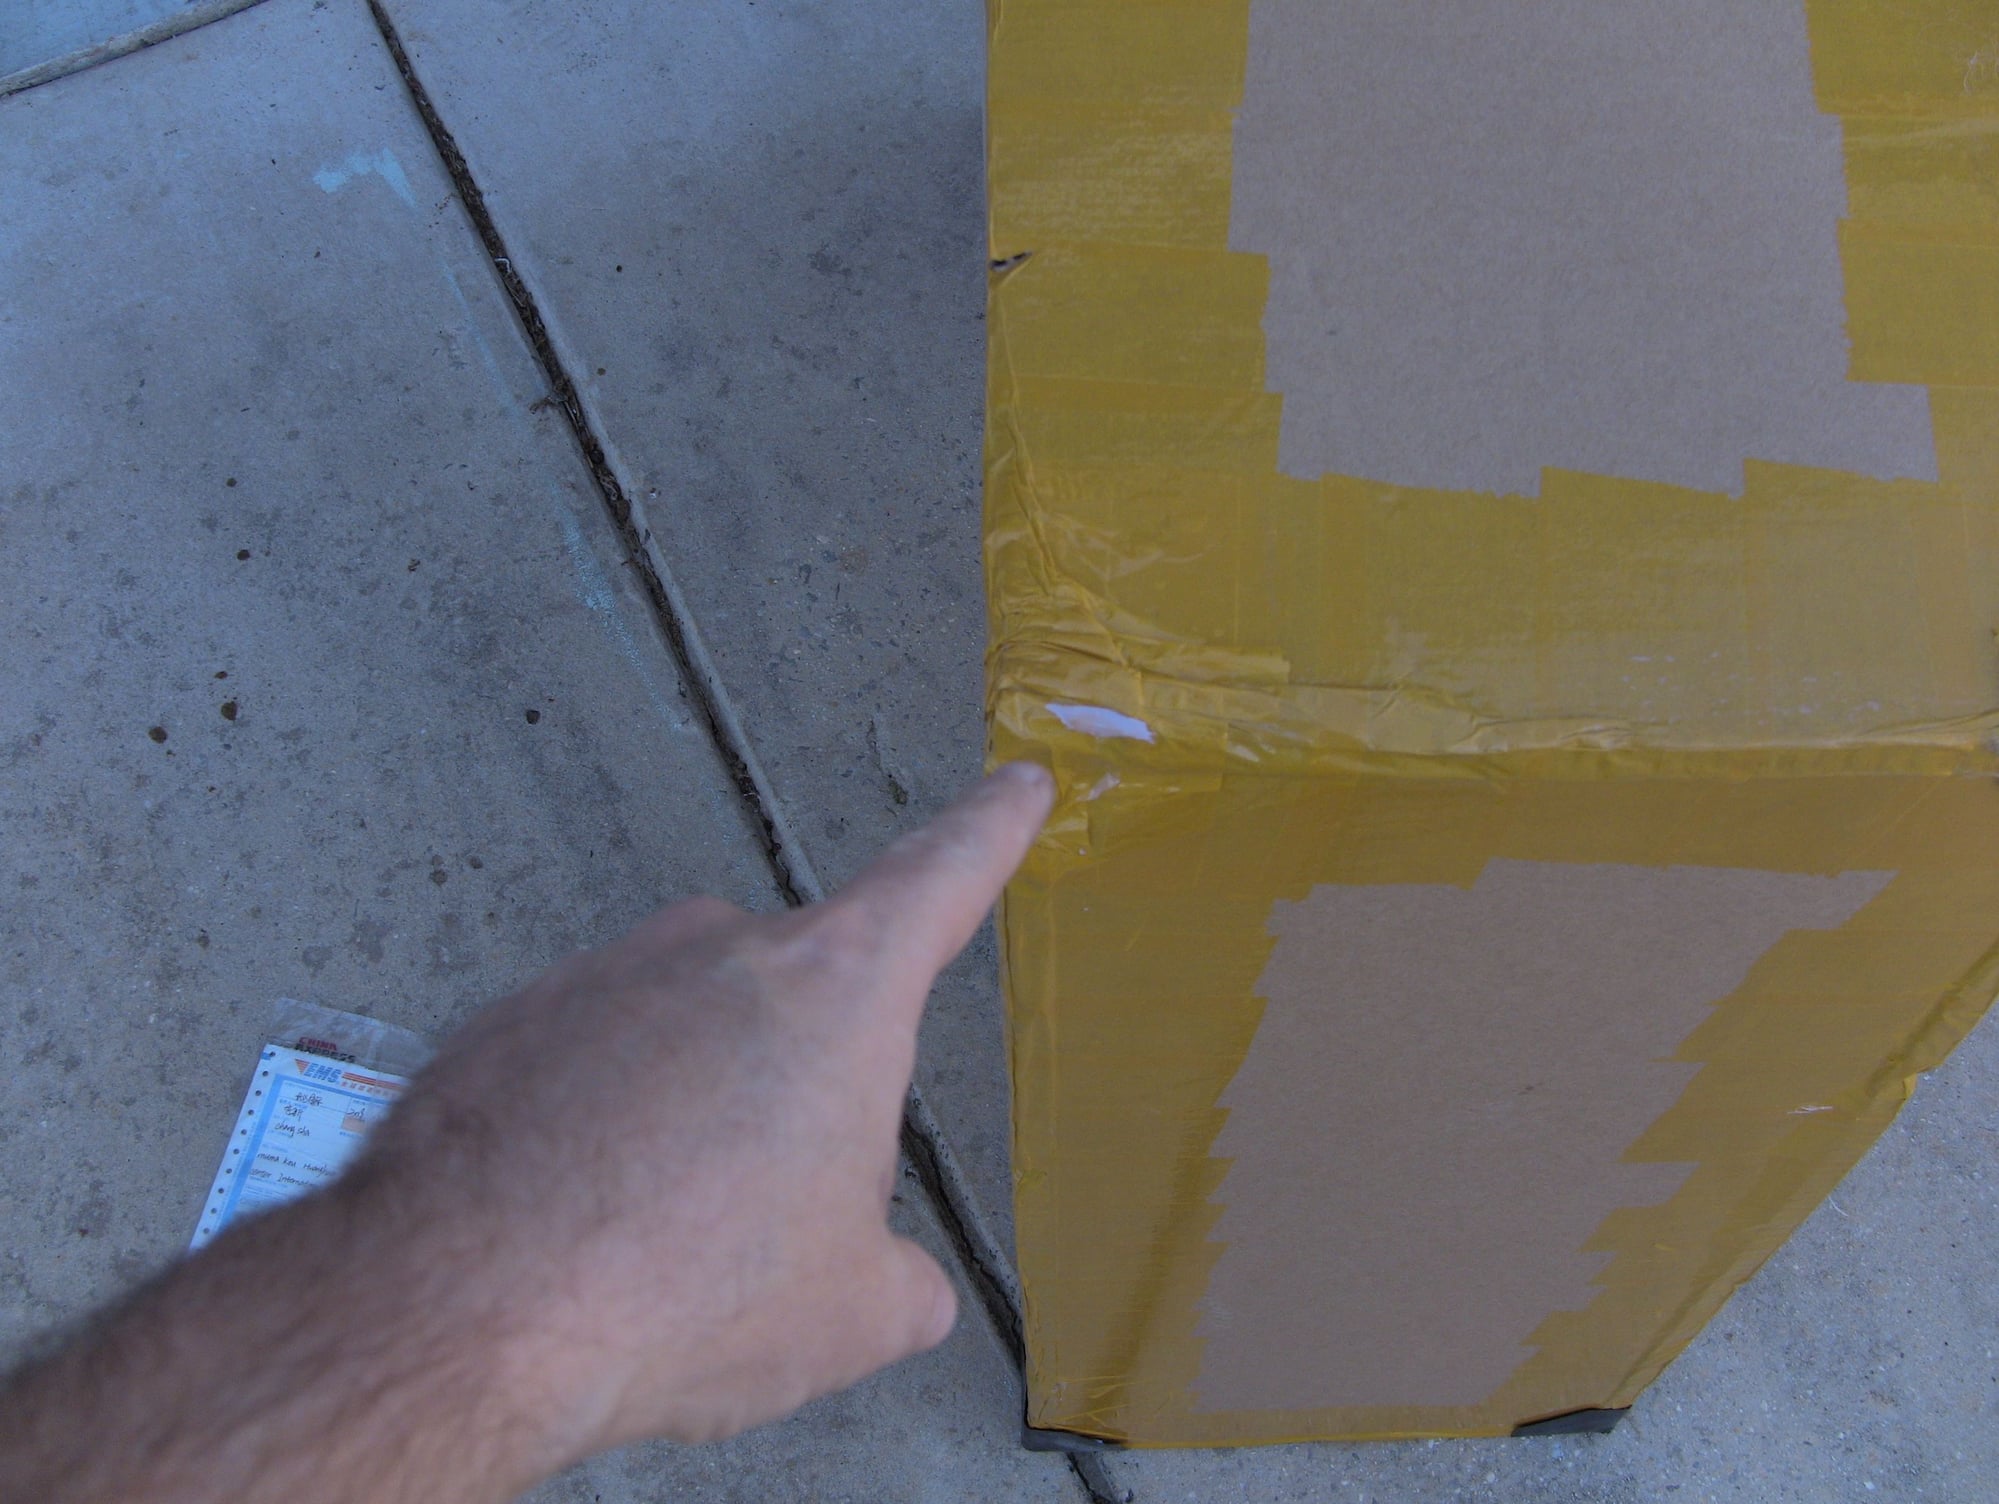
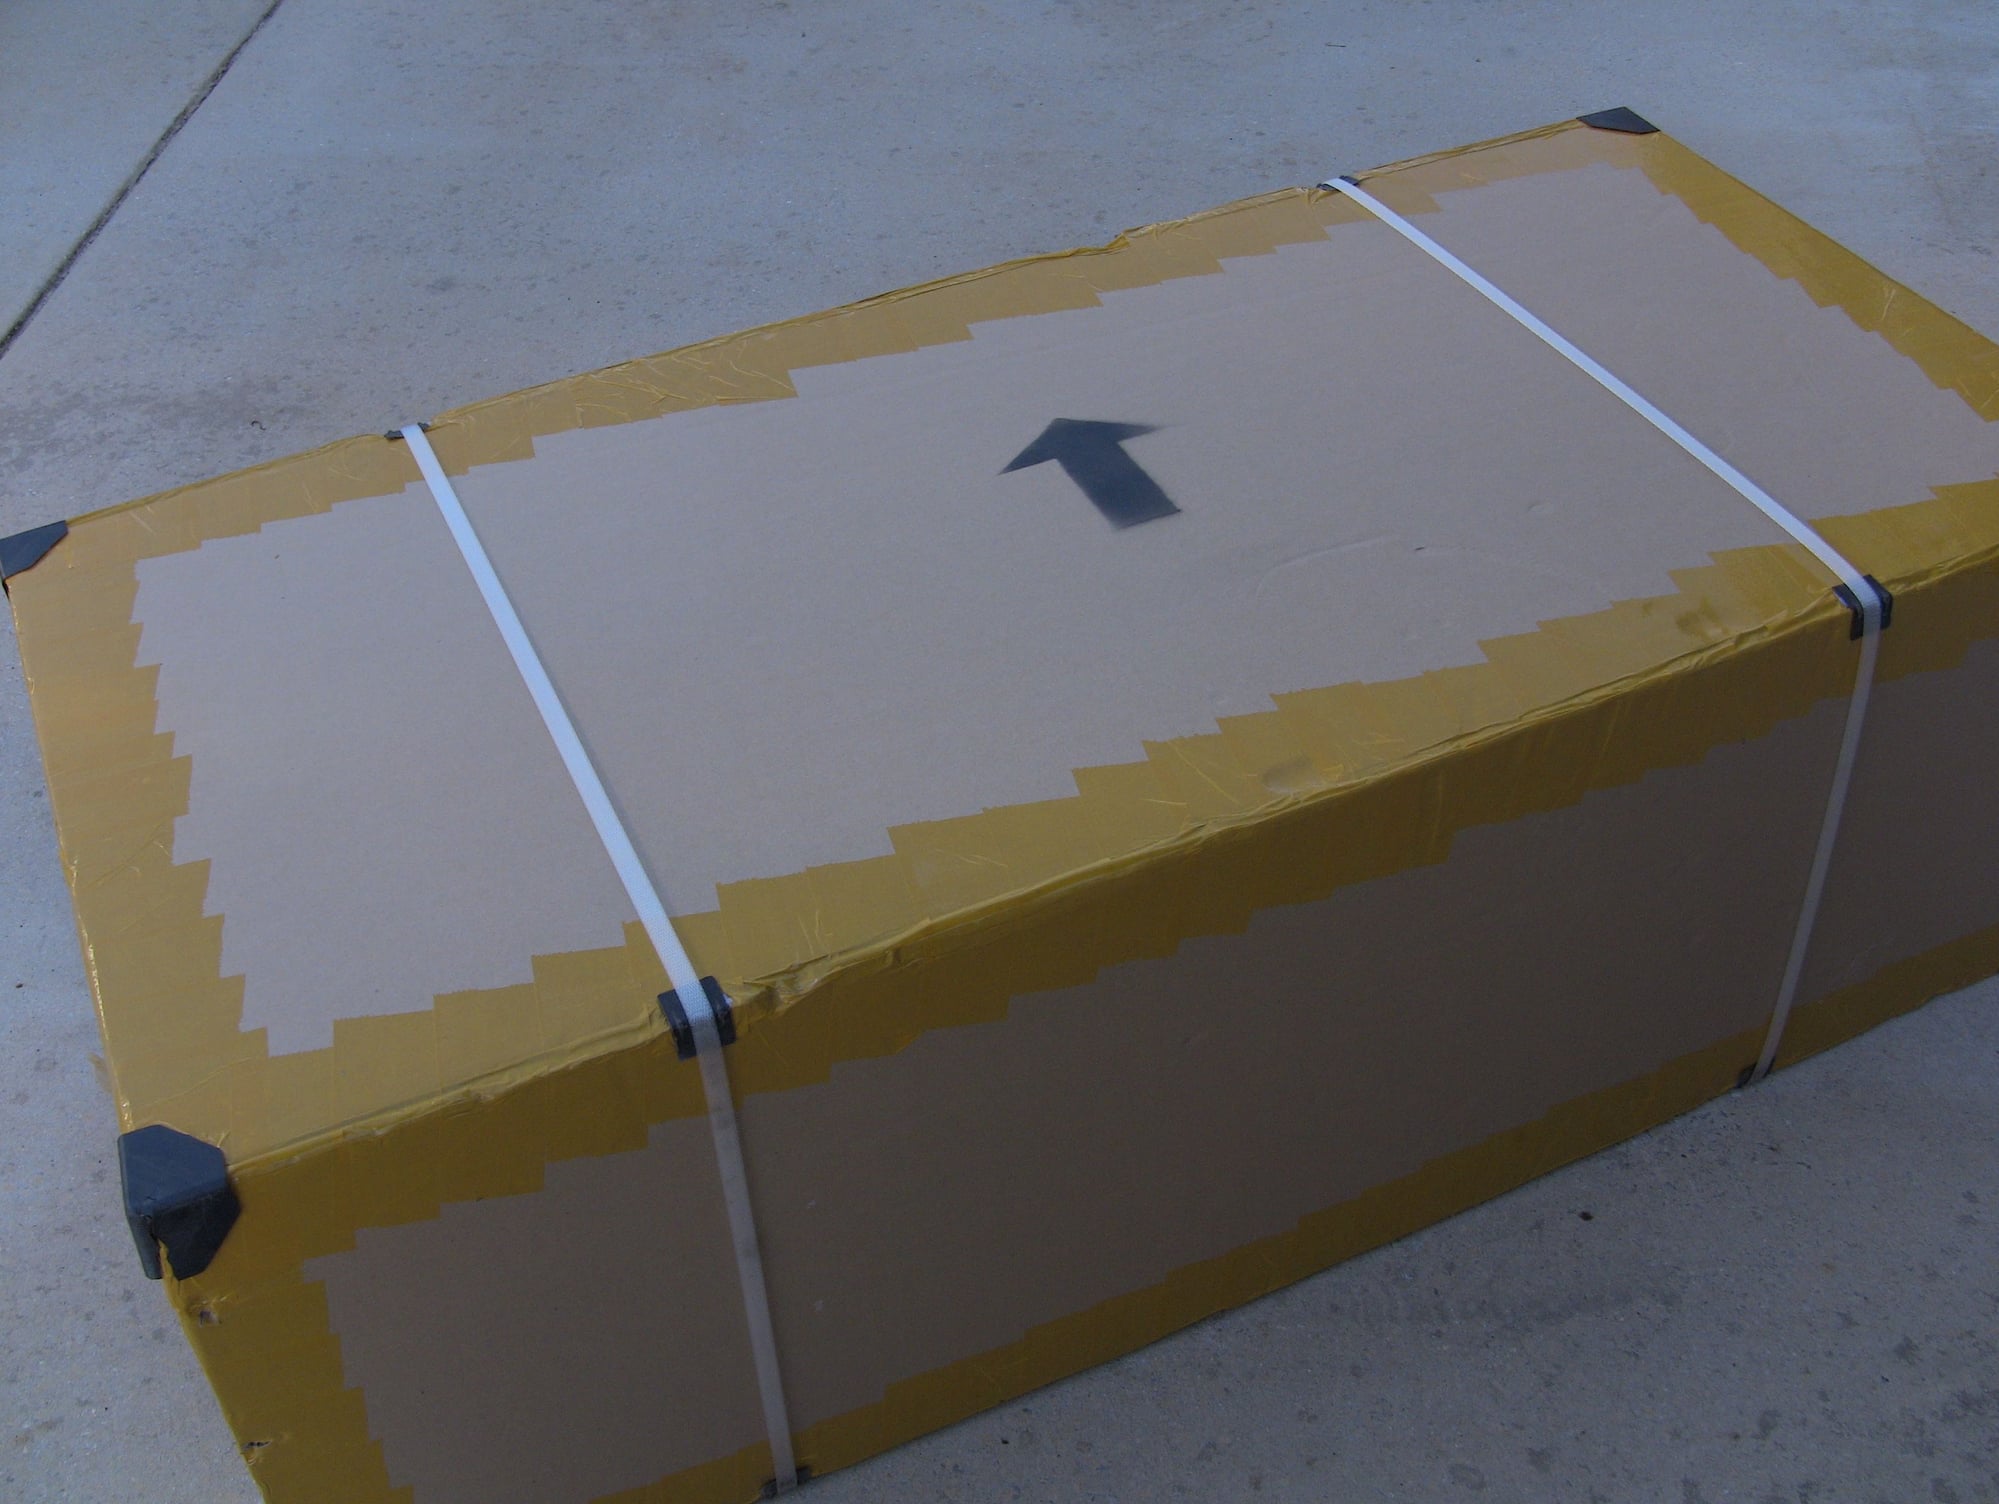
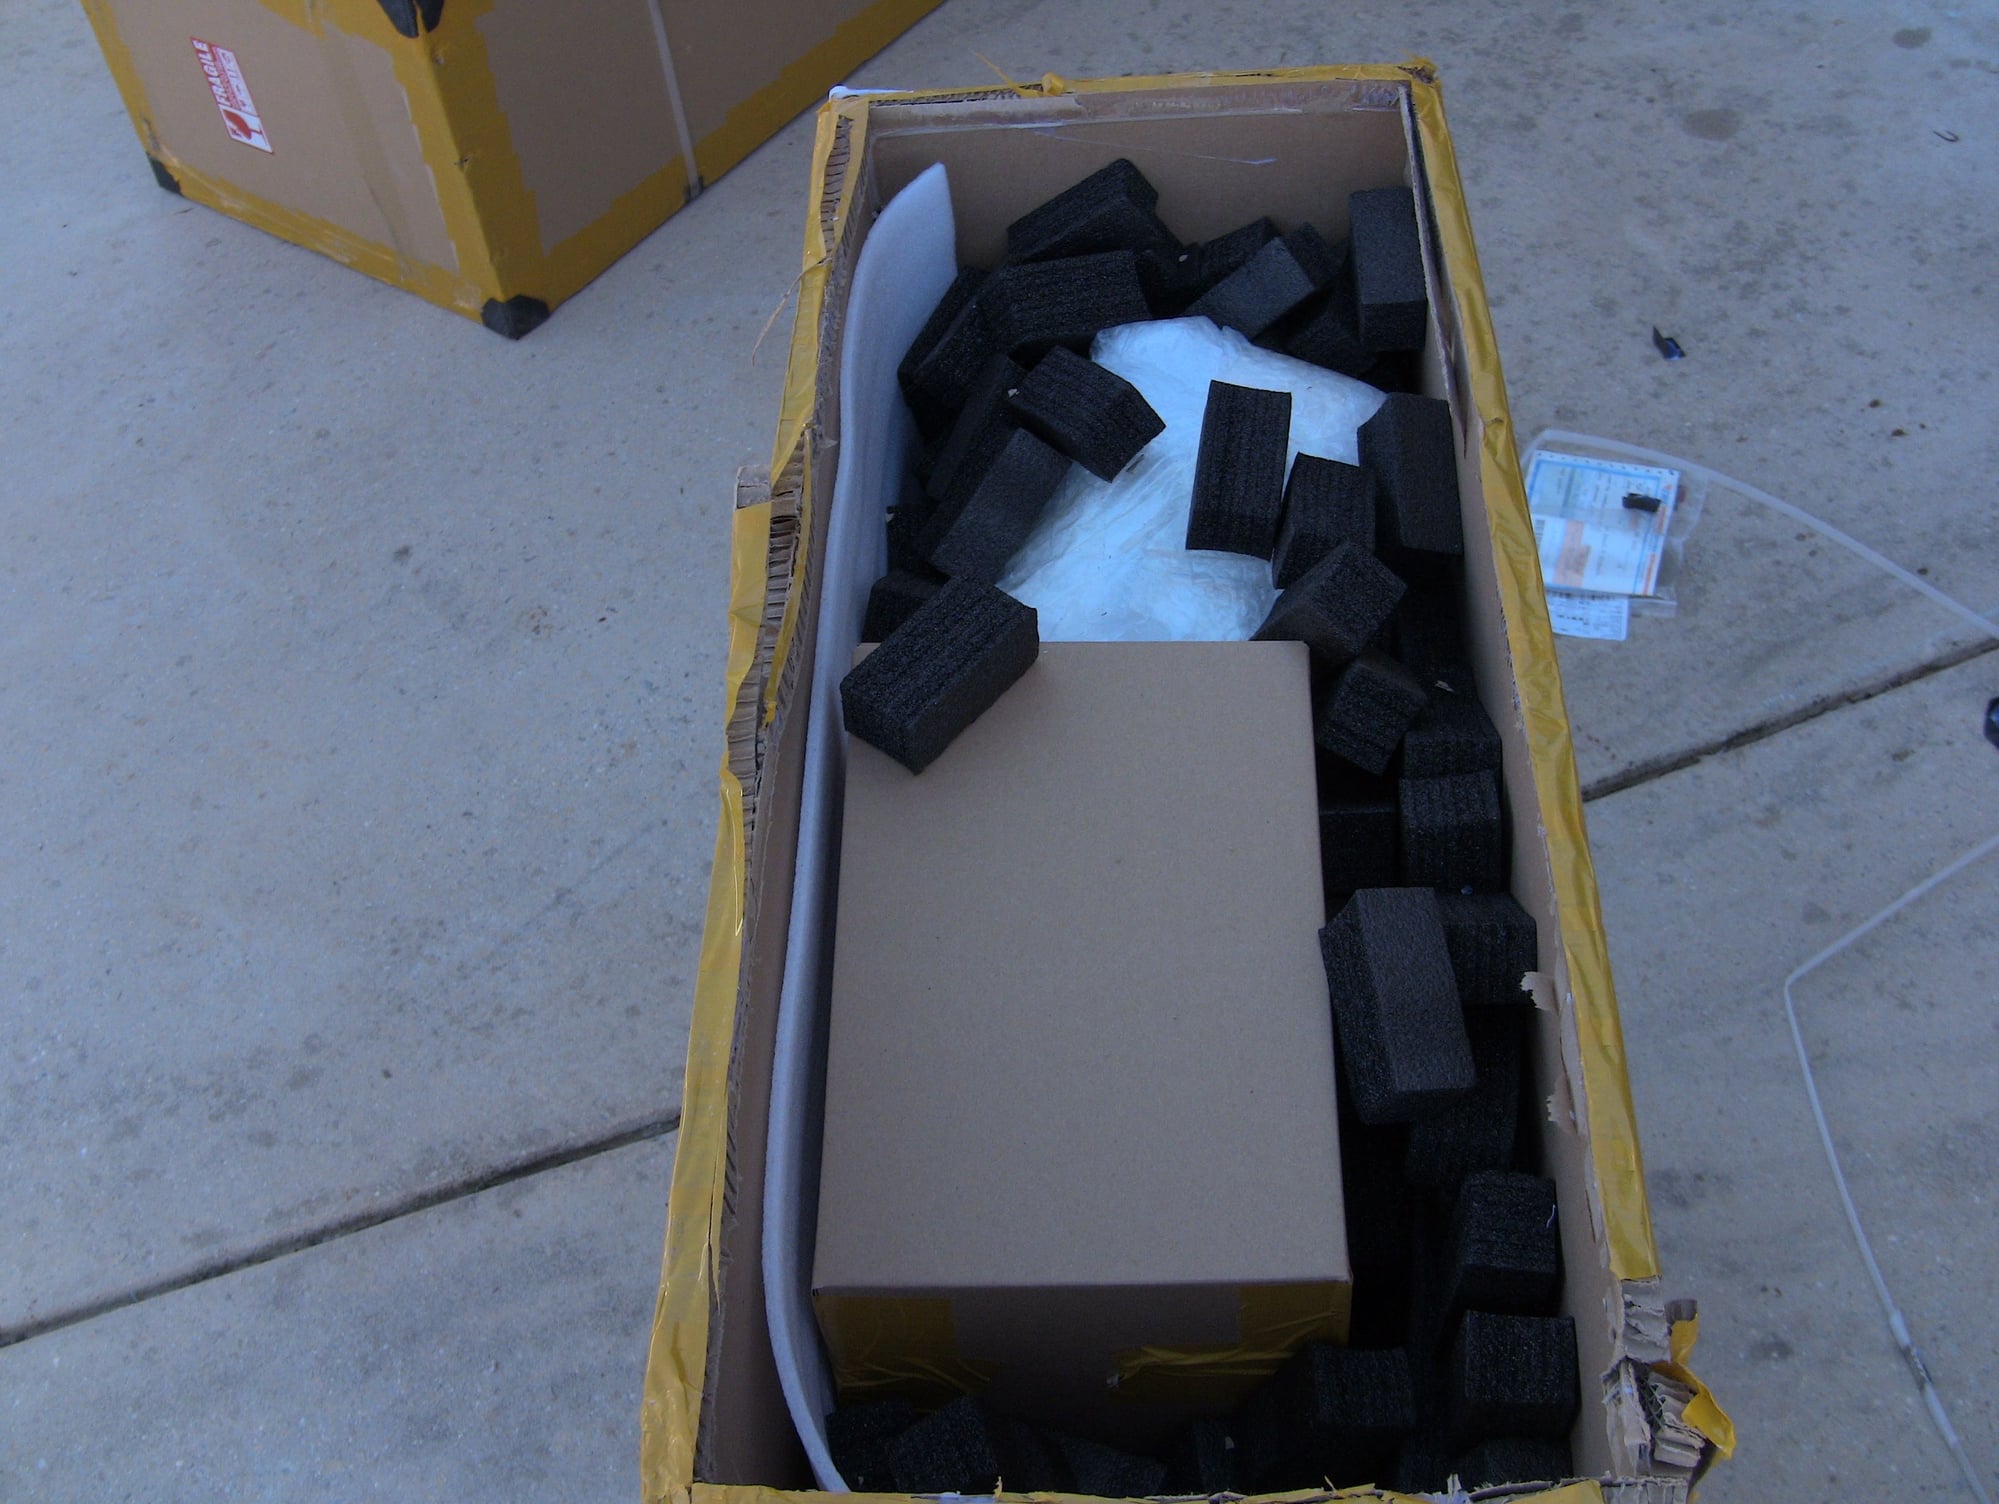
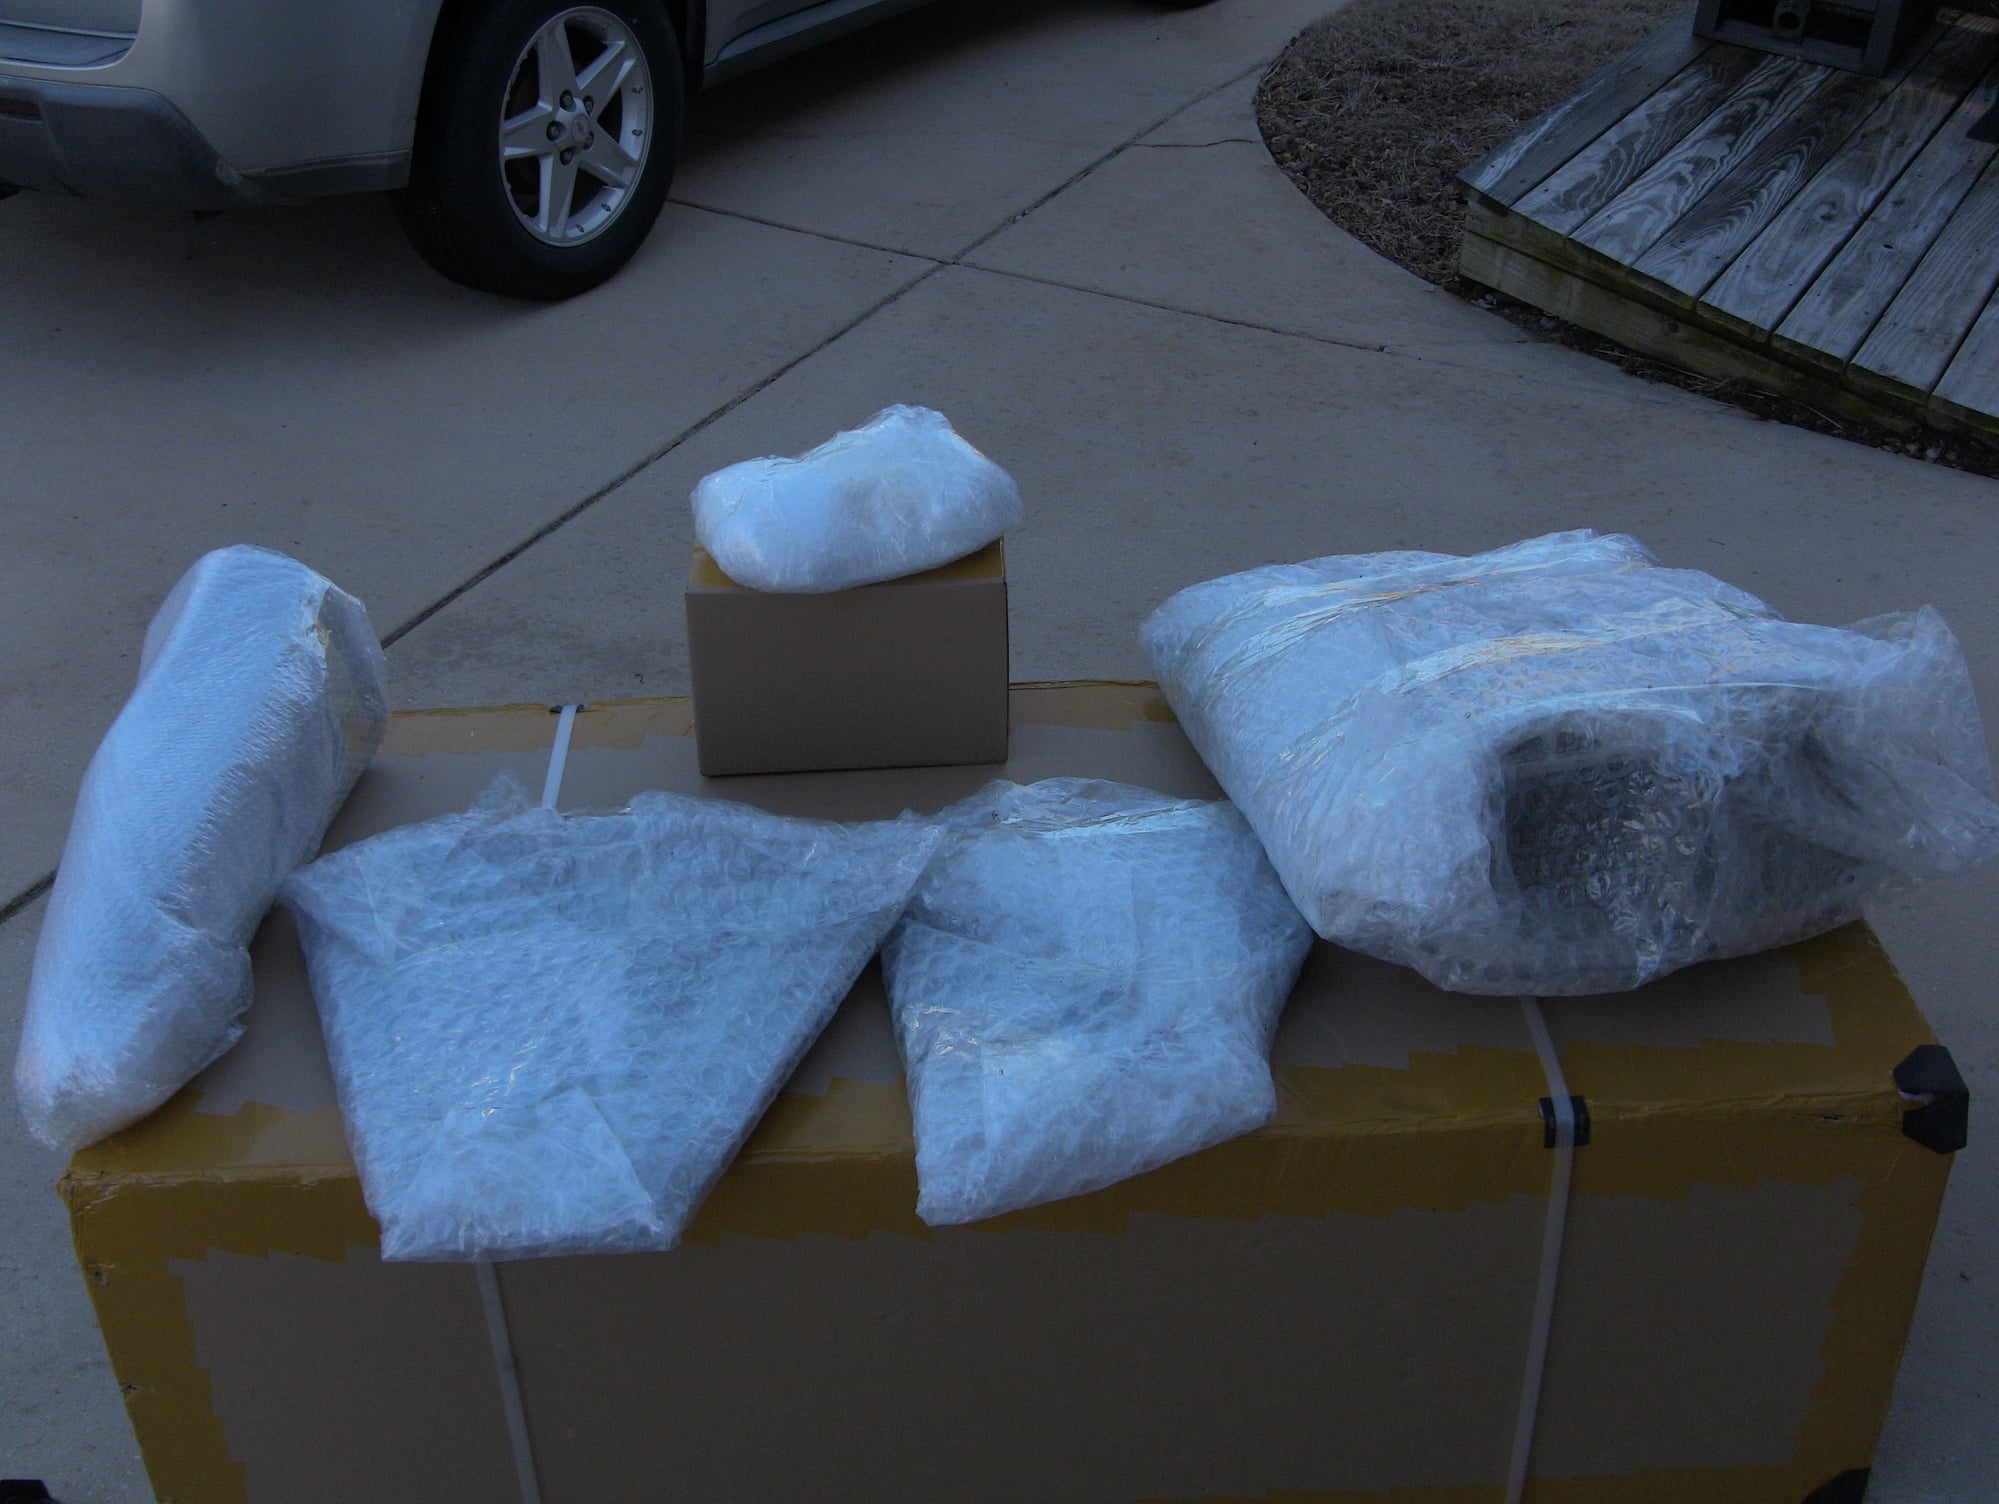
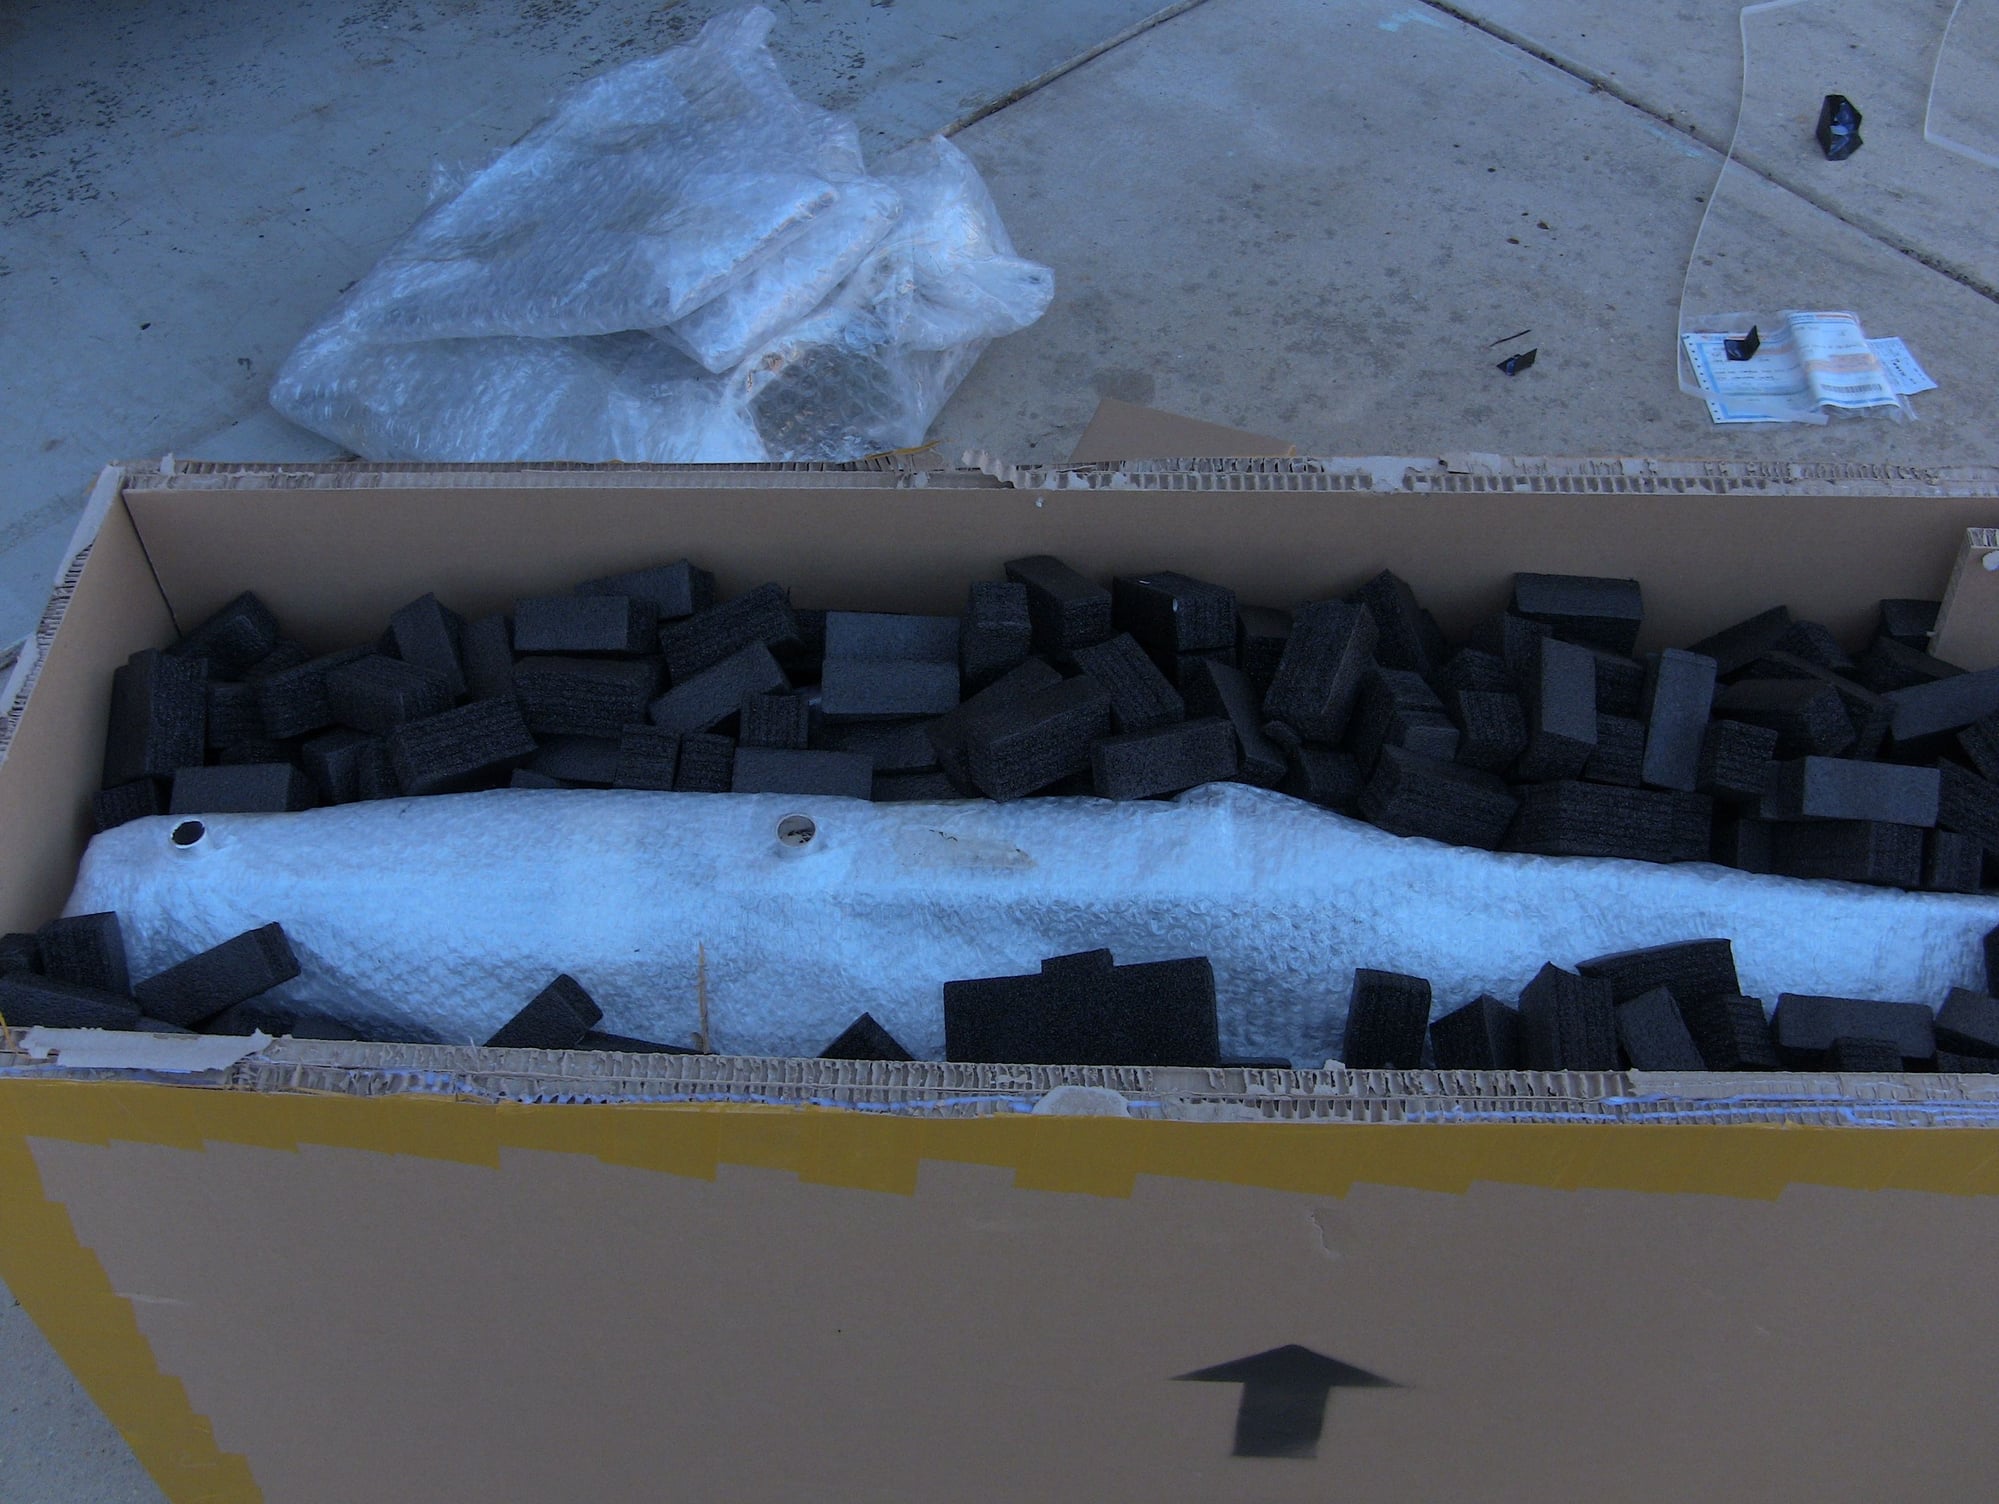
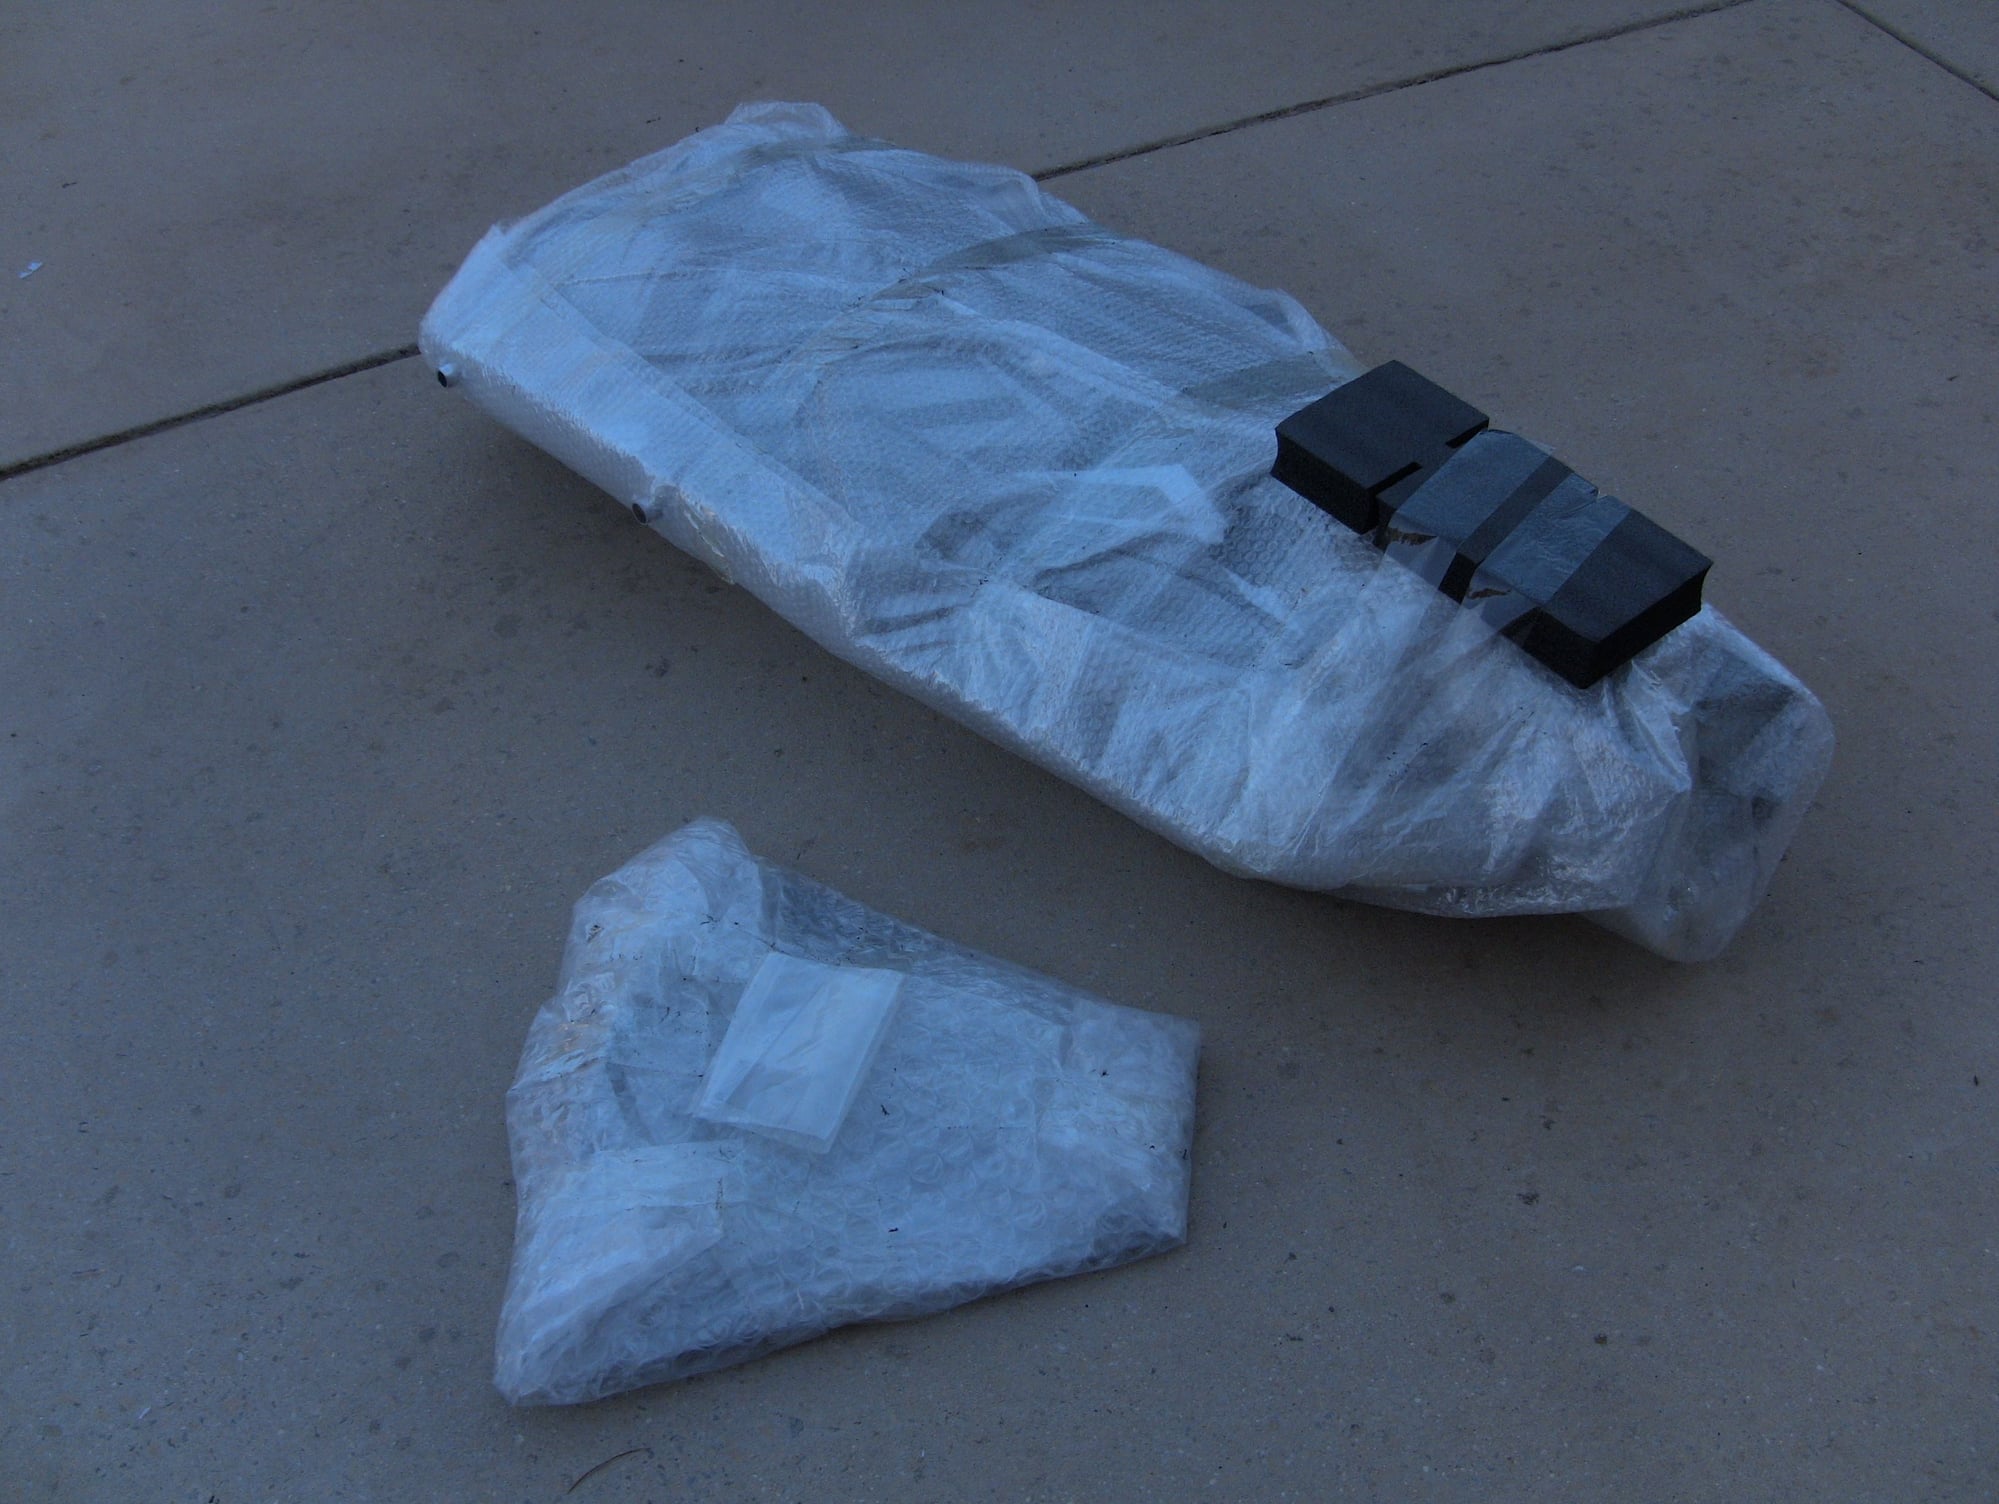
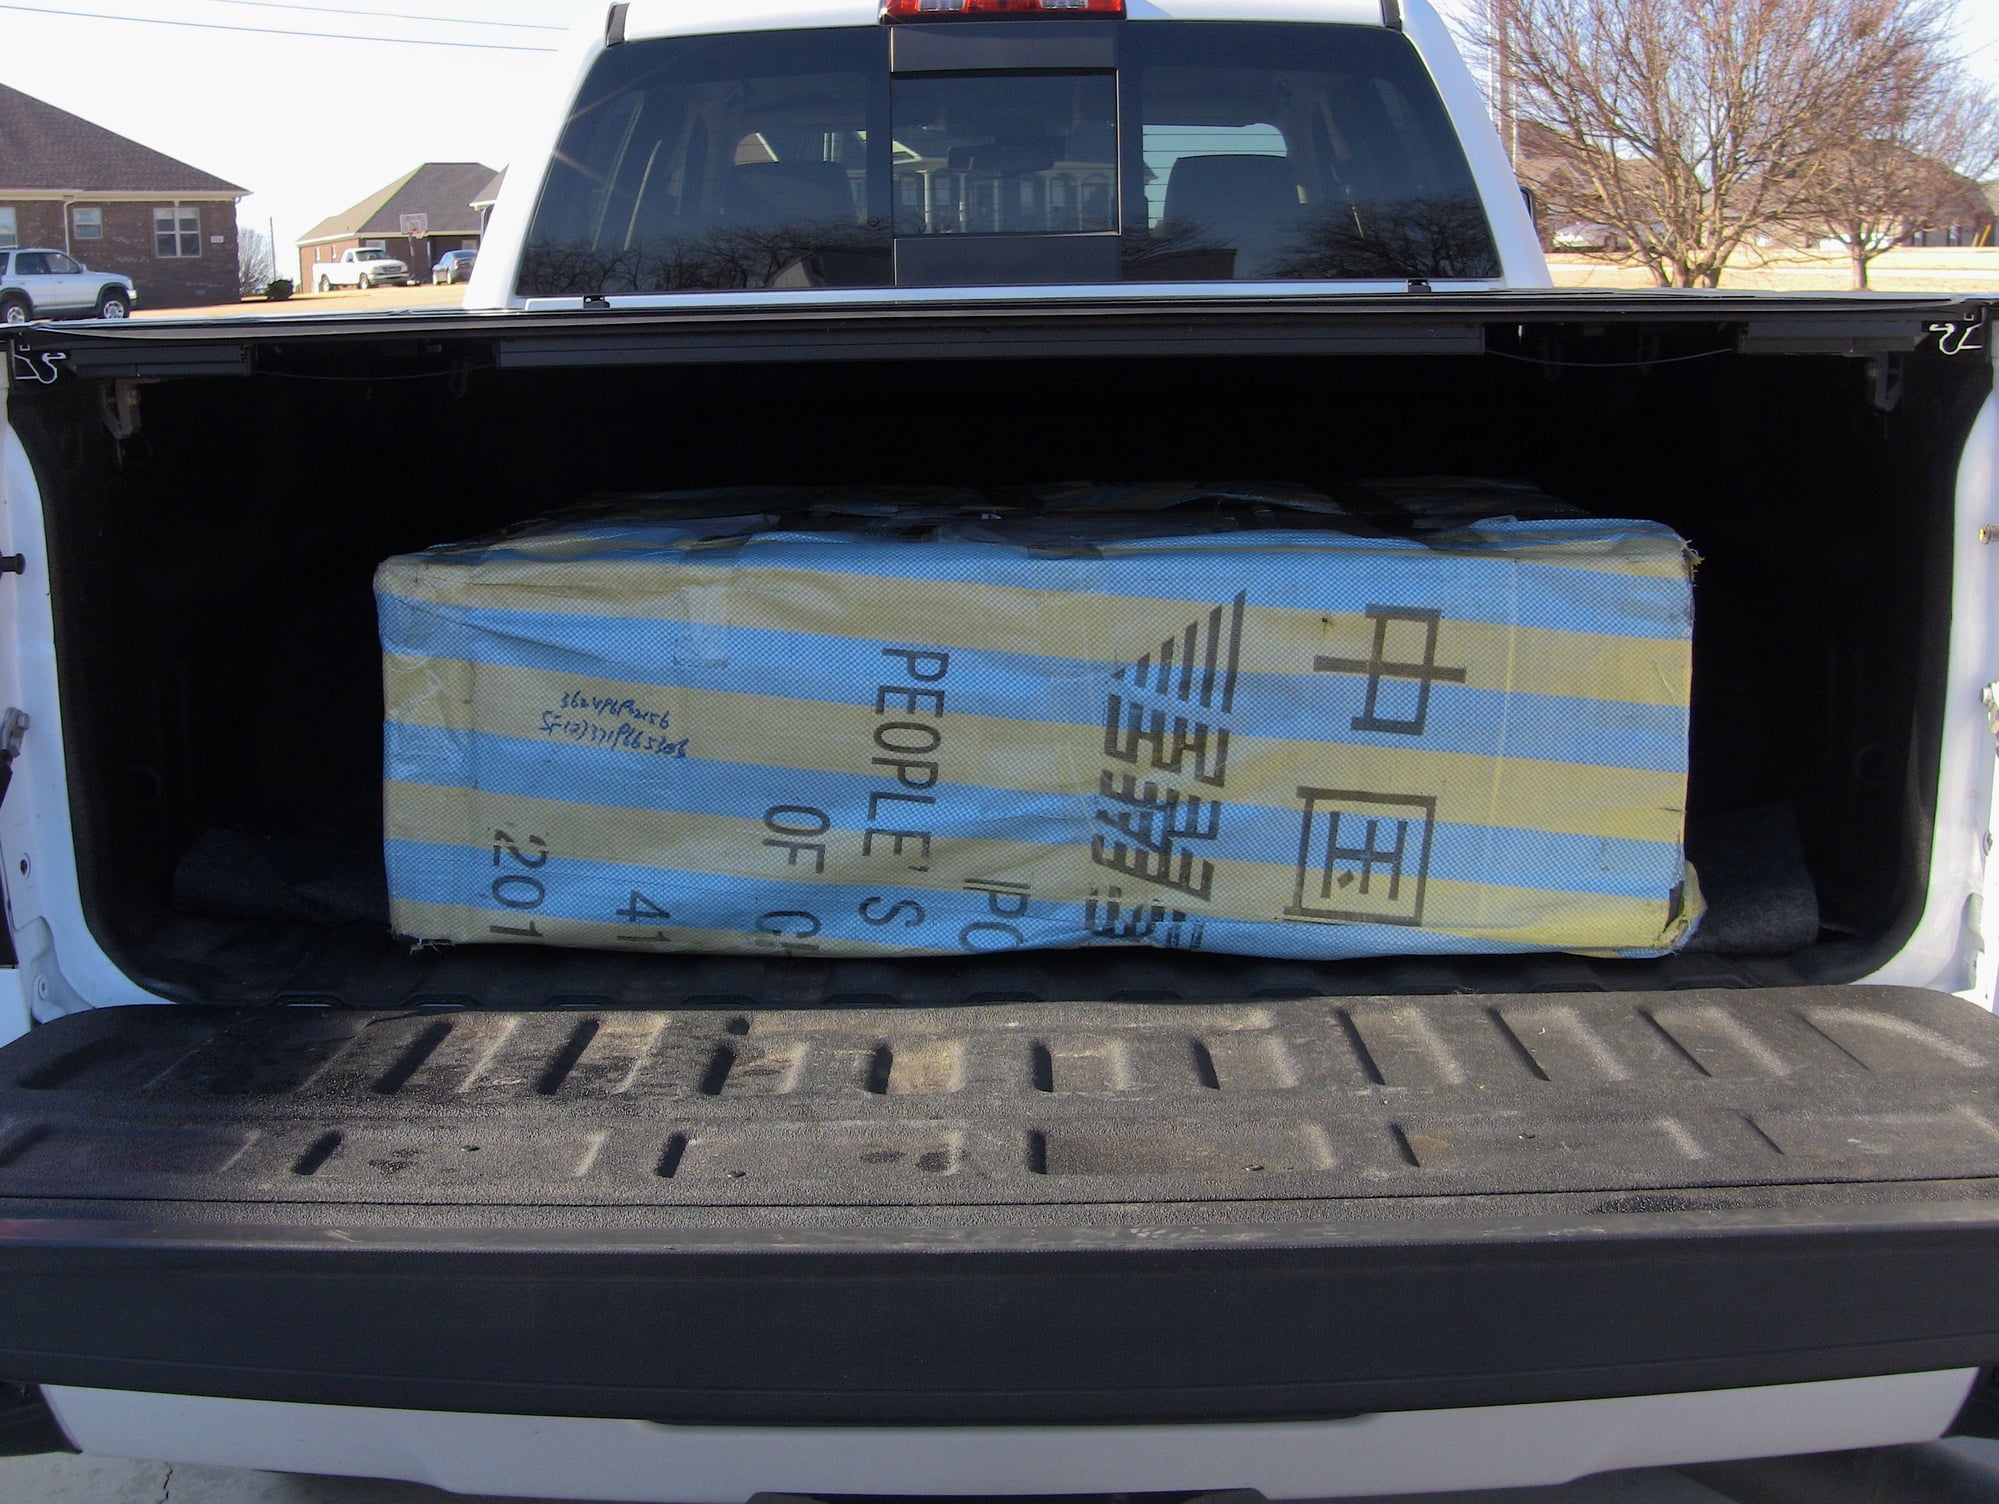
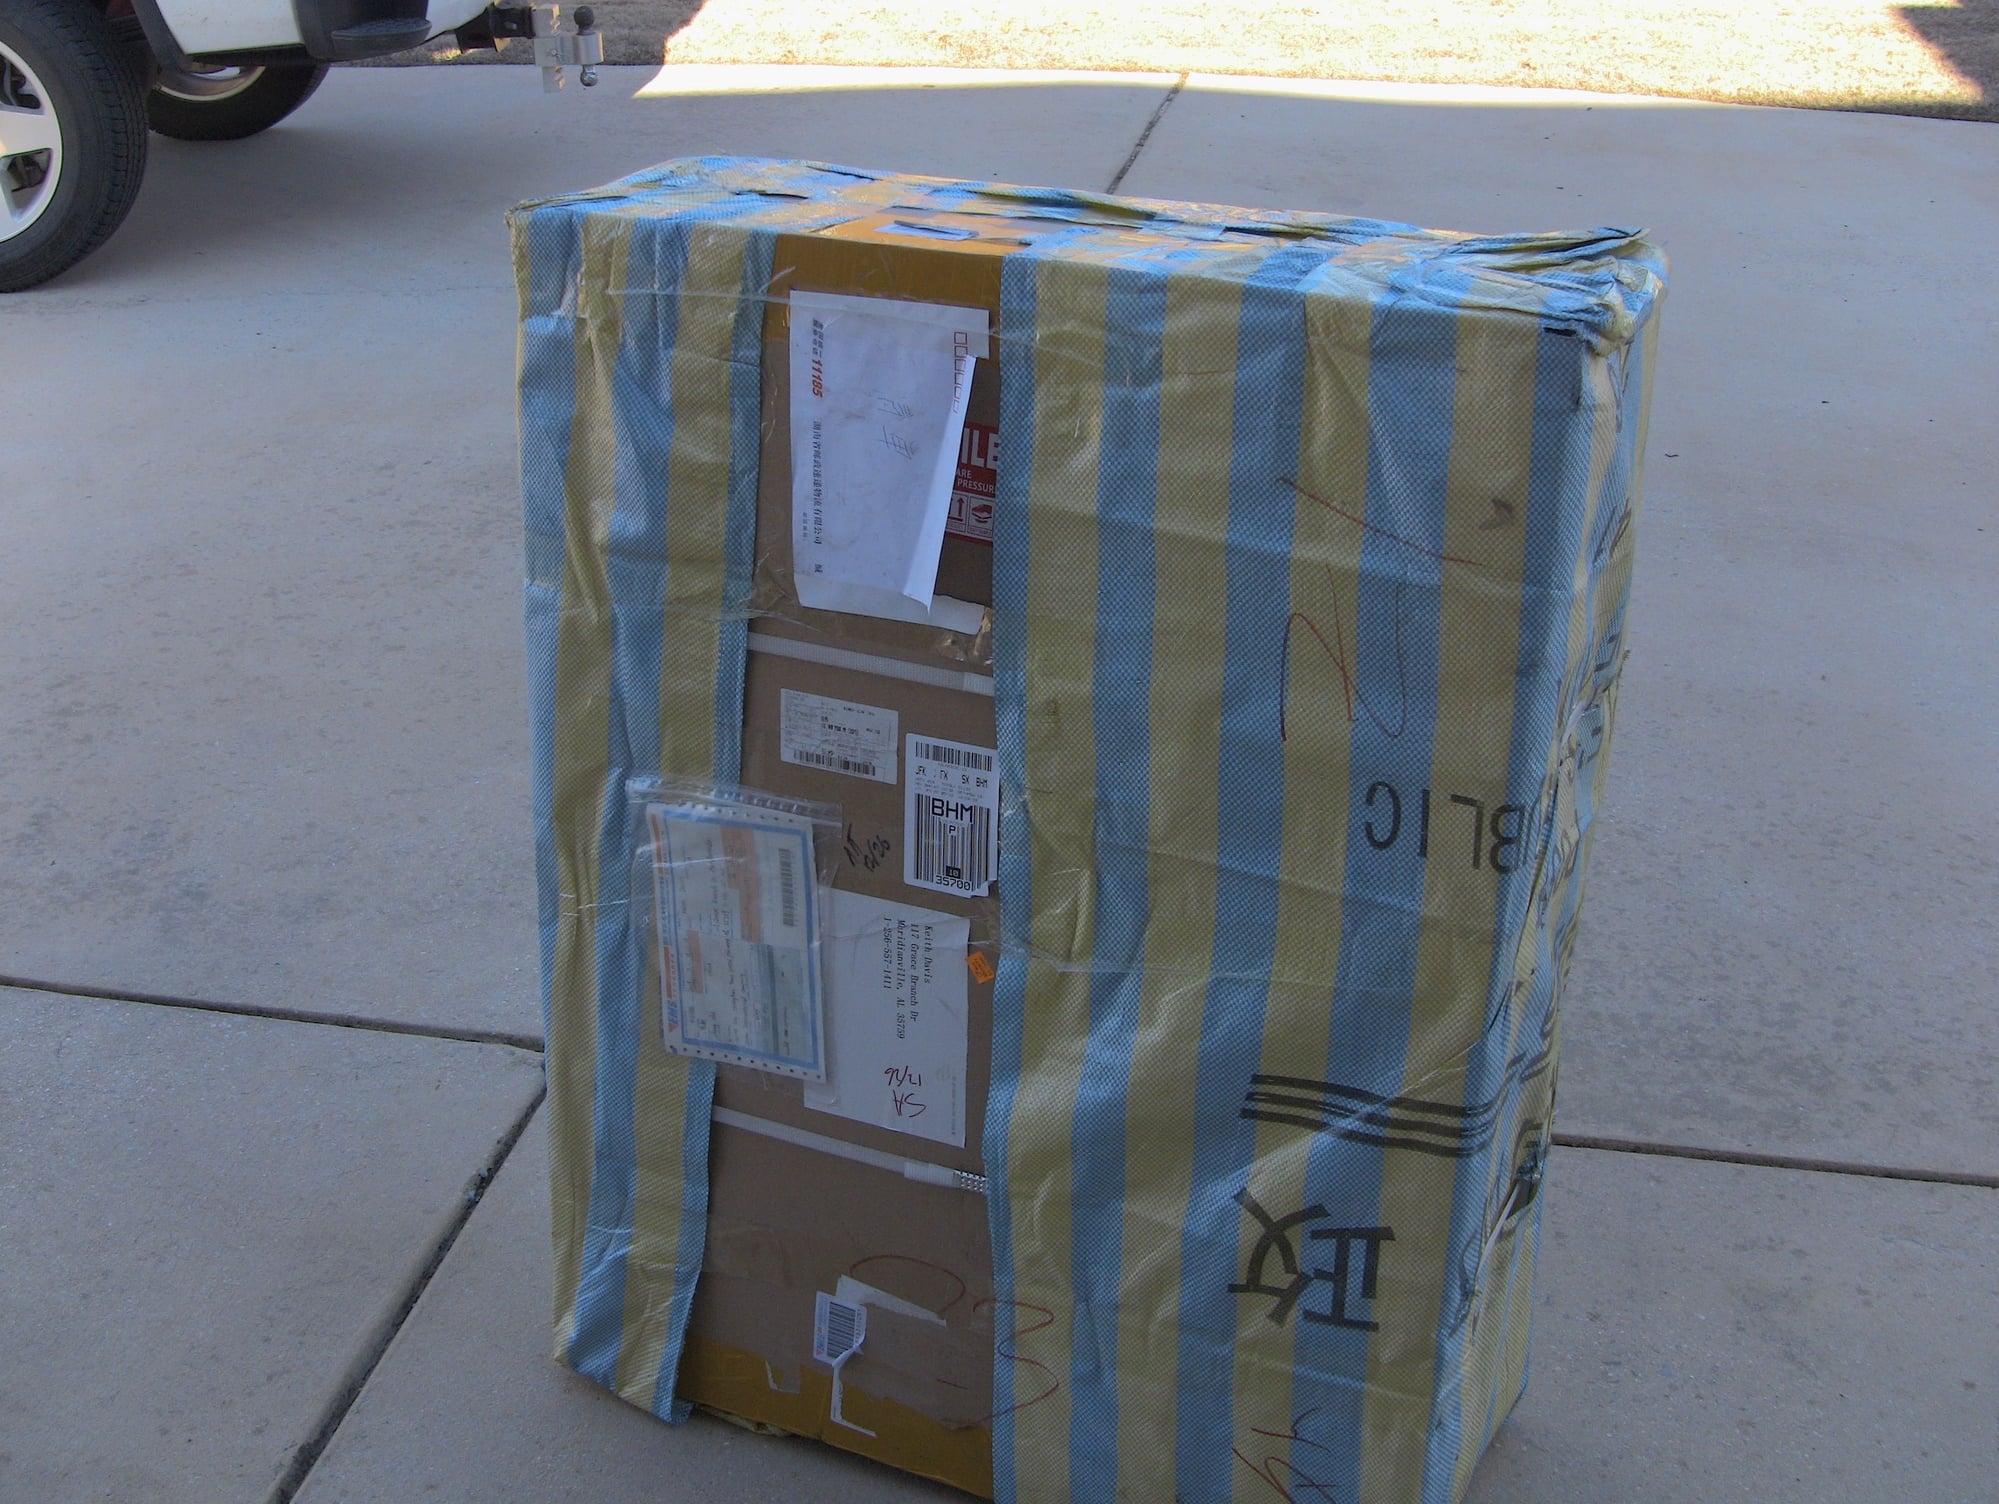
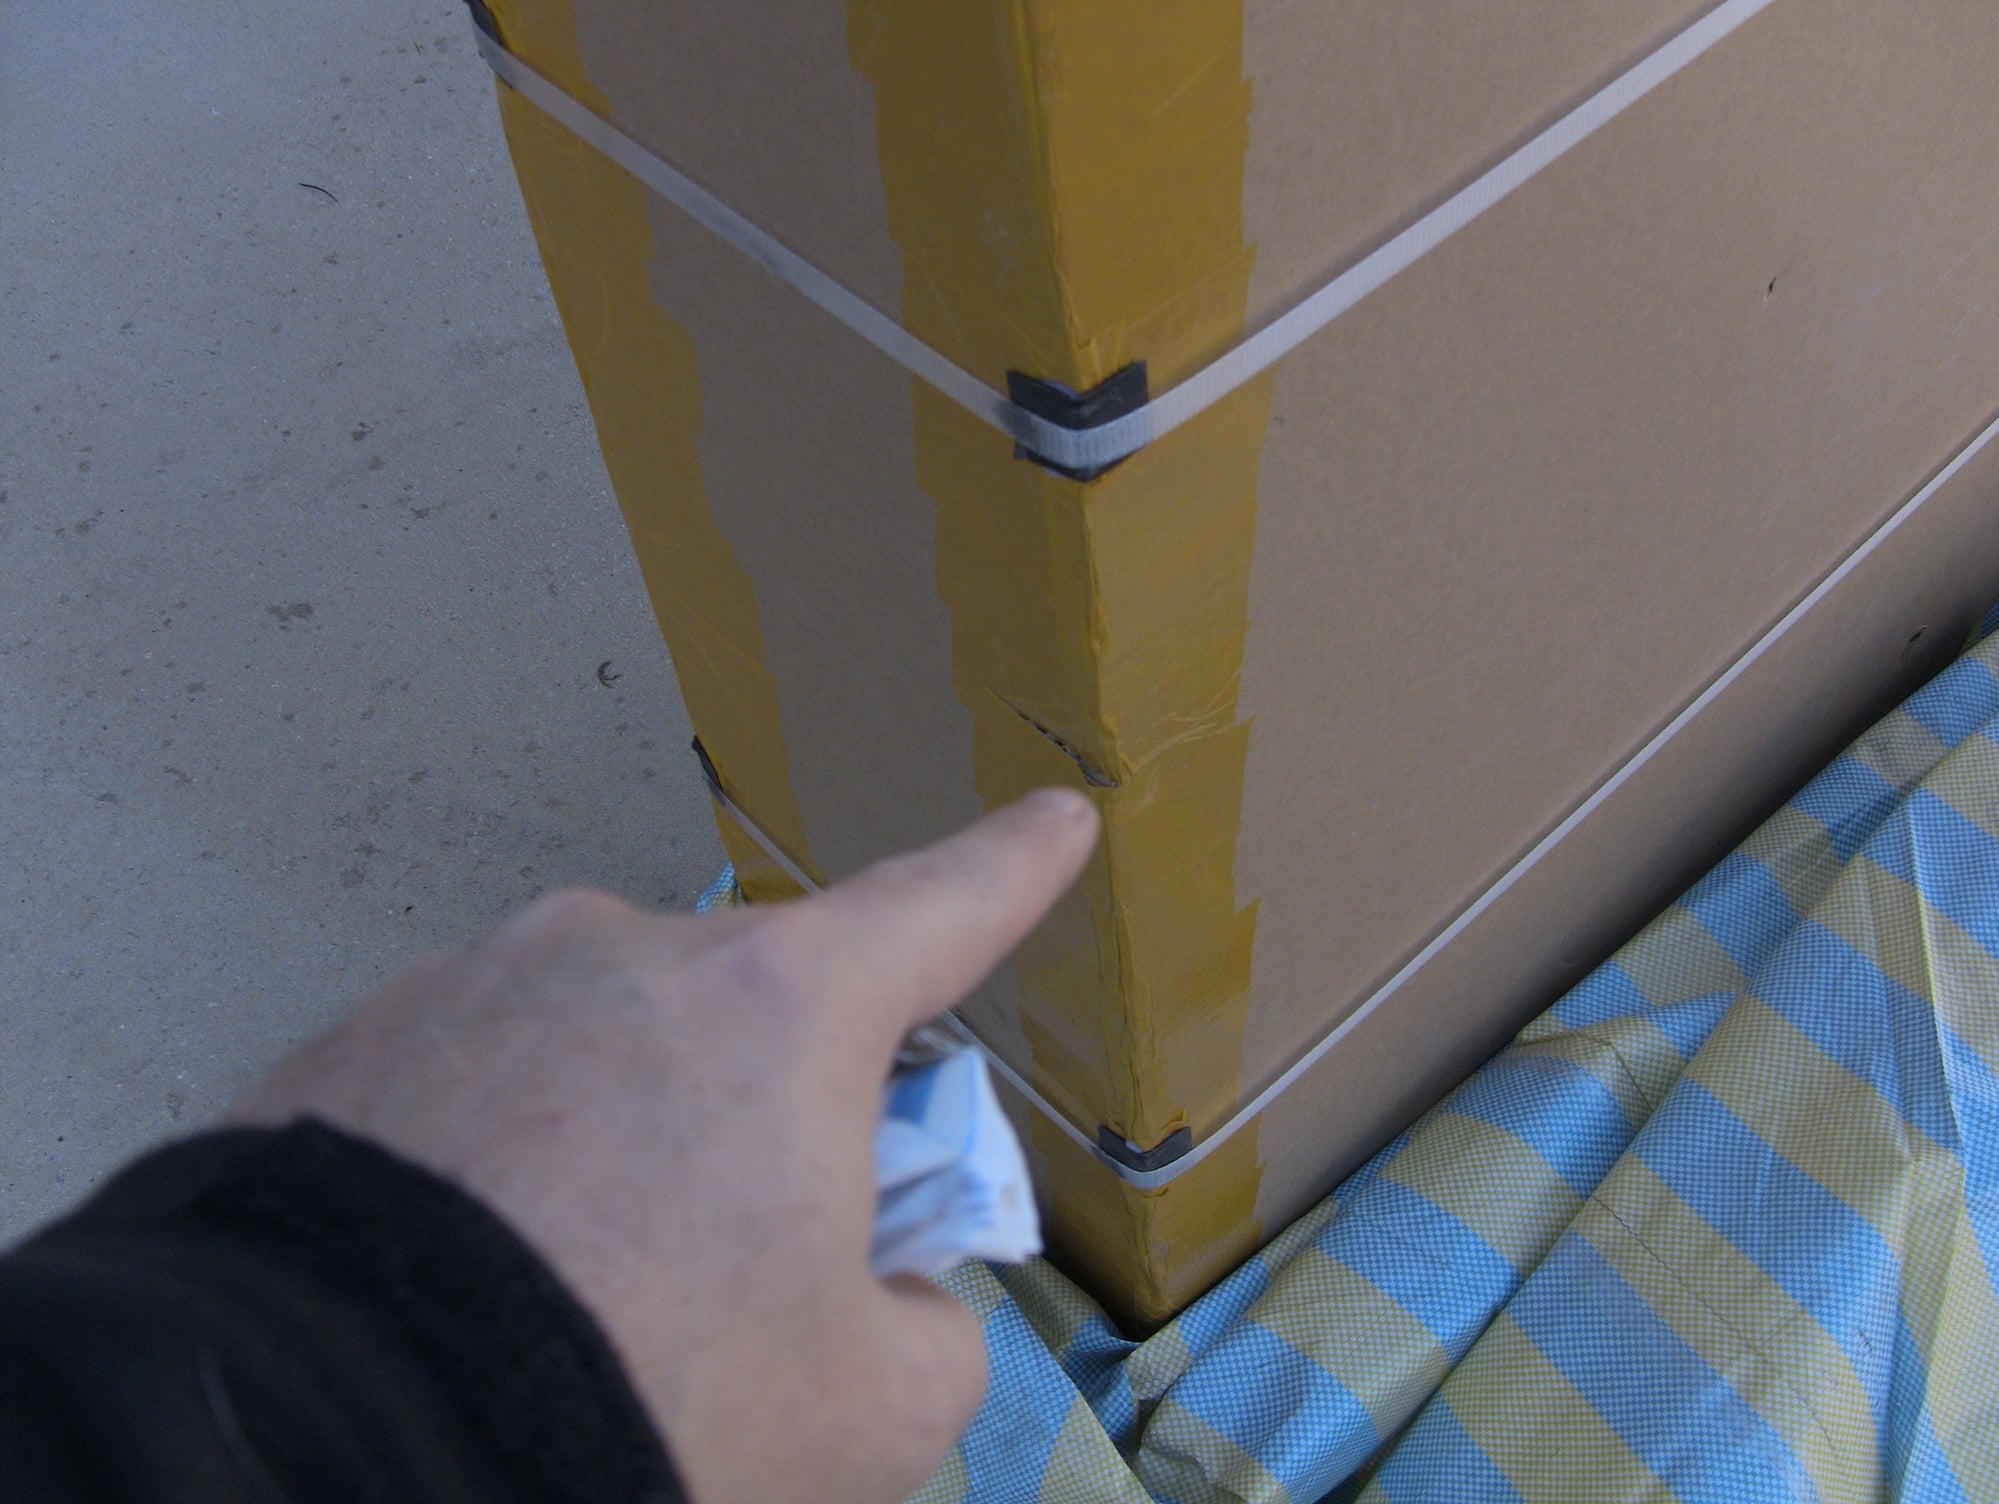
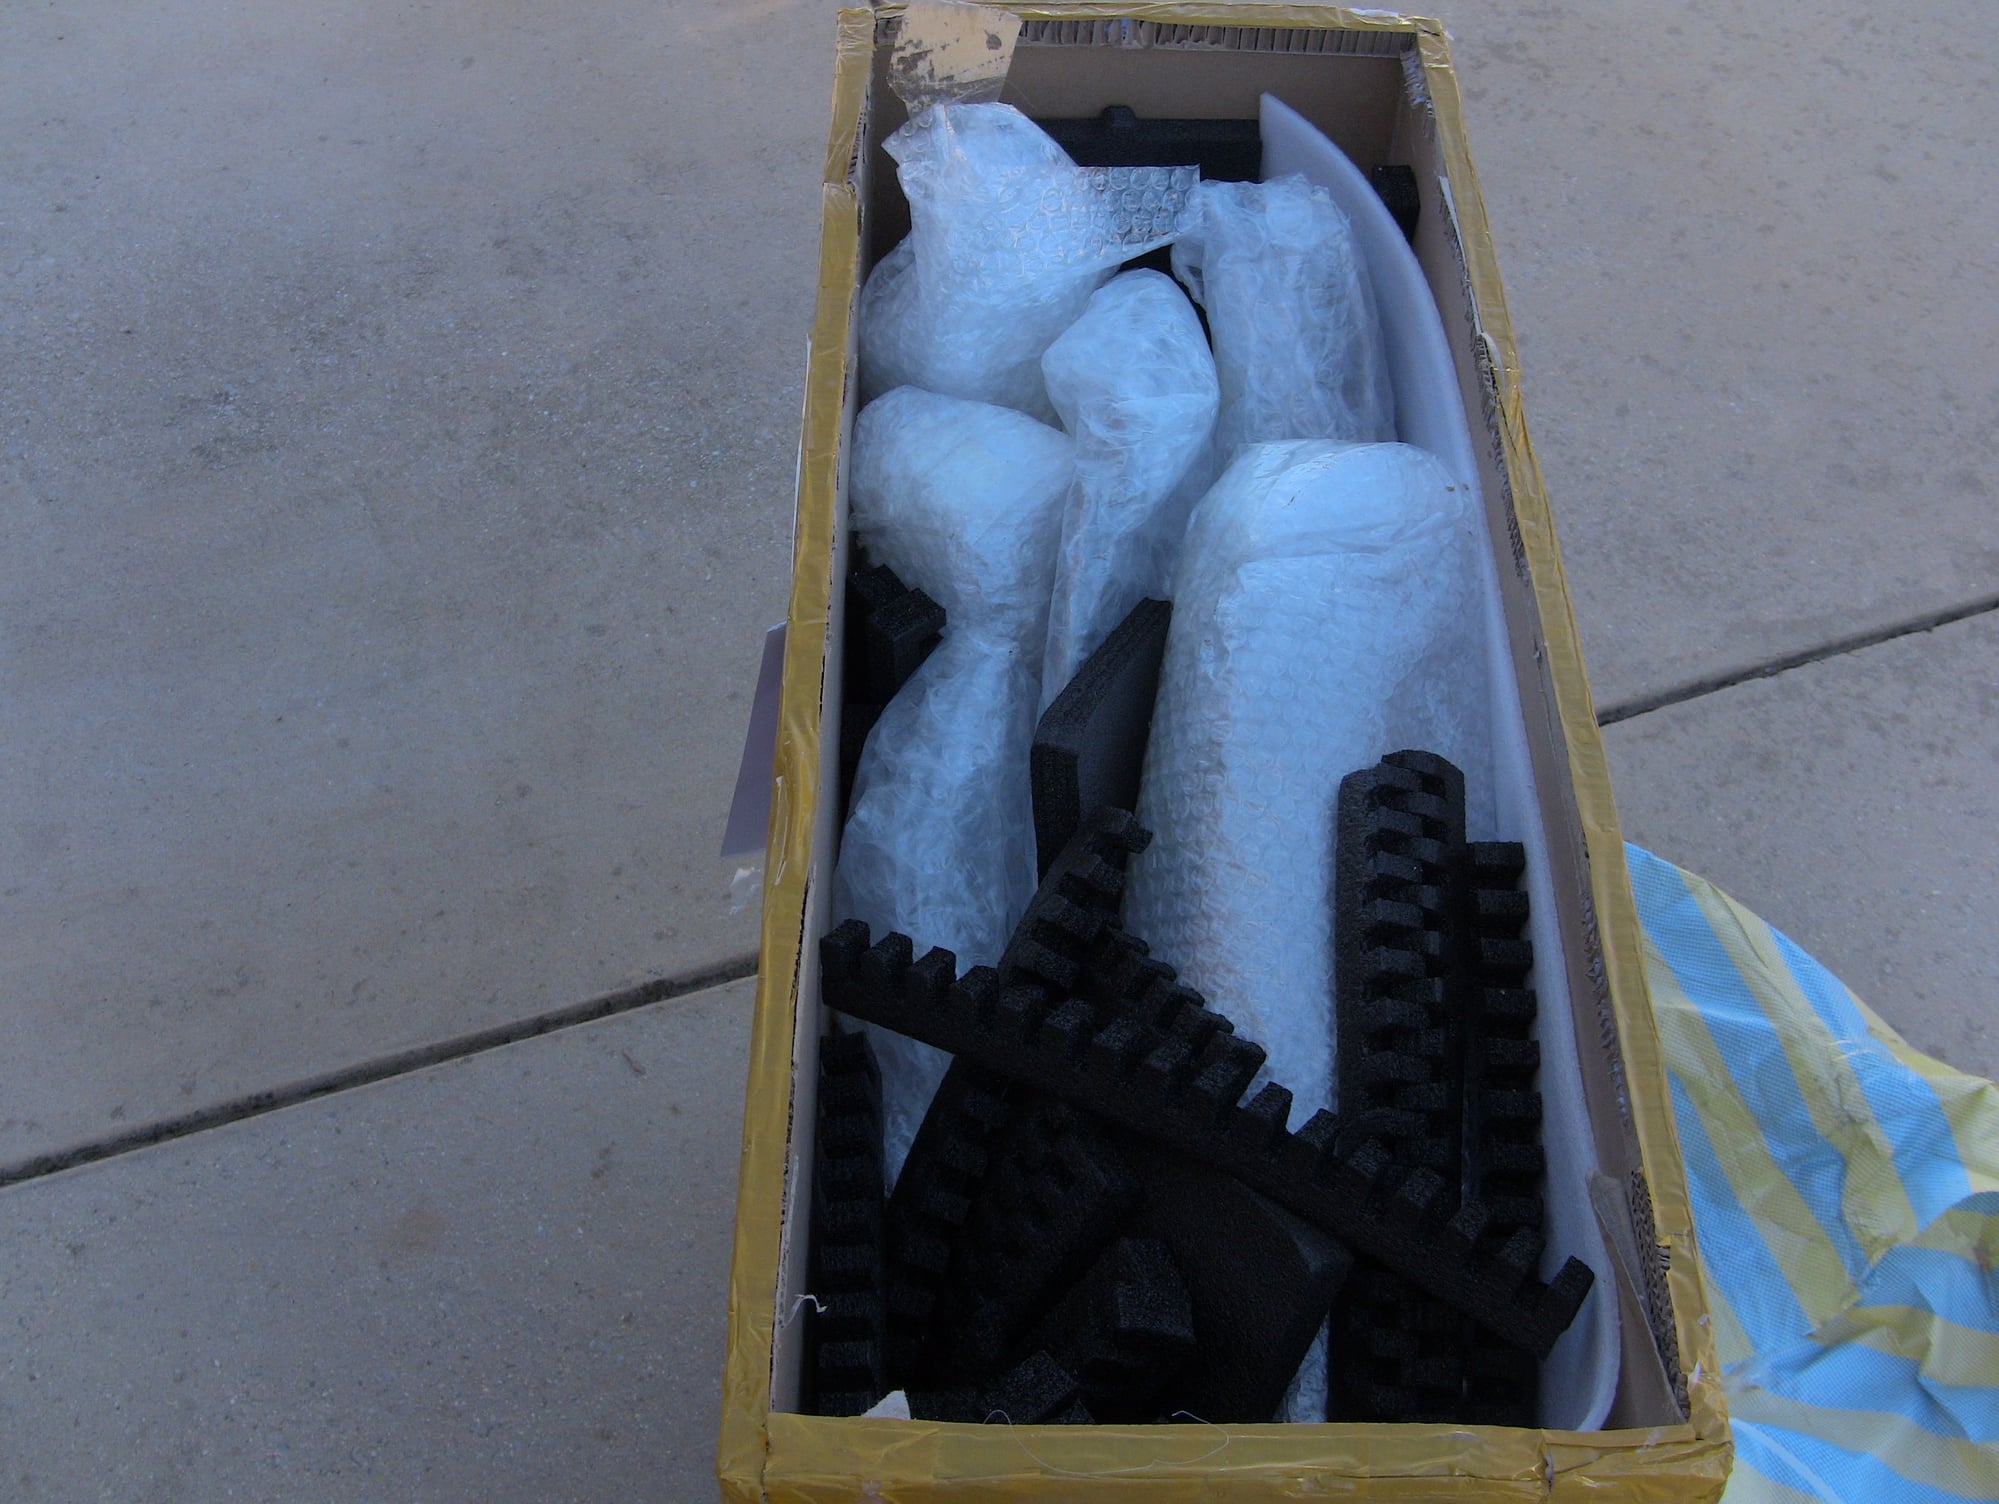
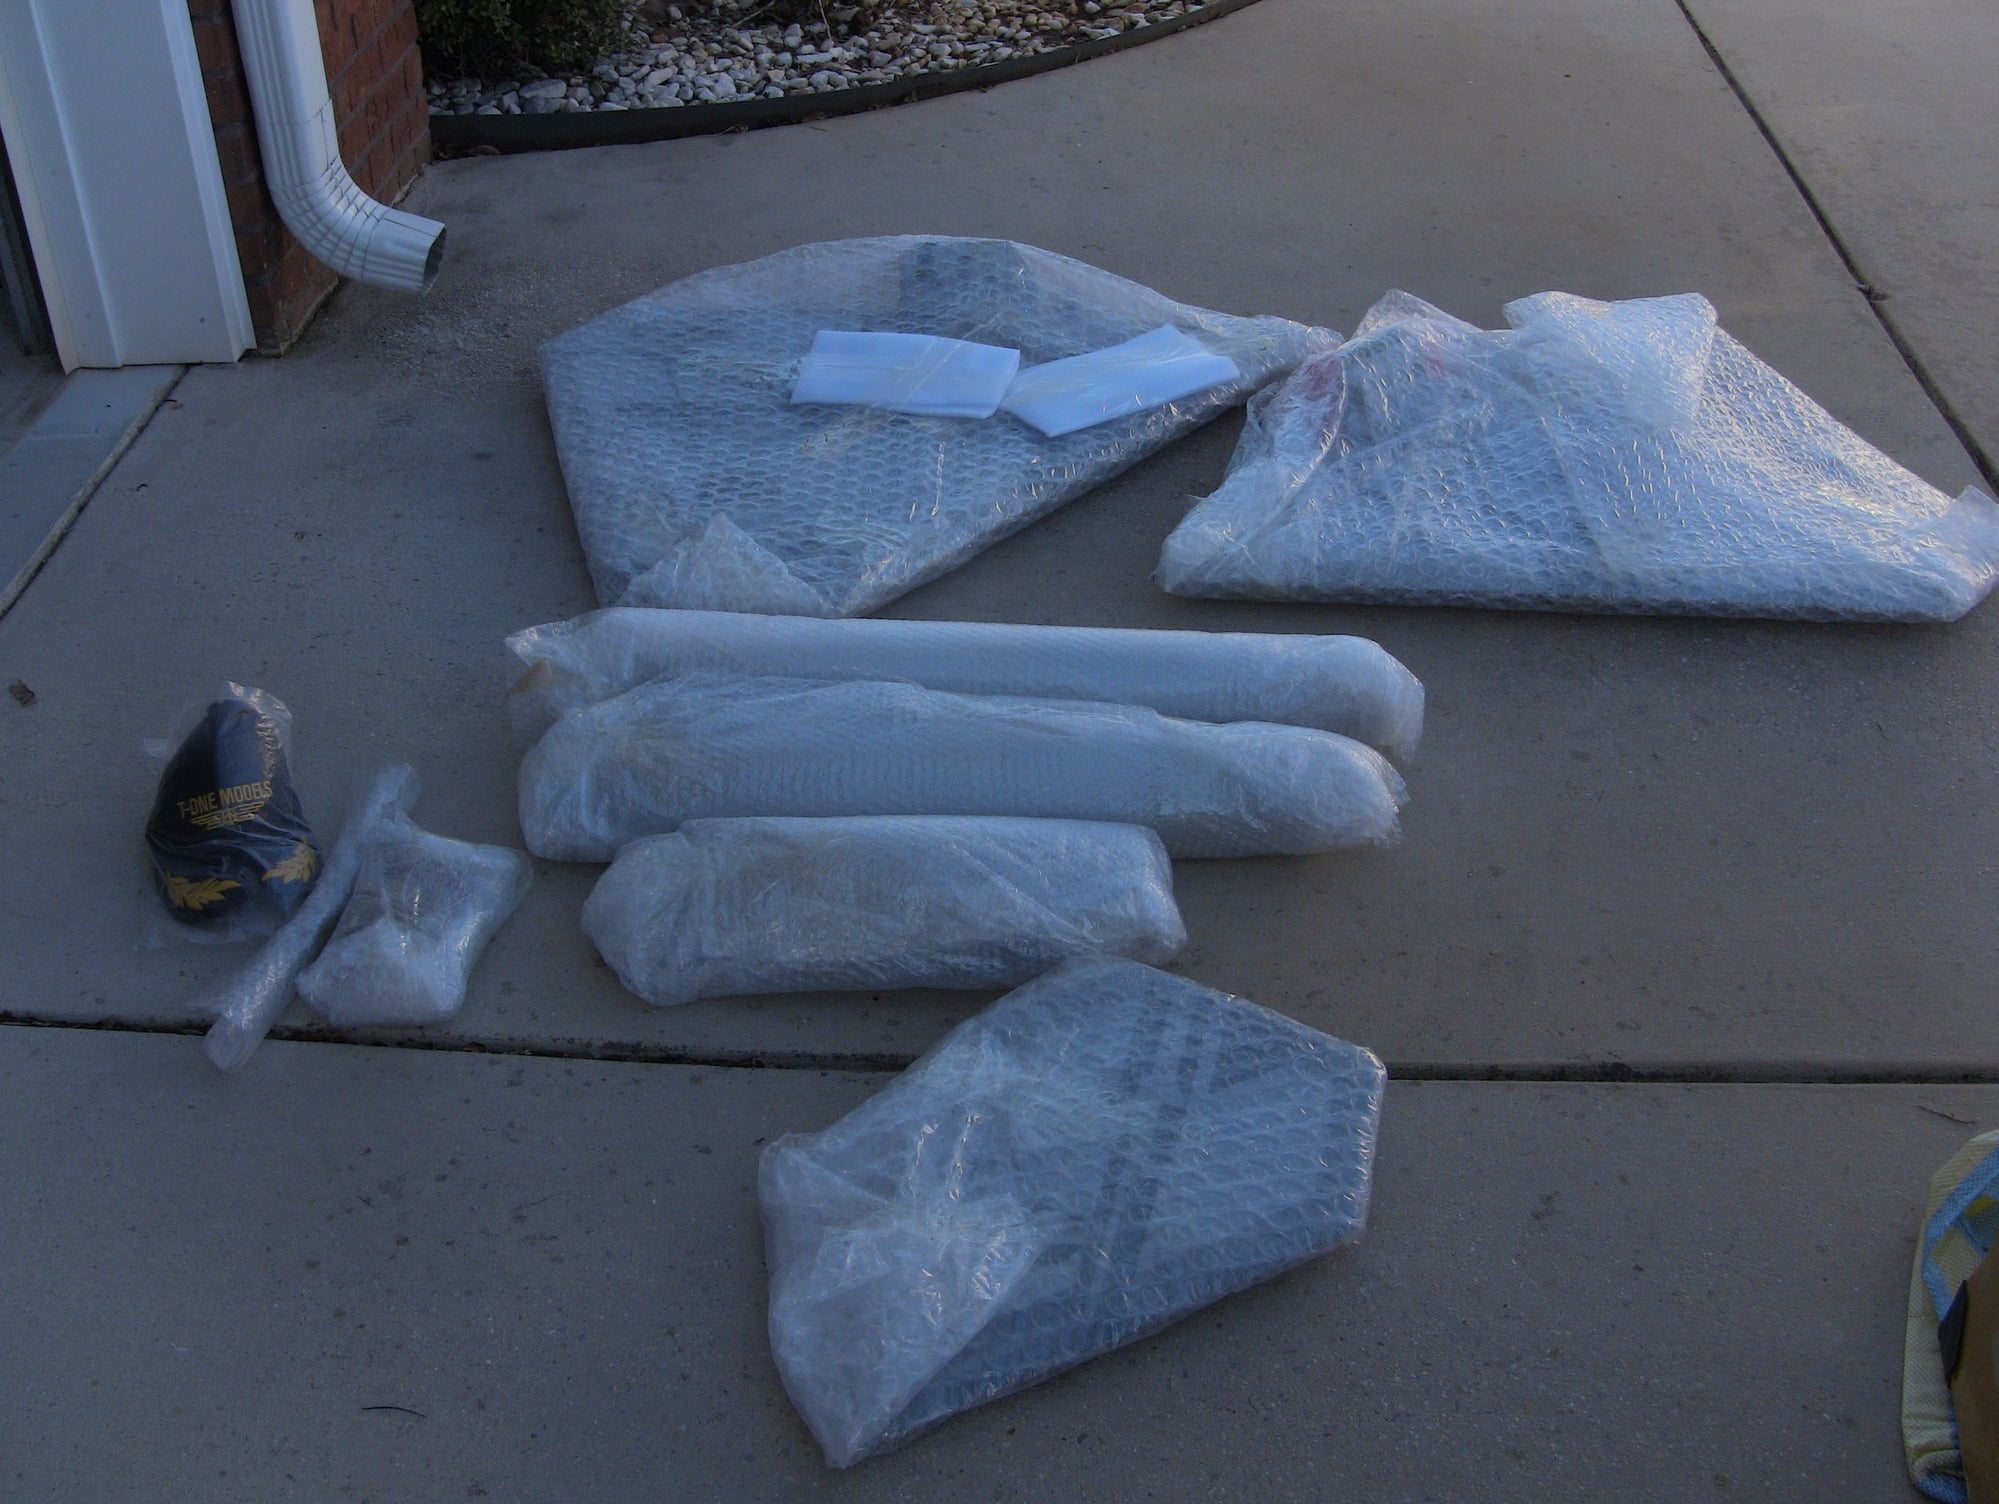
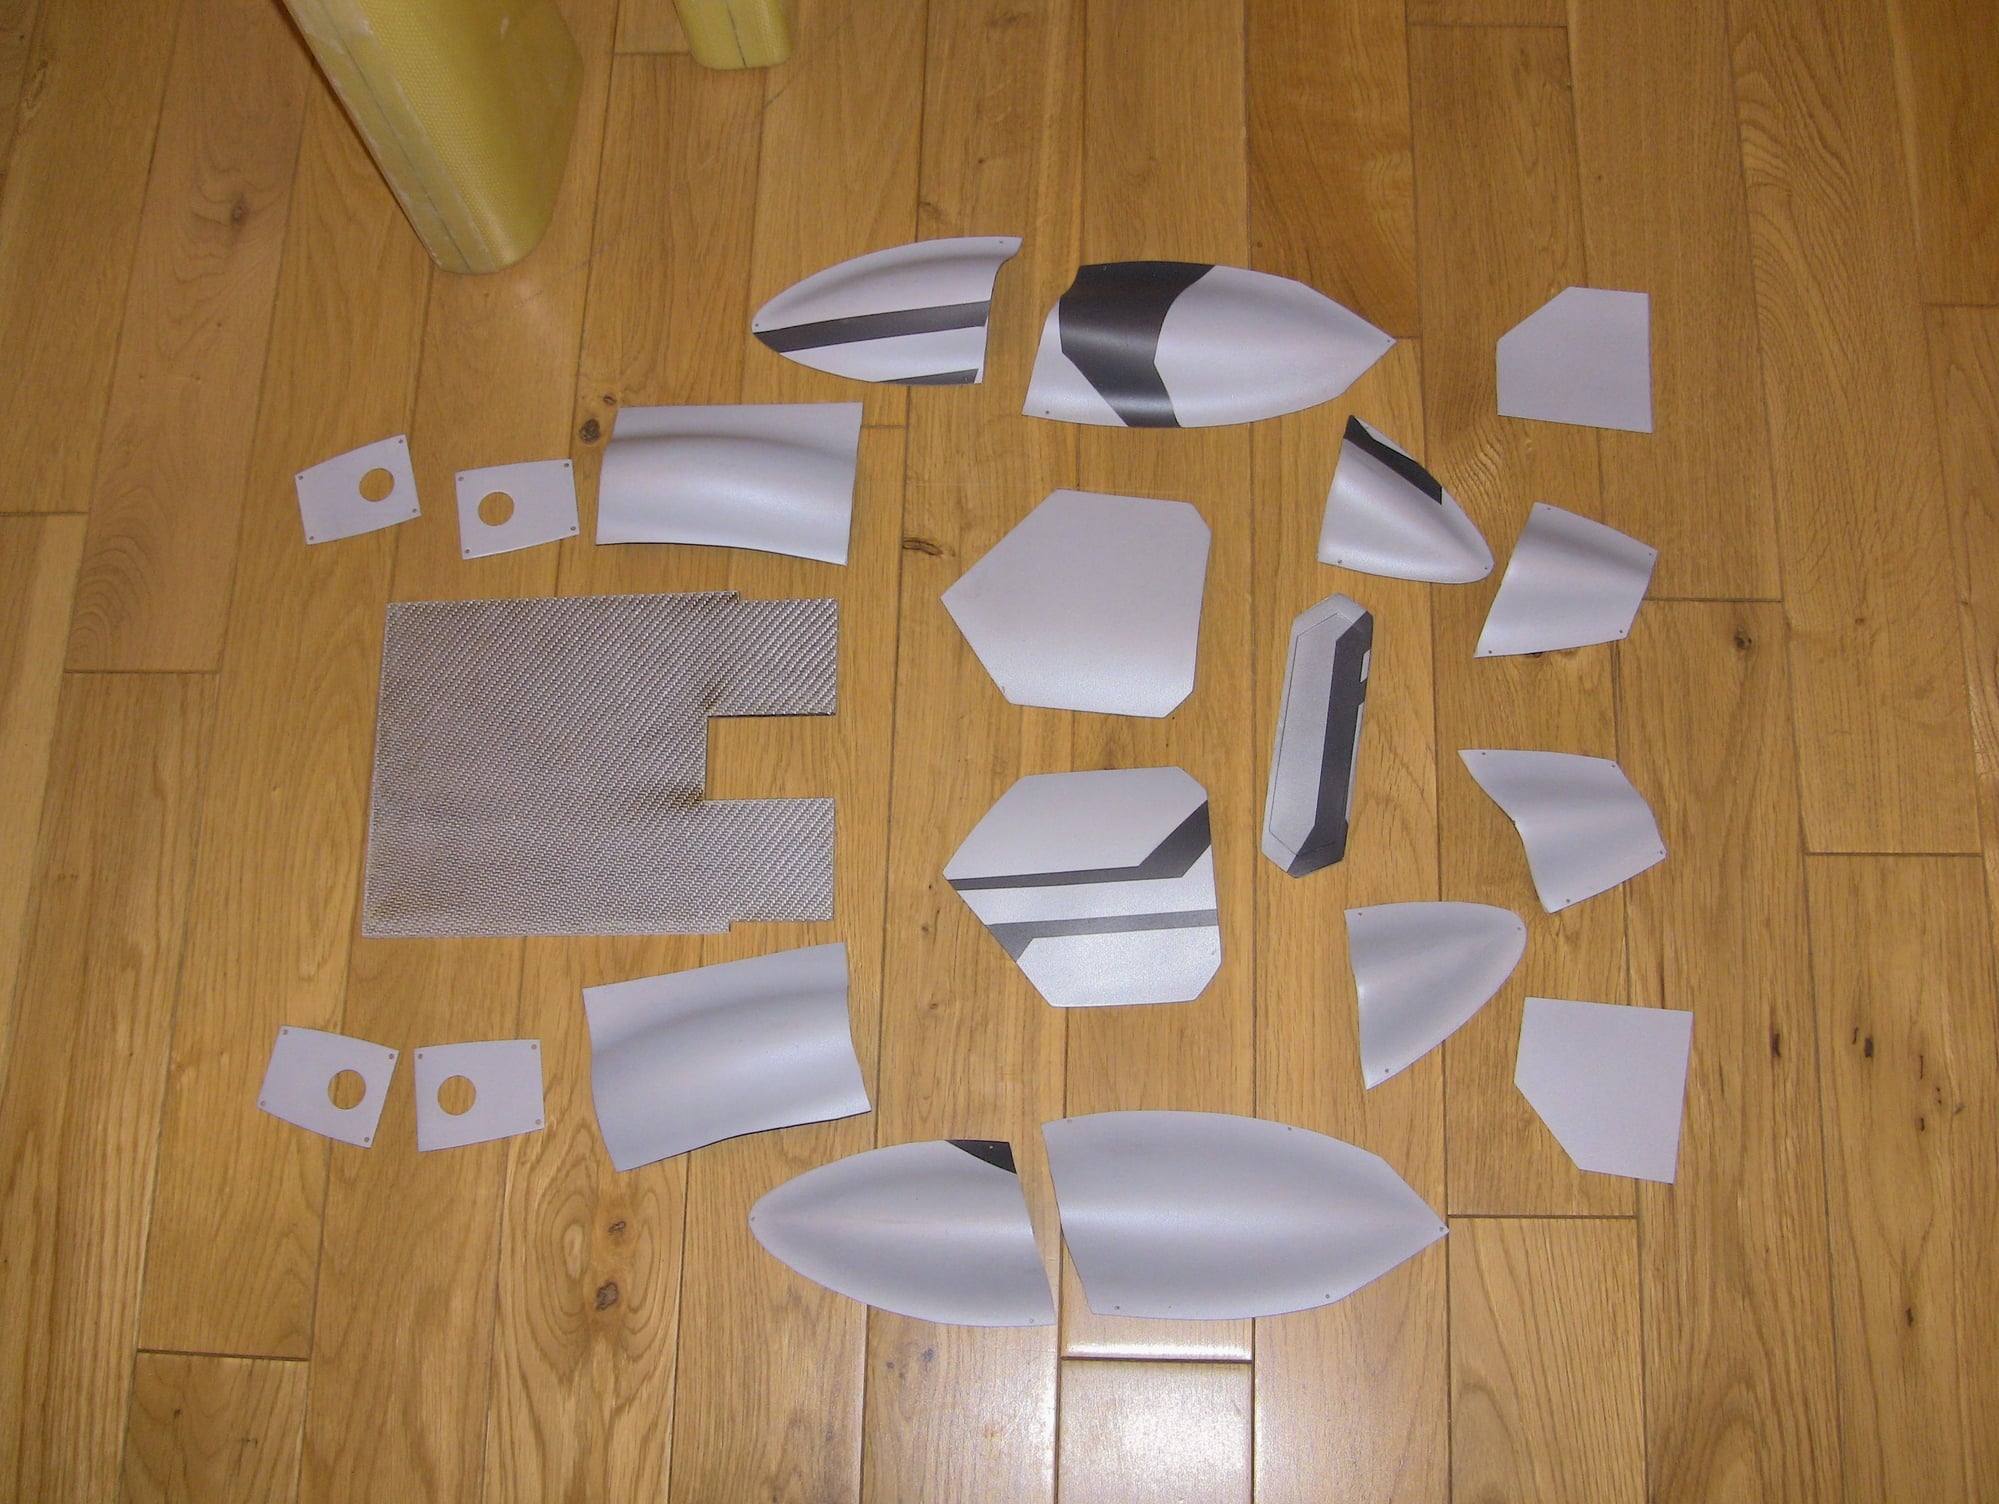
I guess I was good this year, Santa brought me a new toy! I had two boxes show up on Christmas Eve and the third the day after Christmas. I really like the packaging they did, the boxes take a lot of beating and I didnt have any damage on the model. They made a mounting system for the fuselage that holds it centered in the box with foam around it I thought was a nice touch. Everything was bubble wrapped or boxed with bubble wrap and the the boxes are field with foam. The accessories that come with the model are separated and it even comes with allen wrenches, its the most complete kit that I have received so far. Lots of work done and reminds me of a 3D type ARF build. Canopy is fitted, hatch screw holes are drilled everything minus your equipment is installed minus the fuel fittings. The fuel equipment is nice quality and maybe the first of any arf I have built that I may use instead of using my typical BVM hi-flow items.
I have four videos uploading on my YouTube channel to cover the unboxing, inventory and initial thoughts. I hope everyone has a great New Year, Cheers!

I have four videos uploading on my YouTube channel to cover the unboxing, inventory and initial thoughts. I hope everyone has a great New Year, Cheers!


 12-30-2019, 04:07 PM
#31
Thread Starter
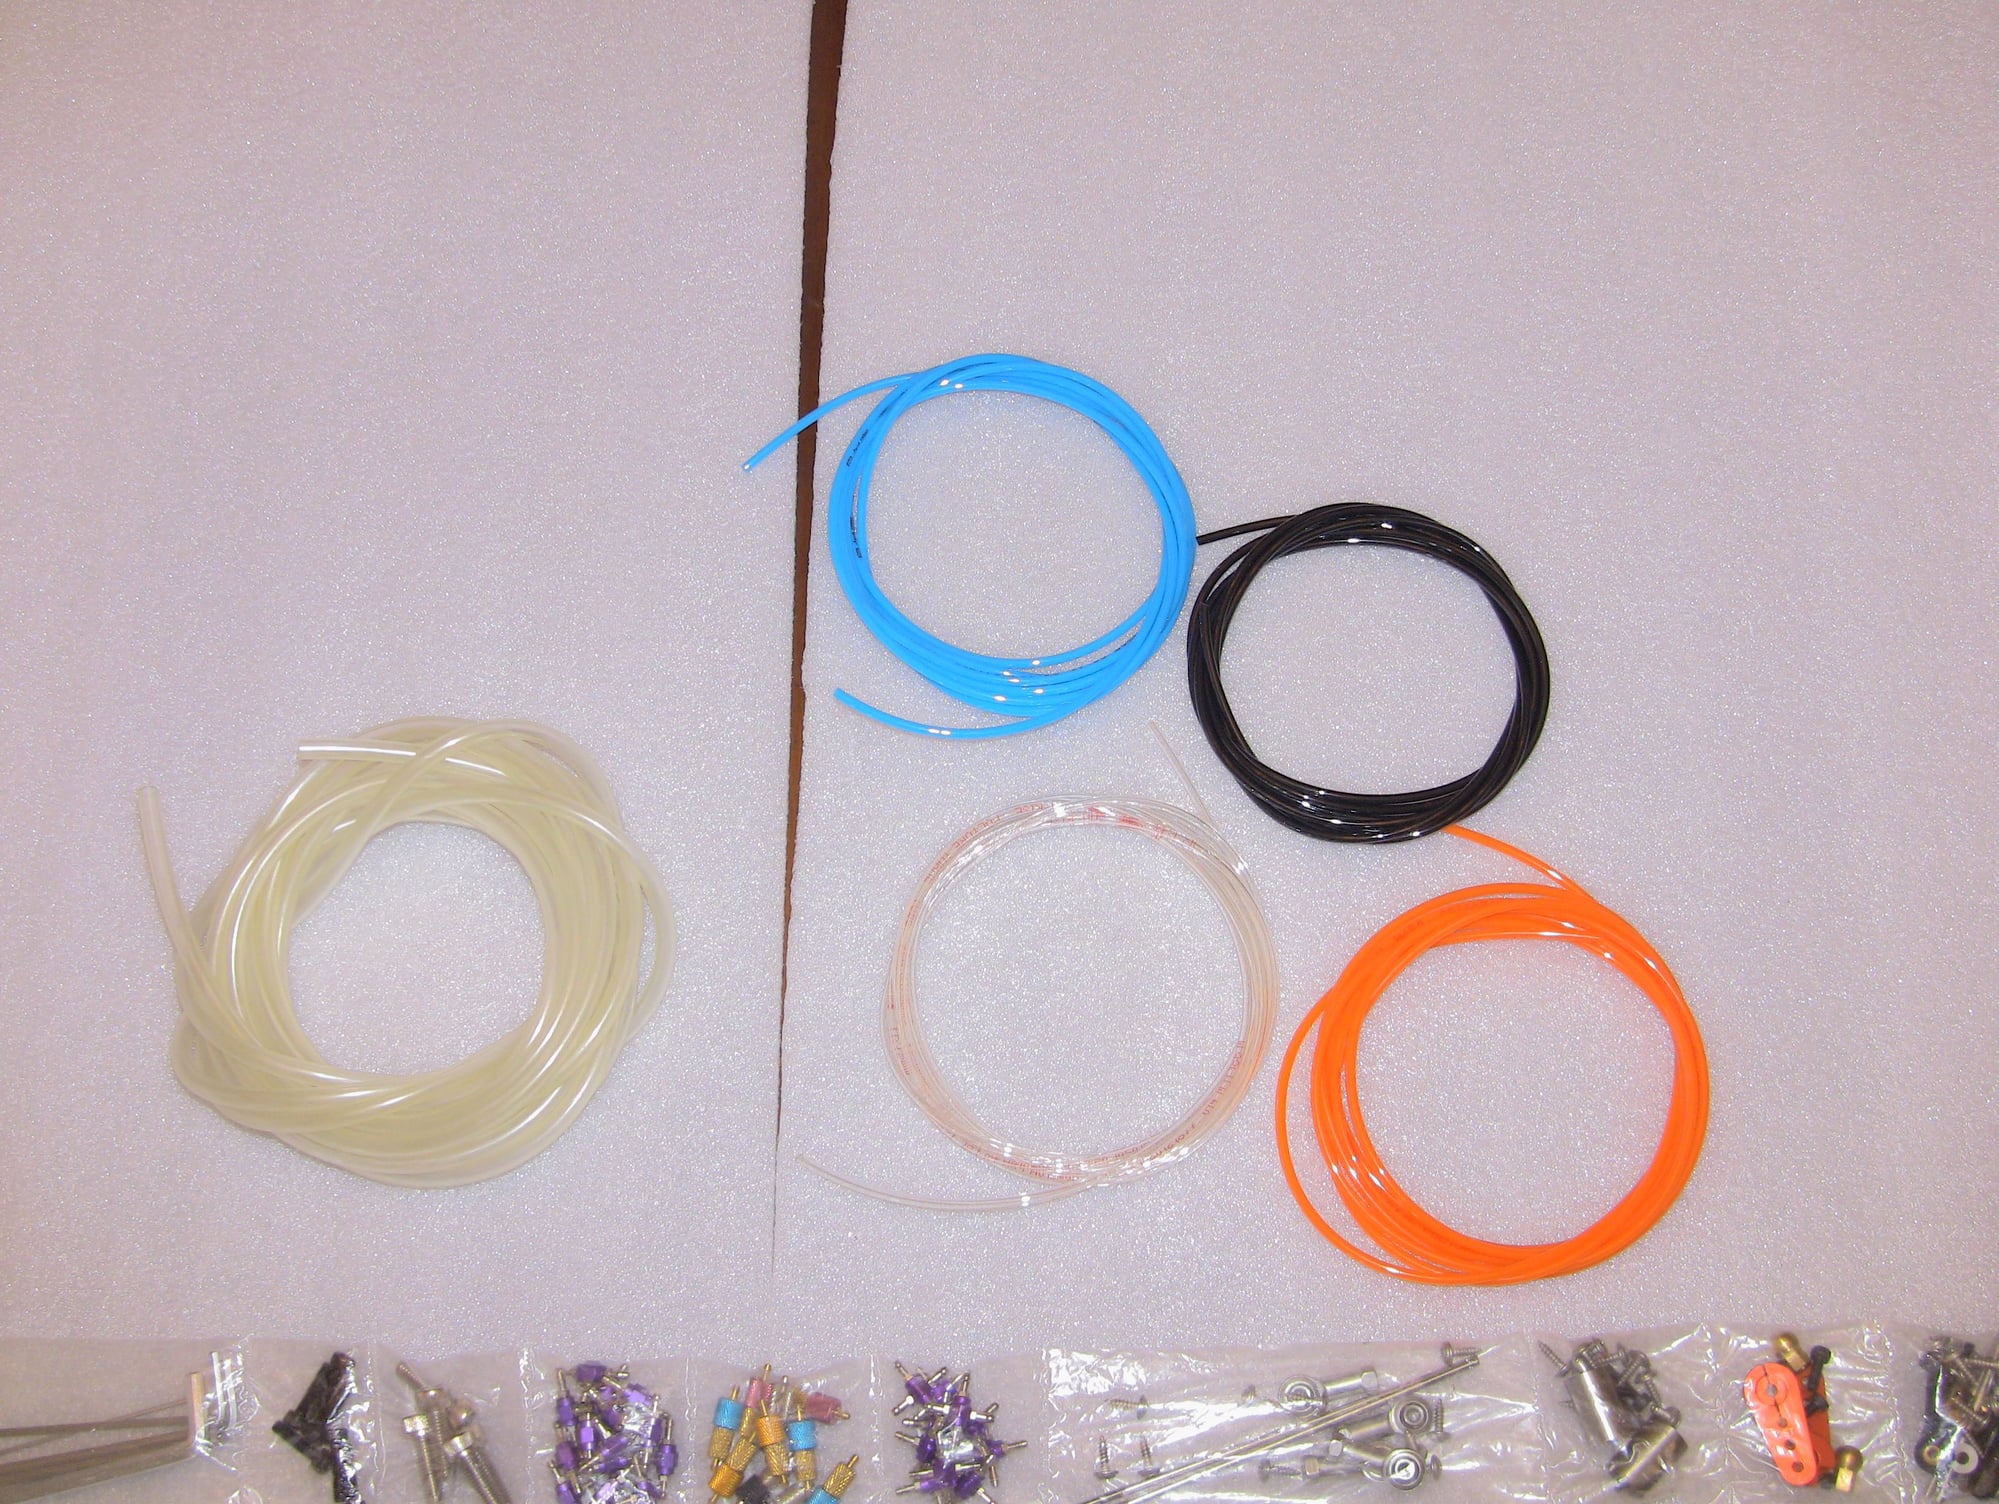
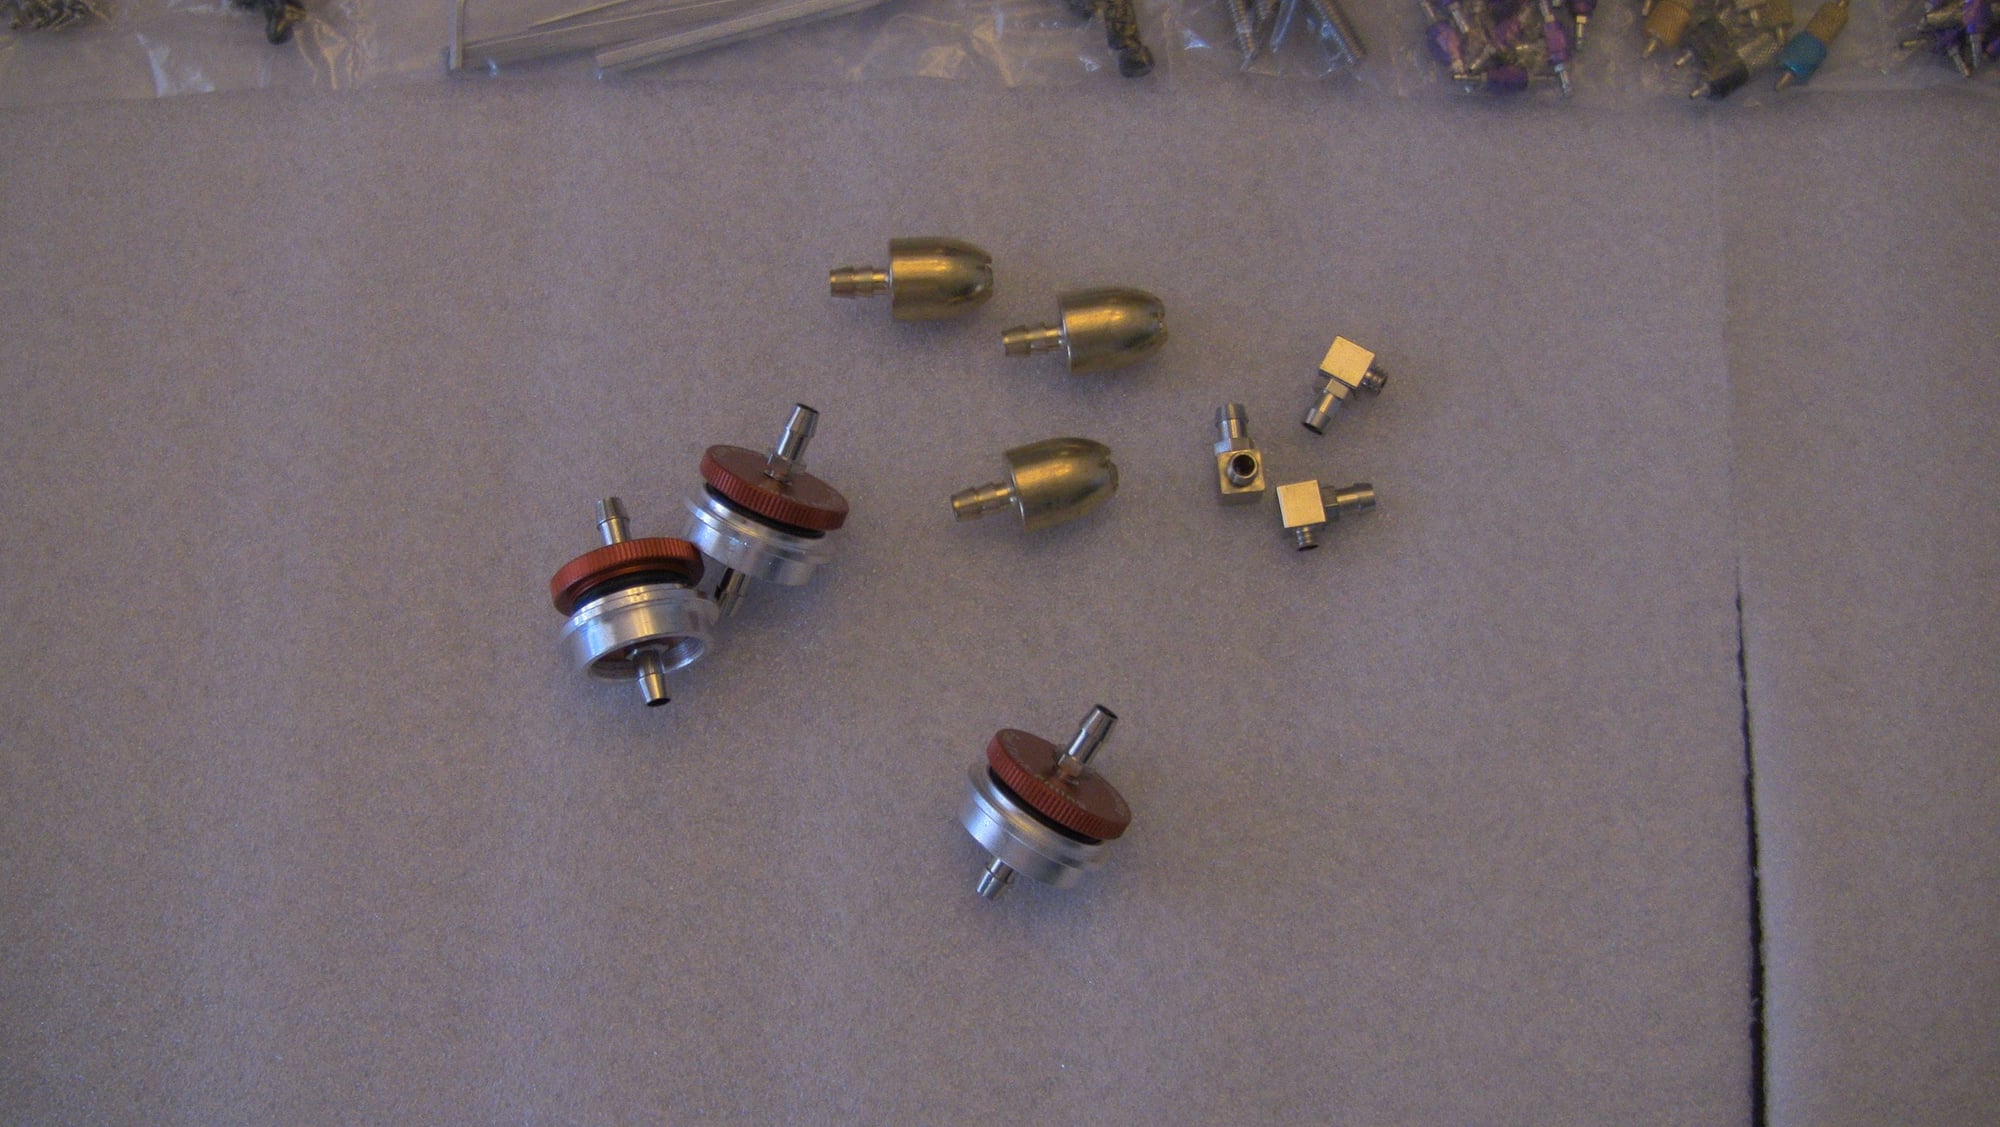
Lots of clear fuel line

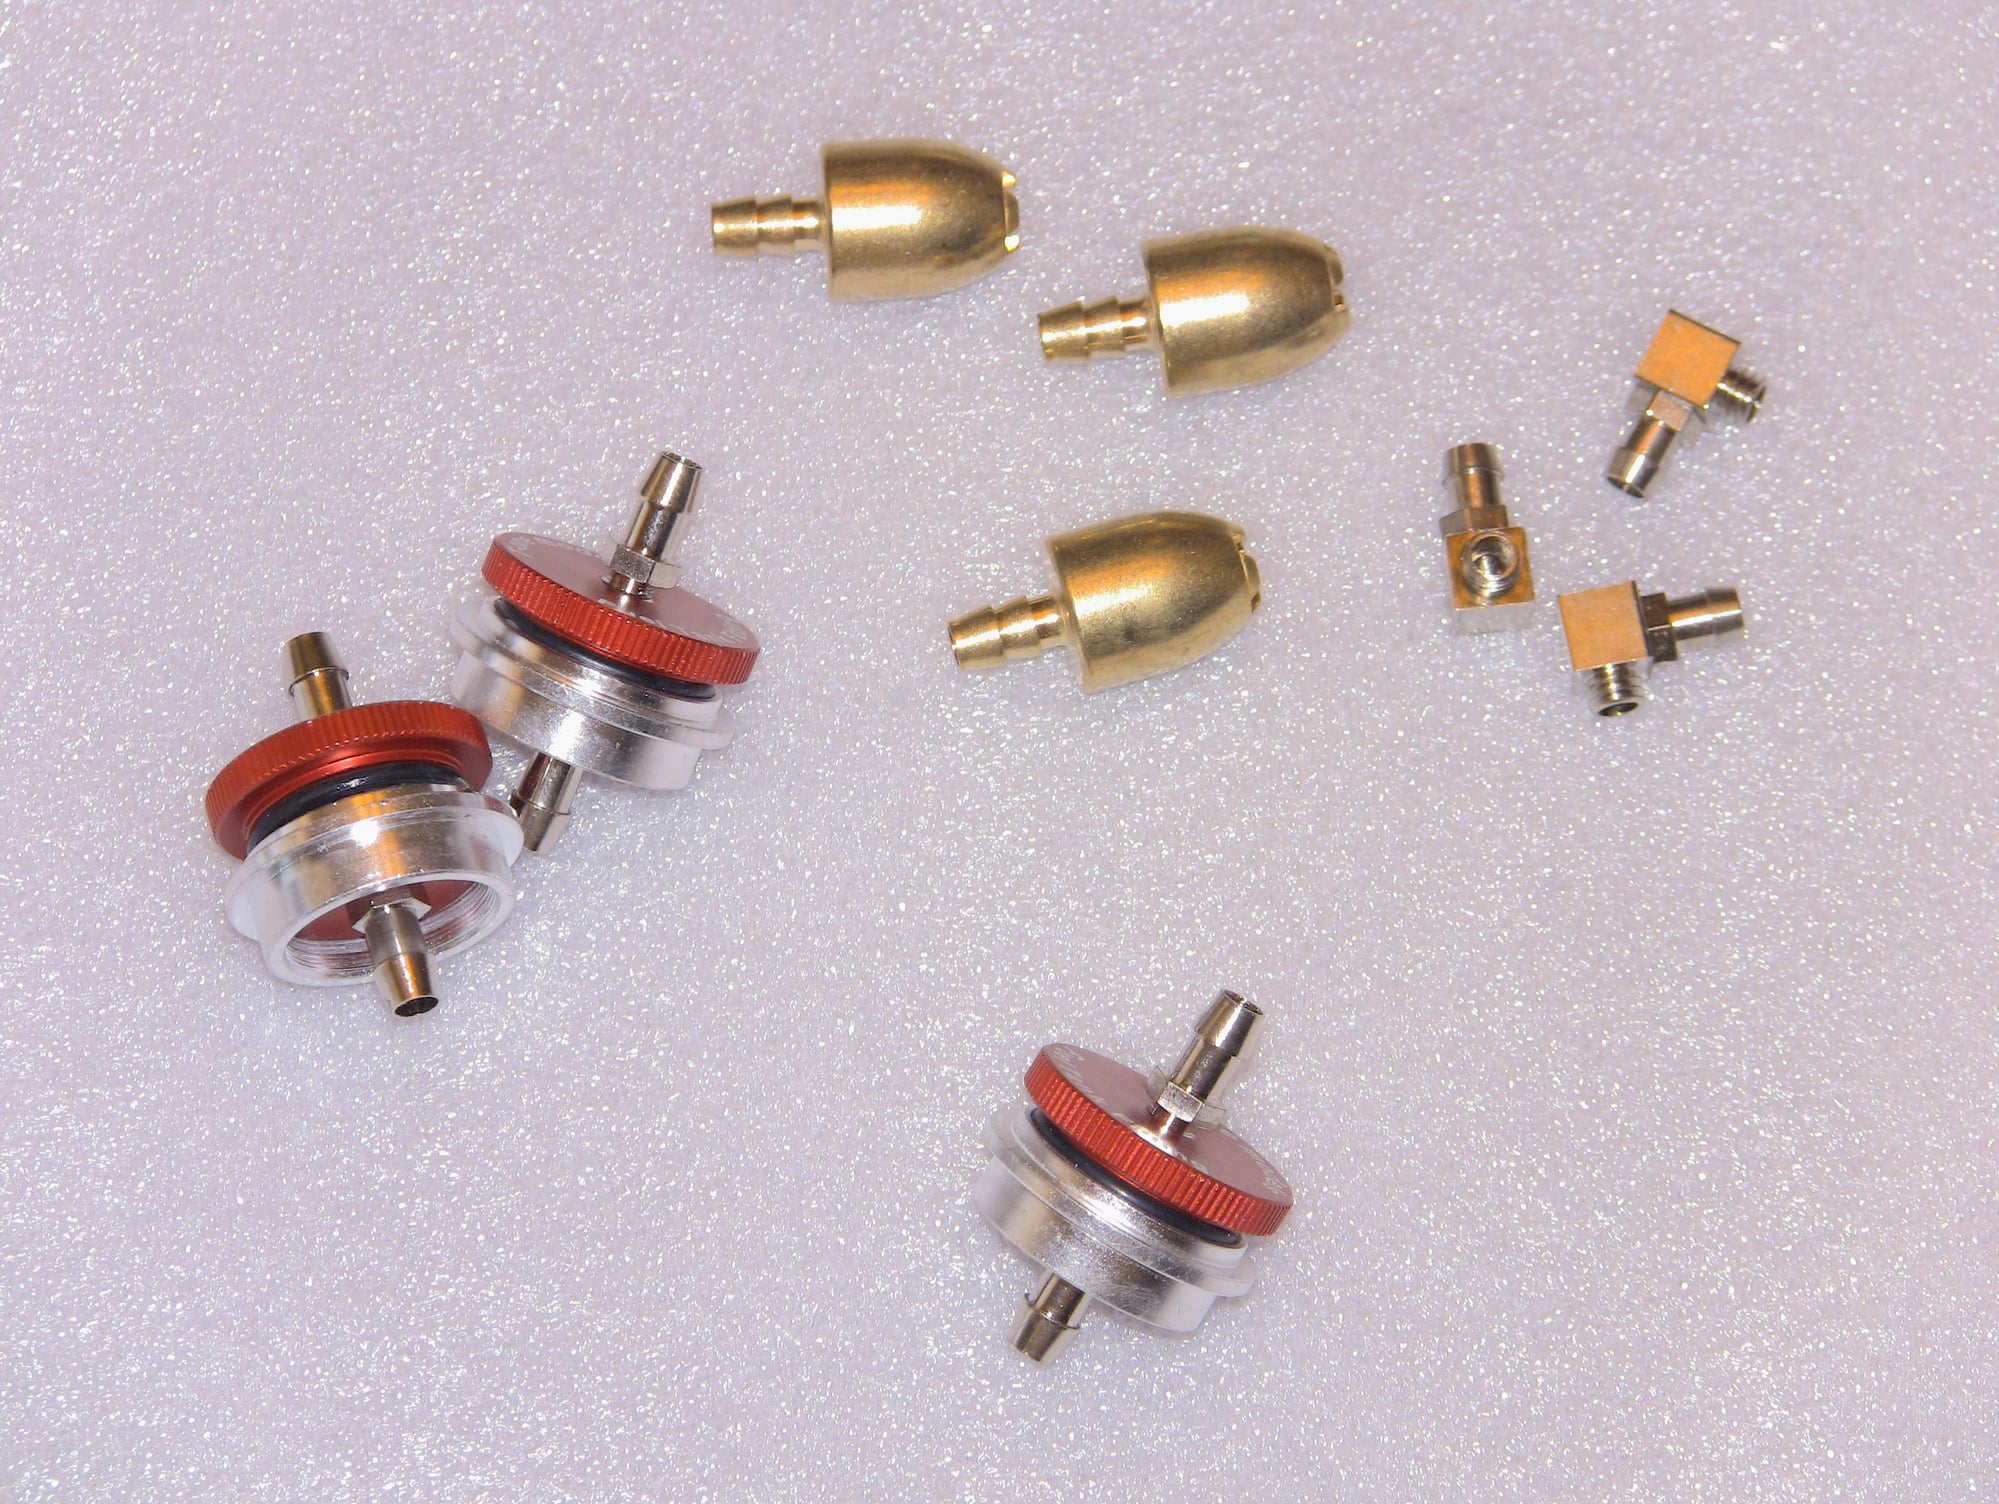
The T fittings are really nice design and I use the quick disconnects in my Viper already
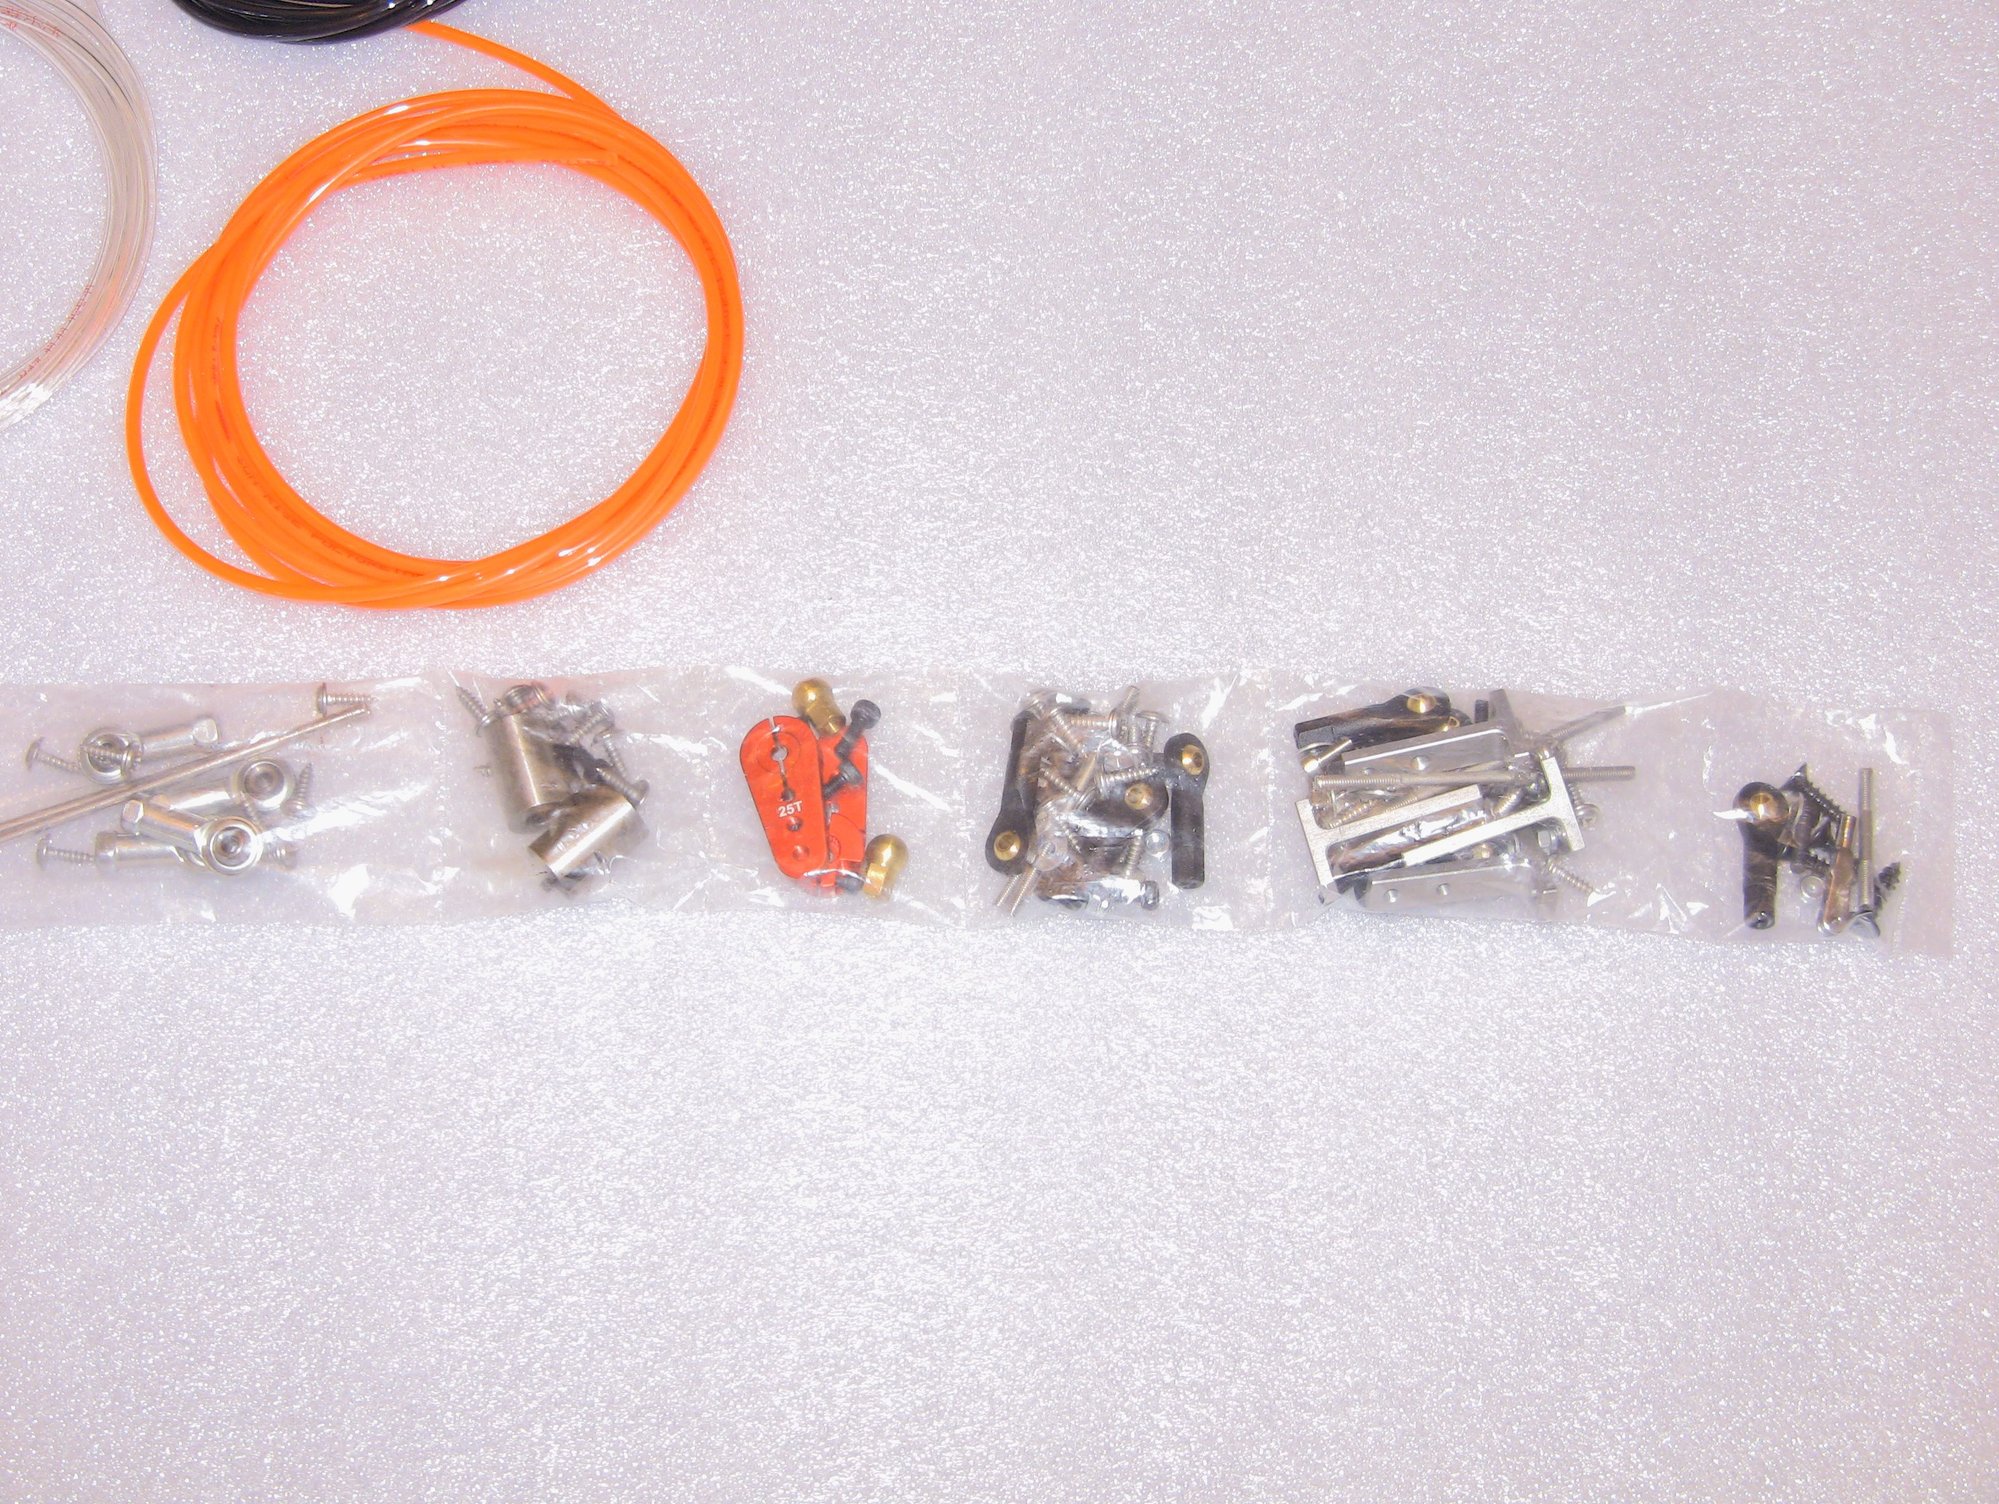
Servo arms for the stabs are beefy, nice rod ends with bearings, not a lot of hard ware really needed for the model
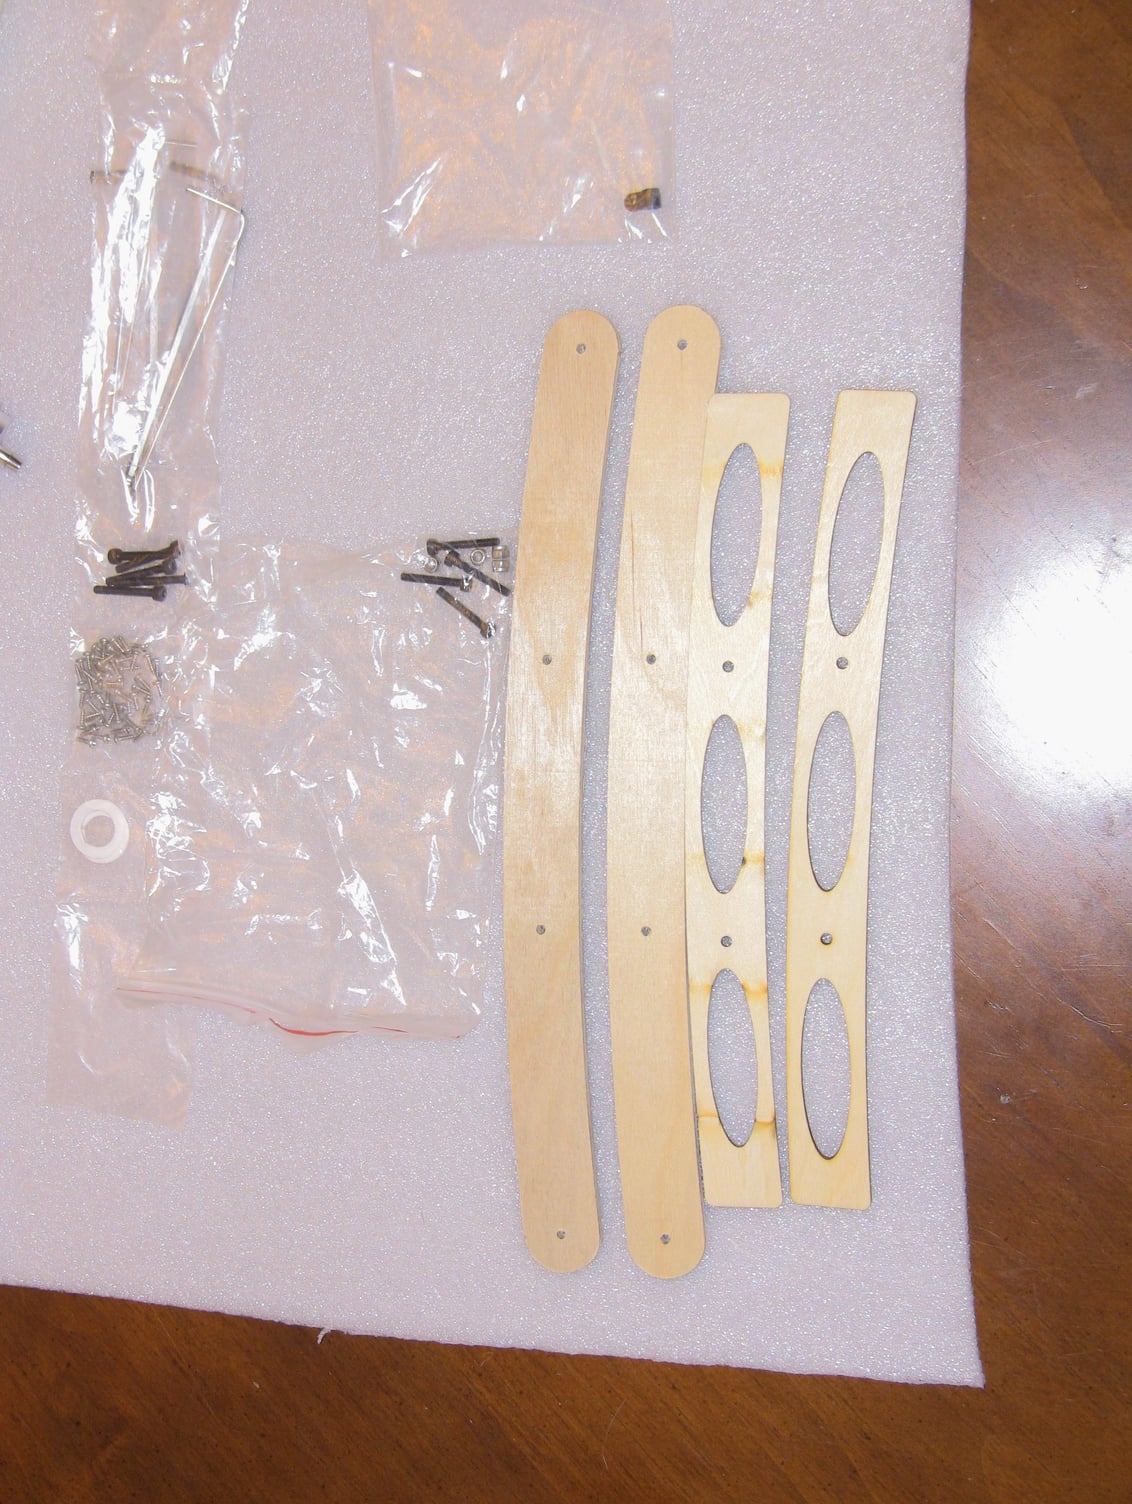
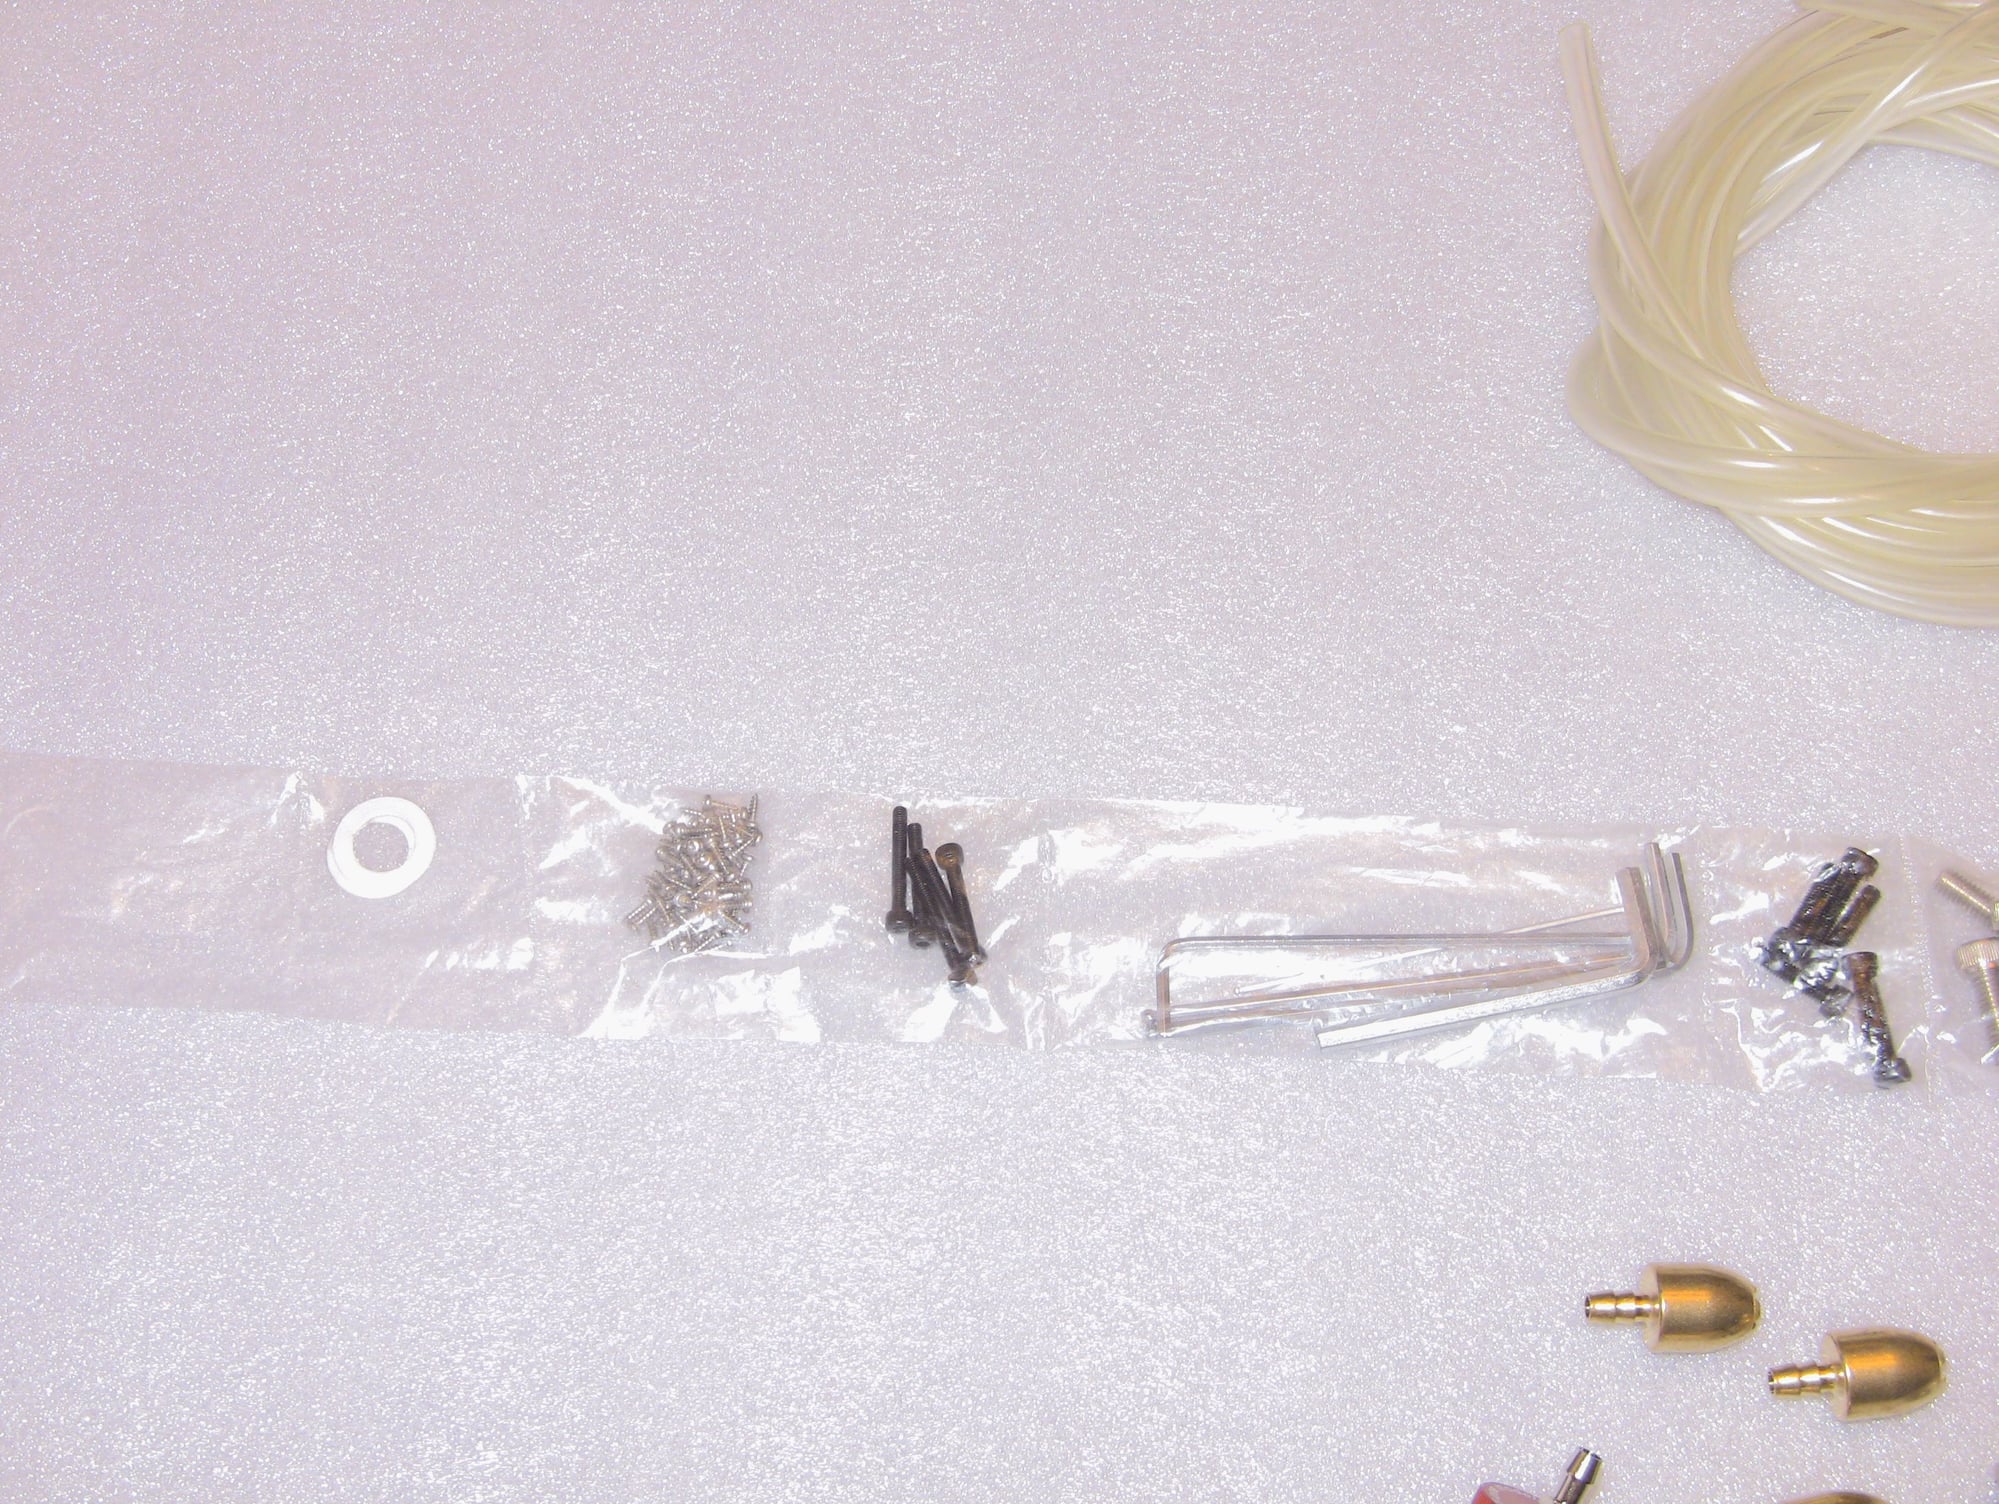
Two cross braces
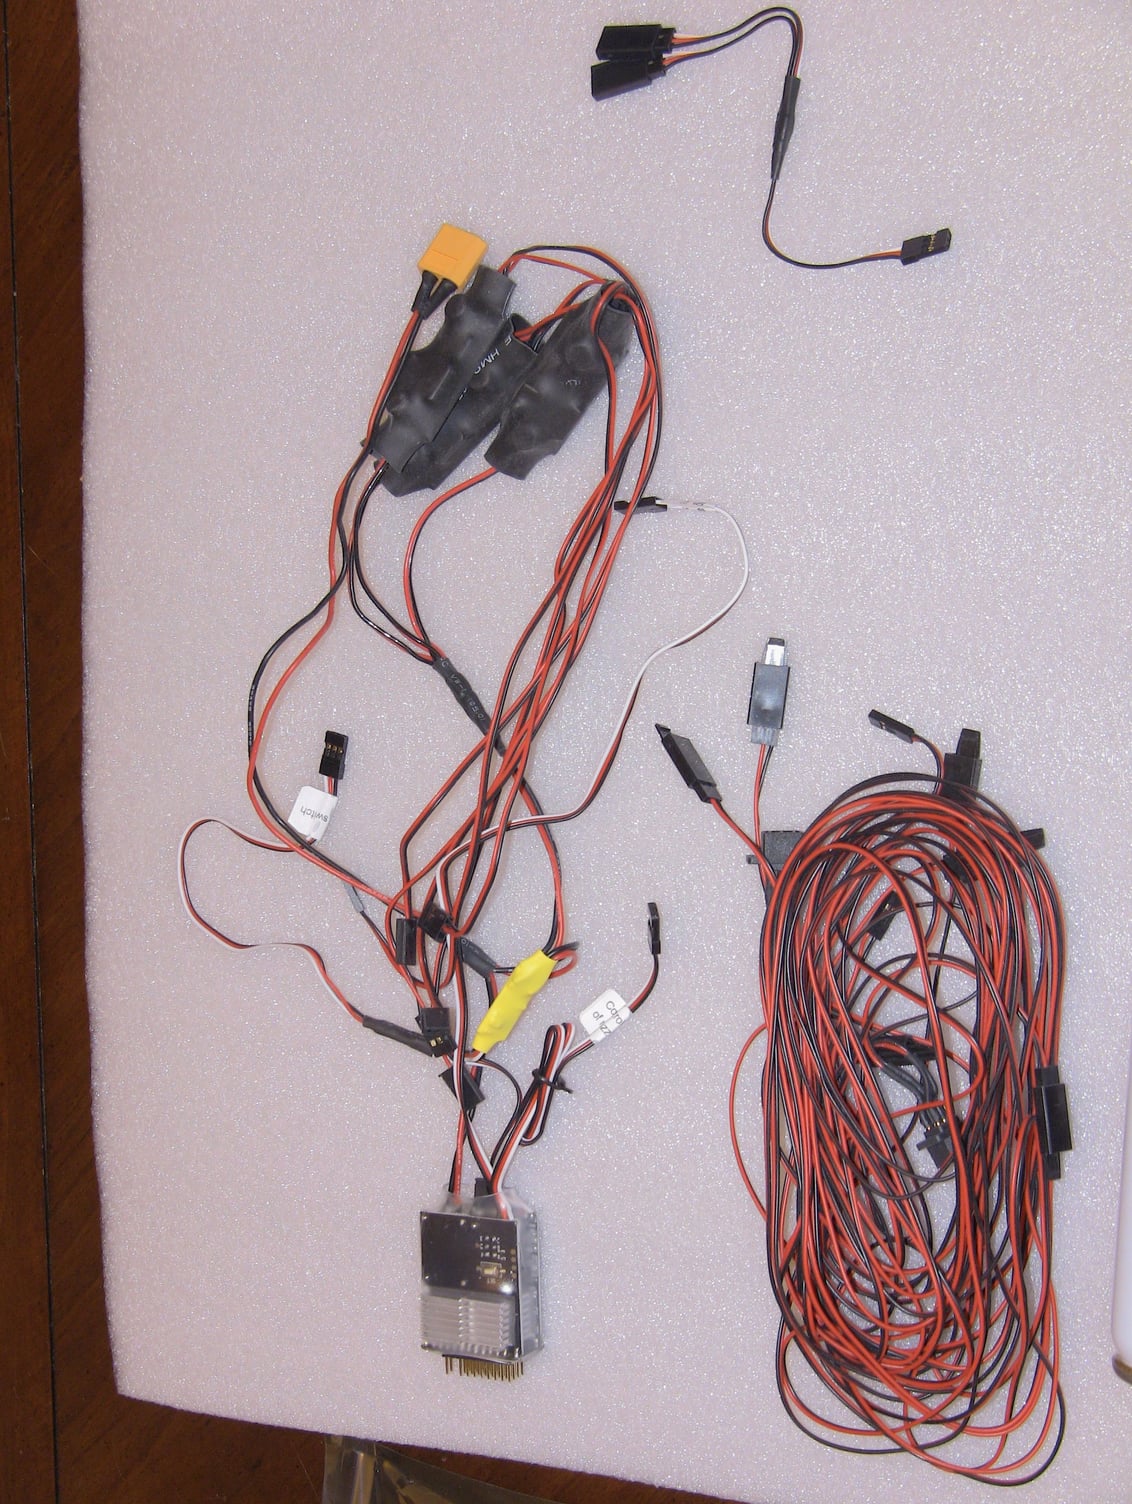
Latest version of their light kit

Strut air and oil service kit
Please not they actually painted the hatches to match the scheme. I think this is a first!
They are longer than they look
The tanks/pylons come pre installed and drilled. Nice detail could benefit from the scale markings they normally have.
Yes I Starscream and its awesome!
12-30-2019, 04:12 PM
#32
Thread Starter
Not sure whats going on with the video links, just go to the page they are all four there.
https://www.youtube.com/user/Fenderb..._as=subscriber
https://www.youtube.com/user/Fenderb..._as=subscriber
Last edited by FenderBean; 12-30-2019 at 04:16 PM.
 12-30-2019, 07:44 PM
#35
Thread Starter
Its Going to be a twin, its wider than the F-15 but not as long. It seems pretty close due to the width, gear/tires seem close, all wing surfaces are bigger.
12-31-2019, 10:47 AM
#36
Thread Starter
Before I head back out of town I wanted to ask questions and post the dreaded "The Good, The Bad and The Ugly!" haha not to worry much easier one to write this time.
So for the Good: #1 Great packaging, nothing was damaged!
#2 Great Quality, I have only found a couple small things I would have changed
#3 Good hardware that I would actually use!
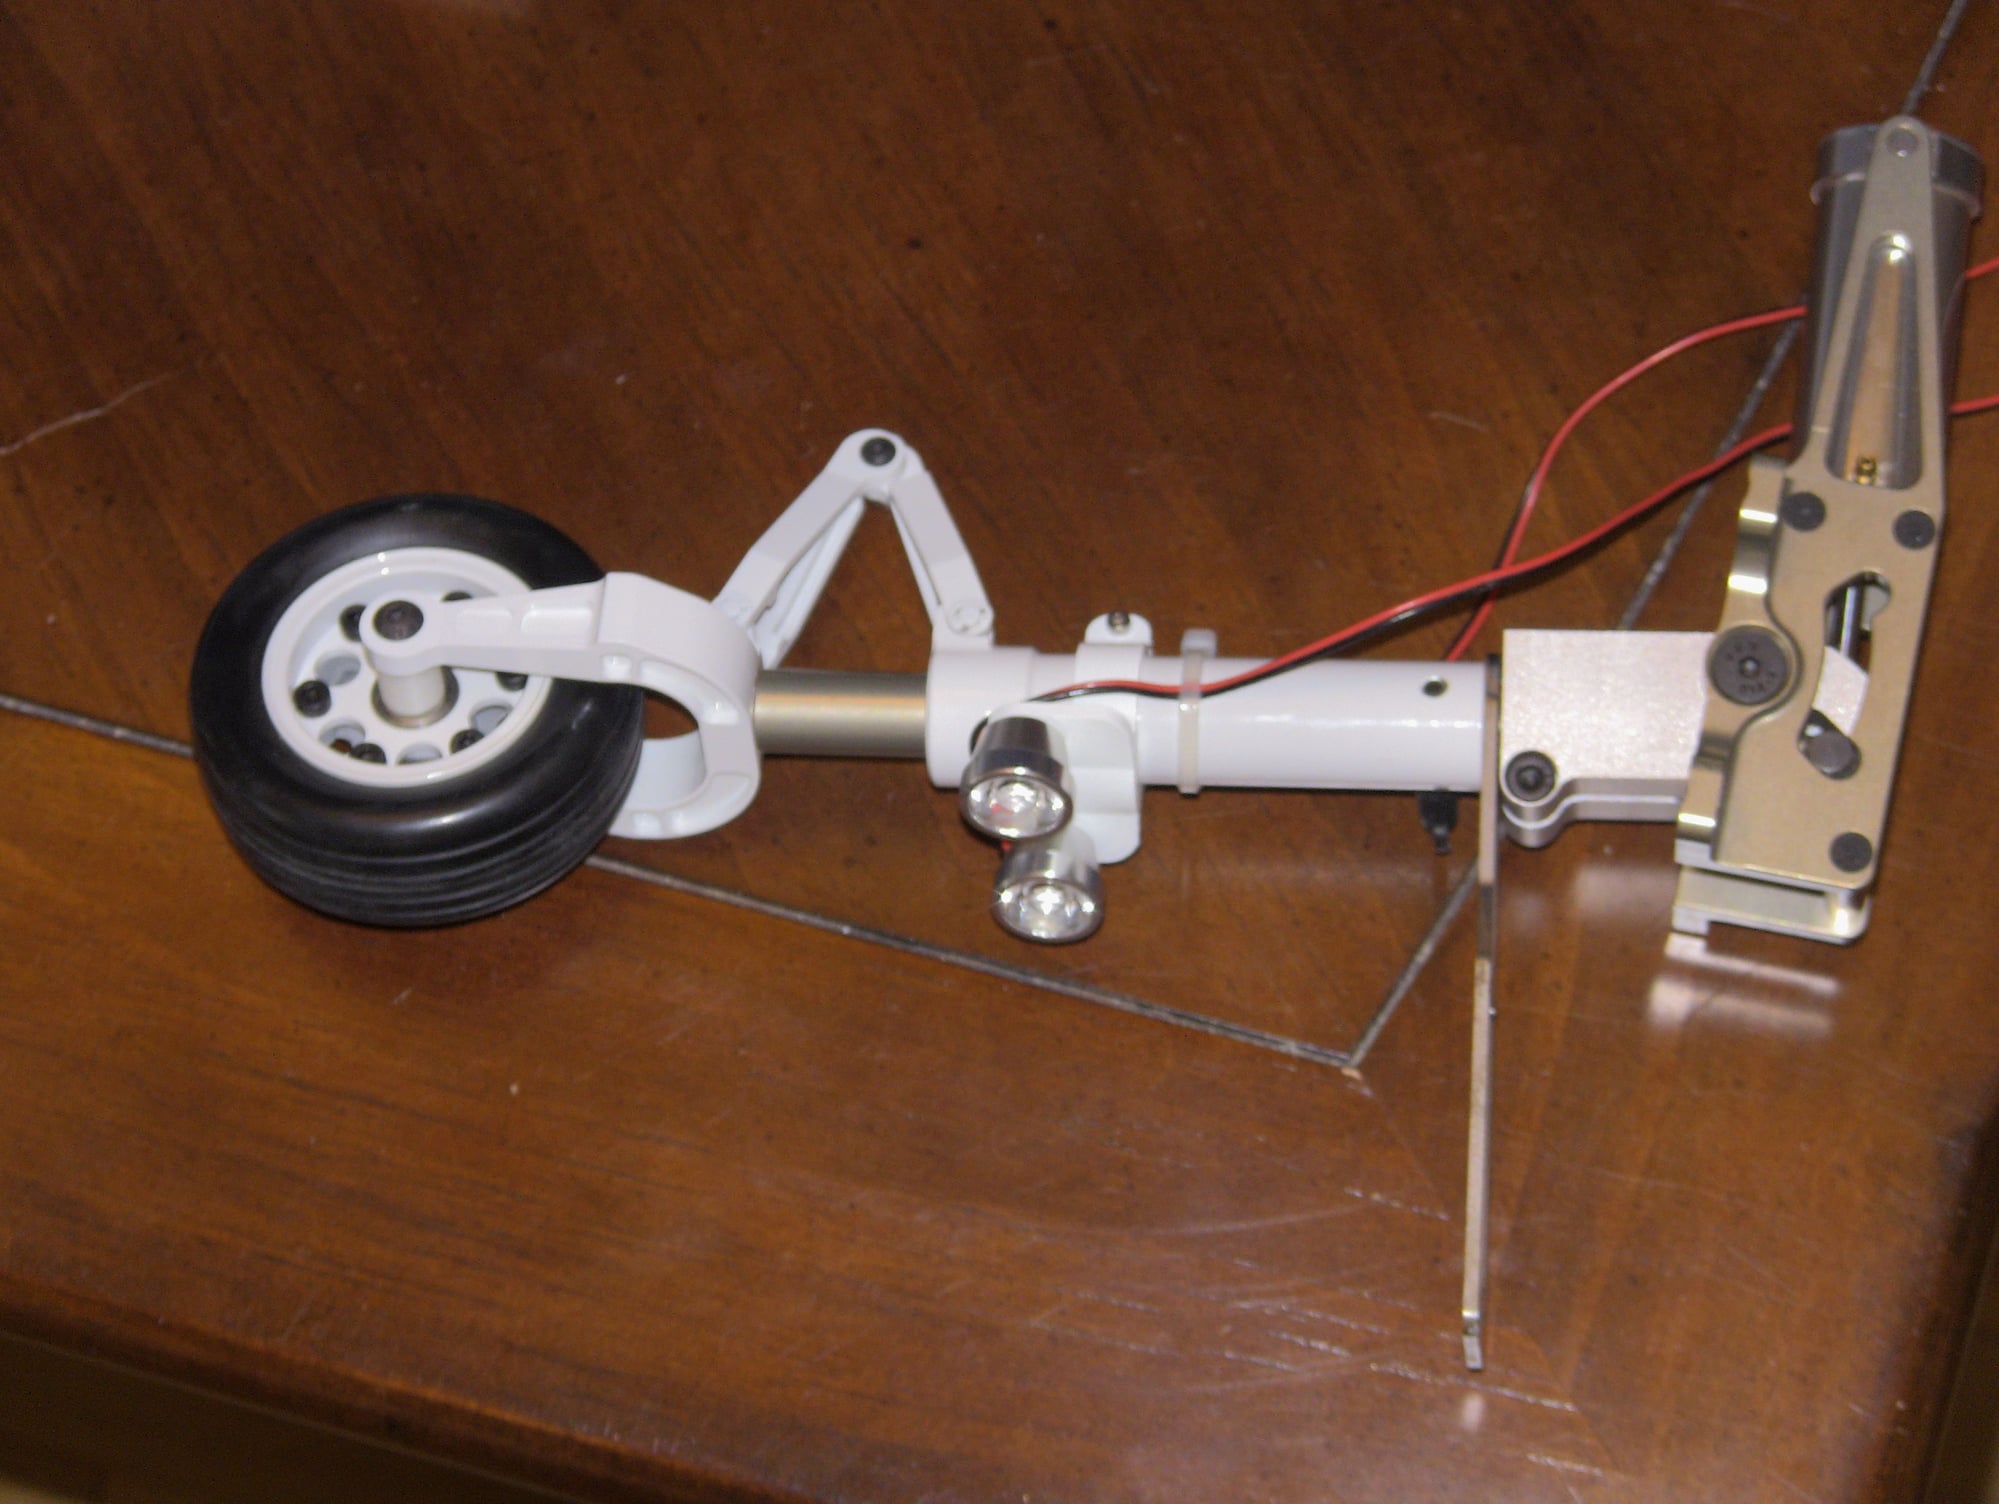
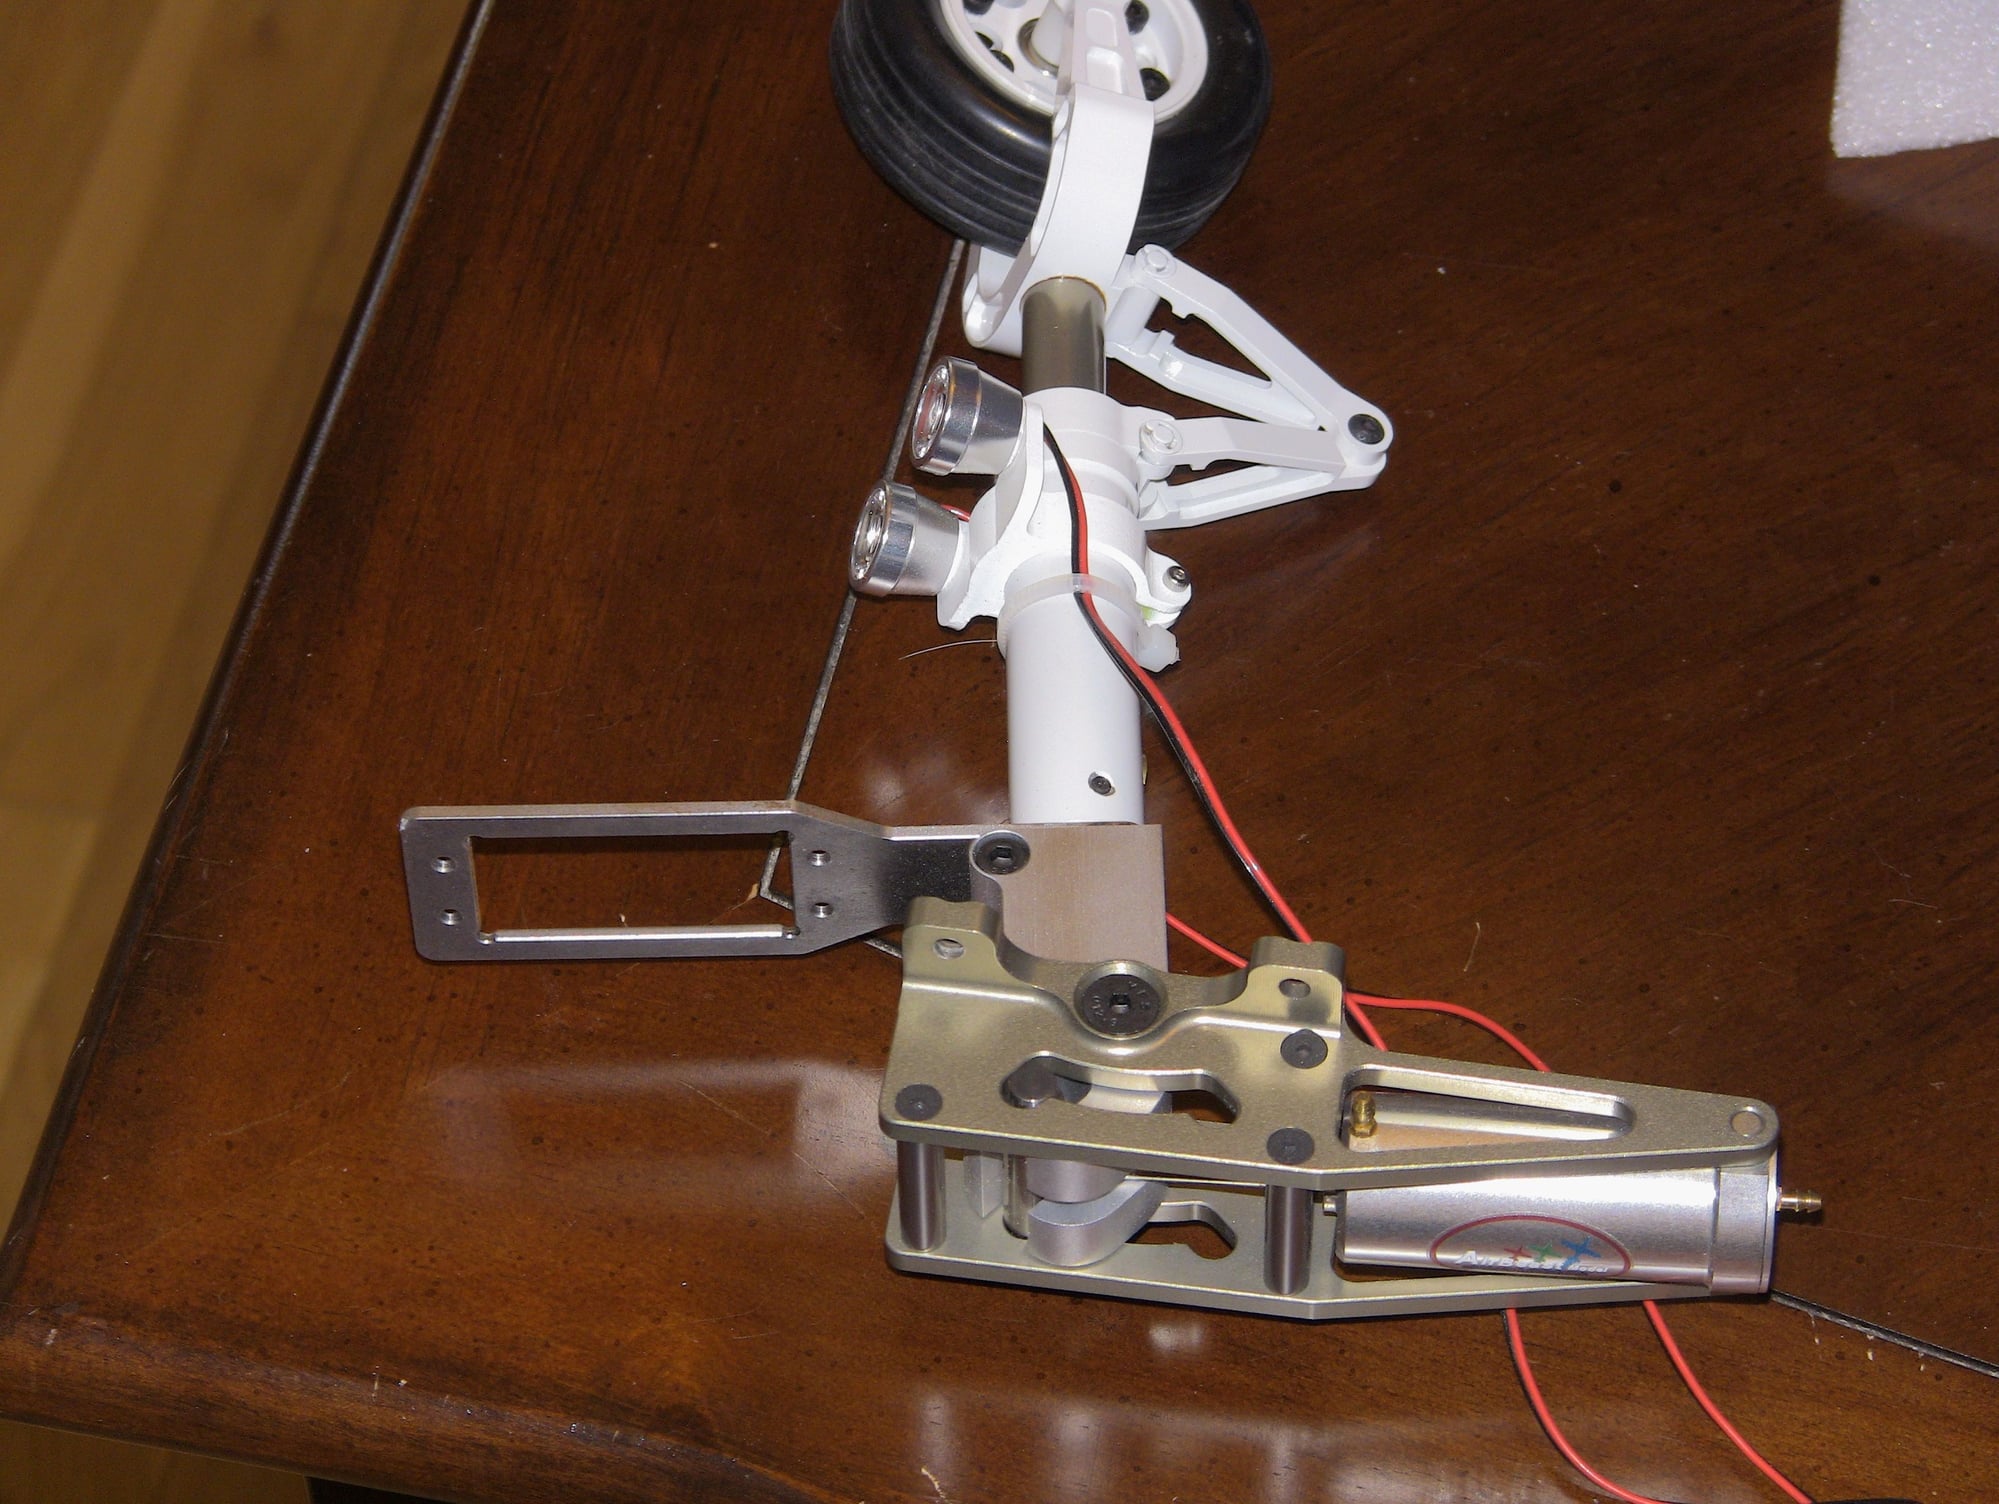
#4 High quality gear and at first glance good air cylinders
#5 Great painting to include the bays and gear
#6 So much extra work done that saves time in building
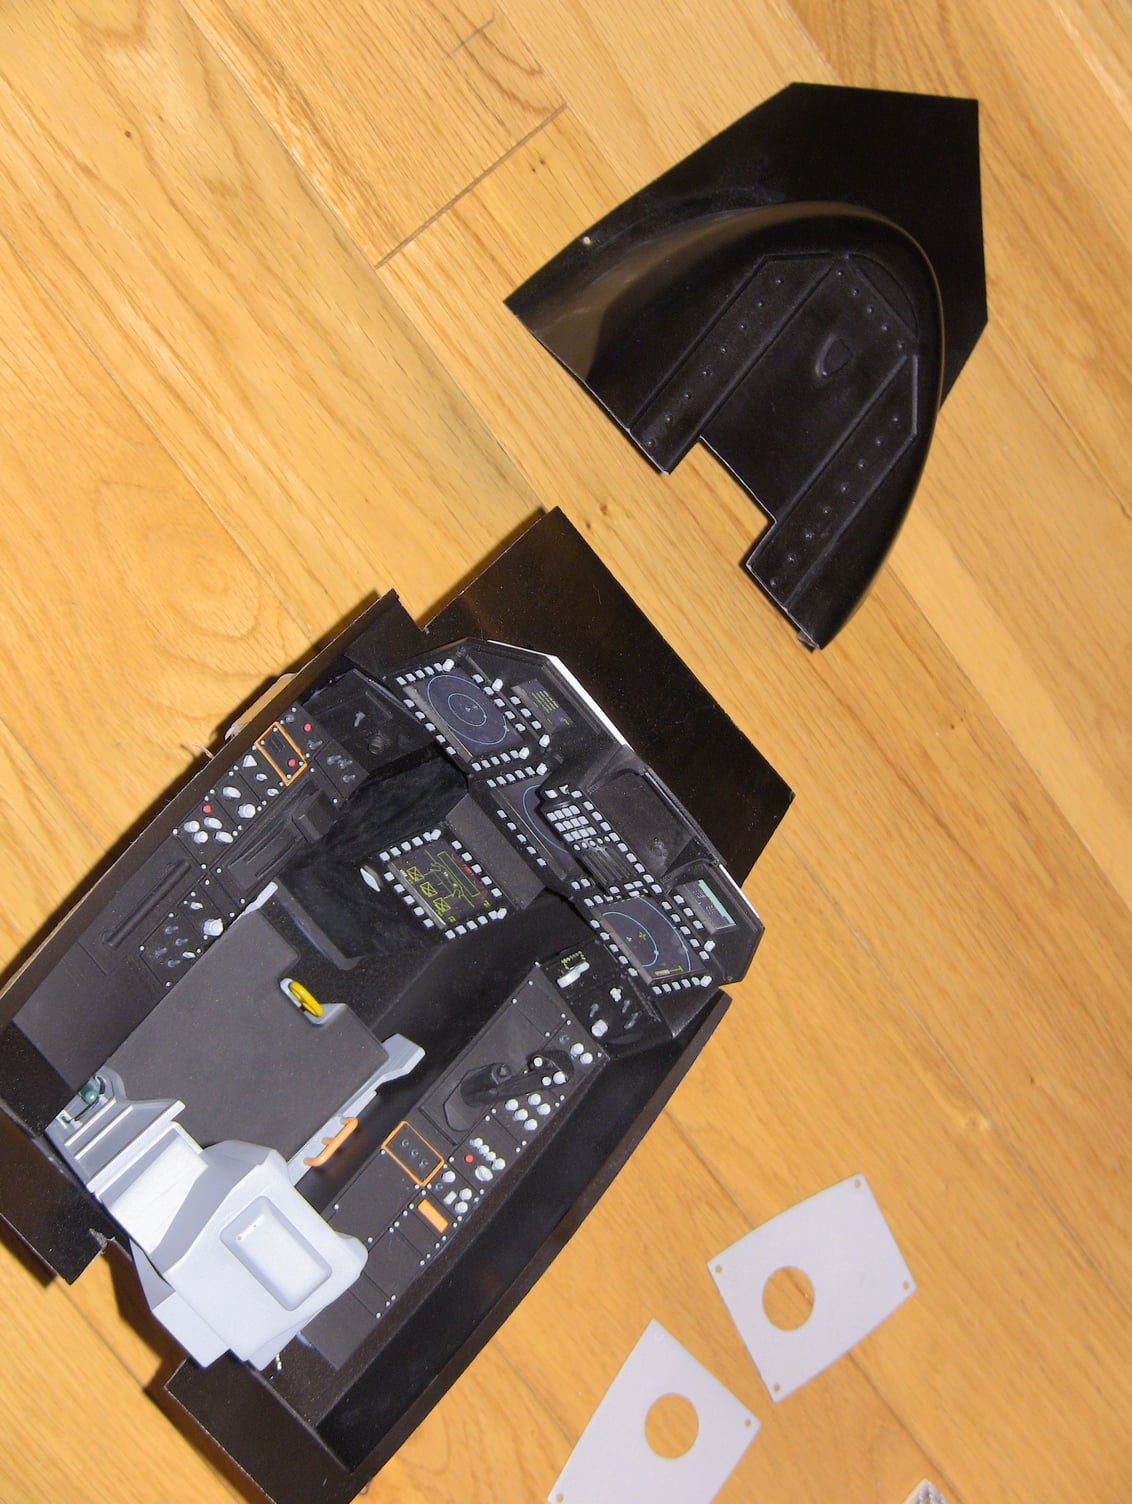
#7 Good cockpit and quality, the seat looks a bit small but if you use a pilot I doubt you would notice.
#8 While I am biased and haven't used them yet the lights and controller seem nice! The Formation aka slime lights are awesome and the whole reason I didn't put my own brand in the jet
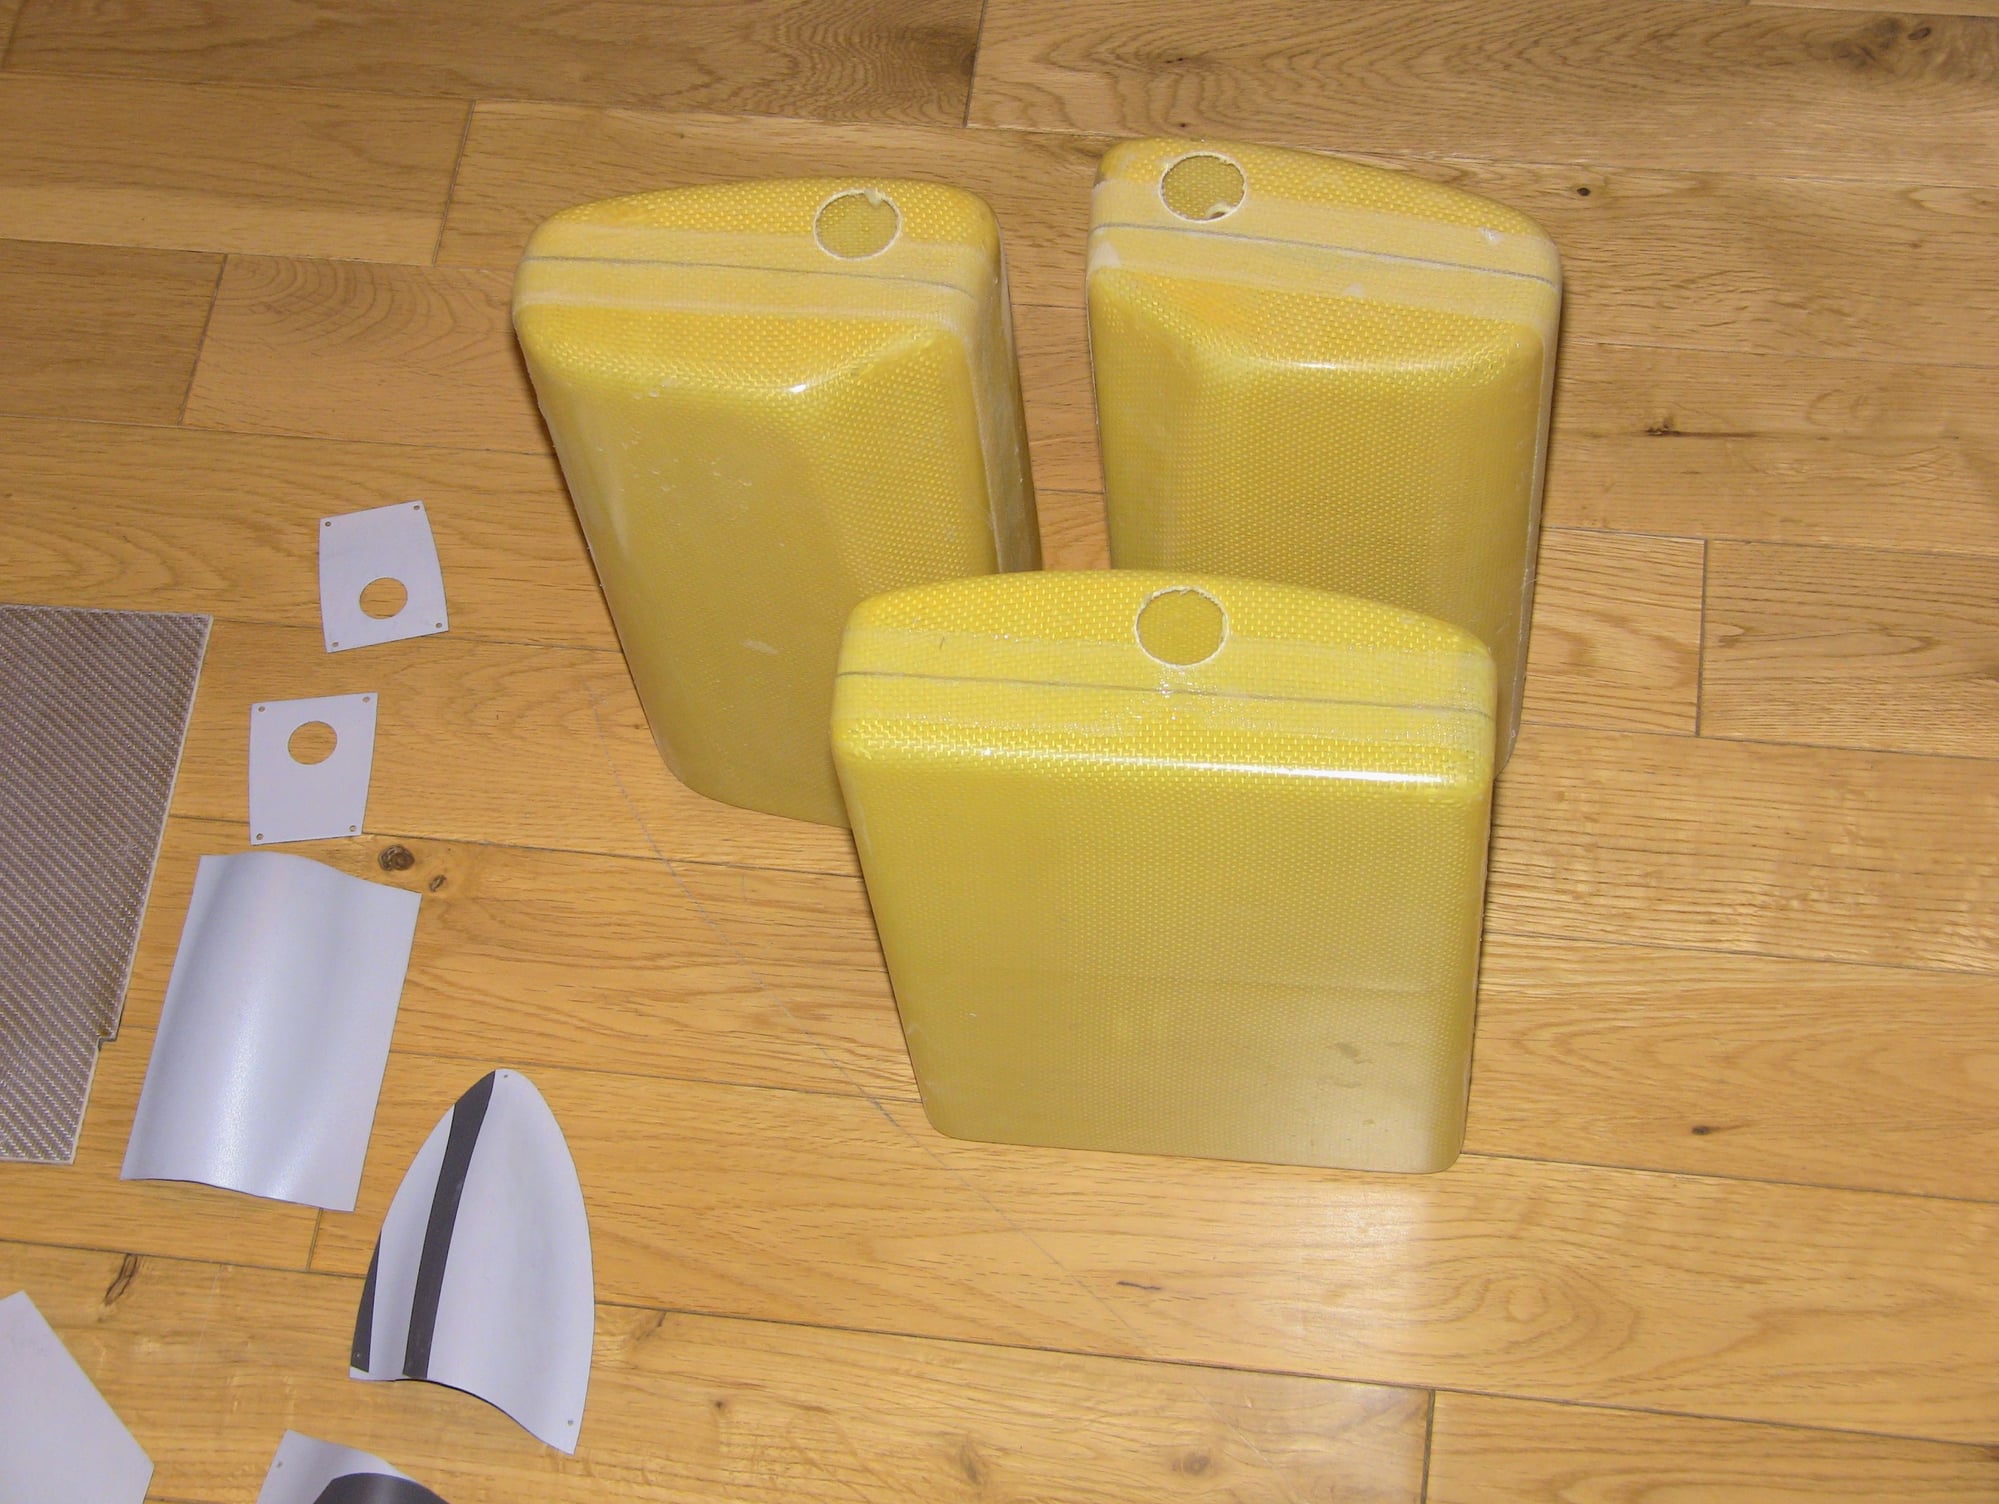
#9 Good fuel tanks, a little heavier but they are kevlar so that's normal
#10 Gear doors, bay doors, canopy, and all removable surfaces/hatches fit perfect!
#11 Seems to be a solid layup and weight is as low as it can be with these type of materials
#12 I like how the added inlet ducts through the model
#13 They are def true modellers, I say this because they are taking recommendations on improvements in a positive way and they implement the changes!
The dreaded BAD!
#1 So far I have found no manual of sorts, which is not uncommon and one of the reasons I do this but I cannot find anything like mounting the turbines servo setup, CG or controls throws. I think at a minimum this should be sent with the model when you buy it.
#2 Hollow carbon wing tubes, I am listing this because it worries me a bit and one wing has a bit of play. That being said if this design can handle the Gs of basic scale flying then Im okay with that they just seem a little thin. So I will like to hear from folks on this!
#3 They added a front tray in the nose but its glued in and will be very hard to mount things to if need be for CG. Would be nice to leave unglued if possible so easy mounts can be attacked before gluing it in.
#4 No washers on bolts going through wood bulkheads
#5 That's it for now not much so far
The Ugly!
#1 There are a few scale decals that are common to all F22s that would have been nice to see on the model
#2 Only putting this since I think they missed it on my scheme, shouldn't be a problem for all models. The canopy are the clear portion glues to was the wrong gray than the pictures I sent, it should be the same color as the base colors. Not a big deal still looks good and I could easily change this if I can match the color.
#3 A could door hinge mount locations have a bit more glue than needed, but I can clean this up with a dremel
So for the Good: #1 Great packaging, nothing was damaged!
#2 Great Quality, I have only found a couple small things I would have changed
#3 Good hardware that I would actually use!
#4 High quality gear and at first glance good air cylinders
#5 Great painting to include the bays and gear
#6 So much extra work done that saves time in building
#7 Good cockpit and quality, the seat looks a bit small but if you use a pilot I doubt you would notice.
#8 While I am biased and haven't used them yet the lights and controller seem nice! The Formation aka slime lights are awesome and the whole reason I didn't put my own brand in the jet
#9 Good fuel tanks, a little heavier but they are kevlar so that's normal
#10 Gear doors, bay doors, canopy, and all removable surfaces/hatches fit perfect!
#11 Seems to be a solid layup and weight is as low as it can be with these type of materials
#12 I like how the added inlet ducts through the model
#13 They are def true modellers, I say this because they are taking recommendations on improvements in a positive way and they implement the changes!
The dreaded BAD!
#1 So far I have found no manual of sorts, which is not uncommon and one of the reasons I do this but I cannot find anything like mounting the turbines servo setup, CG or controls throws. I think at a minimum this should be sent with the model when you buy it.
#2 Hollow carbon wing tubes, I am listing this because it worries me a bit and one wing has a bit of play. That being said if this design can handle the Gs of basic scale flying then Im okay with that they just seem a little thin. So I will like to hear from folks on this!
#3 They added a front tray in the nose but its glued in and will be very hard to mount things to if need be for CG. Would be nice to leave unglued if possible so easy mounts can be attacked before gluing it in.
#4 No washers on bolts going through wood bulkheads
#5 That's it for now not much so far
The Ugly!
#1 There are a few scale decals that are common to all F22s that would have been nice to see on the model
#2 Only putting this since I think they missed it on my scheme, shouldn't be a problem for all models. The canopy are the clear portion glues to was the wrong gray than the pictures I sent, it should be the same color as the base colors. Not a big deal still looks good and I could easily change this if I can match the color.
#3 A could door hinge mount locations have a bit more glue than needed, but I can clean this up with a dremel
Last edited by FenderBean; 12-31-2019 at 10:51 AM.
 01-01-2020, 05:37 PM
#39
Glad to hear your happy with it Keith! Can�t wait for my new one to show up with all the changes.
For the wing spars. The production version is much stronger then my first one was and I flew it pretty hard with no issues.
Barry pulled very hard on his but it does not count because his plane was totally different inside being the first model.
For the wing spars. The production version is much stronger then my first one was and I flew it pretty hard with no issues.
Barry pulled very hard on his but it does not count because his plane was totally different inside being the first model.
01-01-2020, 06:12 PM
#40
Thread Starter
Glad to hear your happy with it Keith! Can’t wait for my new one to show up with all the changes.
For the wing spars. The production version is much stronger then my first one was and I flew it pretty hard with no issues.
Barry pulled very hard on his but it does not count because his plane was totally different inside being the first model.
For the wing spars. The production version is much stronger then my first one was and I flew it pretty hard with no issues.
Barry pulled very hard on his but it does not count because his plane was totally different inside being the first model.
01-01-2020, 08:01 PM
#41
Thread Starter
I have another possible BAD
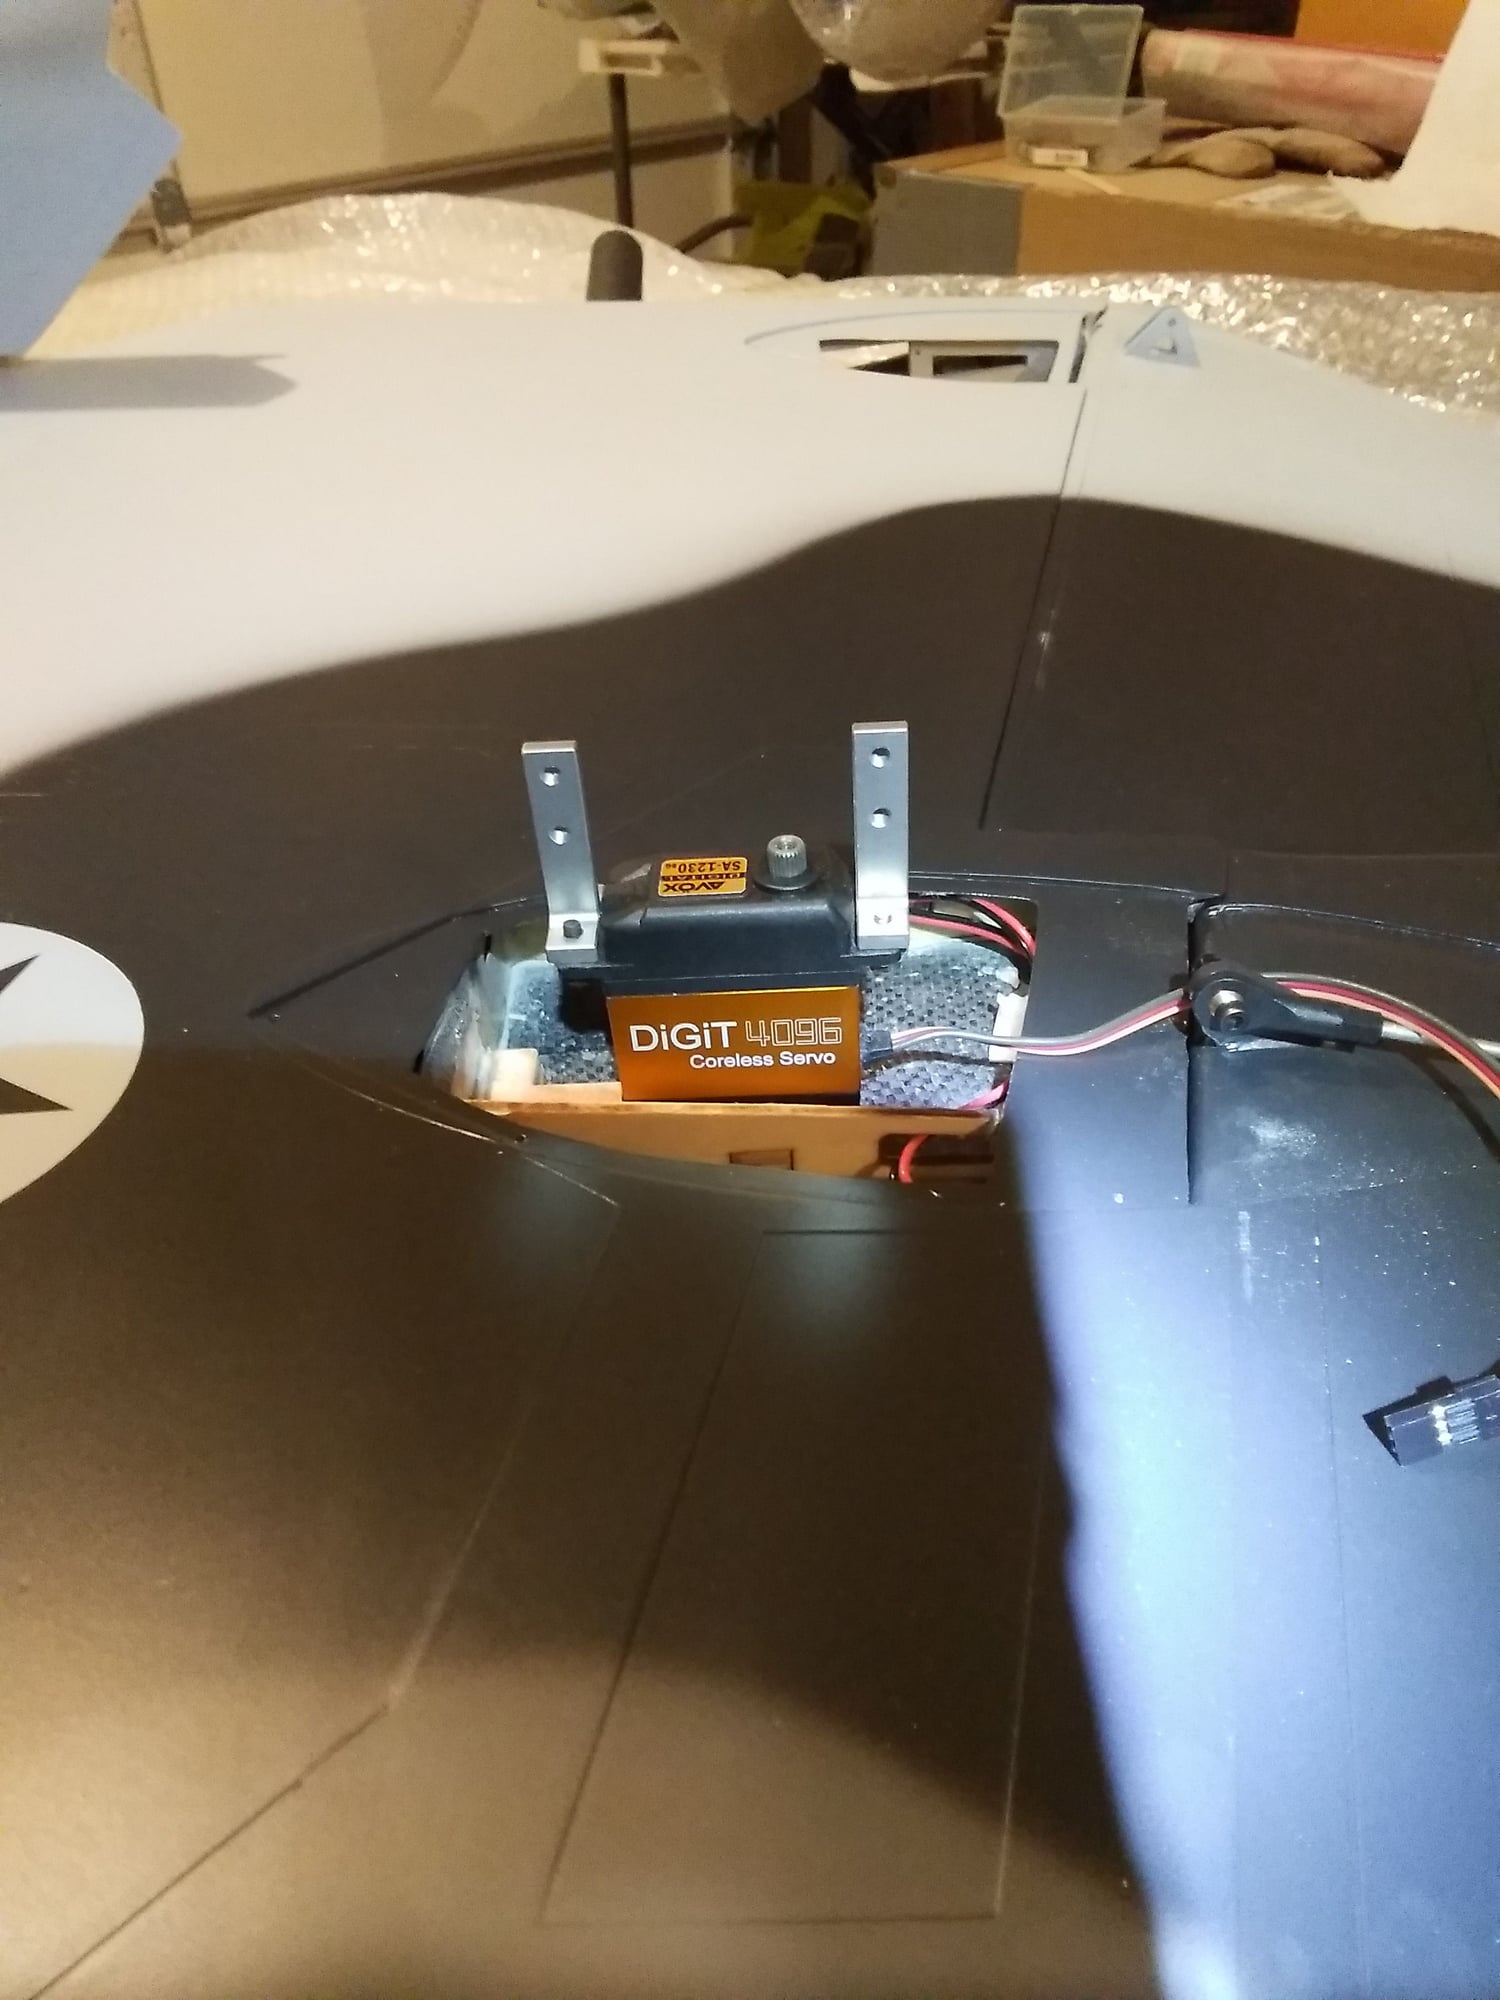
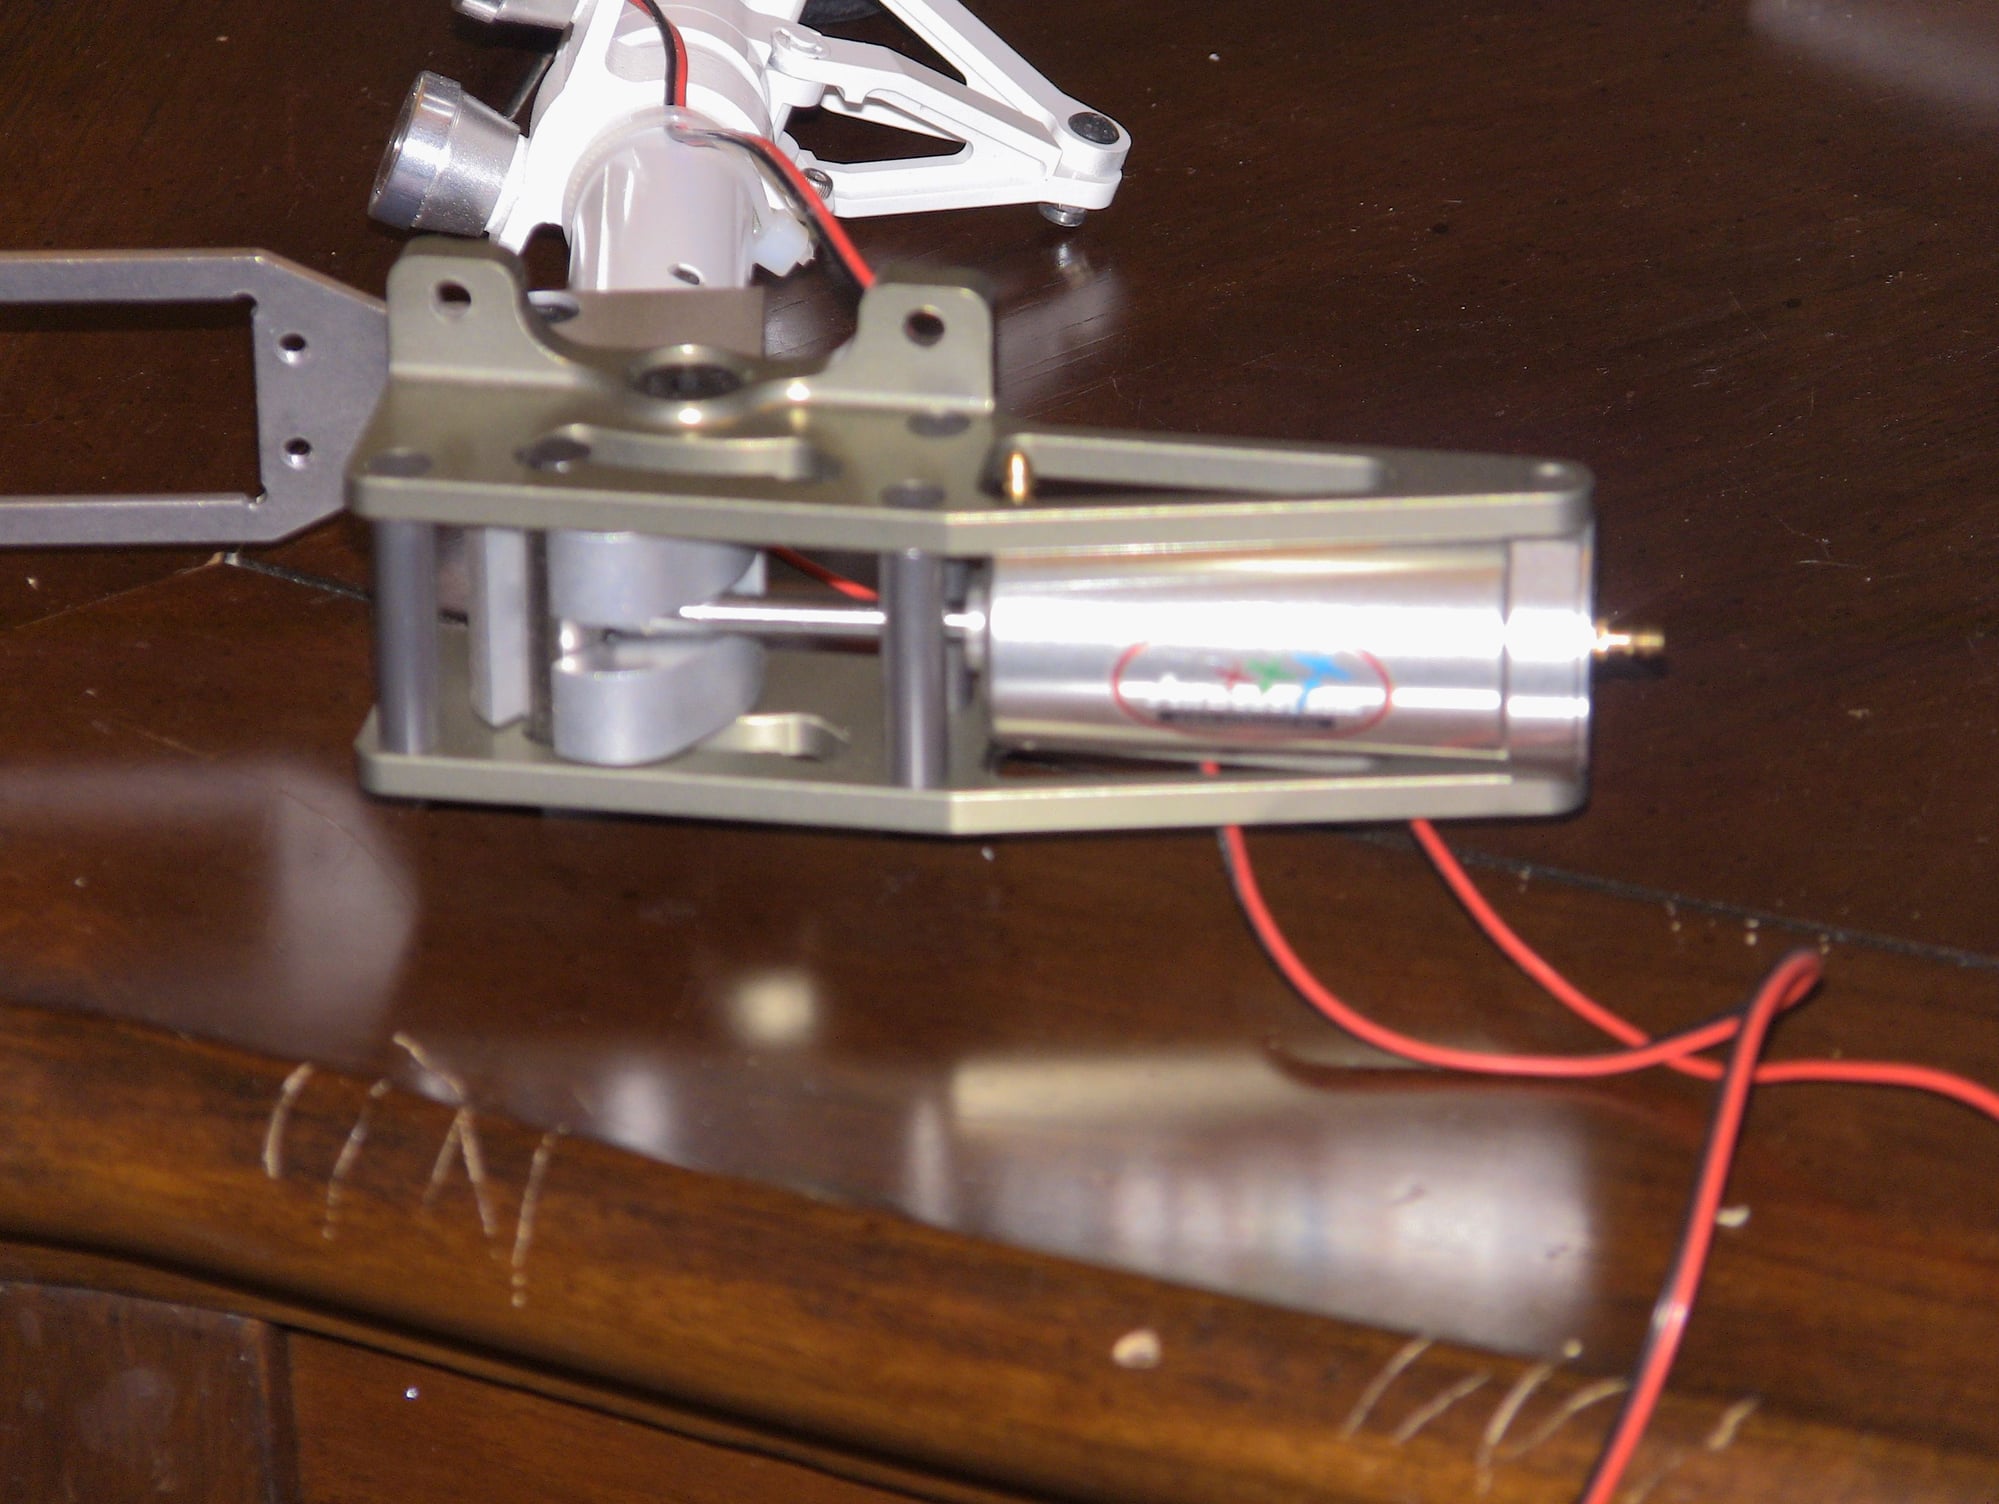
#5 The stab direct drive arm pins, I’m a bit worried about having just a brass pin moving a metal channel. This is a point of discussion but having to metals rubbing is going to cause wear which ultimately leads to play.
the brass pin looks like a ball arm on rc helicopter swashplate just bigger. I personally think this needs to be a bearing but I no engineer. So thoughts on this?
01-04-2020, 02:32 PM
#42
Thread Starter
Got back home today and was looking at the stab drive design, seems like this is the same they have used on others. I have one local here I will be checking out that has some flights on it tomorrow so we will see how it holds up. Any thoughts from anyone who has one of these or any other model T-on makes with the same design would be useful. Cheers
Brass ball and what looks like aluminum insert.
Brass ball and what looks like aluminum insert.
Last edited by FenderBean; 01-04-2020 at 02:34 PM.
01-04-2020, 04:59 PM
#44
Thread Starter
If that was the case then all ball ends/rod ends would be metal on metal, gear mesh and a round surface rubbing back and forth on a flat surface are two different things. I don't know man, whats yours reason for saying that?
01-04-2020, 06:25 PM
#45
That ball only moves a little bit back and forth. I just don�t see it wearing out very fast.
btw the skymaster 1/5 F16 I�m building has the same set up on the rudder and flapperons.
but let�s say it does wear over time. I had almost 30 flights on mine with no signs of wear. So it should be able to do at least 100 flights you would thinkbefore replacement.
that part is probably pretty easy to change if it needs changing worst case scenario.
01-04-2020, 06:38 PM
#46
Thread Starter
That ball only moves a little bit back and forth. I just don�t see it wearing out very fast.
btw the skymaster 1/5 F16 I�m building has the same set up on the rudder and flapperons.
but let�s say it does wear over time. I had almost 30 flights on mine with no signs of wear. So it should be able to do at least 100 flights you would thinkbefore replacement.
that part is probably pretty easy to change if it needs changing worst case scenario.
btw the skymaster 1/5 F16 I�m building has the same set up on the rudder and flapperons.
but let�s say it does wear over time. I had almost 30 flights on mine with no signs of wear. So it should be able to do at least 100 flights you would thinkbefore replacement.
that part is probably pretty easy to change if it needs changing worst case scenario.
01-05-2020, 12:39 PM
#48
Thread Starter
Im gonna run with it and see how it goes
01-17-2020, 09:36 AM
#49

Received mine after exactly one year of waiting (Europe).
For information, fuel tanks total capacity is 7,2l and not 8,4l as indicated on the T-one website. However, I guess it's enough.
Servos arms included in the kit for rudder and stab drive are 25T. So be careful when choosing your servos as rudder drive is a very specific metal piece.
For information, fuel tanks total capacity is 7,2l and not 8,4l as indicated on the T-one website. However, I guess it's enough.
Servos arms included in the kit for rudder and stab drive are 25T. So be careful when choosing your servos as rudder drive is a very specific metal piece.