


IS-3 Conversion Kit Chassis/wheels
 10-17-2019, 02:49 PM
#1
So I discovered this today, and immediately ordered one: https://mk-modellbau.de/main_bigware...its-russia-ww2
So the question is, which chassis would be more correct, the taigen JS-2 metal with the smaller wheels/idler/drive sprocket, or the recommended KV-1 chassis??
any thoughts?
Jerry
So the question is, which chassis would be more correct, the taigen JS-2 metal with the smaller wheels/idler/drive sprocket, or the recommended KV-1 chassis??
any thoughts?
Jerry
 10-17-2019, 05:07 PM
#2

Been around a while, I have seen a build thread somewhere. The the turret and upper hull will weigh much more than the stock parts so I would avoid the HL kv1 because the suspension will be maxed out.
10-17-2019, 08:28 PM
#4
That is a great thread, somehow I didn't find it in my search.....
He used the stock HL hull/wheels.....
I measured my JS-2 wheels, and my KV-1 (late) wheels and compared the dimensions to scaled up dimensions from a Tamiya 1/35 kit and the JS-2 are of a closer fit, and they also look closer to the real thing...
So I am leaning more toward the JS-2 hull and wheels though it will be more expensive. The only source I can find so far is from Denmark, so shipping will be $$.....
Jerry
10-17-2019, 11:00 PM
#5


Join Date: Jan 2007
Location: San Paolo Solbrito, ITALY
Posts: 1,536
Likes: 0
Received 17 Likes
on
15 Posts
I cannot see anymore what you did buy, but I suppose it was a Jukenburg kit.
If so, keep in mind that the resin body is made to fit HL's KV-1 hull, and that the included wheel conversion set does only include the outer disc of each wheel, while the inner one is the stock one, thus requiring the two to have the same diameter.
If so, keep in mind that the resin body is made to fit HL's KV-1 hull, and that the included wheel conversion set does only include the outer disc of each wheel, while the inner one is the stock one, thus requiring the two to have the same diameter.
10-18-2019, 10:51 AM
#6
I cannot see anymore what you did buy, but I suppose it was a Jukenburg kit.
If so, keep in mind that the resin body is made to fit HL's KV-1 hull, and that the included wheel conversion set does only include the outer disc of each wheel, while the inner one is the stock one, thus requiring the two to have the same diameter.
If so, keep in mind that the resin body is made to fit HL's KV-1 hull, and that the included wheel conversion set does only include the outer disc of each wheel, while the inner one is the stock one, thus requiring the two to have the same diameter.
jerry
10-18-2019, 12:27 PM
#7
I got one still in the box you have to use the HL Plastic lower hull it wont fit the metal version
Thanks
Jimmy
Thanks
Jimmy
 12-08-2019, 04:19 PM
#8
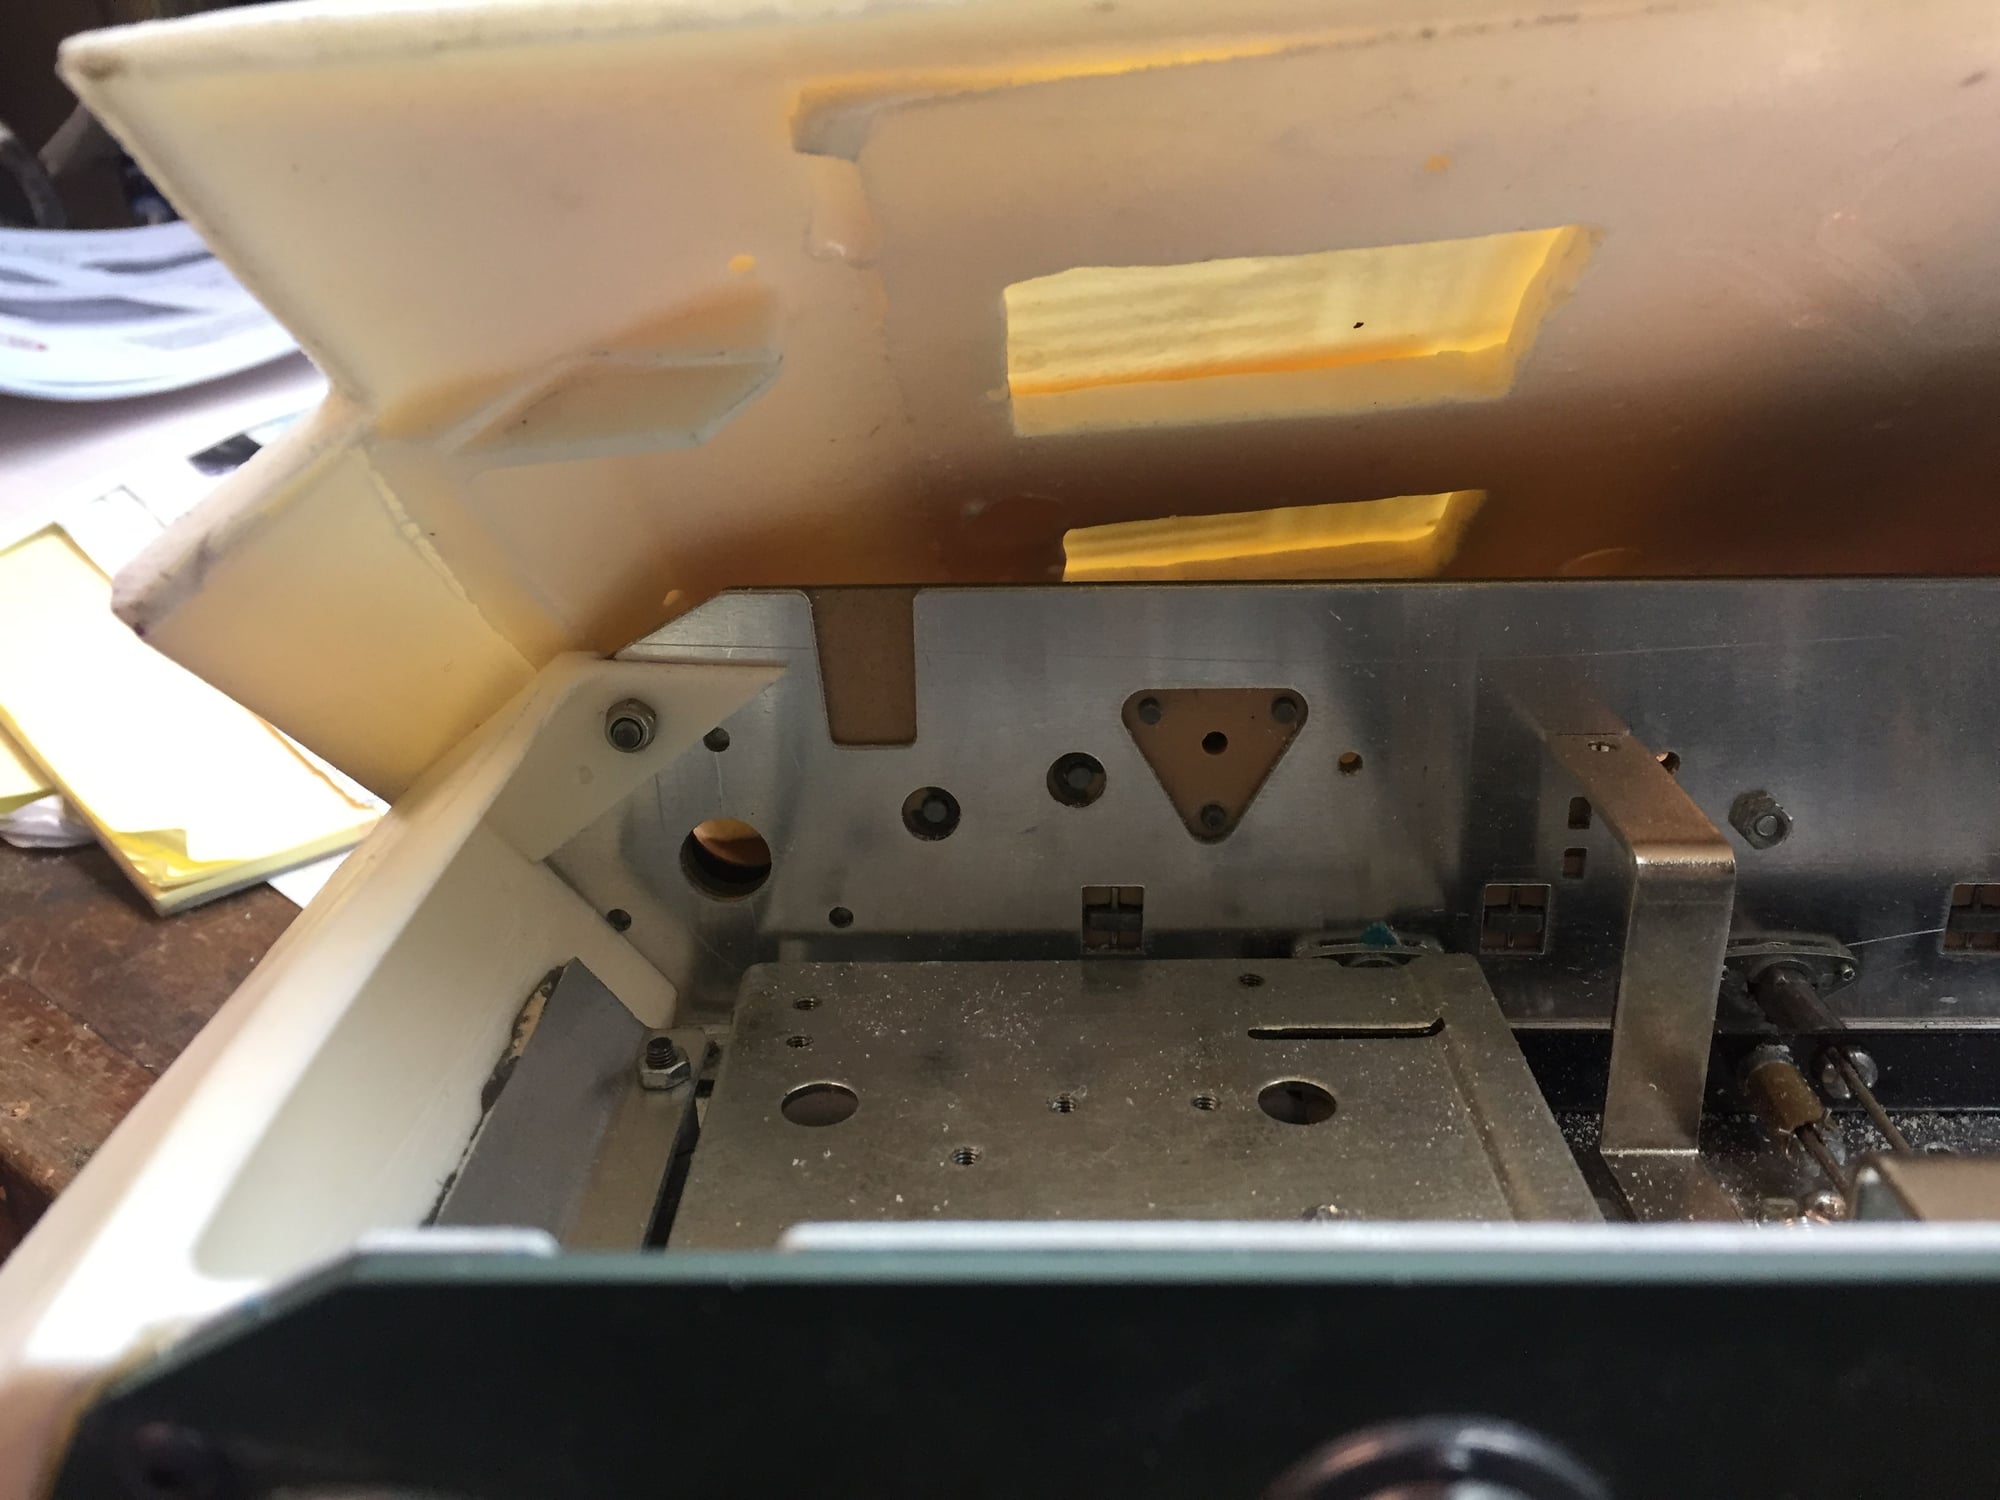
Okay, so got the kit, and a Taigen KV1 metal chassis. I have the top and bottom hulls fitted together by dremel work on the rear to narrow the top hull enough to allow for the extra thickness of the aluminum. So after placing test gearboxes in place, I cannot get the top hull over the rear of the gearboxes. Should I just flex it over? or??
I'm thinking of cutting the rear, lower portion off, and screwing it to the chassis to stiffen it, and avoid the interference with the gear boxes.
thanks for any help, Jerry
I'm thinking of cutting the rear, lower portion off, and screwing it to the chassis to stiffen it, and avoid the interference with the gear boxes.
thanks for any help, Jerry
Last edited by Lotuswins; 12-08-2019 at 04:24 PM. Reason: add pics
12-10-2019, 10:21 AM
#9

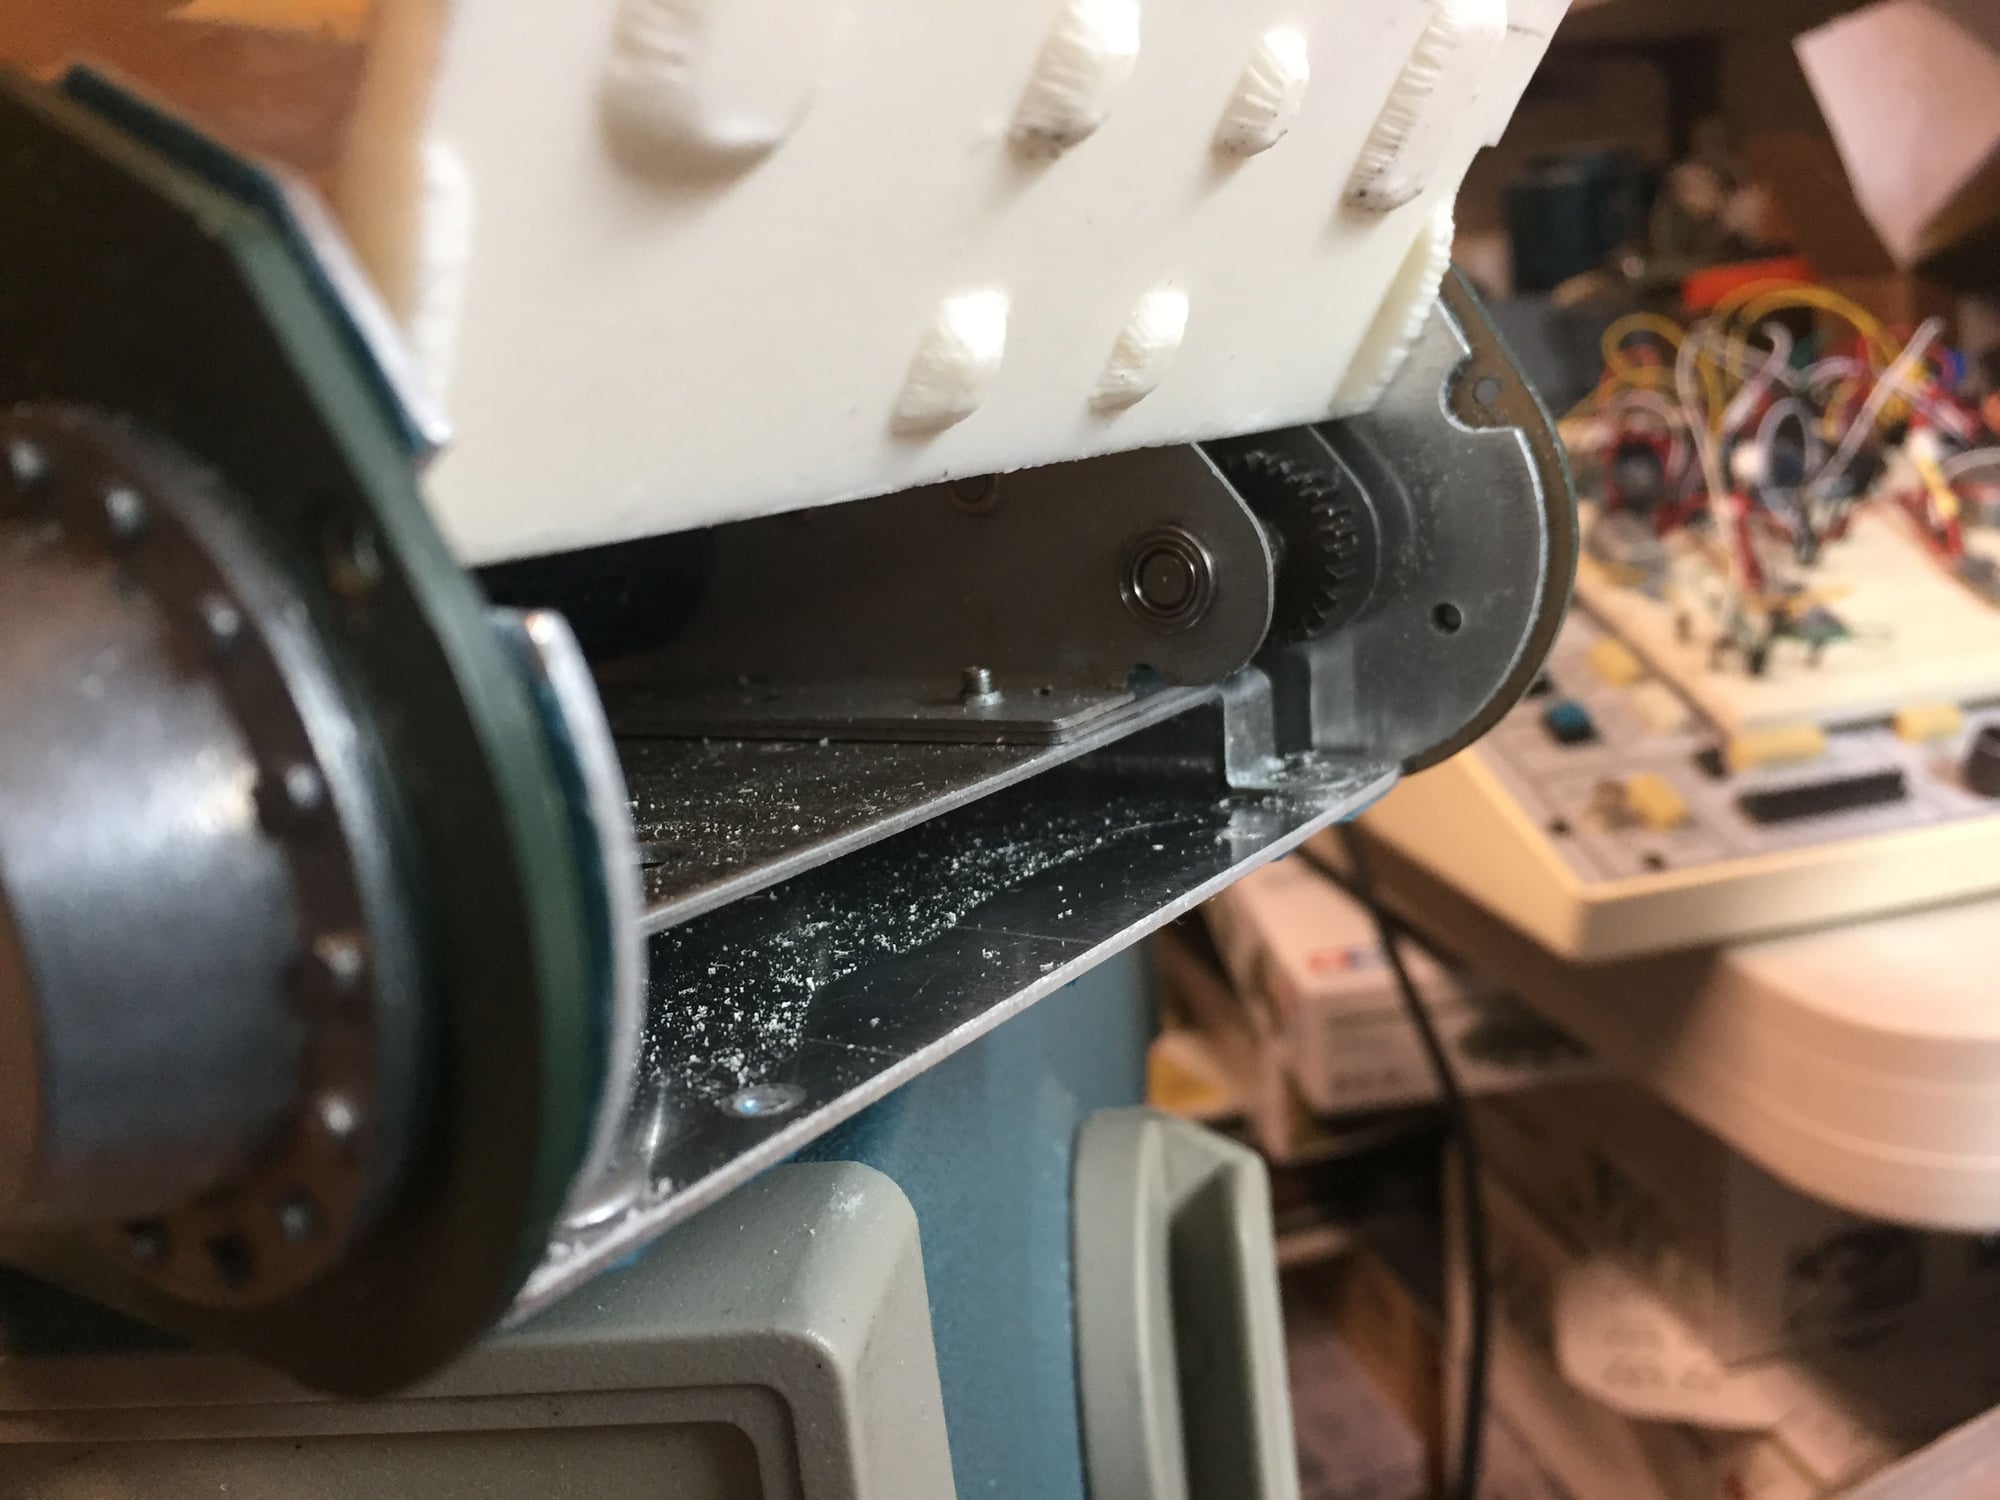
So I took the plunge yesterday and sliced the rear upper plate in two. It was 0.250 inches thick, so with the thin, deep saw I used, I'm left with almost an eighth inch on top and bottom. It now aligns fore and aft due to the angle of the halved plate. The torsional rigidity is now restored, and I can use the Taigen quick release also. Much better IMHO than the HL chassis.
12-10-2019, 11:22 AM
#10
Nice solution. Looks great so far.
12-10-2019, 02:20 PM
#11
Thanks Maus, I wish I cut it a little straighter, but it will do I guess. Those thin saws do flex a bit. On to the turret issues I guess. The upper hull sits lower than the KV's, so I don't have clearance for an airsoft with the FR7 speaker in place. The disc the turret sits on is uneven, and very flexible, so I hope to make new out of 1/8 inch aluminum plate.
jerry
jerry
 01-20-2020, 03:20 PM
#13
A short update, things are coming together:
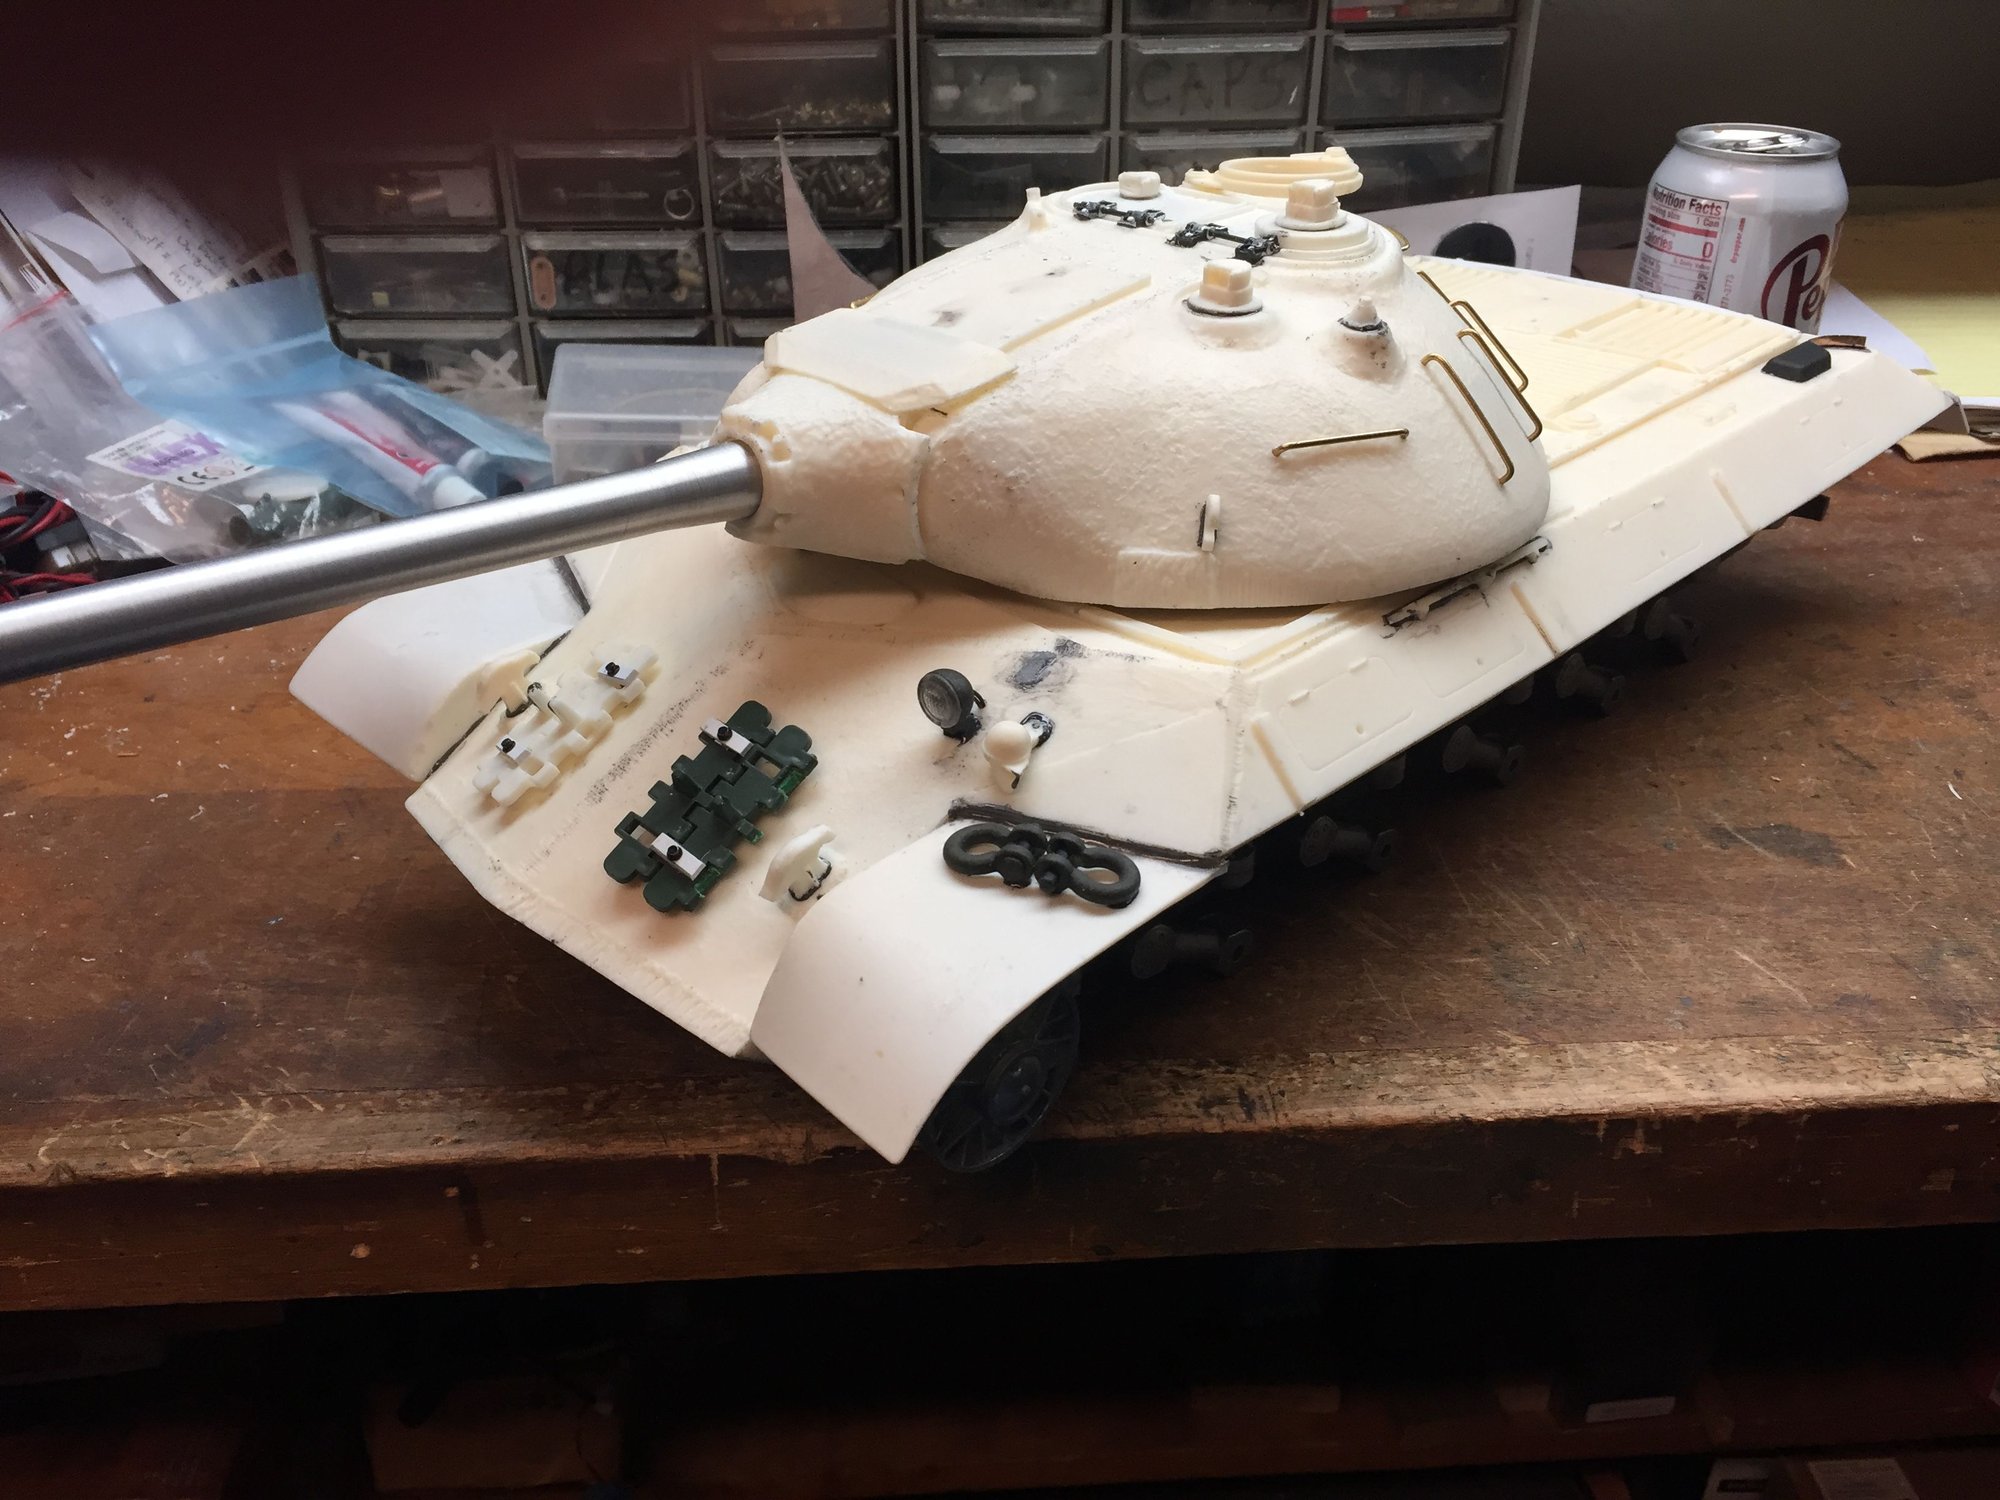
JS2 shackles, front headlight from damaged JS2 upper hull.

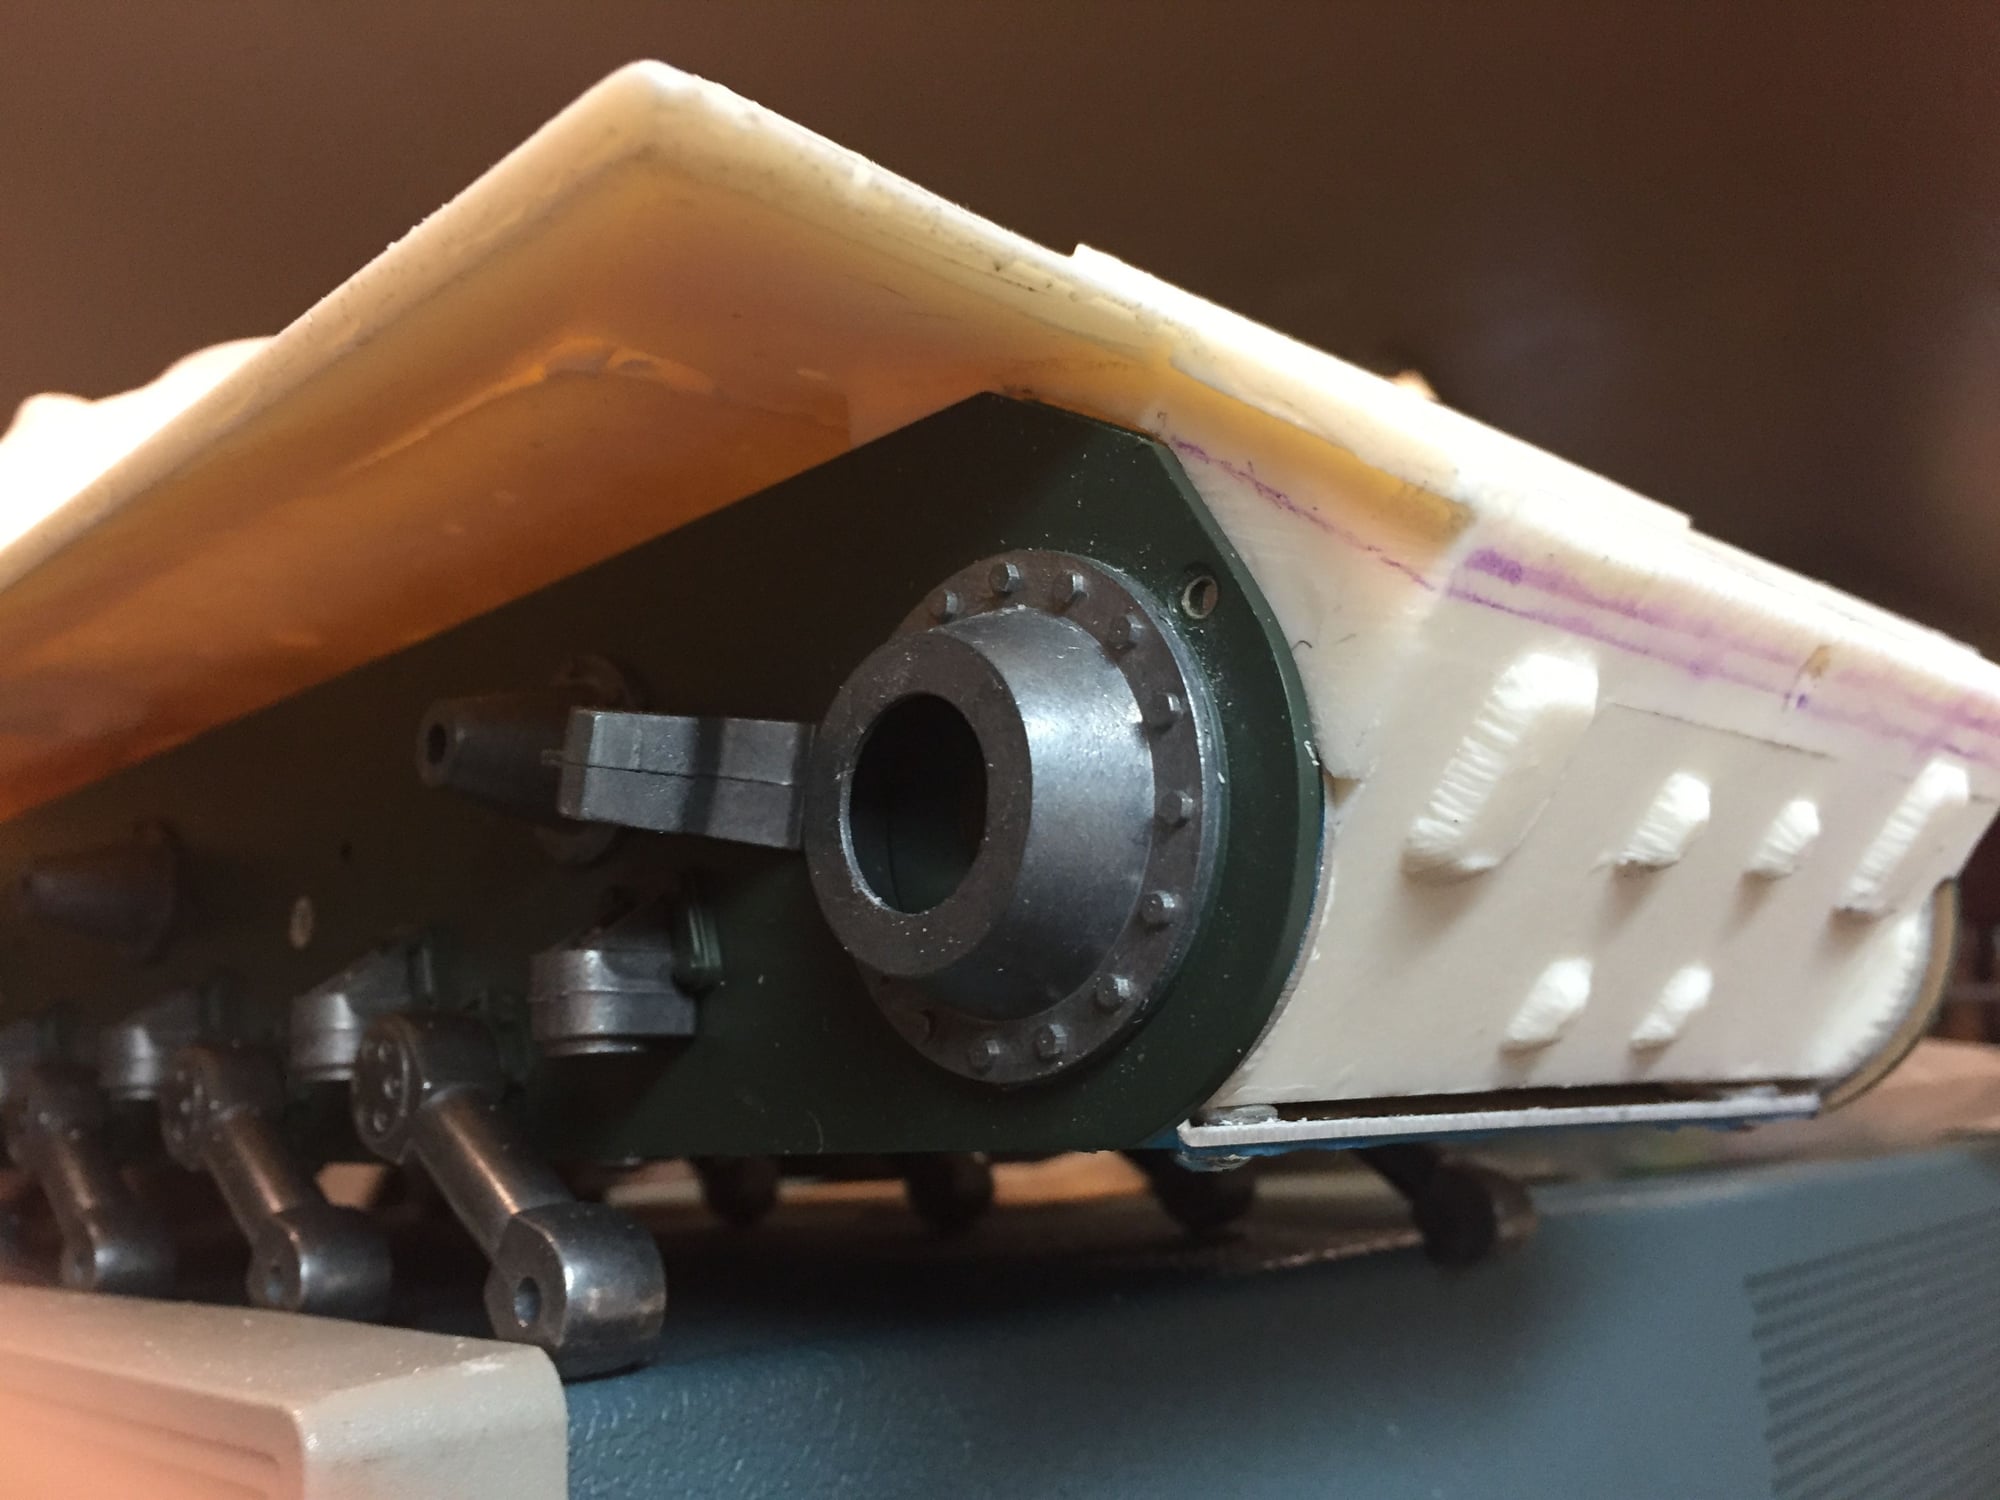
JS2 exhaust outlets and barrel rest. Had to make piece behind vent sheet since provided piece was too fragile. Note rear and front flaps over tracks are slightly different width, which is consistant with close observation of actual tank.
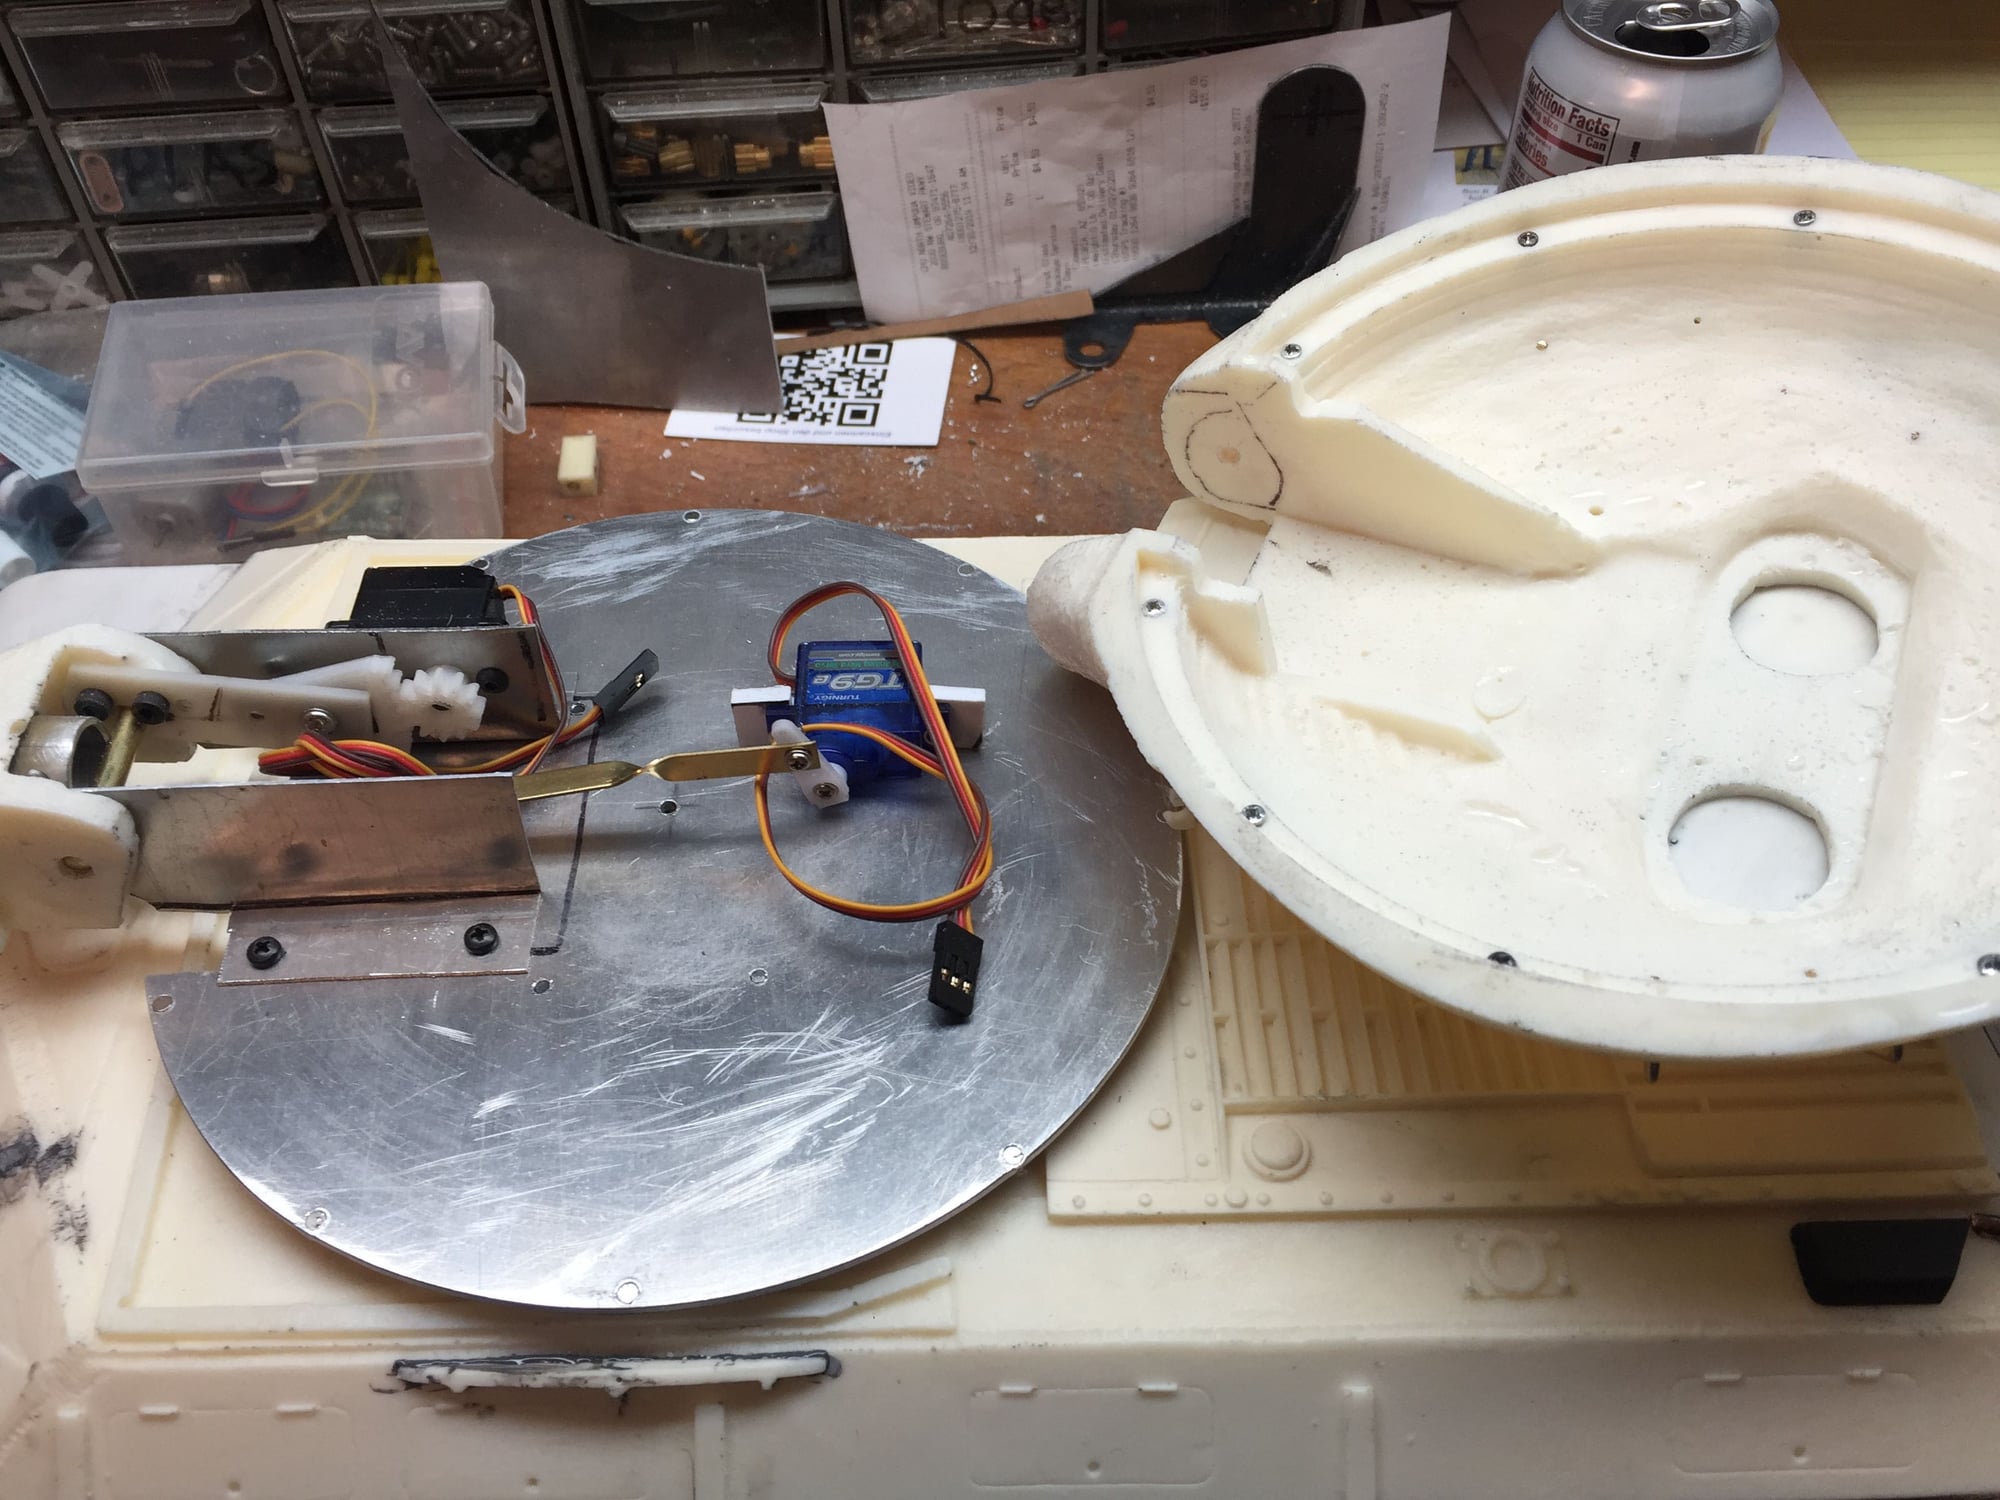
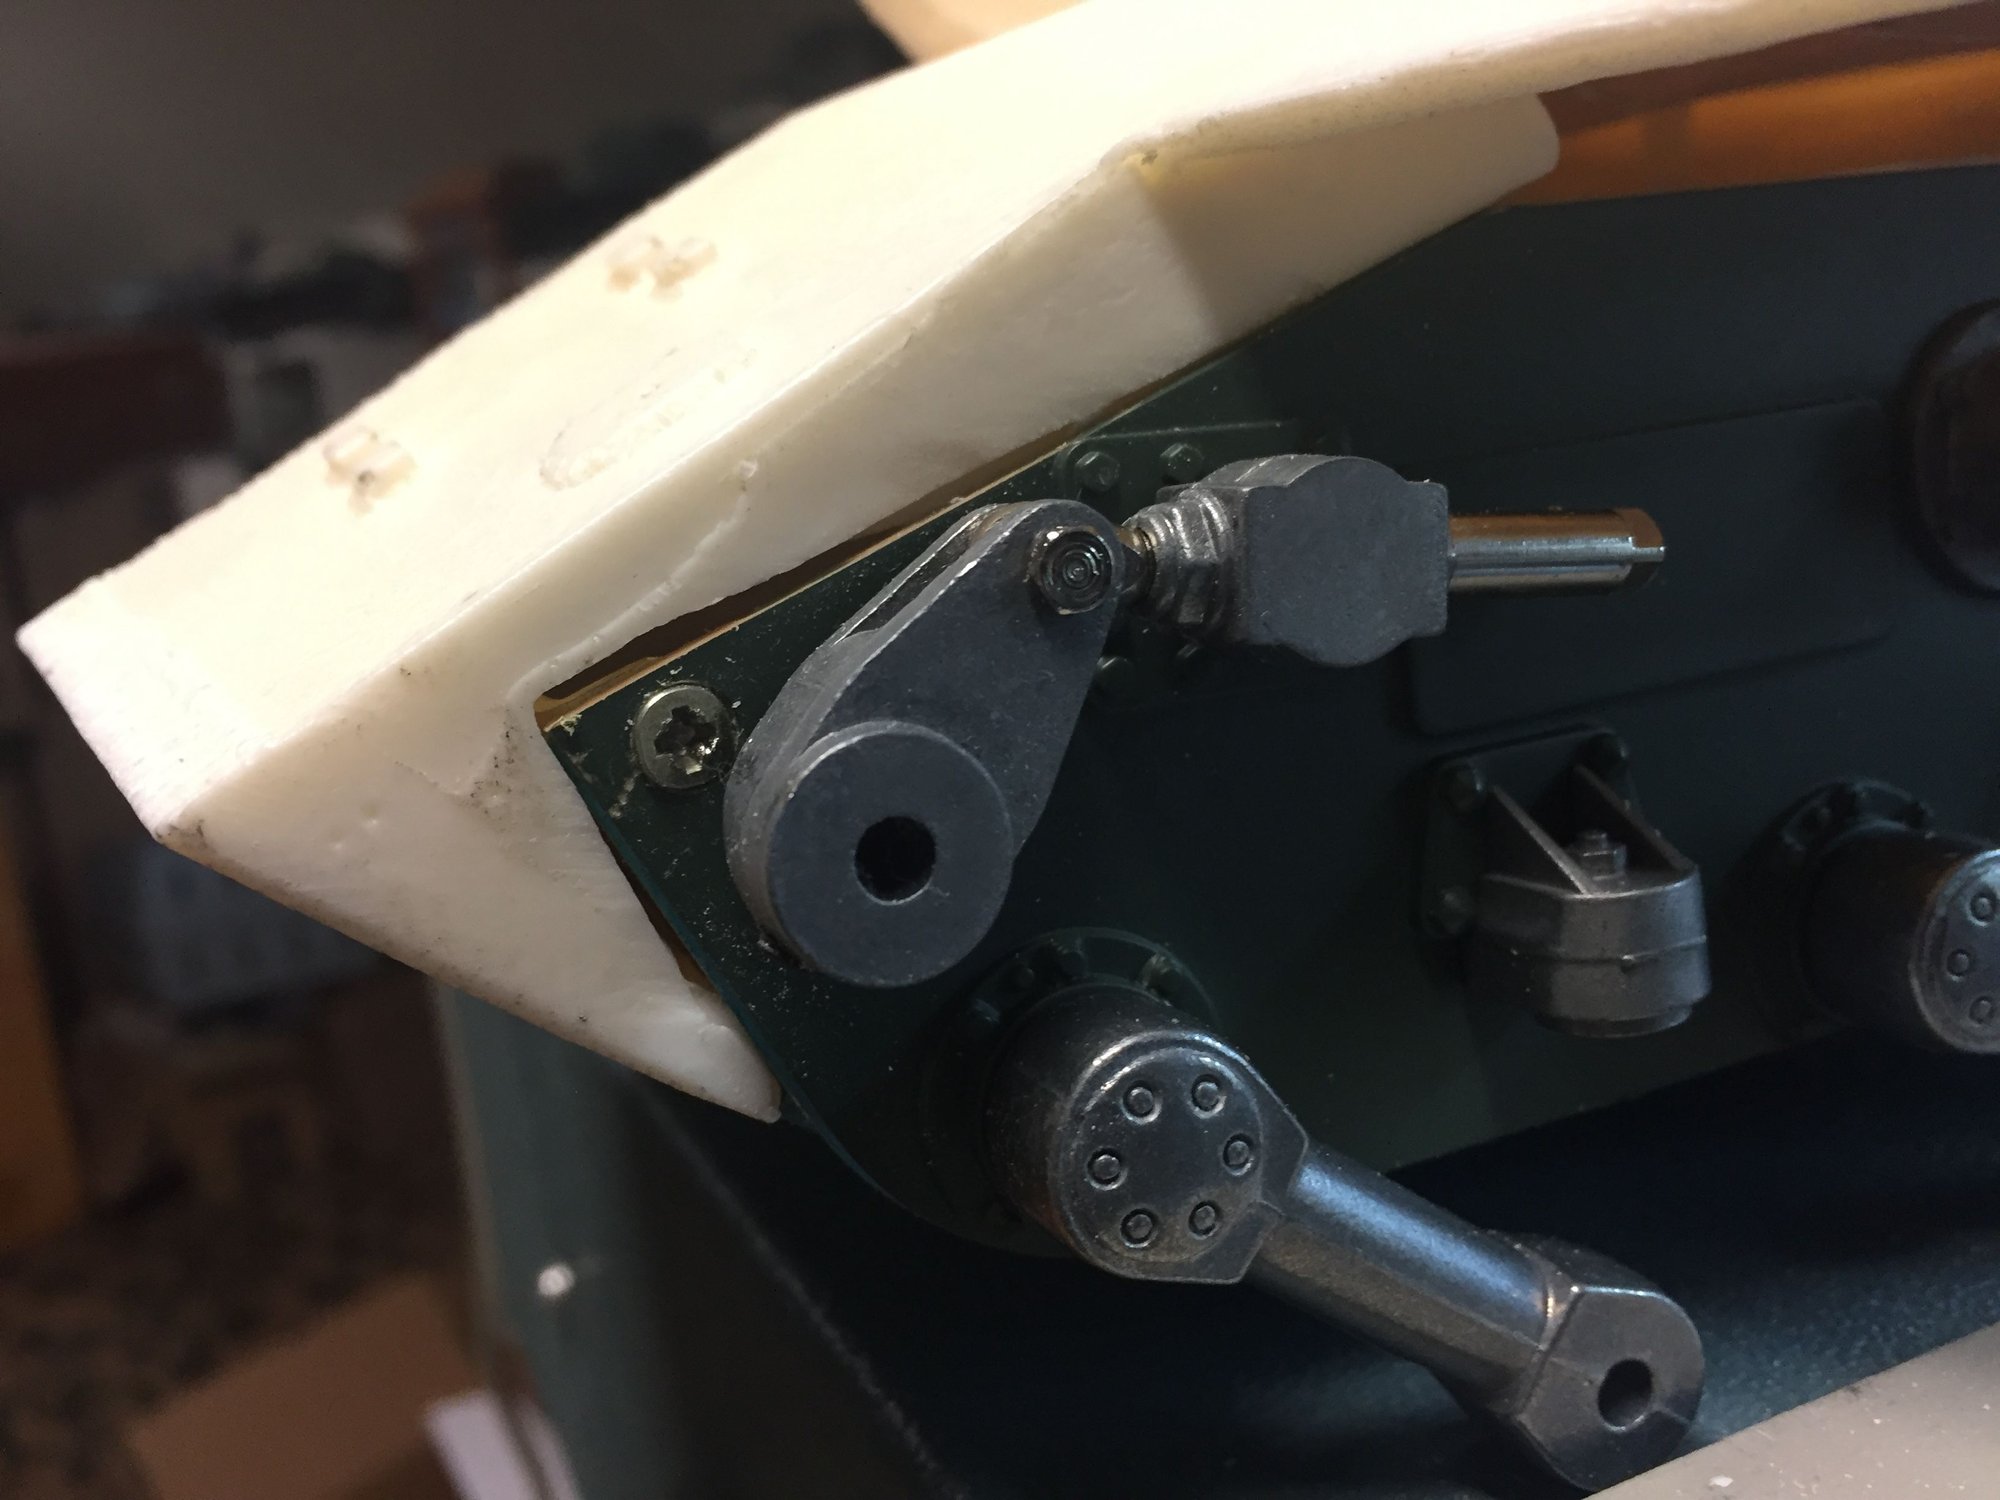
I decided to make the turret top removable, makes it easy to work on....ledge where turret base rests was uneven so I put jacking screws which have small magnets pressed into base so it snaps into place. I can jack the turret to gain minimum distance between upper hull and bottom of turret shell.
JS2 shackles, front headlight from damaged JS2 upper hull.
JS2 exhaust outlets and barrel rest. Had to make piece behind vent sheet since provided piece was too fragile. Note rear and front flaps over tracks are slightly different width, which is consistant with close observation of actual tank.
I decided to make the turret top removable, makes it easy to work on....ledge where turret base rests was uneven so I put jacking screws which have small magnets pressed into base so it snaps into place. I can jack the turret to gain minimum distance between upper hull and bottom of turret shell.
01-22-2020, 08:39 AM
#14
Wow you have made great progress. Like what you did with the turret. So will paint it as Russian or Egyptian?
01-22-2020, 12:57 PM
#15
Really love the work and much attention to detail!


