


Top Flite Giant Scale Spitfire ARF
 11-24-2014, 03:59 PM
#426
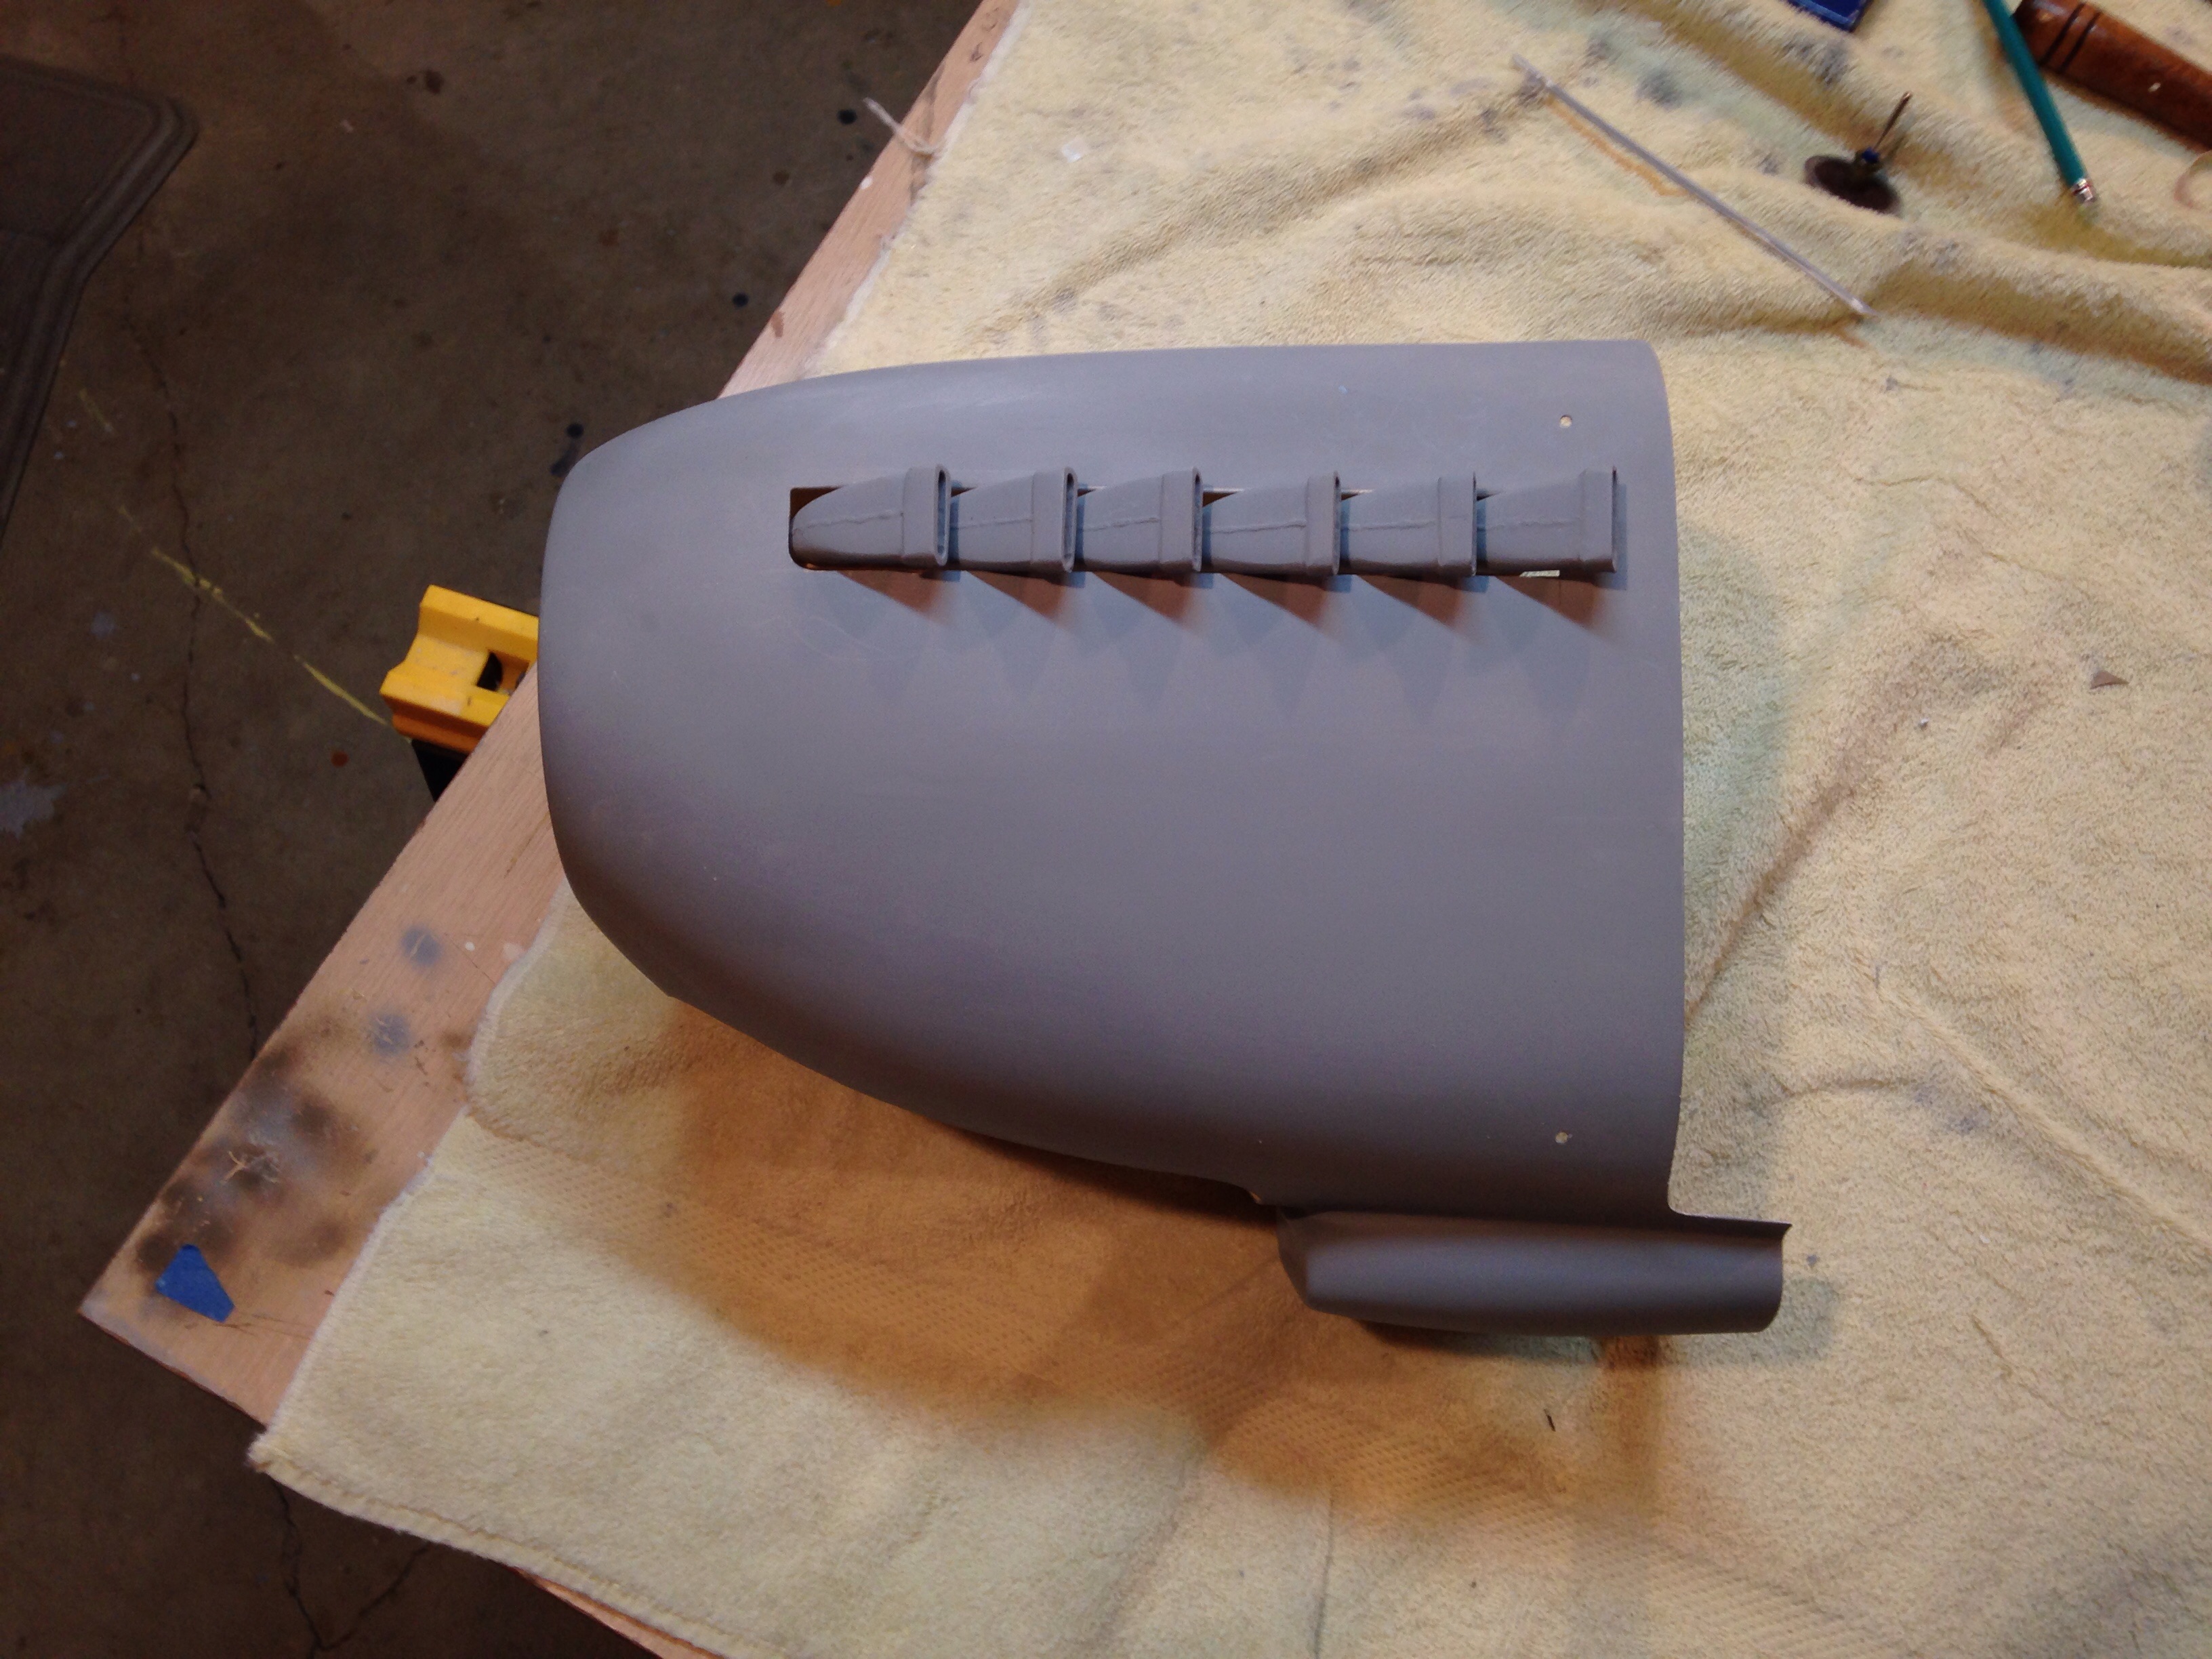
Did a little work on the dummy exhaust today. Haven't had much time to work on it lately. This is just a preliminary fitting, I'm going to make a box for them to set in behind the cutout next.

 11-28-2014, 07:40 PM
#427
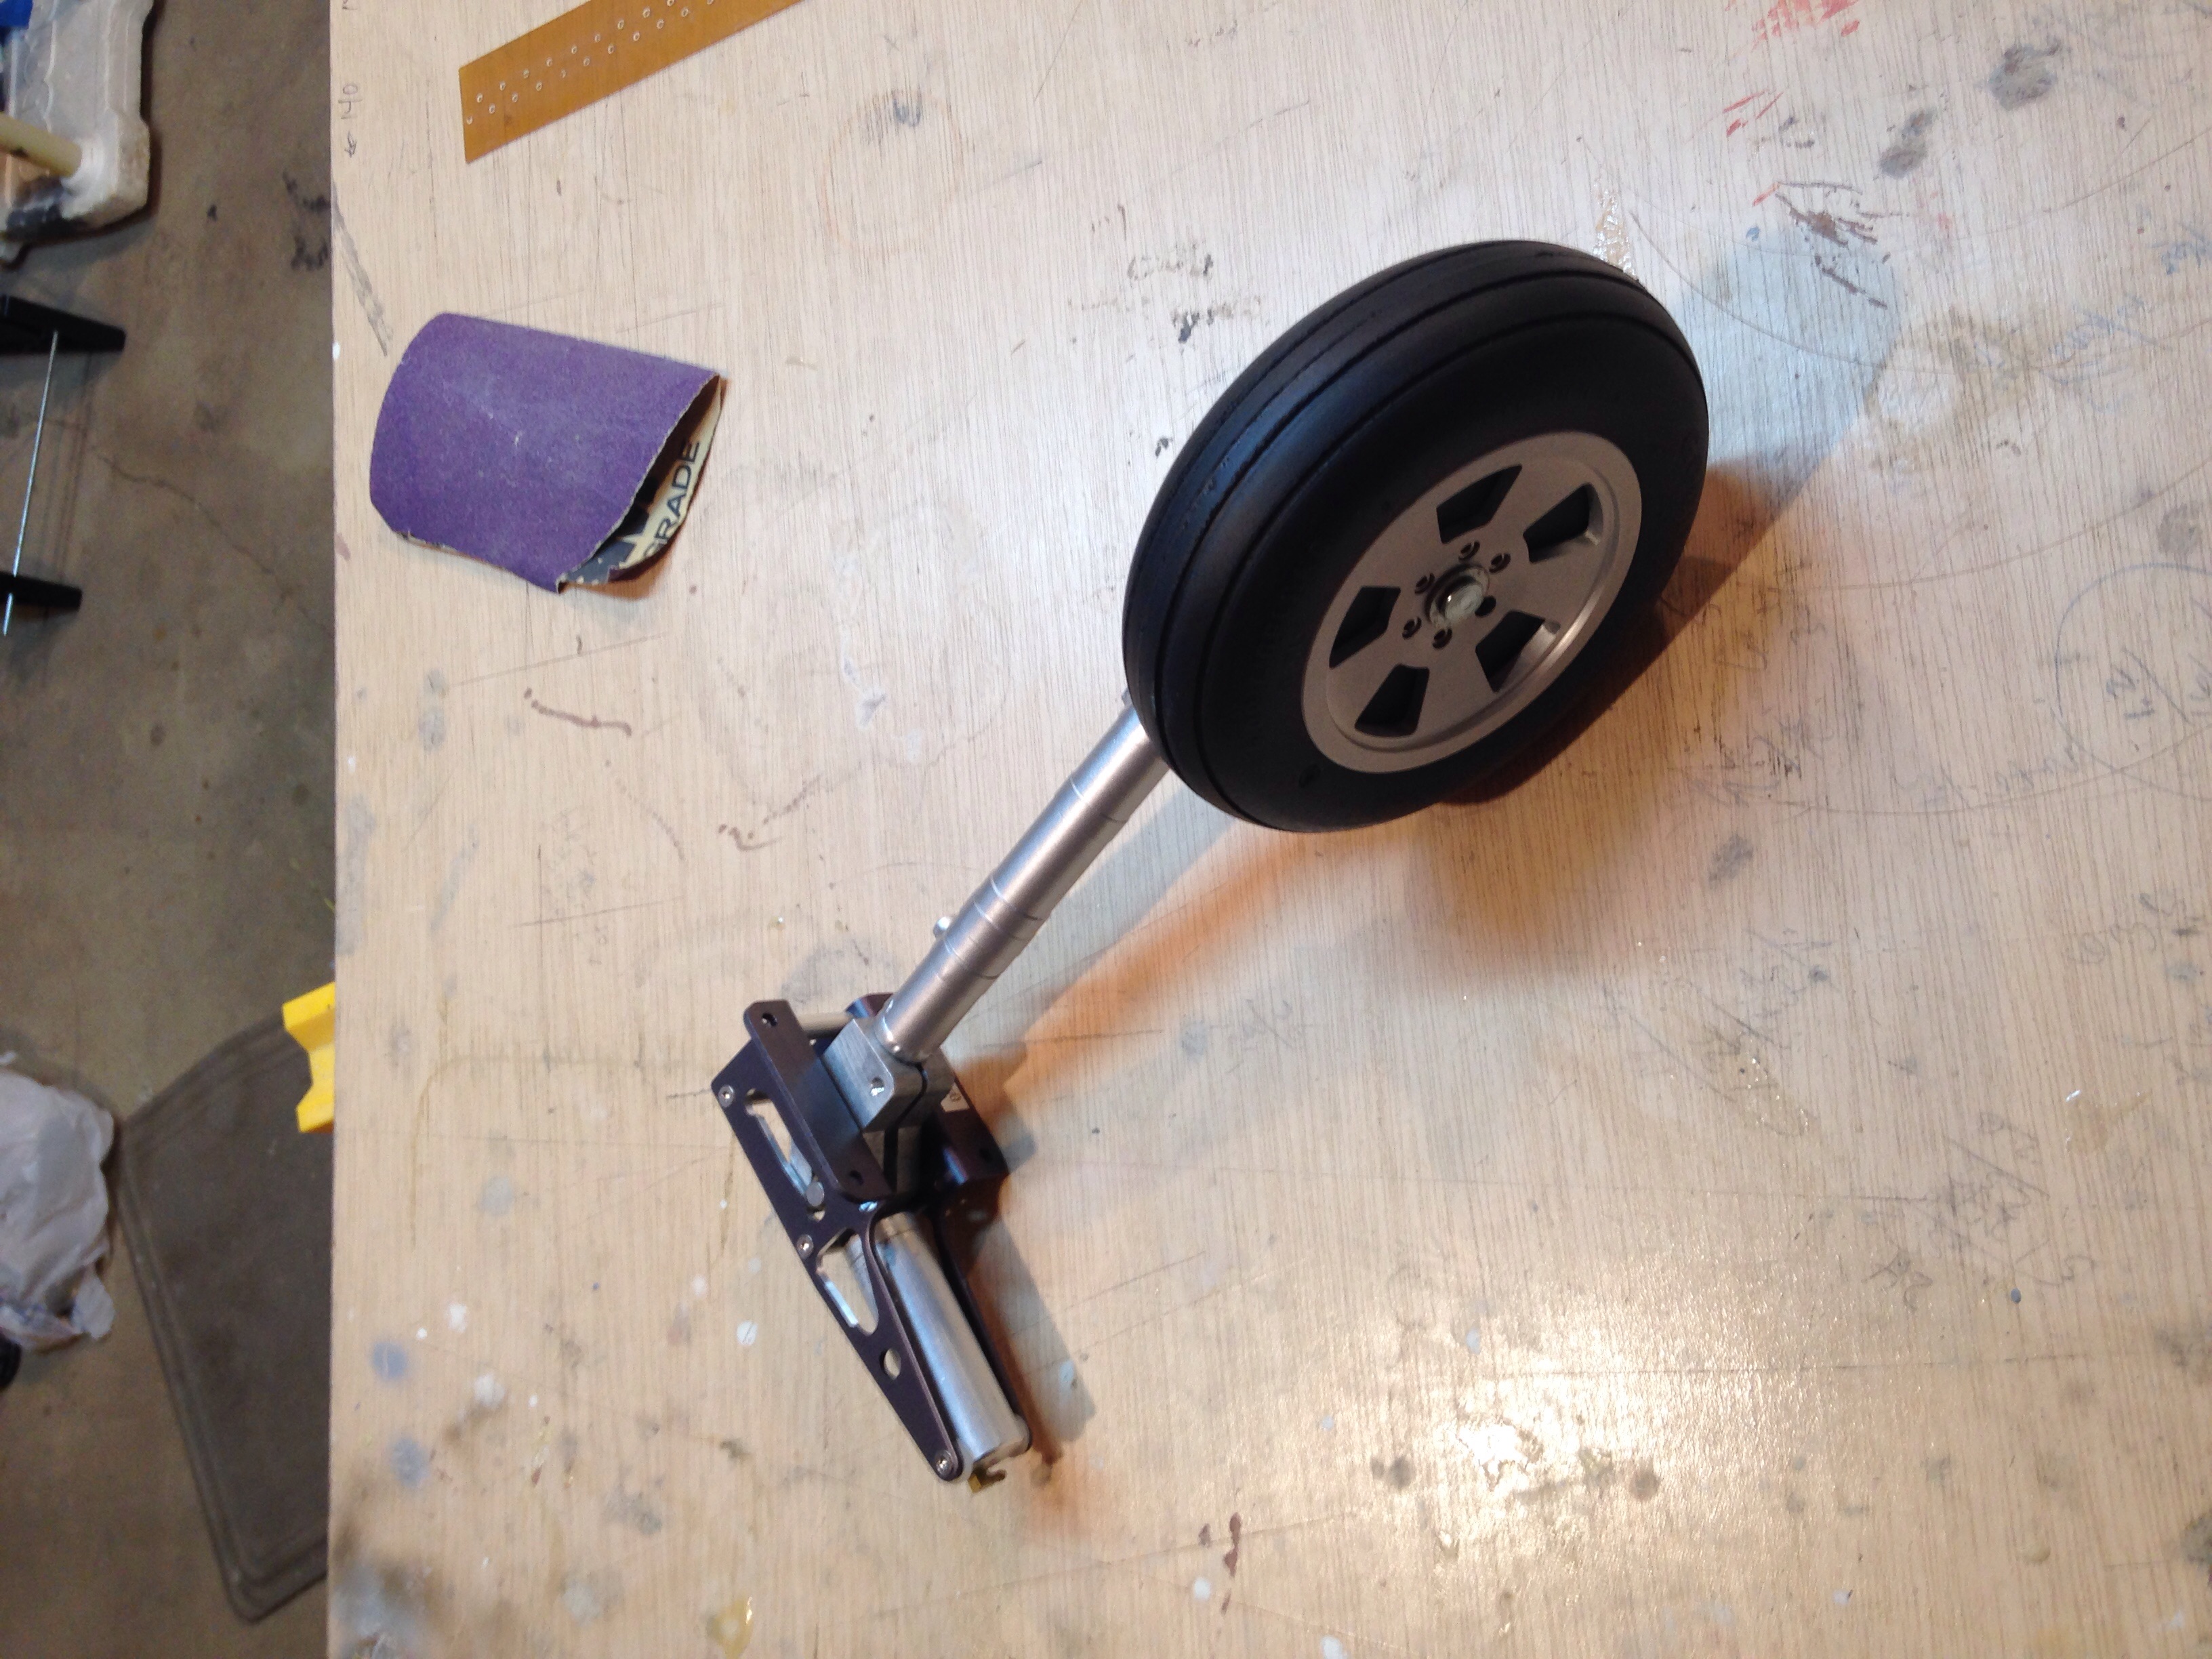
Worked on the wheels a bit yesterday between cooking and eating. I've brushed them and flat coated to dull them down. I added "brakes" inside so you don't see through the spokes anymore.

12-03-2014, 06:35 AM
#428
Worked on detailing the Robart struts a bit, not perfect but it works for effect. Hope to make some more progress tomorrow on the dummy exhaust. I'm enjoying this enough that I'm already thinking about doing another one and bashing it into a MkIa (my favorite). That'll wait till next year and a bit more disposable income. I wish TF would do a Typhoon or Hurricane.

12-03-2014, 06:08 PM
#429

Worked on detailing the Robart struts a bit, not perfect but it works for effect. Hope to make some more progress tomorrow on the dummy exhaust. I'm enjoying this enough that I'm already thinking about doing another one and bashing it into a MkIa (my favorite). That'll wait till next year and a bit more disposable income. I wish TF would do a Typhoon or Hurricane.

 12-04-2014, 10:55 AM
#433
SD, it's slightly smaller than 1/5th scale, I believe the Yellow at 88" is actual 1/5 but I could be wrong. I'll be making my own masking for the markings, I'll start with 1/5 and eyeball till I get them reasonable close. The wheels are Robarts and their price is as impressive as they are.
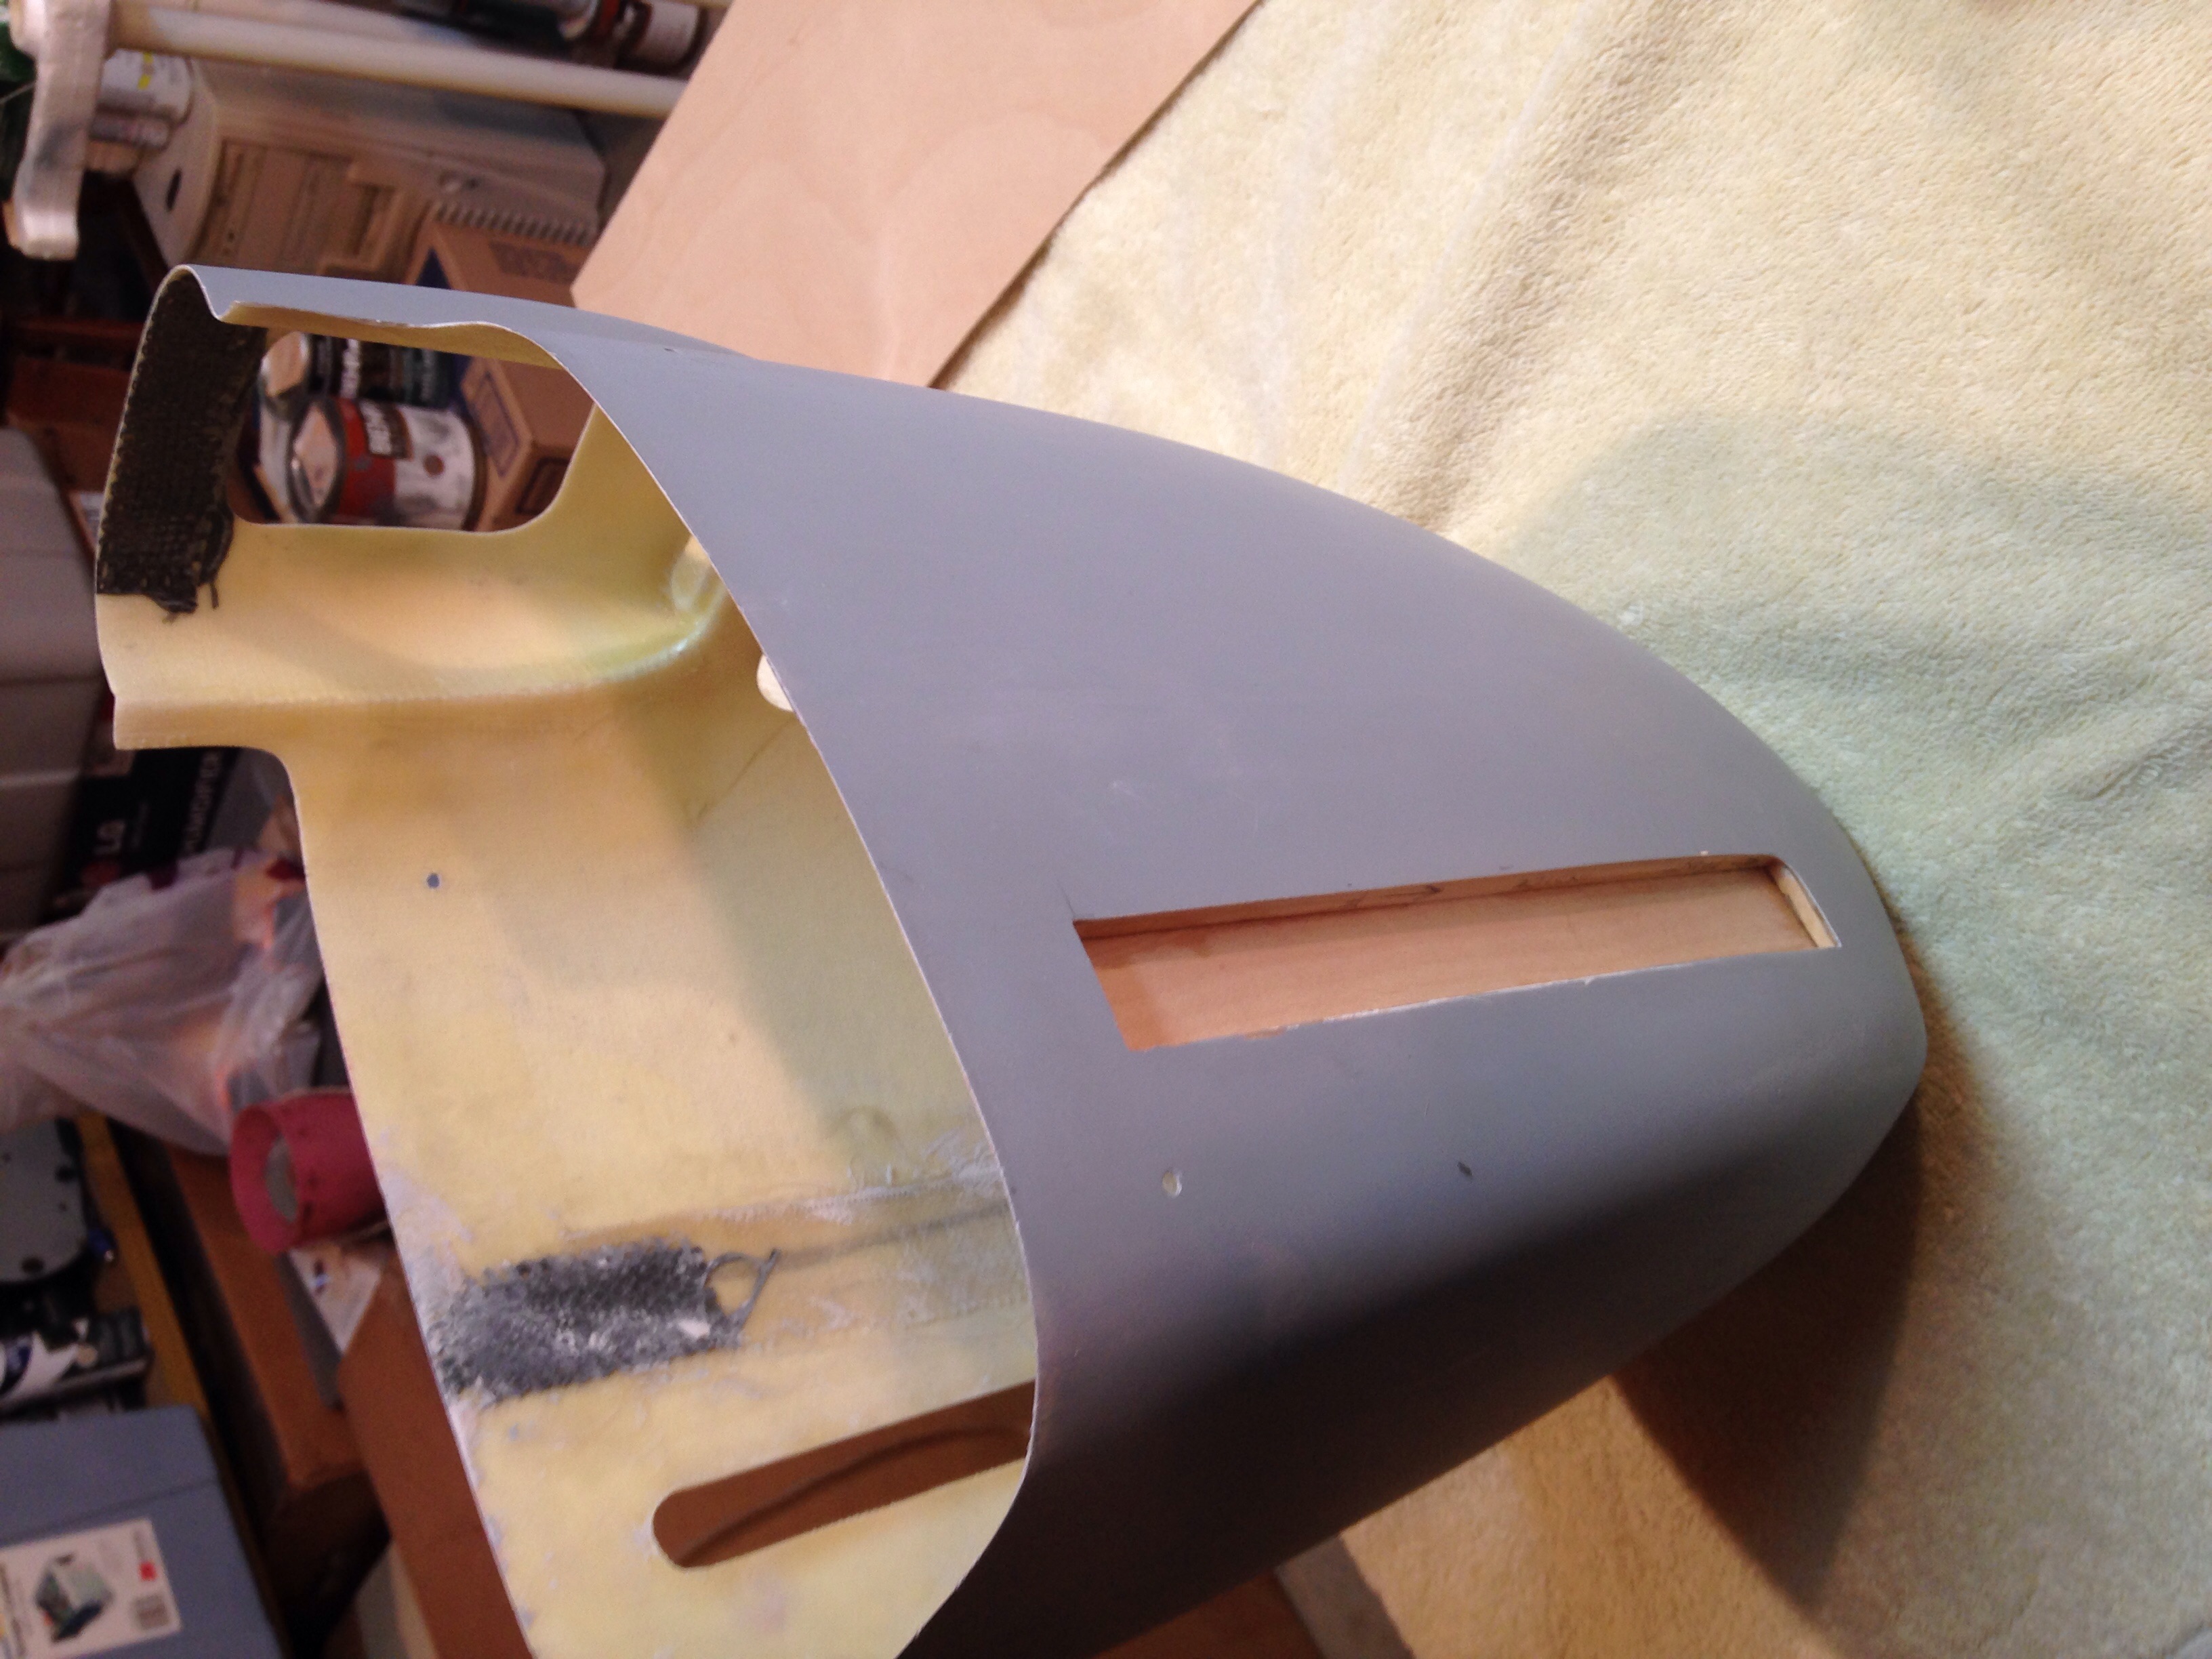
I made one of the boxes for the dummy exhaust today and finished up the strut details. It's coming along but still a long ways to go. I plan to glass the box into the cowl for more strength. The dummy manifolds will be screwed and glued. They've got some weight to them so I suspect the trimming I need to do to the weight blocks will even out the difference.


I made one of the boxes for the dummy exhaust today and finished up the strut details. It's coming along but still a long ways to go. I plan to glass the box into the cowl for more strength. The dummy manifolds will be screwed and glued. They've got some weight to them so I suspect the trimming I need to do to the weight blocks will even out the difference.
Last edited by SpitfireMkII; 12-04-2014 at 10:58 AM.
12-04-2014, 03:28 PM
#438

SD, it's slightly smaller than 1/5th scale, I believe the Yellow at 88" is actual 1/5 but I could be wrong. I'll be making my own masking for the markings, I'll start with 1/5 and eyeball till I get them reasonable close. The wheels are Robarts and their price is as impressive as they are.
I made one of the boxes for the dummy exhaust today and finished up the strut details. It's coming along but still a long ways to go. I plan to glass the box into the cowl for more strength. The dummy manifolds will be screwed and glued. They've got some weight to them so I suspect the trimming I need to do to the weight blocks will even out the difference.
I made one of the boxes for the dummy exhaust today and finished up the strut details. It's coming along but still a long ways to go. I plan to glass the box into the cowl for more strength. The dummy manifolds will be screwed and glued. They've got some weight to them so I suspect the trimming I need to do to the weight blocks will even out the difference.
Roger
02-16-2015, 12:25 PM
#442
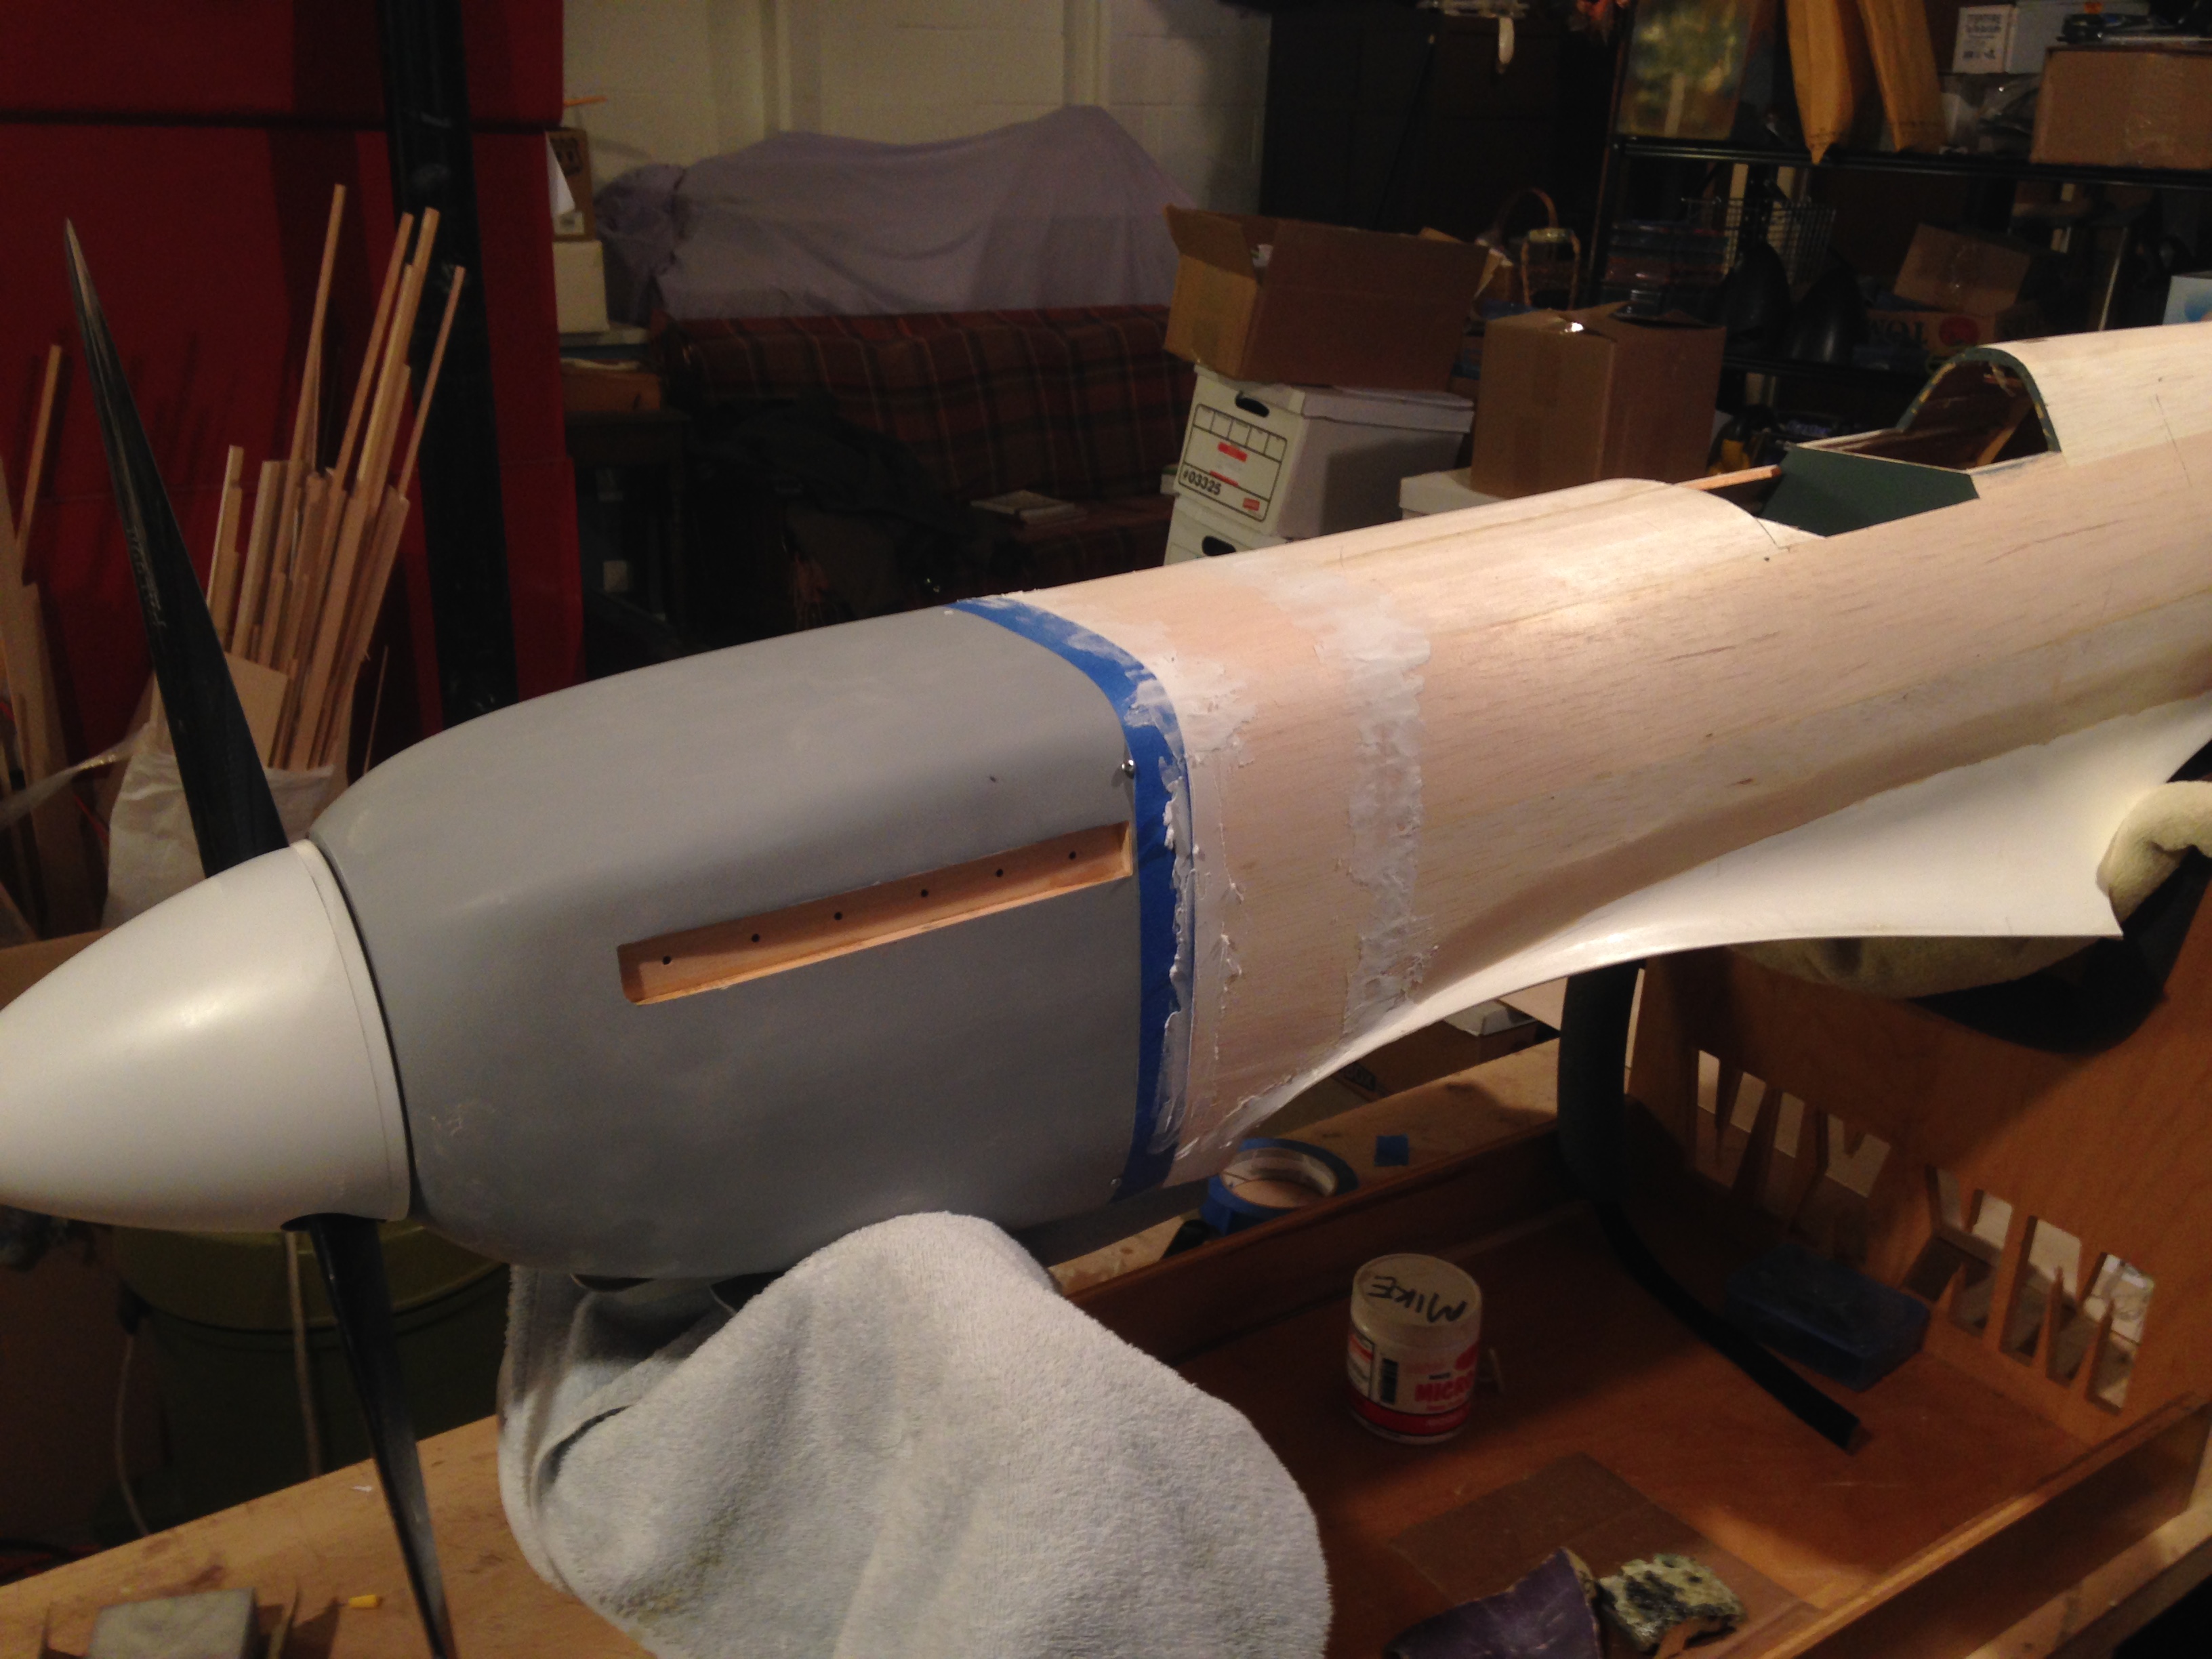
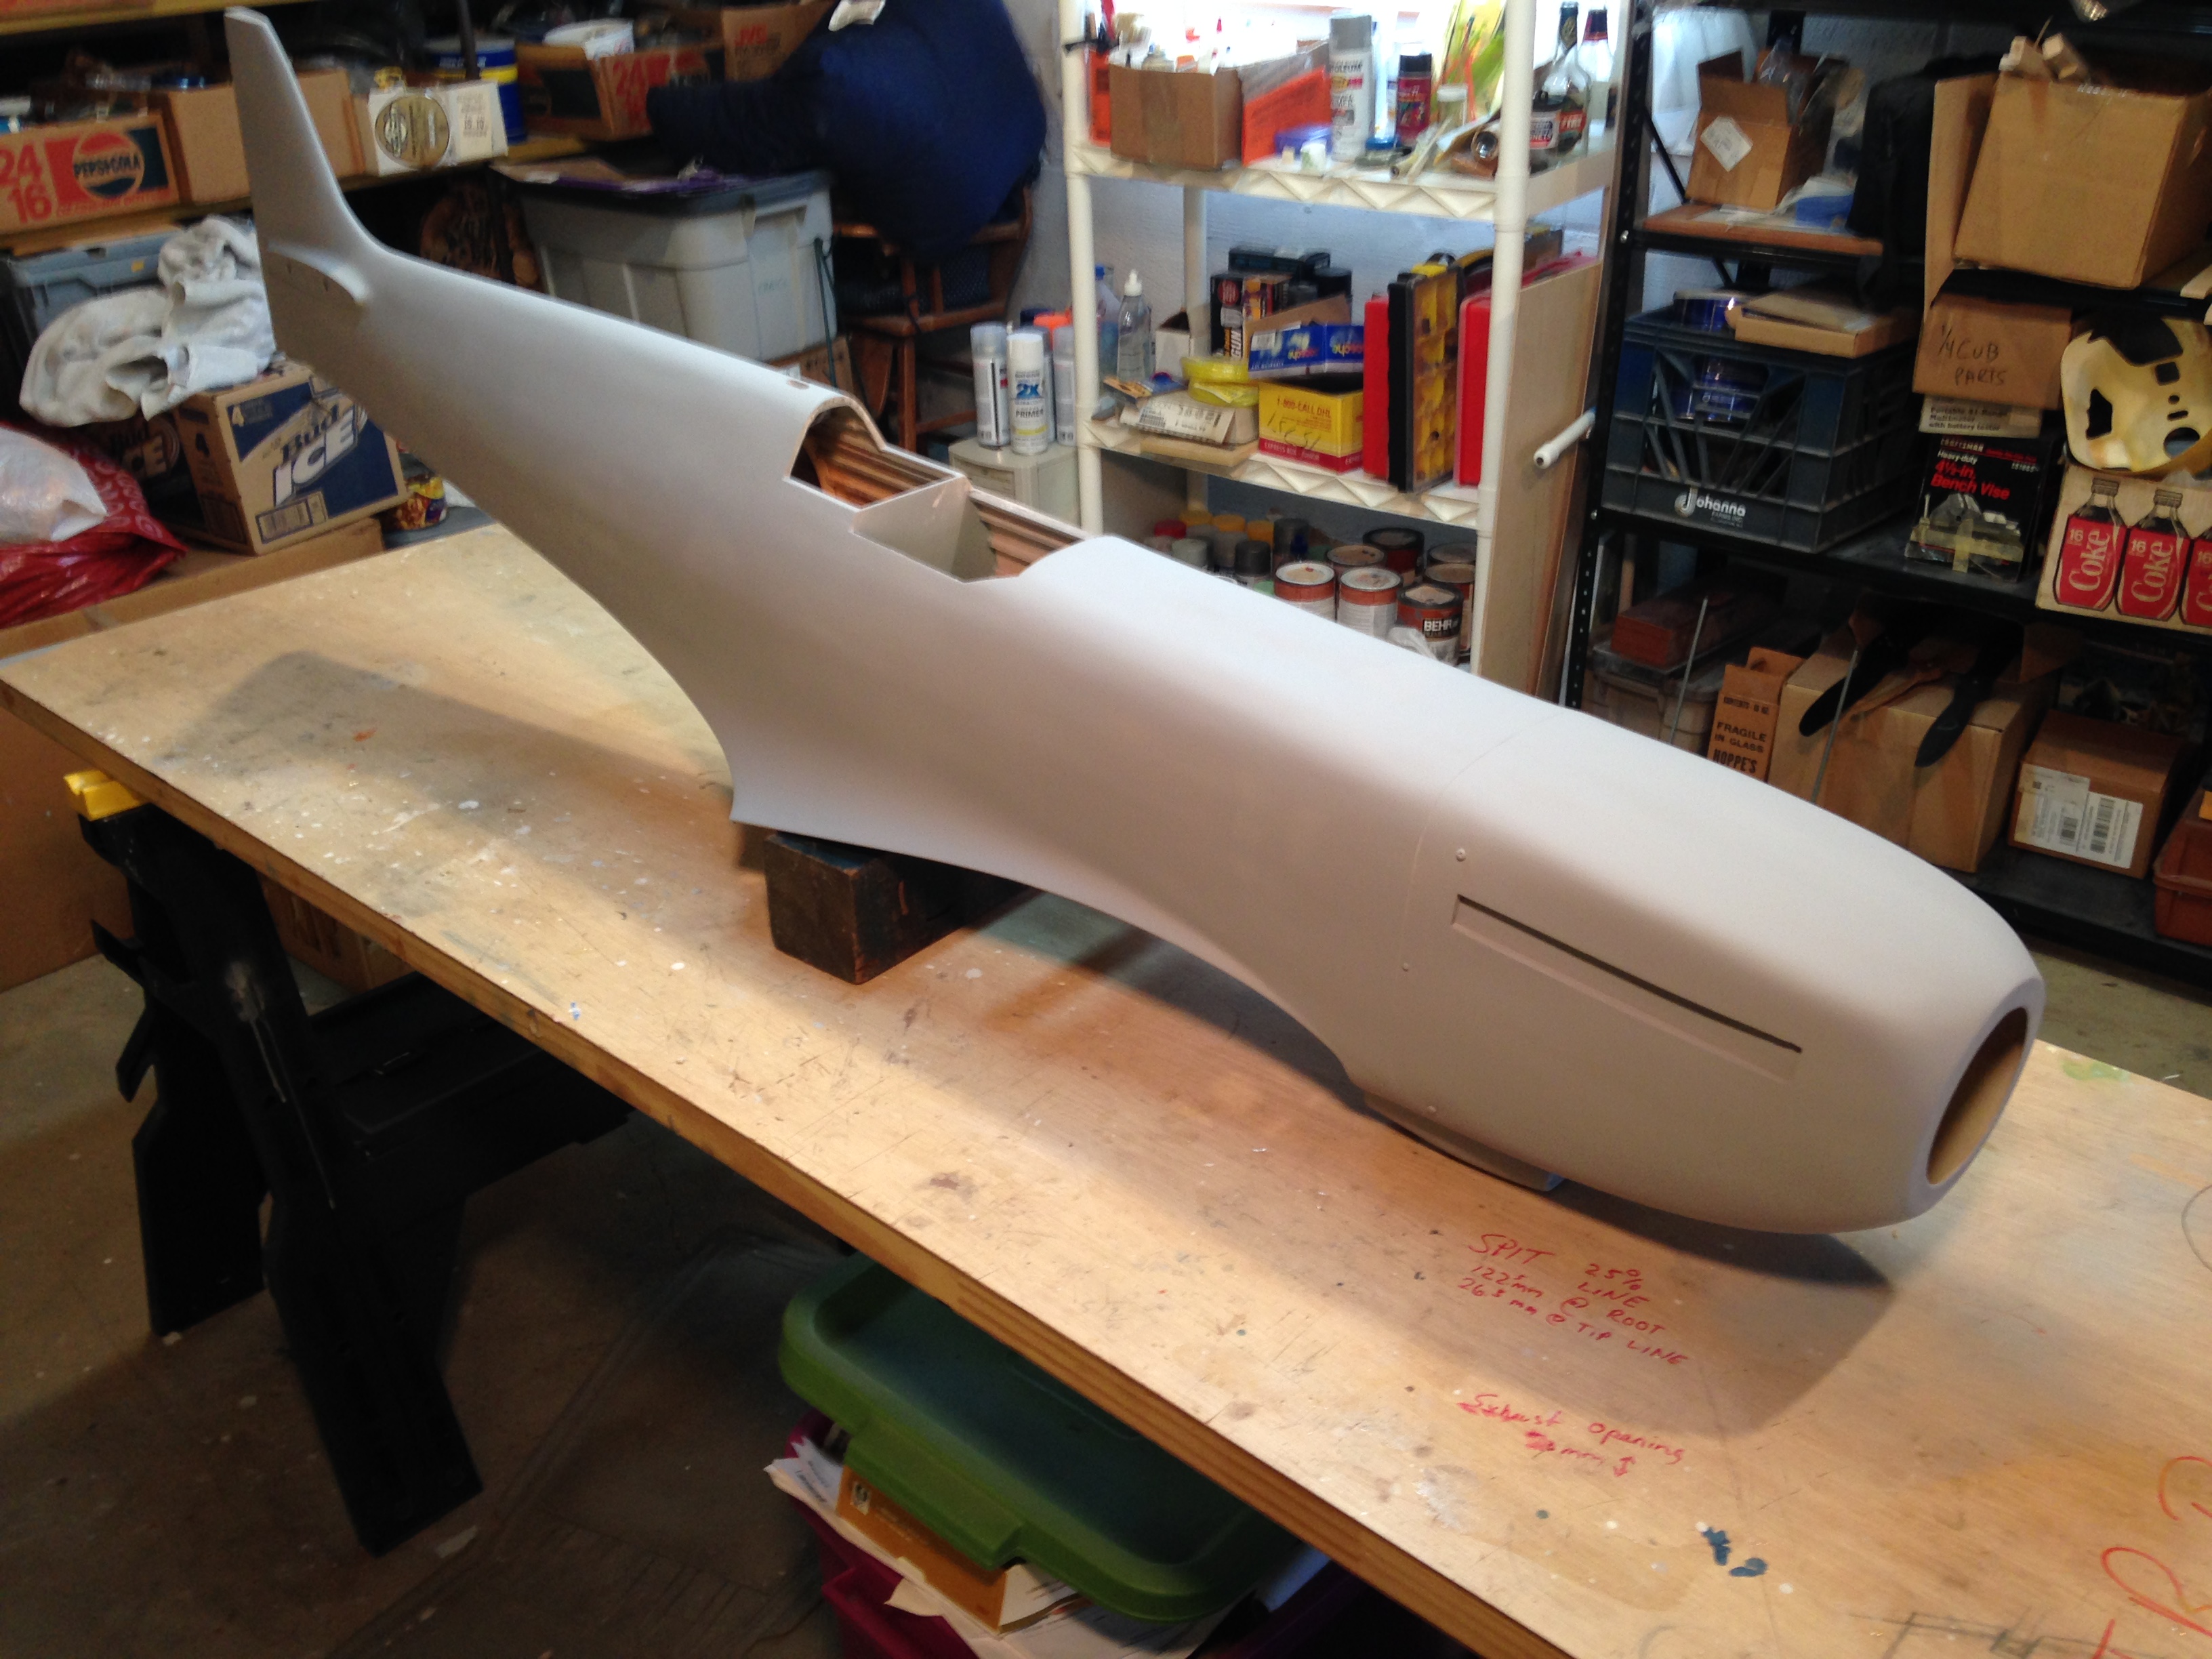
Finally back on the spitfire project. Worked on blending the cowling in and getting rid of the large ridge at the back edge. Looks pretty ugly right now but a little sanding and she'll be looking smooth and sexy ! I chose not to go too far back with the additional sheeting to simplify things around the wing fairing. Once this is done, I'll be on to the tailwheel, I have yet to decide if I'll go with a retract for a MkVIII or use the Hobby King strut for a MkIX. The retract would actually be easier to install.
02-16-2015, 12:35 PM
#443
Looking good! Ive been slowly working on mine this Winter...Been doing a little weather, panel lines and rivets on her, nothing major. I hope the scale police arent to rough on me when I get it done .. Ive been taking my time, this is a long winter! Enjoying seeing your progress.
.. Ive been taking my time, this is a long winter! Enjoying seeing your progress.
02-16-2015, 05:09 PM
#444
Thanks, my shop is at my mom's house 20 miles away so it's not always easy getting there, between work,band practice,holidays, snow and not feeling well. Now we've got more snow coming down so probably gonna have to wait till the weekend.
02-18-2015, 05:41 PM
#445

My Feedback: (1)
Join Date: Oct 2004
Location: Salem,
WV
Posts: 154
Likes: 0
Received 0 Likes
on
0 Posts
Hi
Has anybody put a lighting kit in this bird and are the retracts from robart a straight drop in or do they require some modification ?
Also how does the quality of TF ARF's compare to the aeroworks warbird planes ? I realize that aeroworks planes are high to begin with just not sure about the construction aspect between the two or the flying characteristics...
thanks
scott
03-18-2015, 12:45 PM
#446
I couldn't answer your questions Scott, I've never had or really spent any time with the Aeroworks warbirds. Lights for the Spit should be doable since it's all built up (no foam cores).
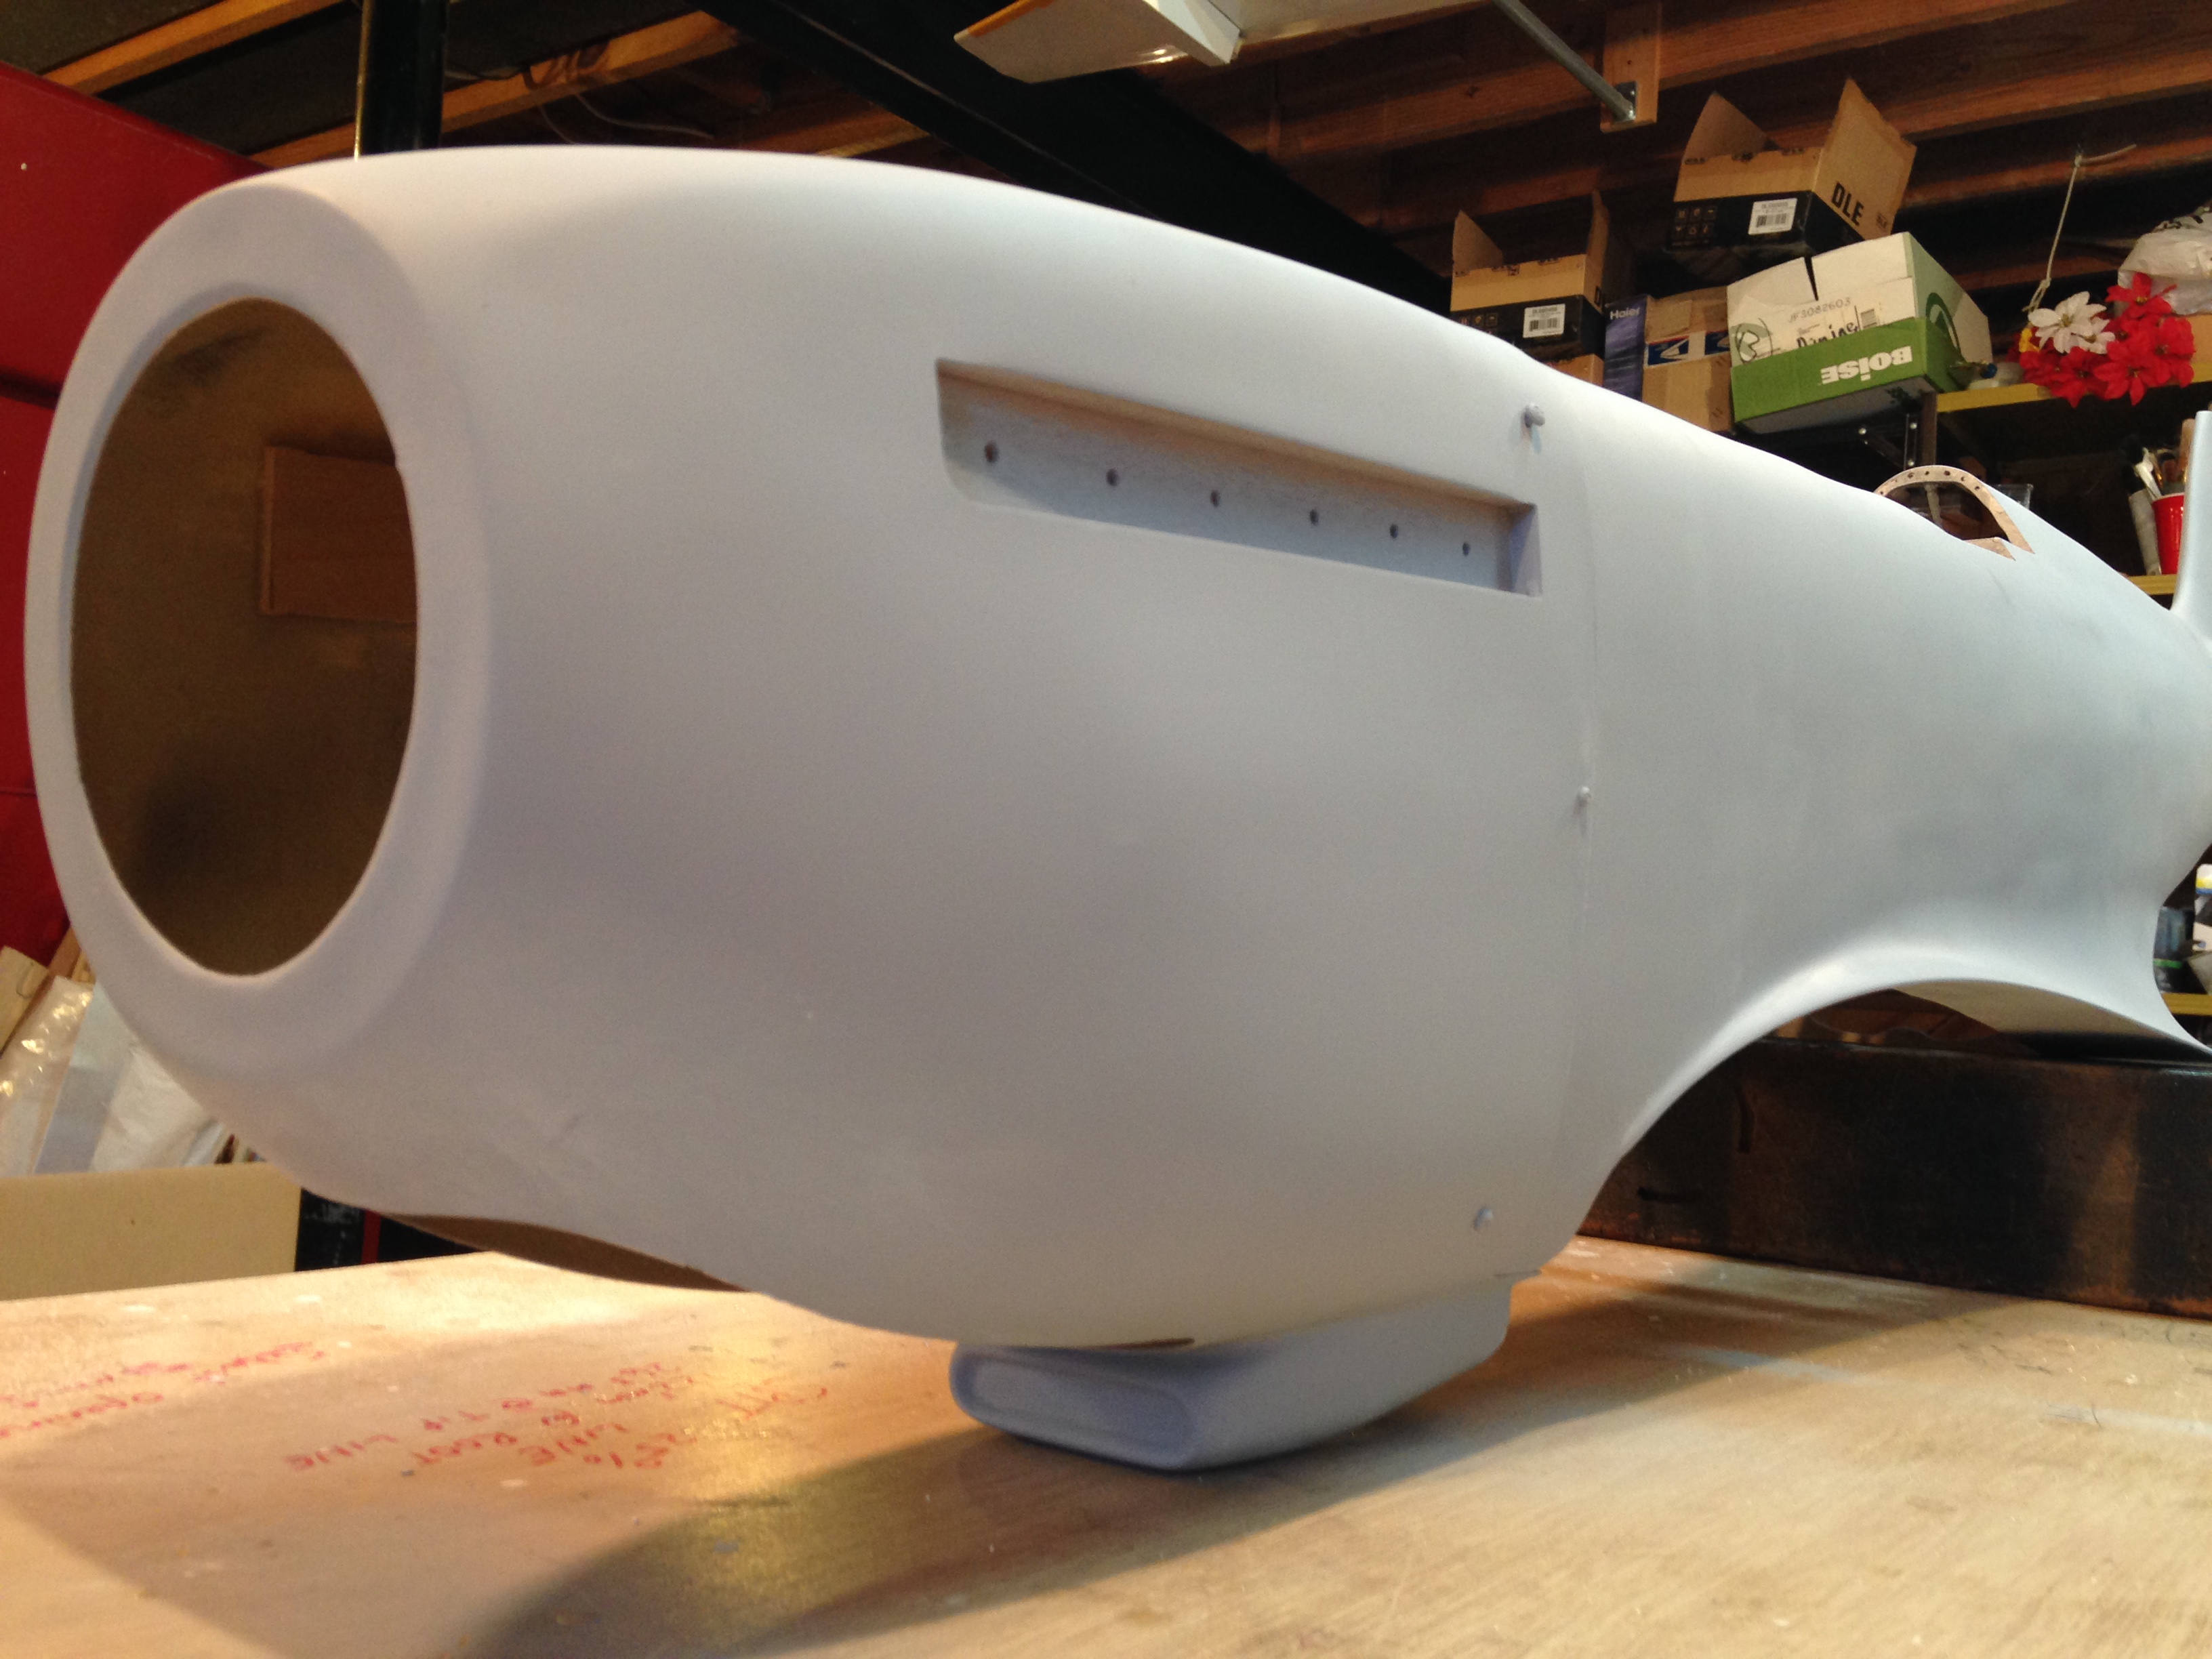
I've made further progress with the fuselage, the glass work turned out good but not my best work. I used Z-poxy this time but prefer the slow set West Systems that I've used in the past. The cowling blending turned out well and certainly makes it a bit less ARFish. A little more sanding and filling and it will be time for panel lines and details.I will say that the woodwork on the fuse by TF wasn't the greatest, they overdid the sanding on the rear section between the cockpit and stab so that it has the old "starved dog" look. I've filled it a little and hopefully with paint, markings, details and weathering, it won't be so obvious. I can't complain too much overall though. I may do another one after this, maybe clipped wings for the fun of it.


I've made further progress with the fuselage, the glass work turned out good but not my best work. I used Z-poxy this time but prefer the slow set West Systems that I've used in the past. The cowling blending turned out well and certainly makes it a bit less ARFish. A little more sanding and filling and it will be time for panel lines and details.I will say that the woodwork on the fuse by TF wasn't the greatest, they overdid the sanding on the rear section between the cockpit and stab so that it has the old "starved dog" look. I've filled it a little and hopefully with paint, markings, details and weathering, it won't be so obvious. I can't complain too much overall though. I may do another one after this, maybe clipped wings for the fun of it.
03-18-2015, 05:46 PM
#447
Nice! I think we all enjoy seeing your progress SpitfireMKll...Im in the final stage of my arf assembly..Working on detailing the cockpit now. Its been a fun build, maybe because I love Spitfires. I have spent way more time on this bird than any other 50cc acro plane.
Im ready to paint/match the control horns to match the covering. I found a great match for the gray....But the brown/tan I cant seen to find a match. I bought some Testors Model Masters tan, which looked like it would work. But its too dark.
Im ready to paint/match the control horns to match the covering. I found a great match for the gray....But the brown/tan I cant seen to find a match. I bought some Testors Model Masters tan, which looked like it would work. But its too dark.
04-09-2015, 08:41 AM
#448
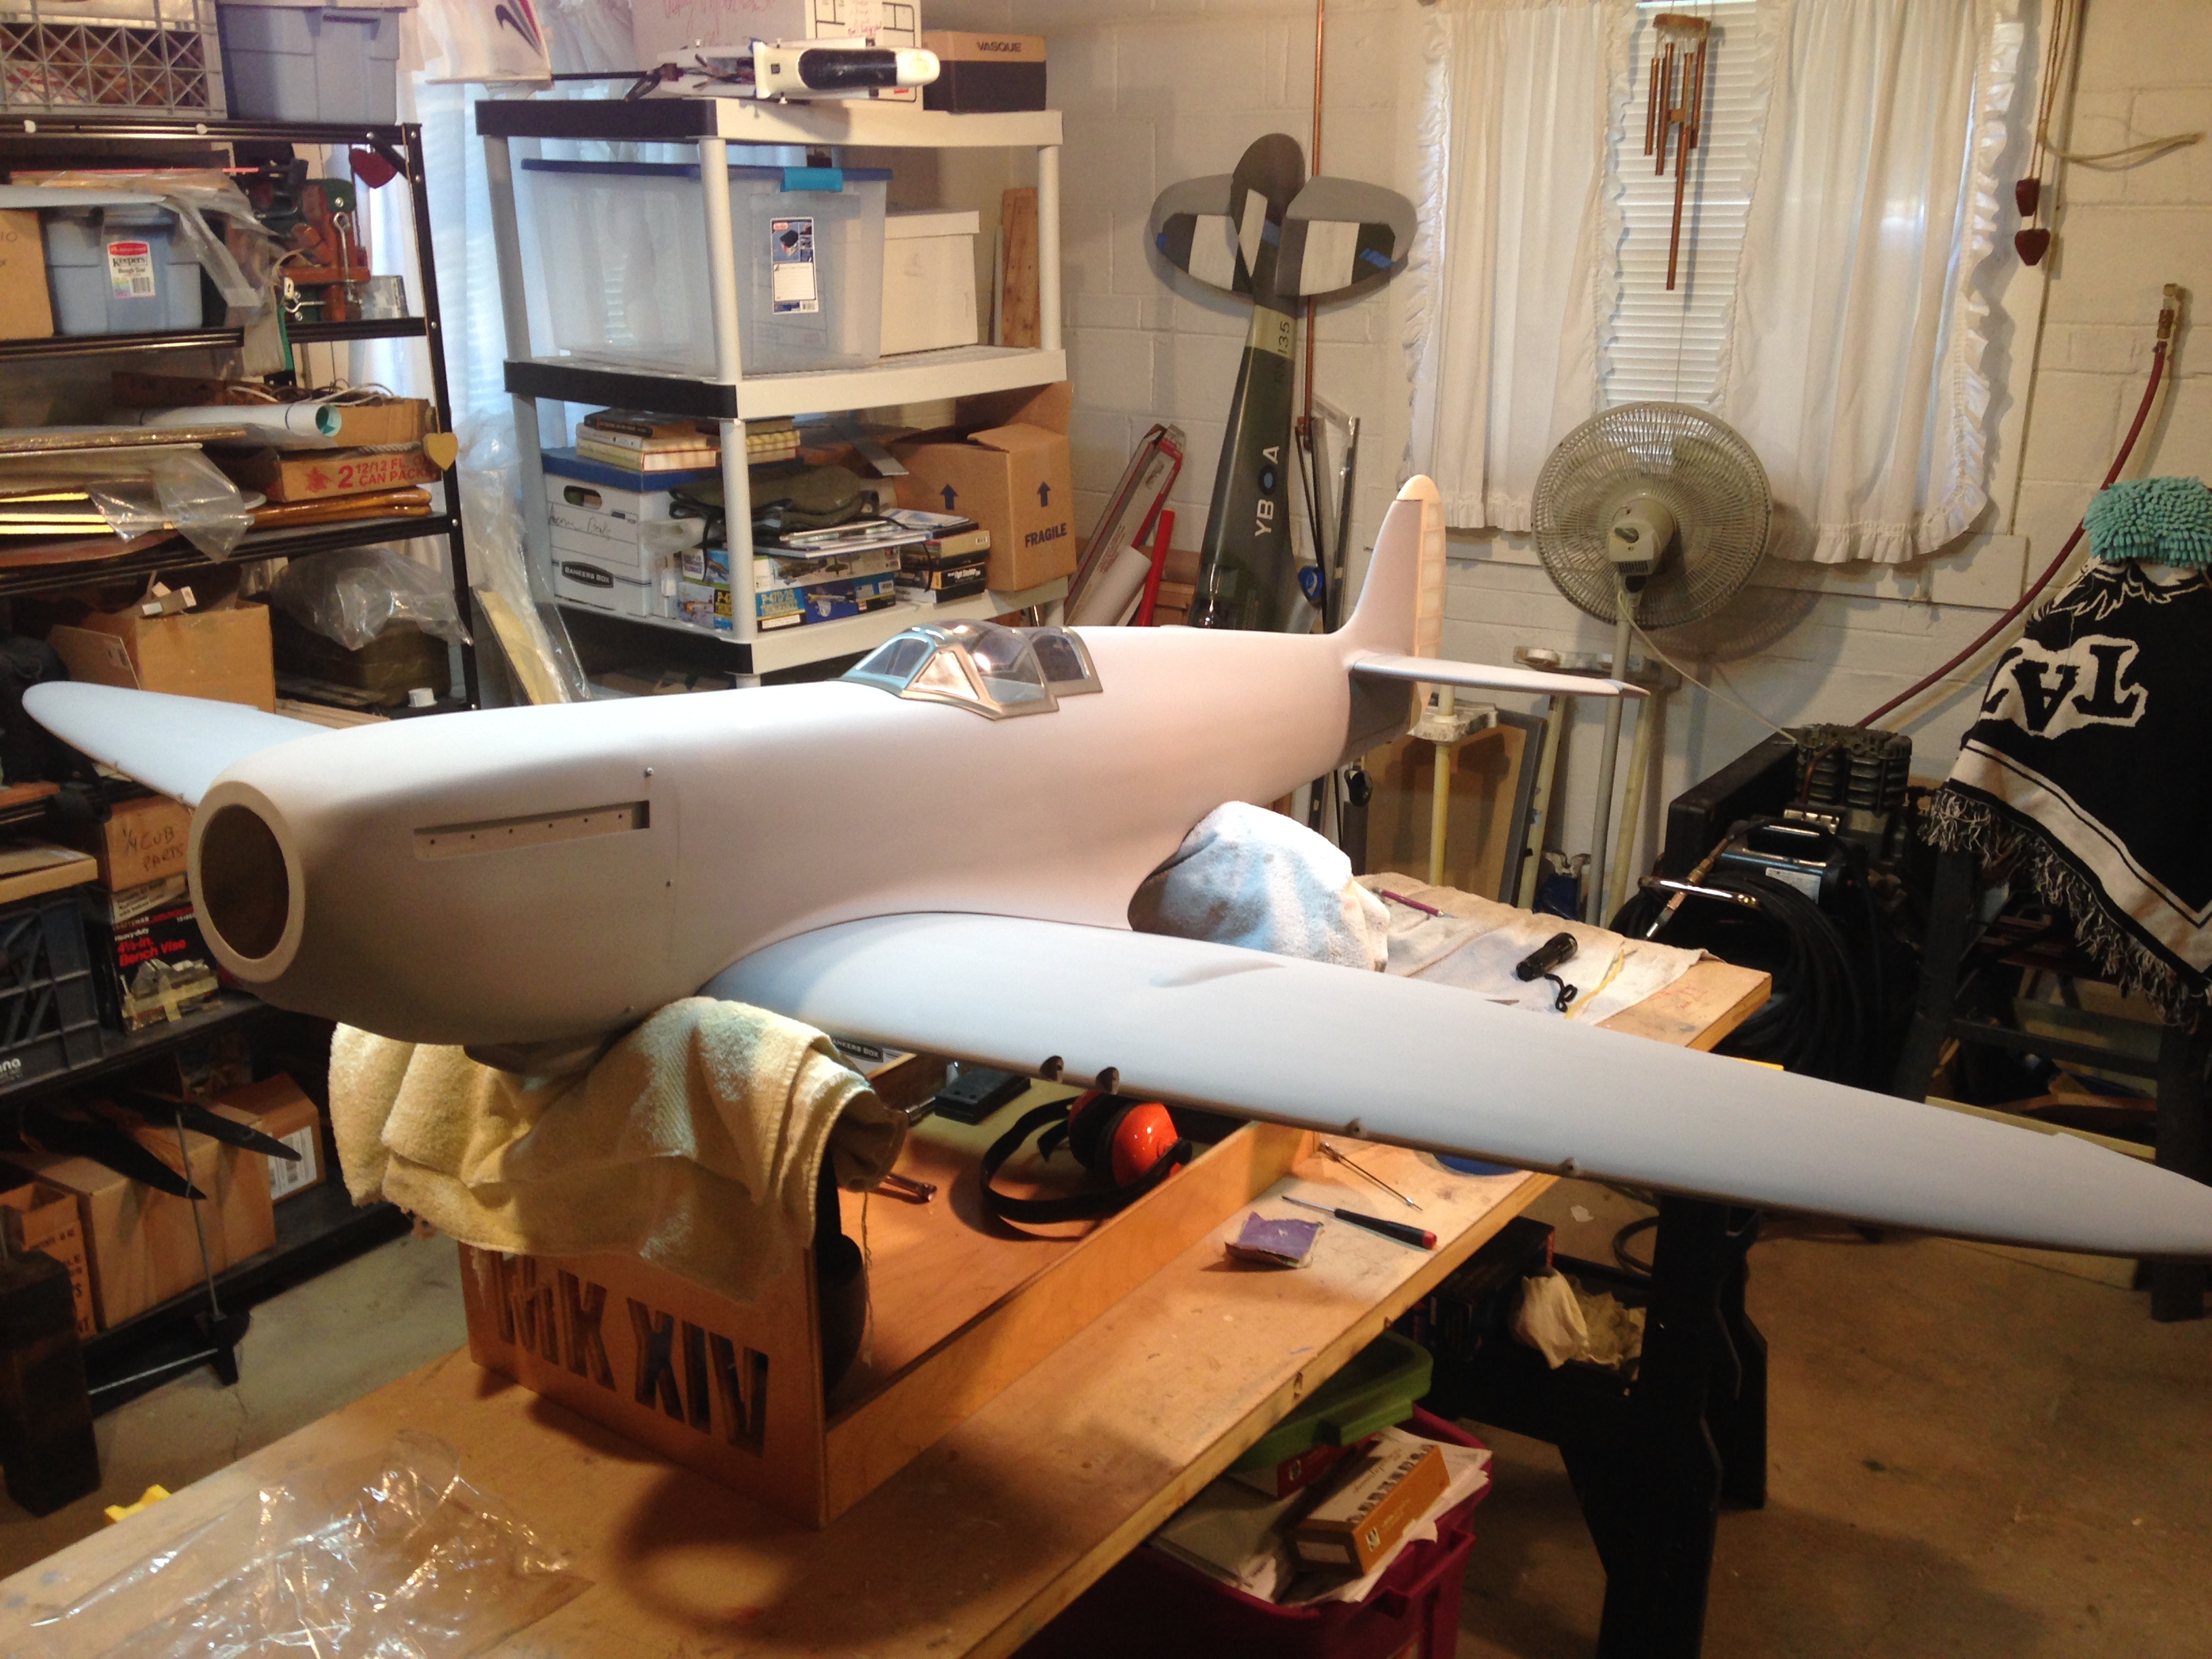
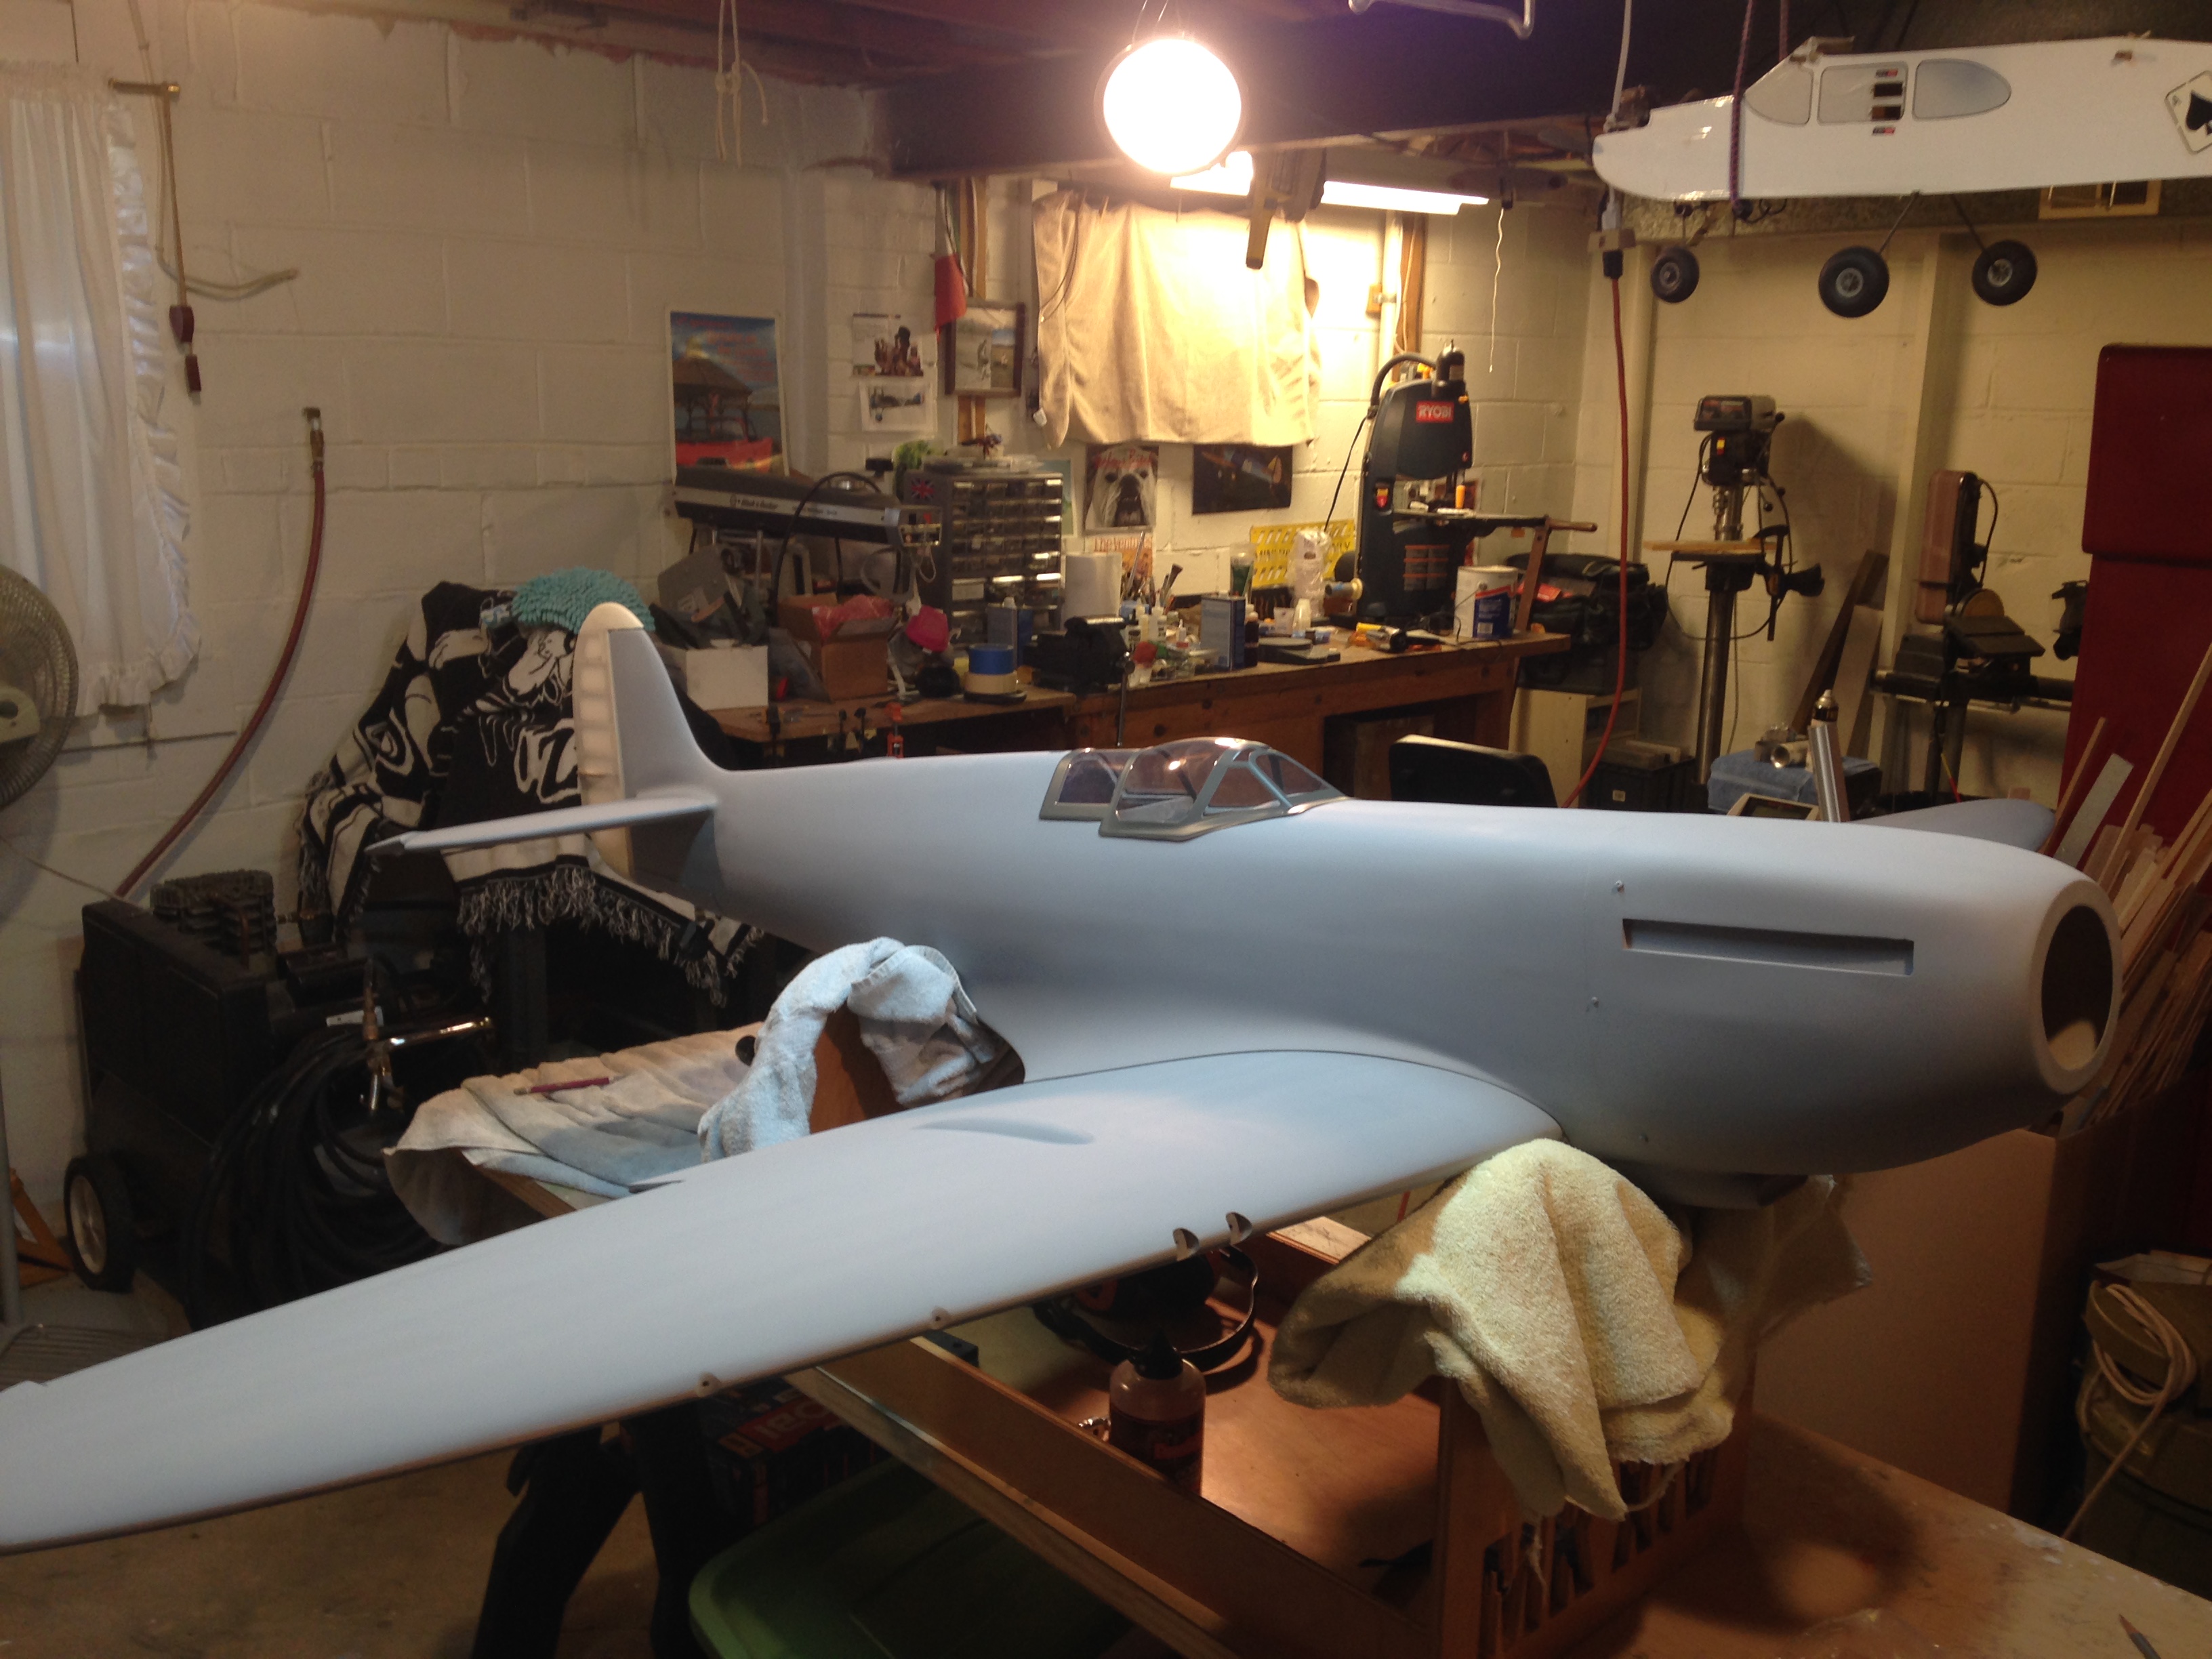
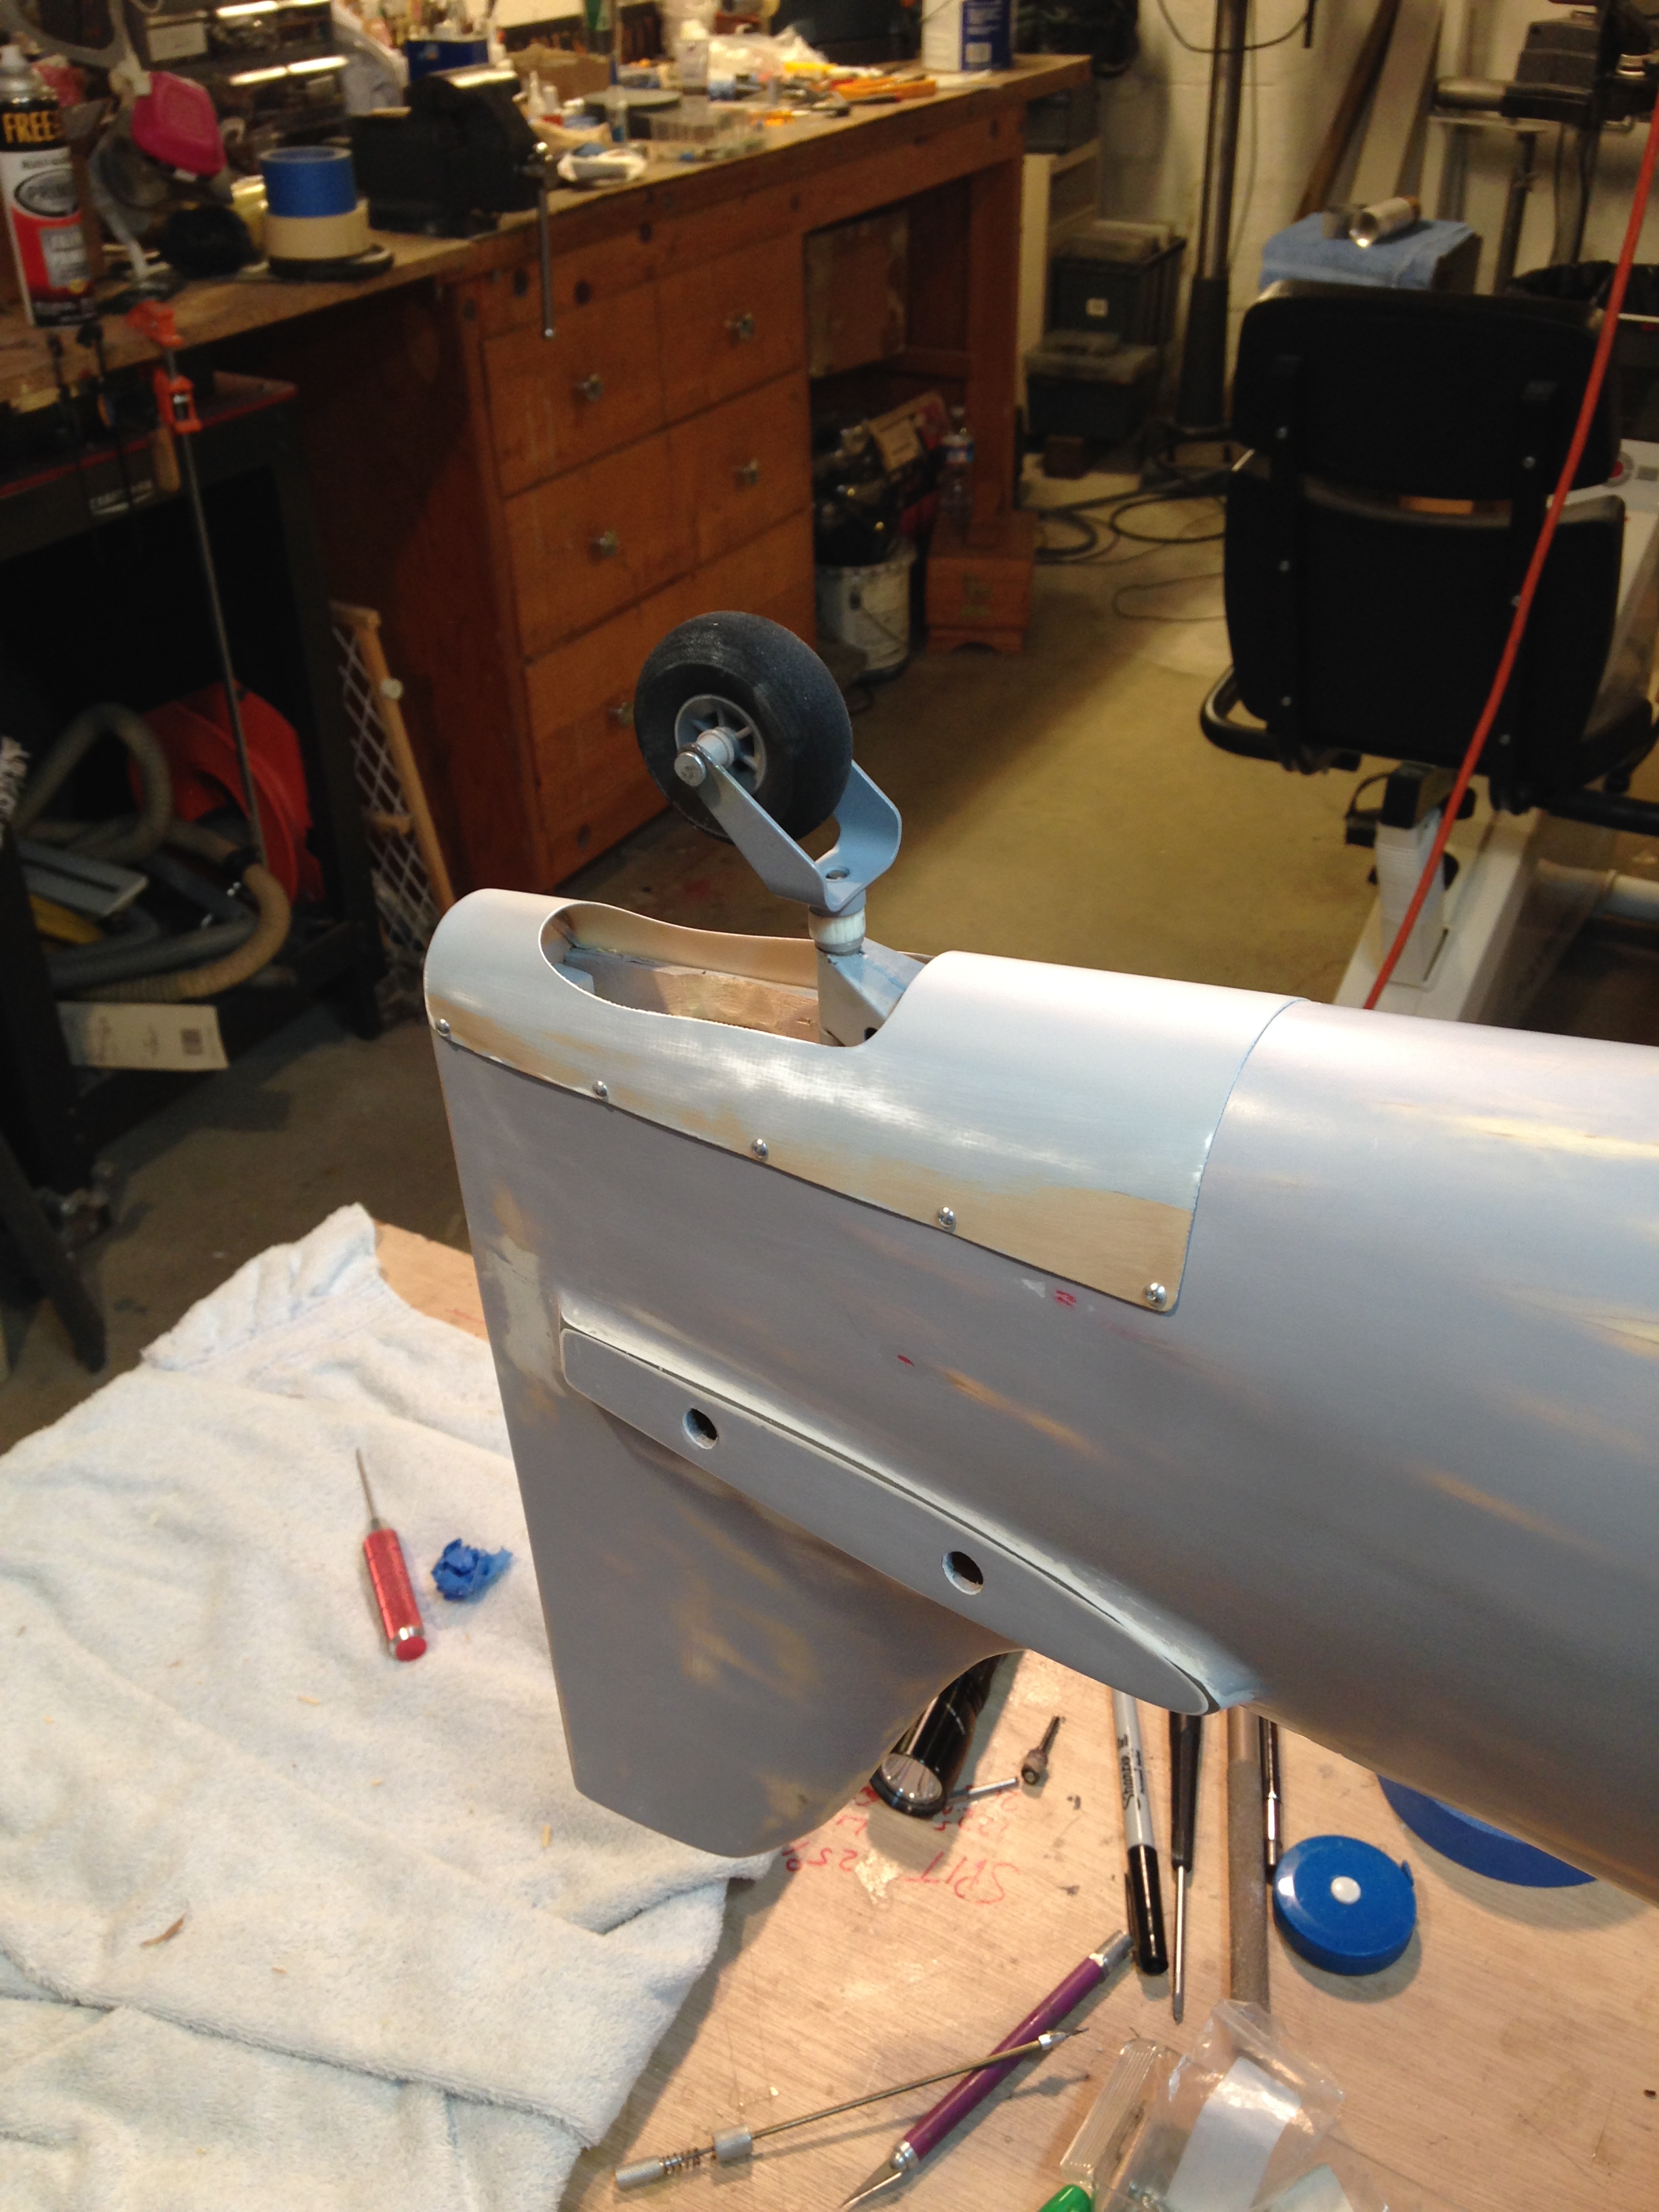
More progress from a week or so ago, ready for a light sanding and then it will be on to panel lines, hatches, details, and rivets. She won't win any scale competitions but she will be a great everyday warbird flyer. I decided it will be a MkVIII and installed a Robart 160 tailwheel. I plan to install the air cylinder under the cockpit somewhere undecided. Worry about that later. Now to get well from the flu and I'll be back to work her next week.


04-09-2015, 01:26 PM
#449
My Feedback: (60)
Join Date: Dec 2001
Location: Litchfield Park,
AZ
Posts: 7,677
Likes: 0
Received 25 Likes
on
23 Posts
More progress from a week or so ago, ready for a light sanding and then it will be on to panel lines, hatches, details, and rivets. She won't win any scale competitions but she will be a great everyday warbird flyer. I decided it will be a MkVIII and installed a Robart 160 tailwheel. I plan to install the air cylinder under the cockpit somewhere undecided. Worry about that later. Now to get well from the flu and I'll be back to work her next week.