


8th Scale Aviation's, "CzechMate" Short-kit, Group build

 12-10-2019, 10:21 PM
#302

Thread Starter

That's funny! I'd almost forgotten about that silly moment.
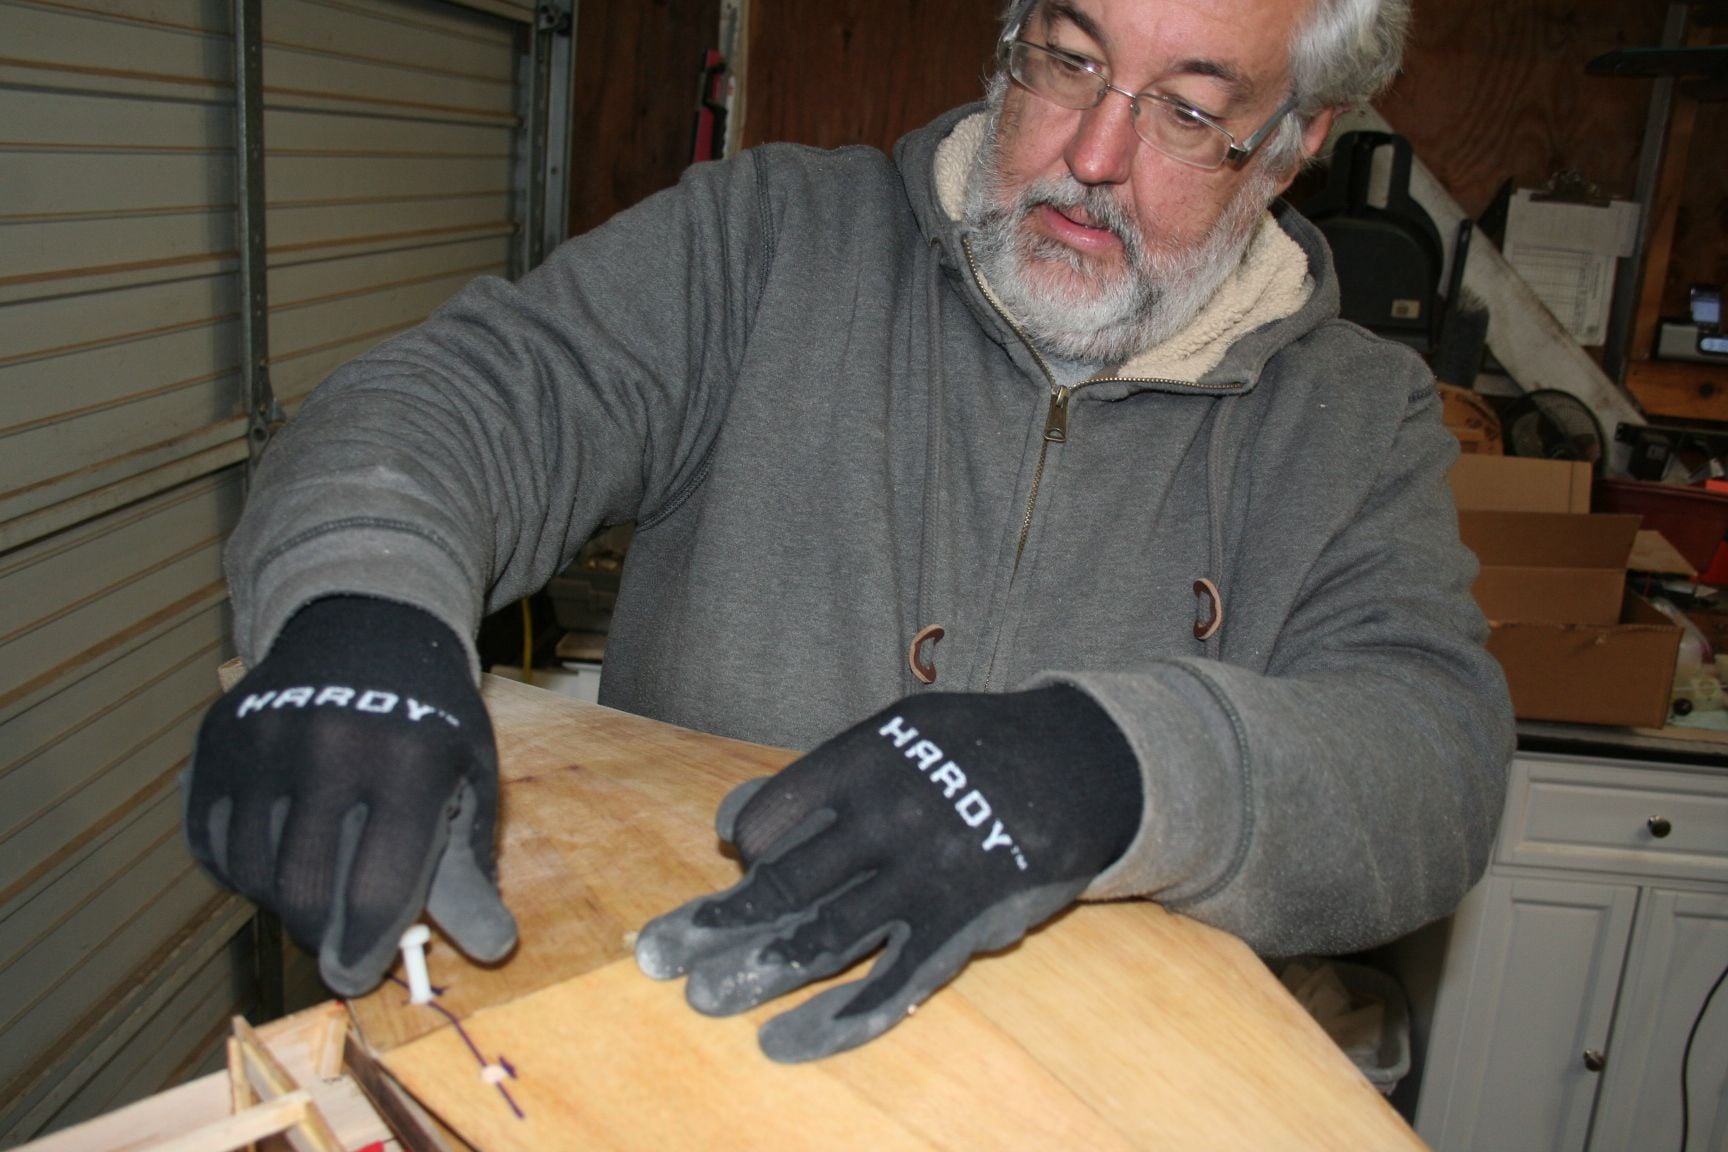
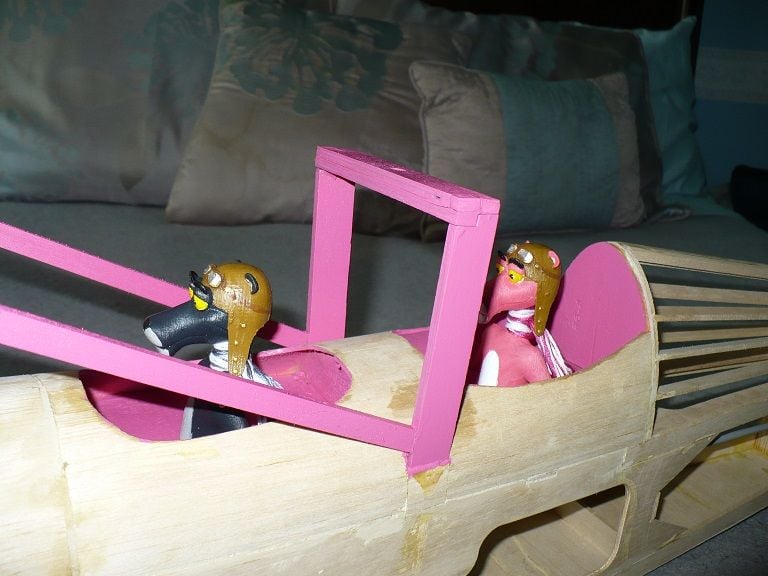
When I mounted my wing to my fuse, it was to a calm, beautiful silence. Then, Tim and Eric began turning their nylon wing bolts. . .
About a second after I snapped this picture, the most obnoxious racket you could imagine resonated throughout the workshop. And their ear-piercing, "Squeak, squeak . . . Squeak, squeak . . ." went on for almost 2 minutes -- at first, just one; but then together, in an ungodly rhythm, as they tightened all 4 of their snug nylon bolts. Of course, they didn't cut down the length of their bolts, first; so it just continued on and on. And, of course being musicians, they had to try to make it into a rhythm . . . albeit one that no one would ever want to move to (but we tried).
12-10-2019, 10:27 PM
#303
Thread Starter
With the wing mounted, the next step was to recess the cowl to fit around the leading edge of the wing. With a Dremel drum sanding bit and much trial fitting, more sanding and trial fitting, we finally got the fit right.

Eric's is in the foreground, and Tim's is in the background.
Eric's is in the foreground, and Tim's is in the background.
12-10-2019, 10:36 PM
#304
Thread Starter
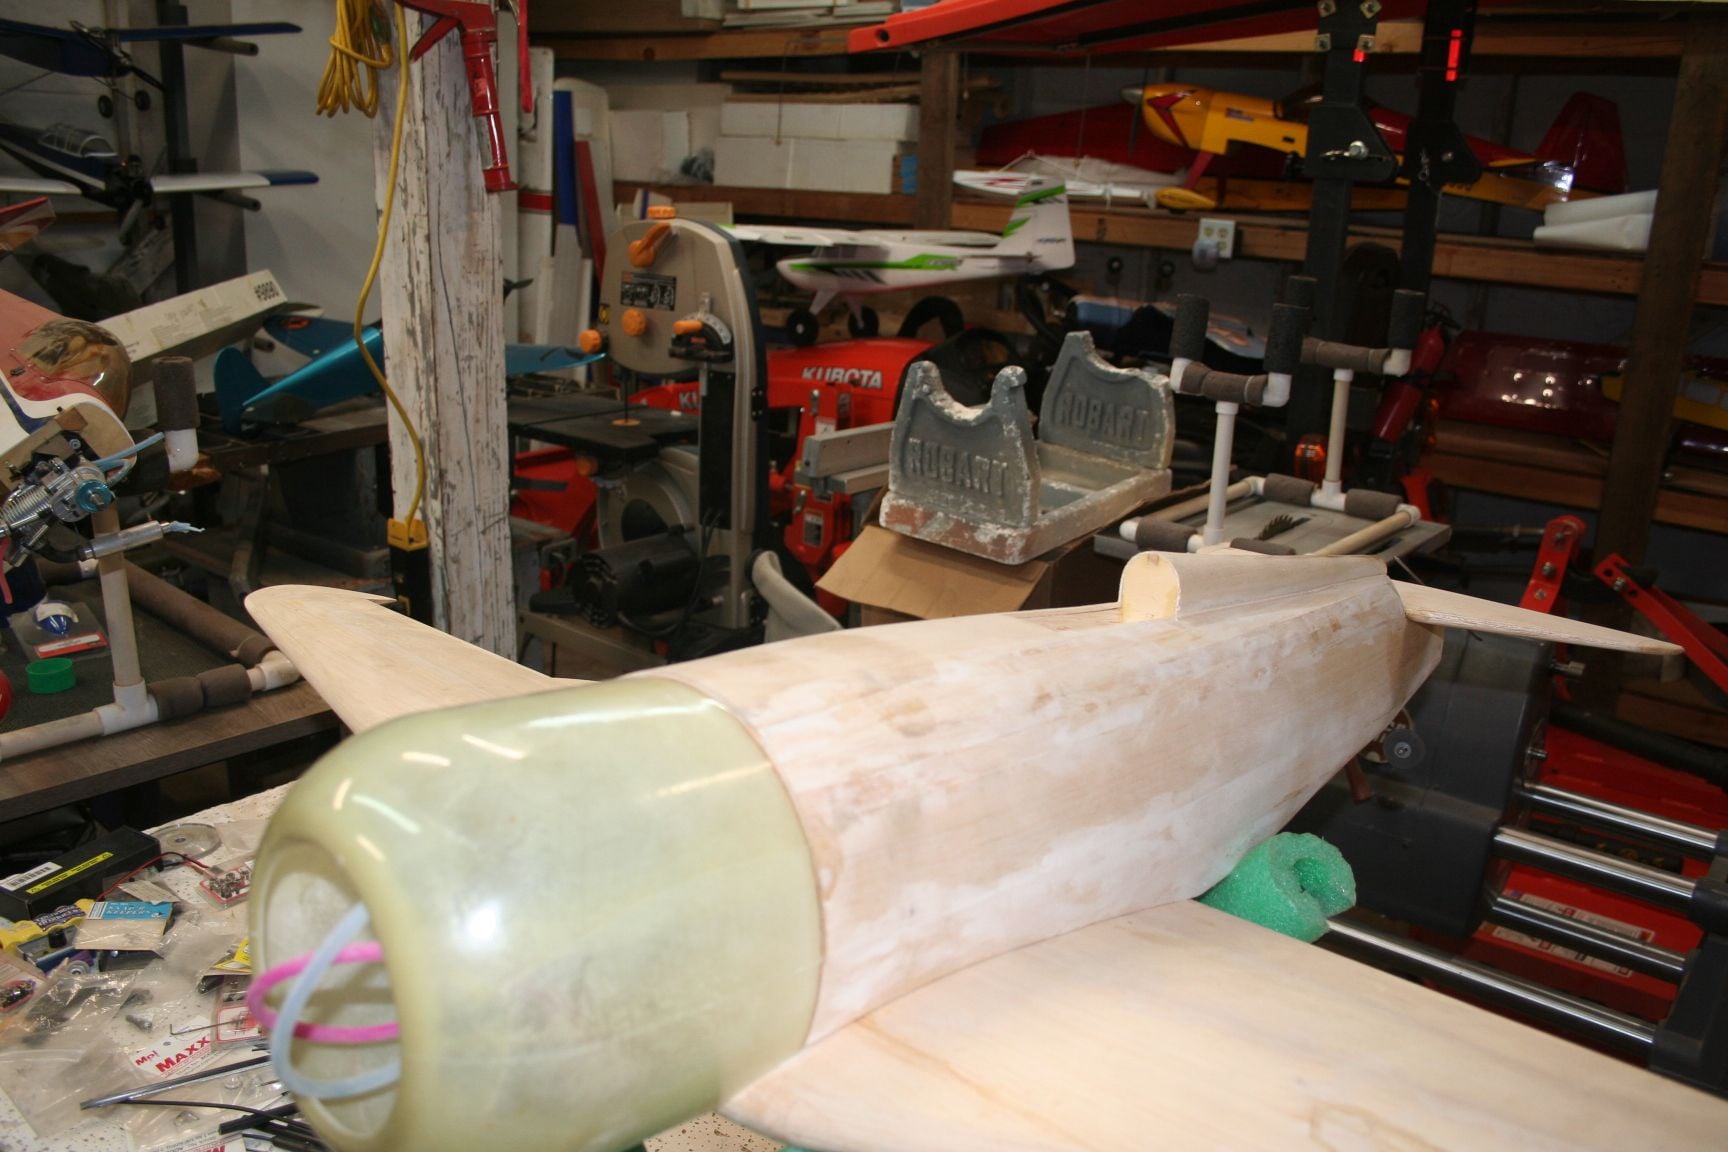
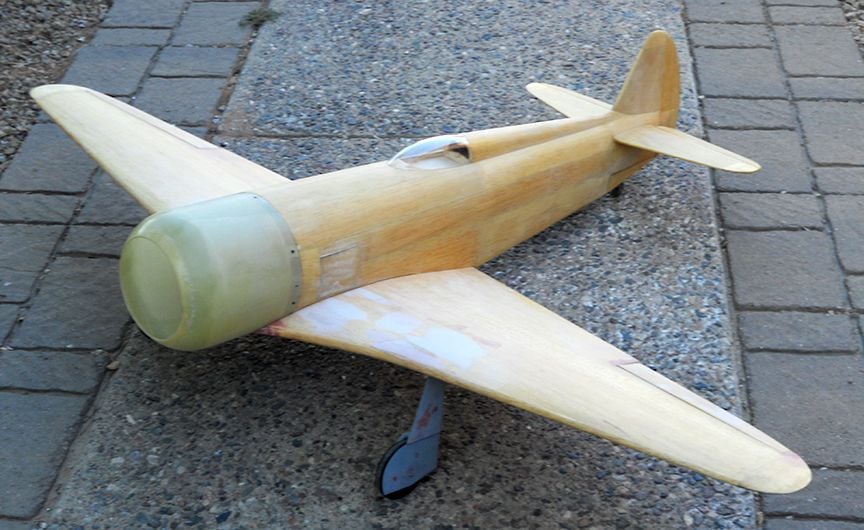
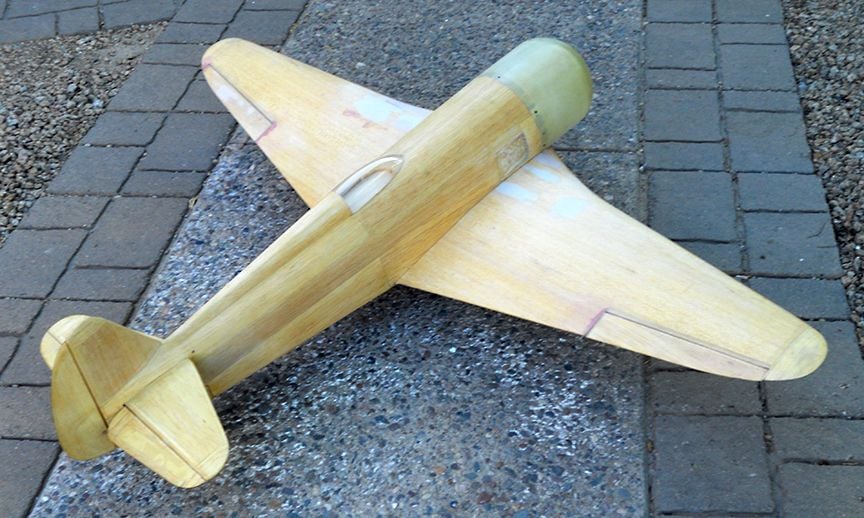
In the first picture, you can see how much of the lower part of the cowl ring I had to cut away to clear the wing's leading edge.
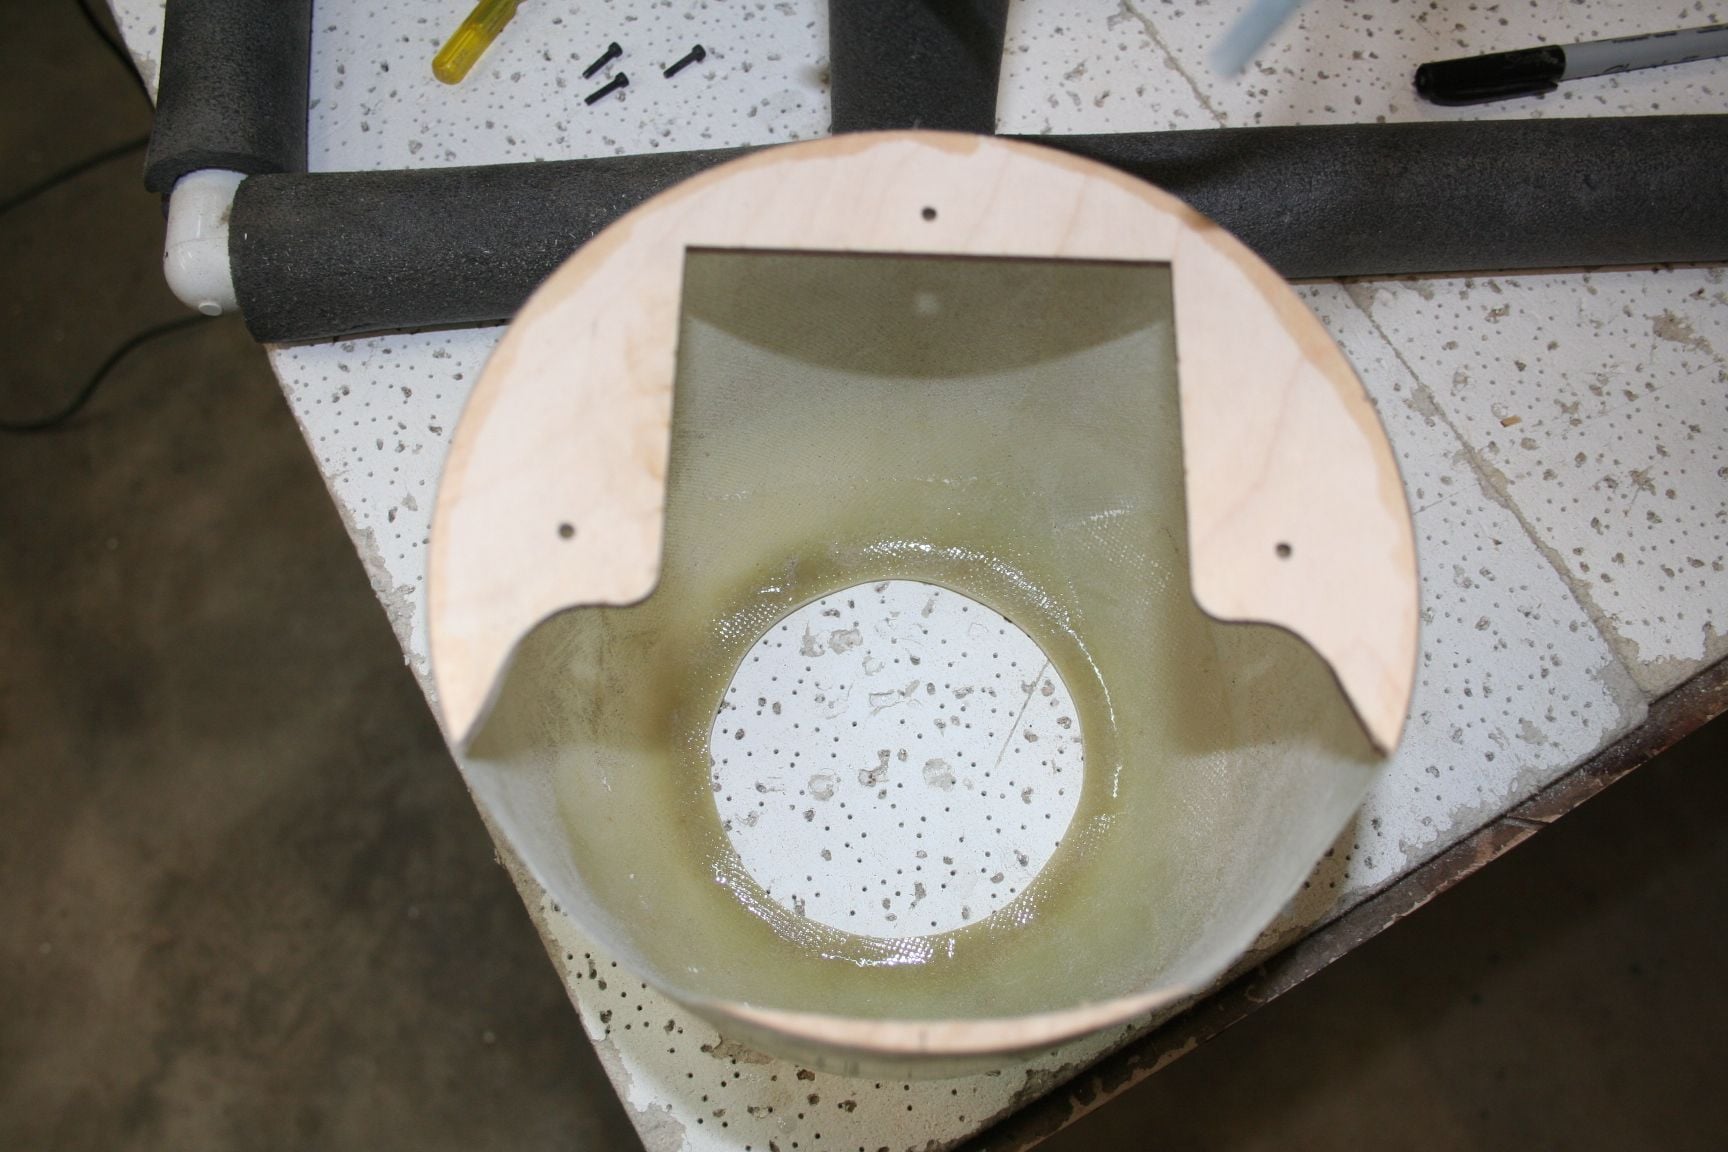
In the accompanying two pictures, the snug fit around the LE that should help to preserve Czech Mate's unique look. I have now mounted my cowl to my fuse.
In the accompanying two pictures, the snug fit around the LE that should help to preserve Czech Mate's unique look. I have now mounted my cowl to my fuse.

 12-14-2019, 11:04 PM
#306
Thread Starter
Thanks Mike! It took awhile, but I was quite pleased with the result.
Time to glue on our horizontal stabs!
In the first picture, Eric learns how to measure from a fixed, uniform point on each side of the stab to the inside corner of the aileron, towards the tip (as when we aligned the wing for mounting); adjusting as necessary, to ensure that the measurement is equal on each side, before gluing. Tim assists, aligning the tape measure, while carefully holding the stab in place.
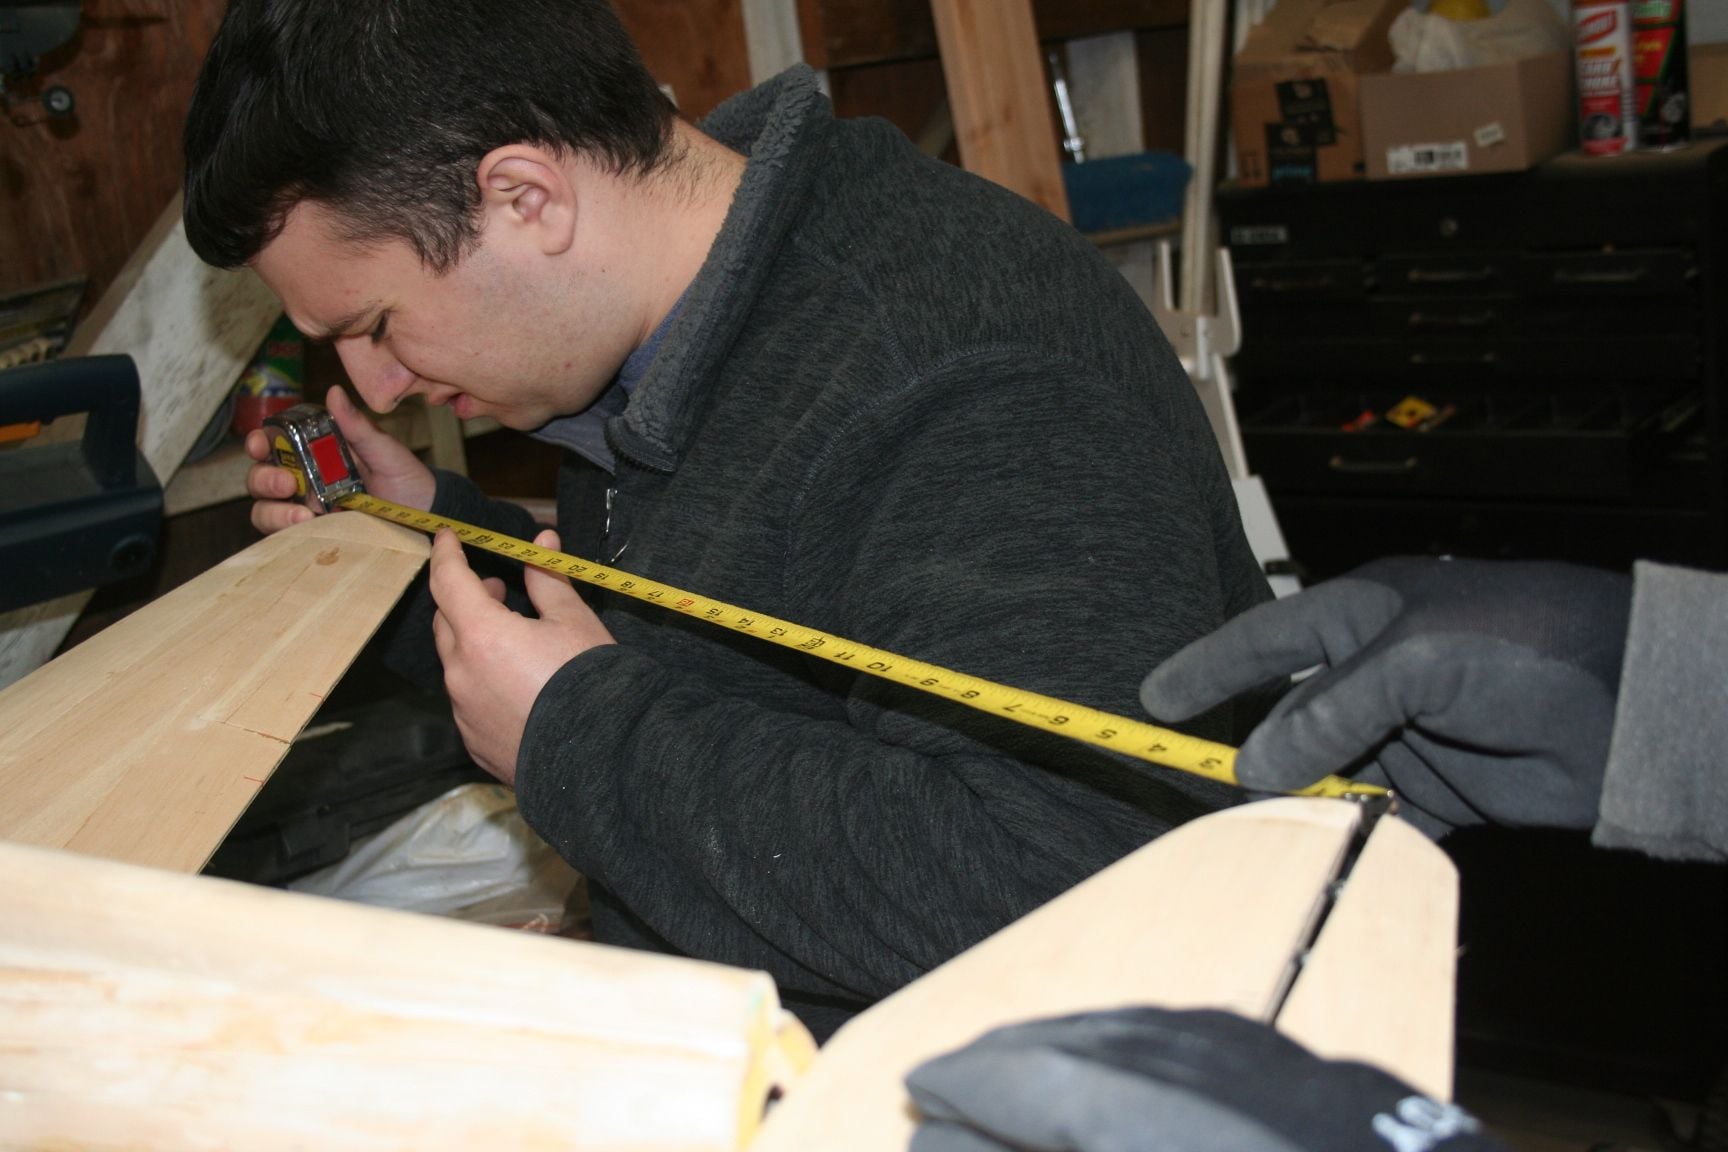
Tim has already assisted me, in the same manner. When I was happy with the alignment, I tack-glued the stab to the fuse at both the leading and trailing edges, with thin CA on one side only. I then stood back and "sighted" how level my stab was, compared to the wing. I found I needed some weight and pressure to lower the left side. I then tack-glued that side, too. Once dry, I flipped the fuselage over; and in the second picture, you can see me running a thin stream of thin CA along the joint along the stab saddle. Normally, I would use 30-minute epoxy for this purpose; but, Tim states that with all the other blocks and fillers that will be added later, and the fact that we will be fiberglassing the fuse, that the tail will be "locked-in" more than adequately.

Time to glue on our horizontal stabs!
In the first picture, Eric learns how to measure from a fixed, uniform point on each side of the stab to the inside corner of the aileron, towards the tip (as when we aligned the wing for mounting); adjusting as necessary, to ensure that the measurement is equal on each side, before gluing. Tim assists, aligning the tape measure, while carefully holding the stab in place.
Tim has already assisted me, in the same manner. When I was happy with the alignment, I tack-glued the stab to the fuse at both the leading and trailing edges, with thin CA on one side only. I then stood back and "sighted" how level my stab was, compared to the wing. I found I needed some weight and pressure to lower the left side. I then tack-glued that side, too. Once dry, I flipped the fuselage over; and in the second picture, you can see me running a thin stream of thin CA along the joint along the stab saddle. Normally, I would use 30-minute epoxy for this purpose; but, Tim states that with all the other blocks and fillers that will be added later, and the fact that we will be fiberglassing the fuse, that the tail will be "locked-in" more than adequately.
 12-14-2019, 11:23 PM
#308
Thread Starter
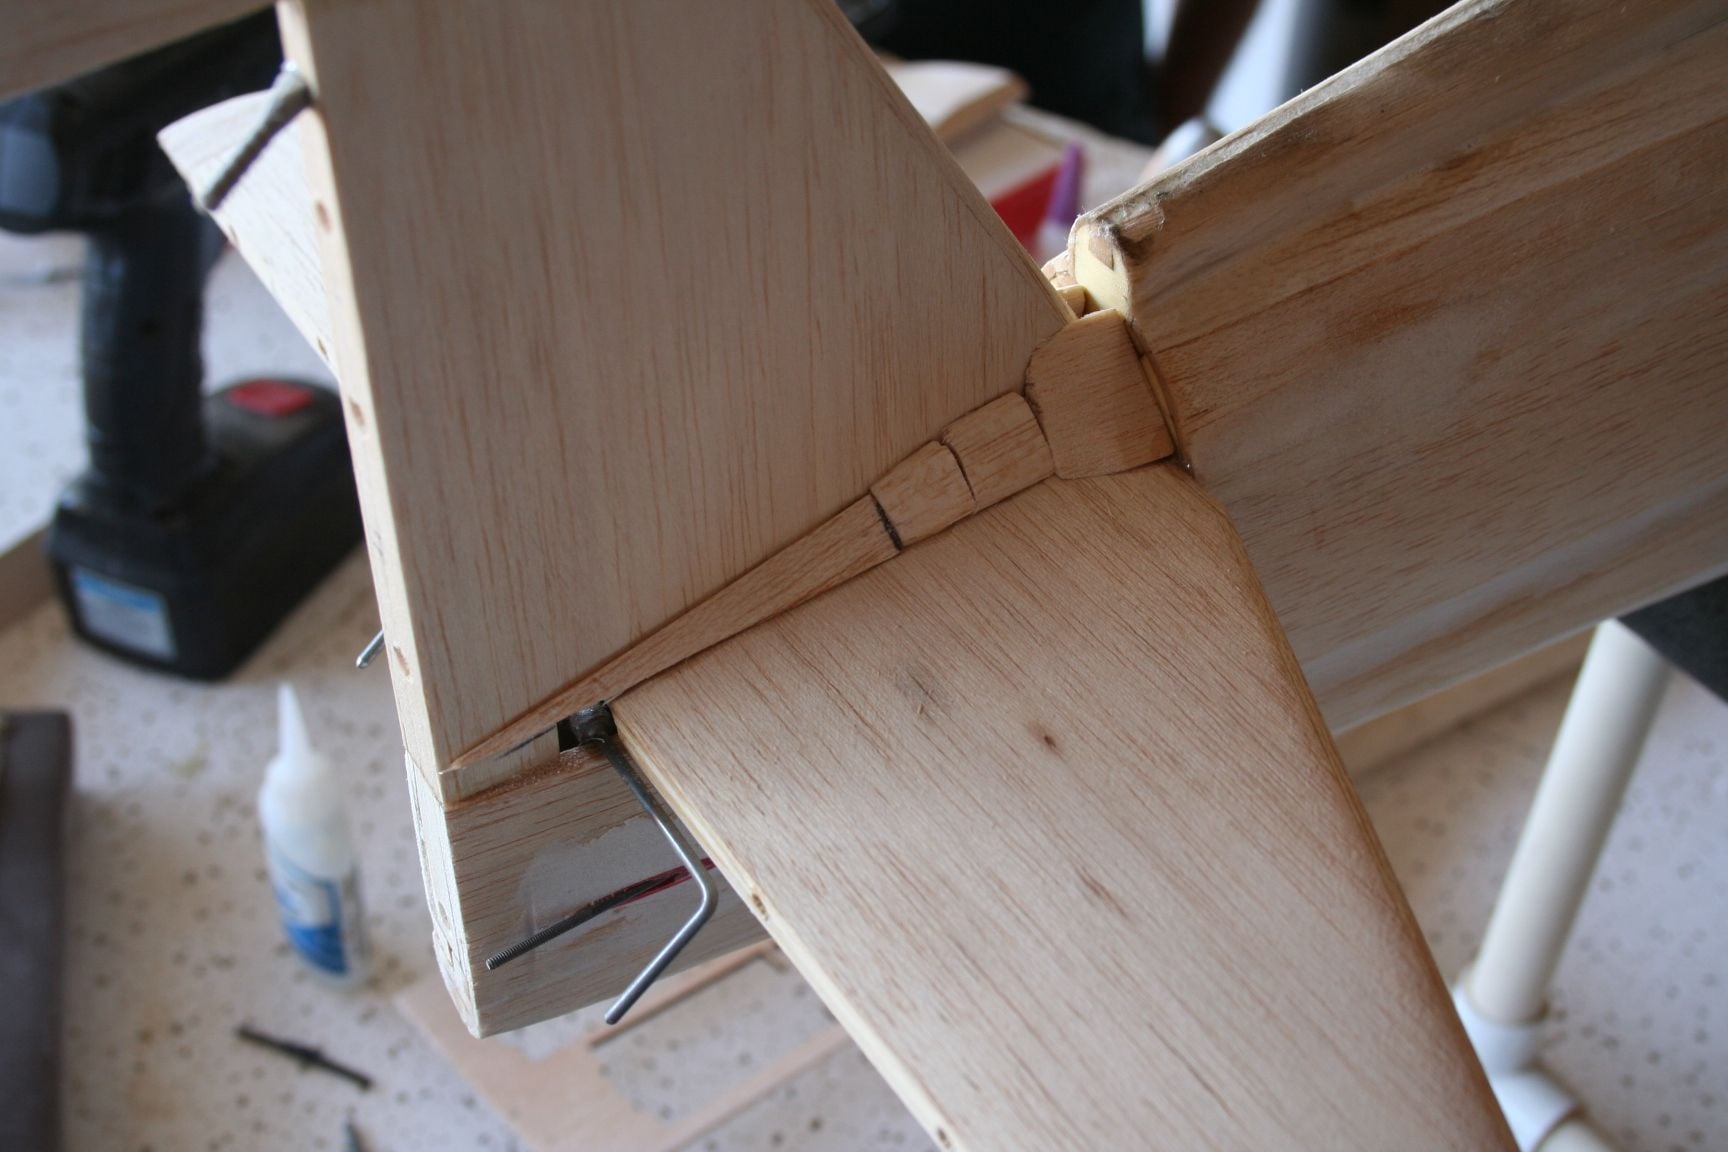
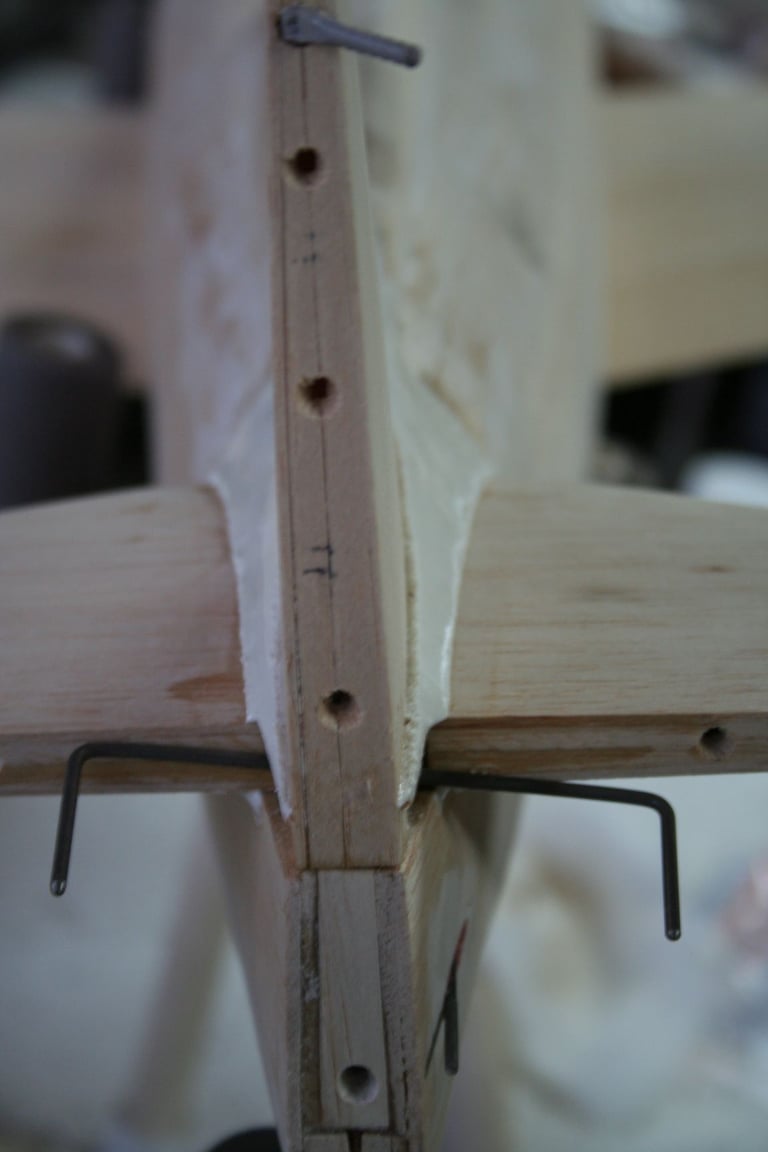
It is getting late in the day, but we still have time to mount the vertical fin. Each of us ties 3 rubber bands together and loops each end around the tips of the stab. We sand the trailing edge of the fin assembly to match the length and angle needed to mate with the trailing edge of the fuse, at the back of the stab saddle. We set the fin in place, square it to the stab, allowing the rubber bands to hold in securely enough for us to double- and triple-check. When satisfied, the fin is glued with thin CA.
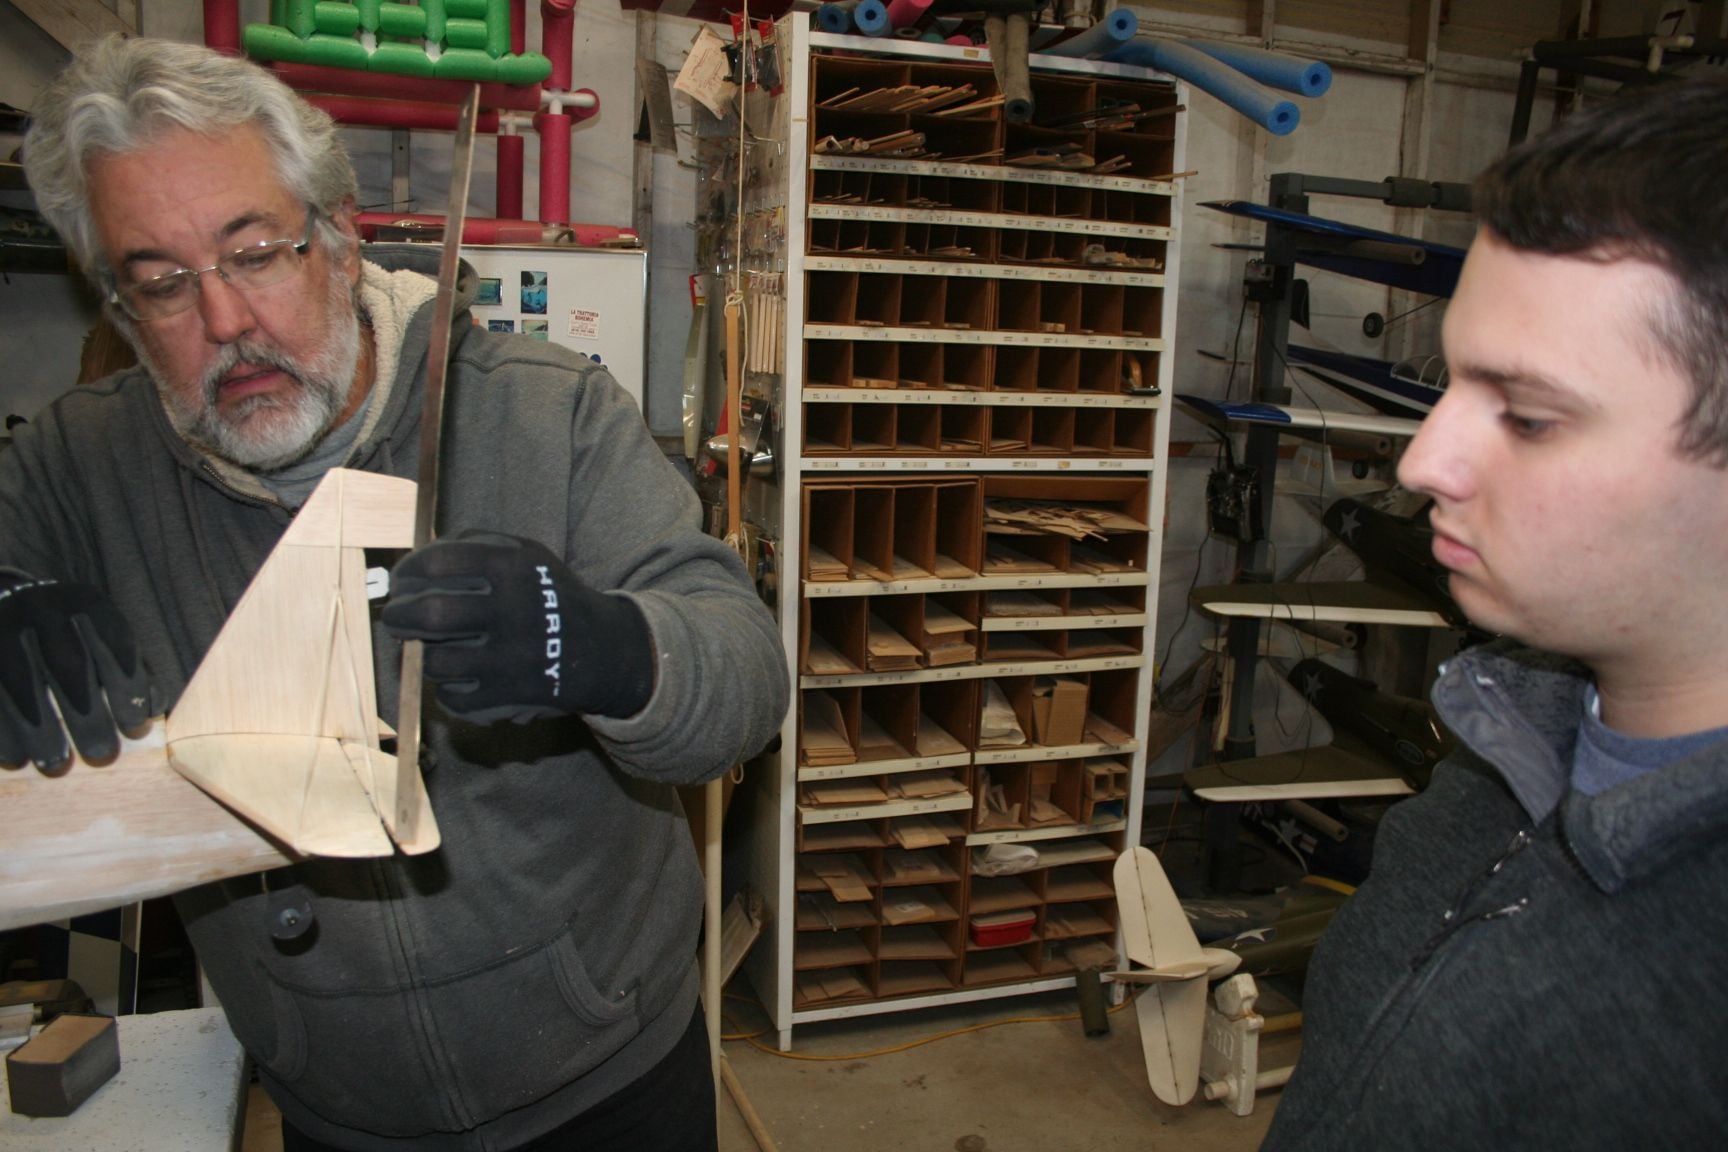
Tim adjusts his, as Eric watches the master at work.
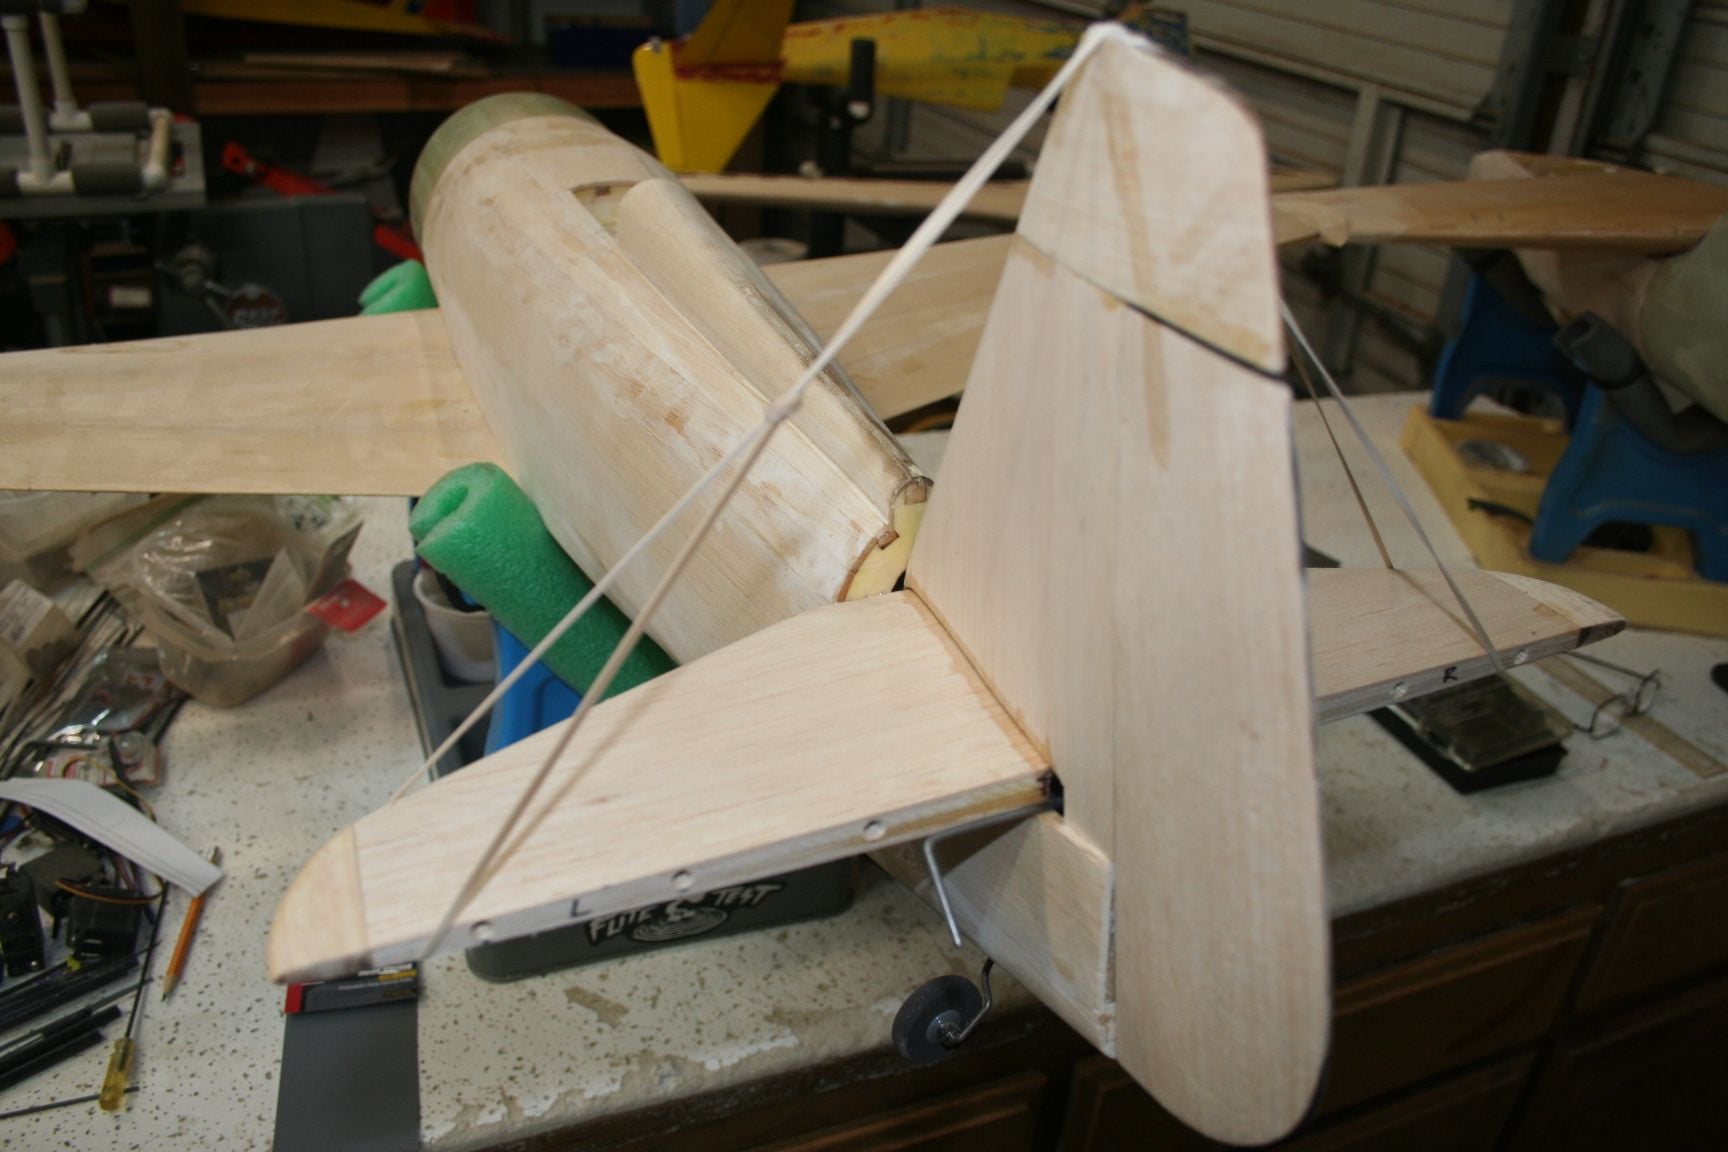
I snap a picture of mine, while I wait for the CA to dry. (Like most builders, we don't like to use accelerant on key structures, so there some definite lulls in the action.)
Tim adjusts his, as Eric watches the master at work.
I snap a picture of mine, while I wait for the CA to dry. (Like most builders, we don't like to use accelerant on key structures, so there some definite lulls in the action.)
12-14-2019, 11:31 PM
#309
Thread Starter
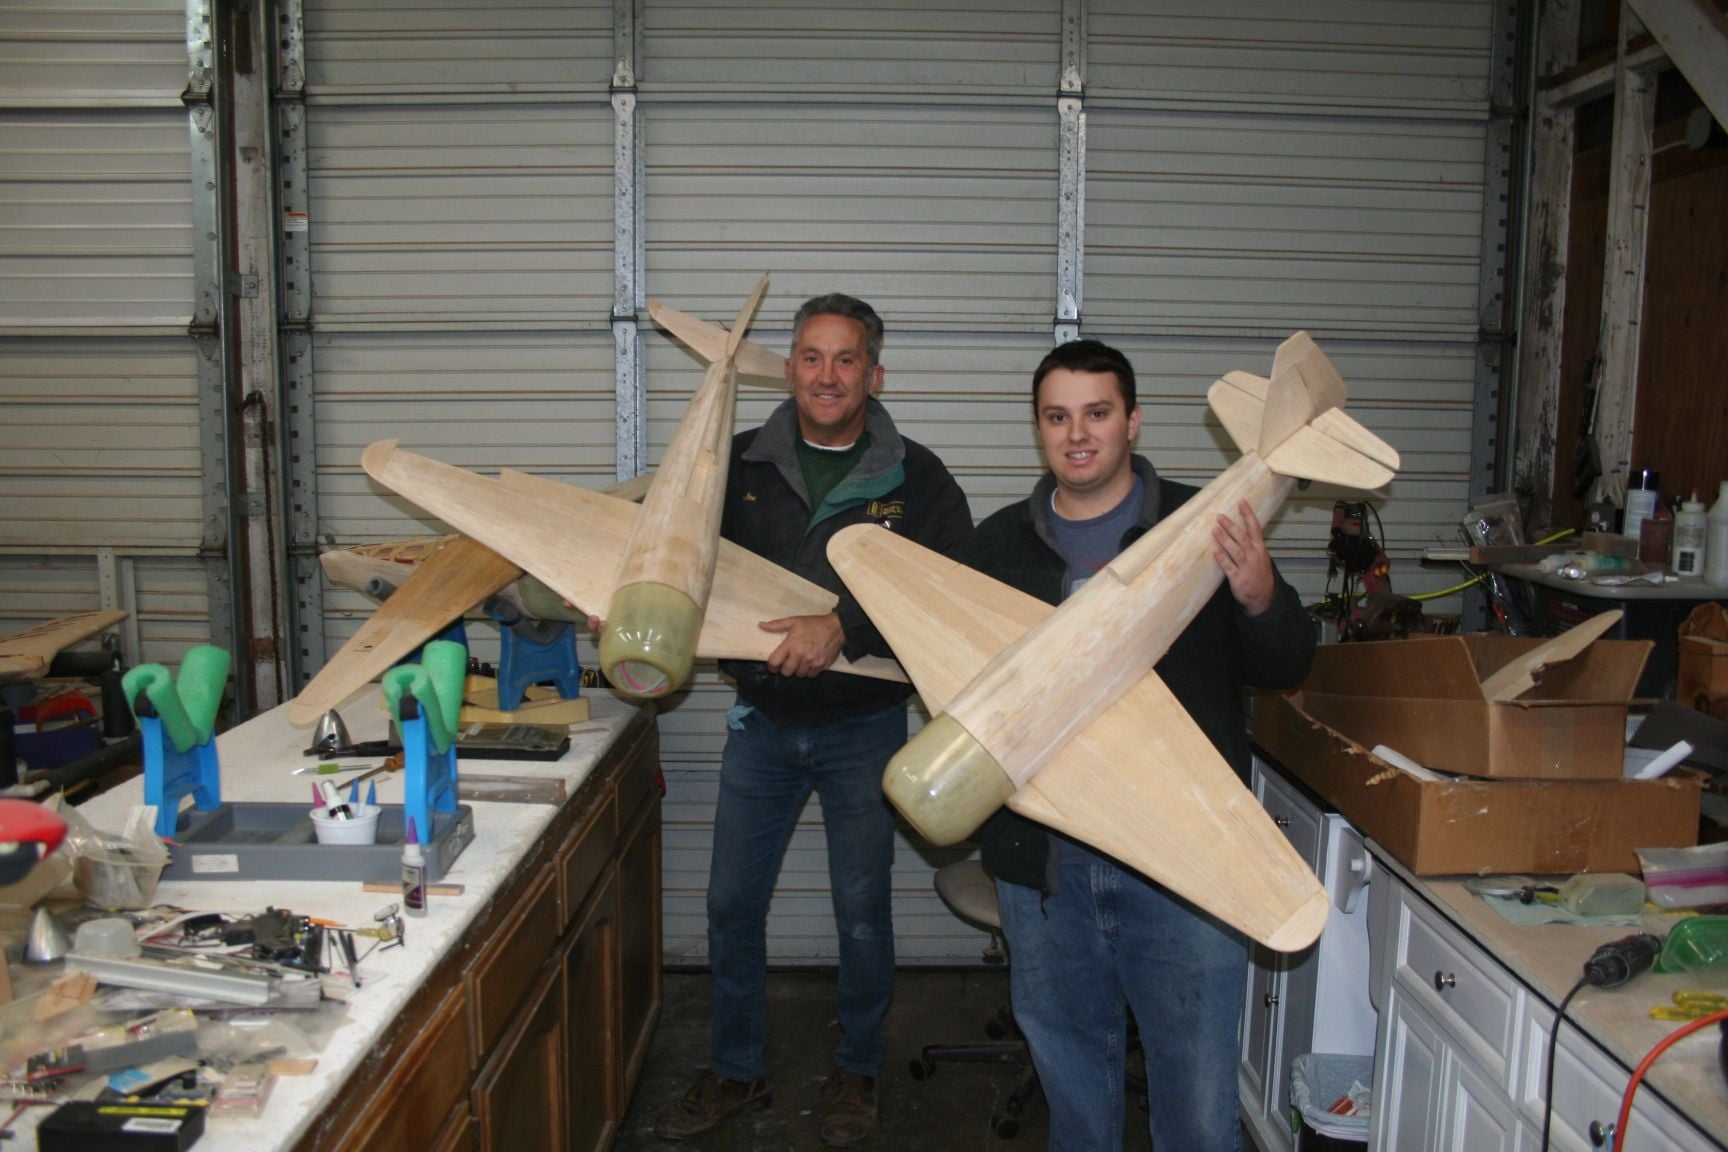
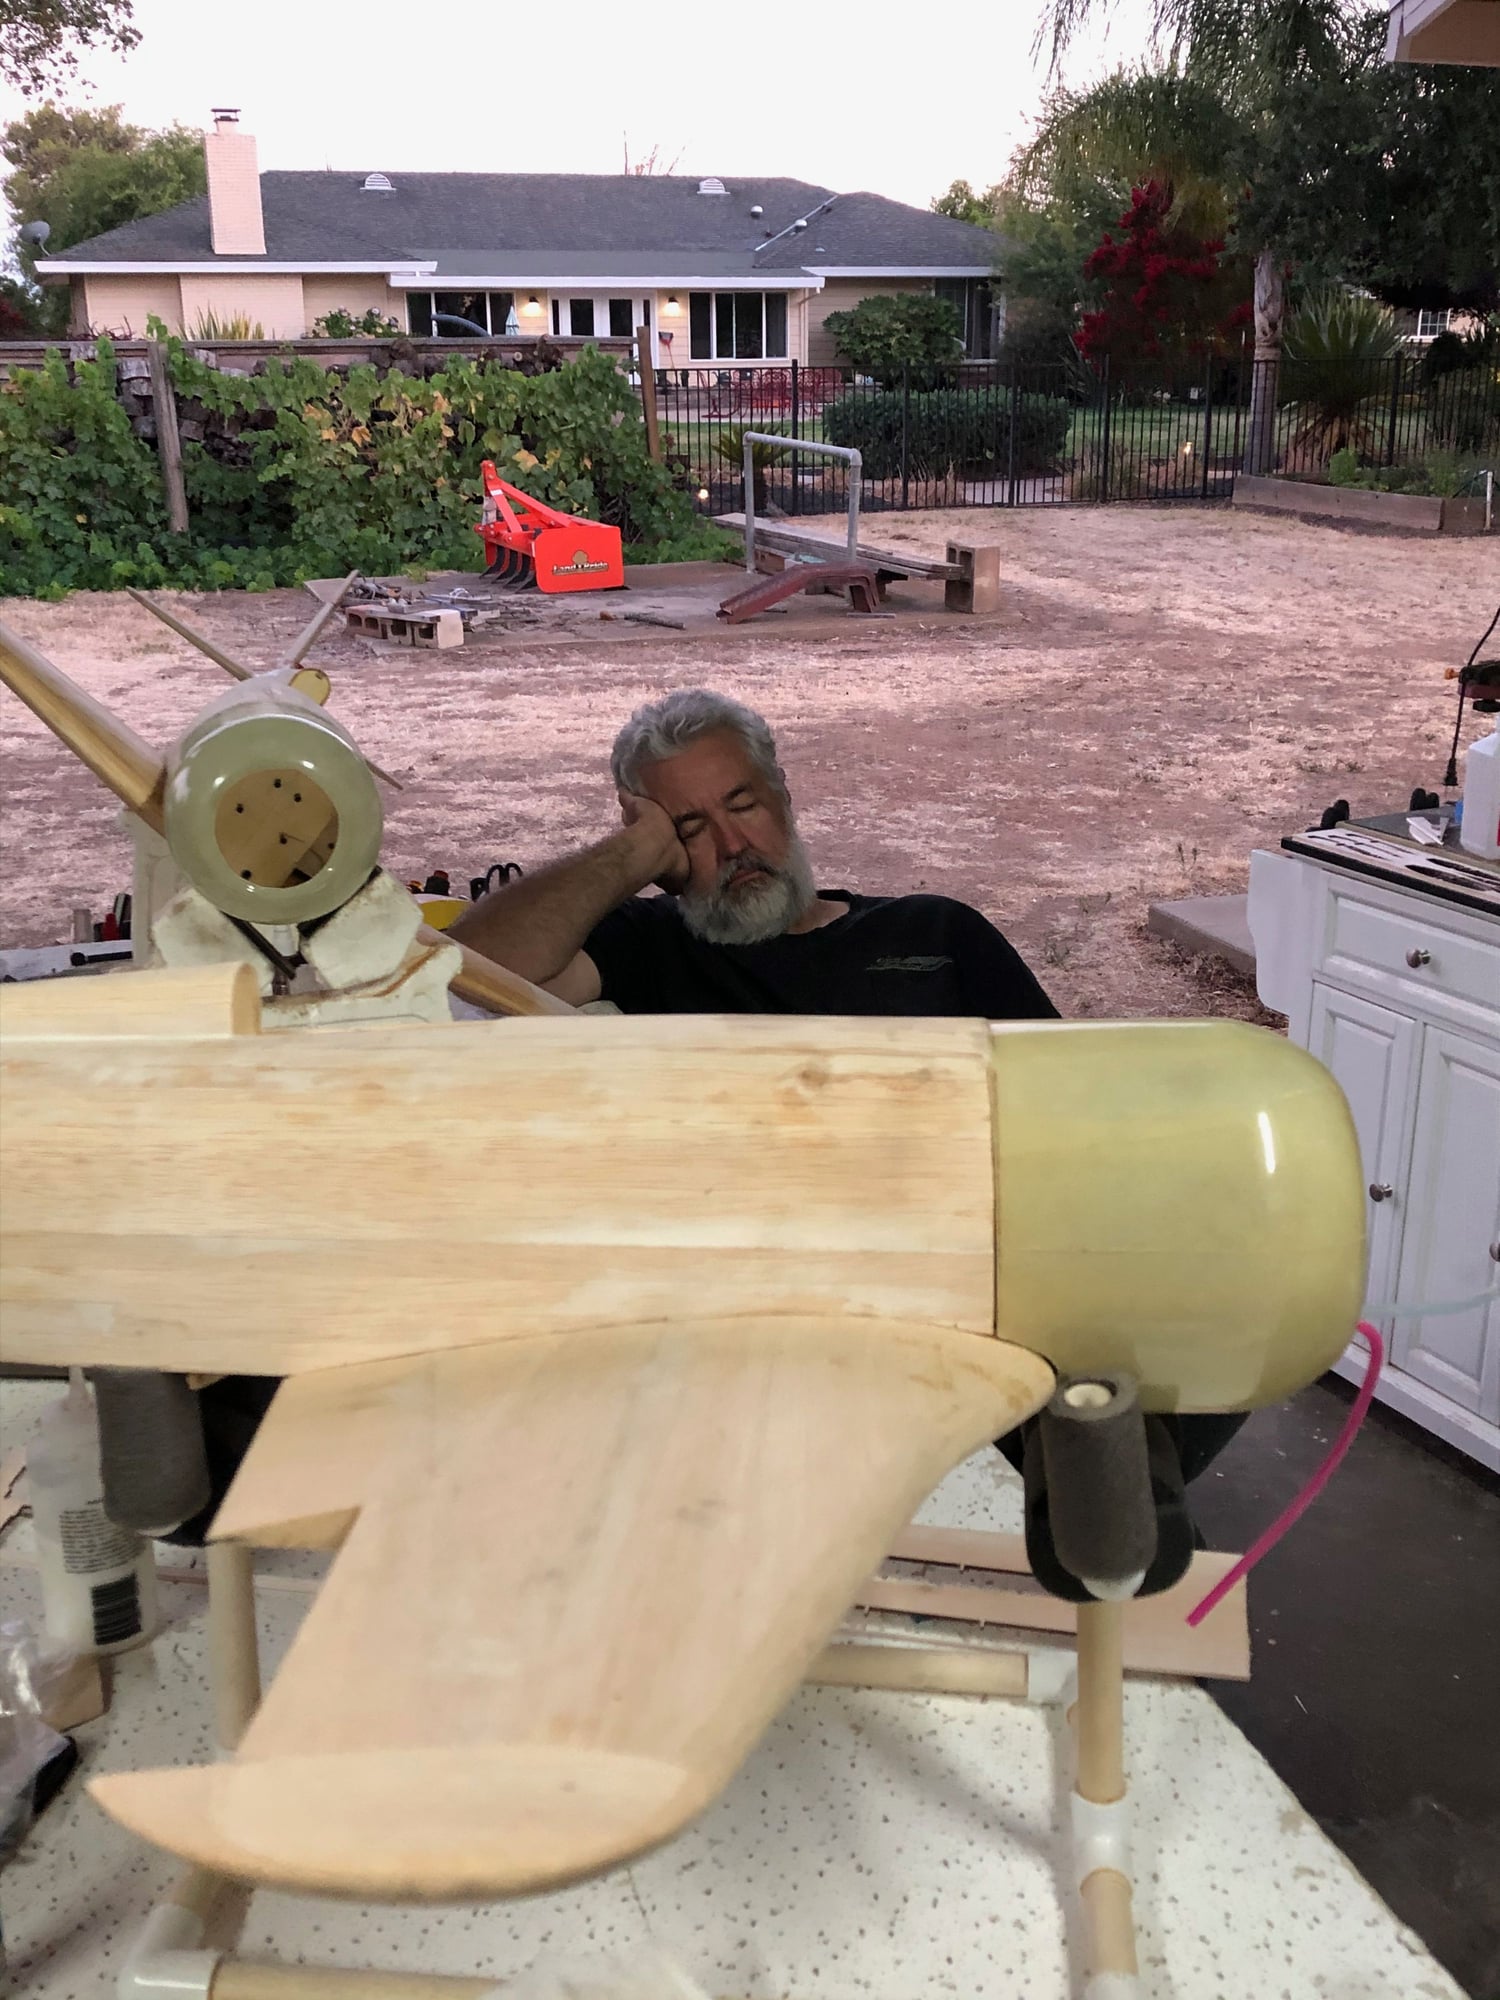
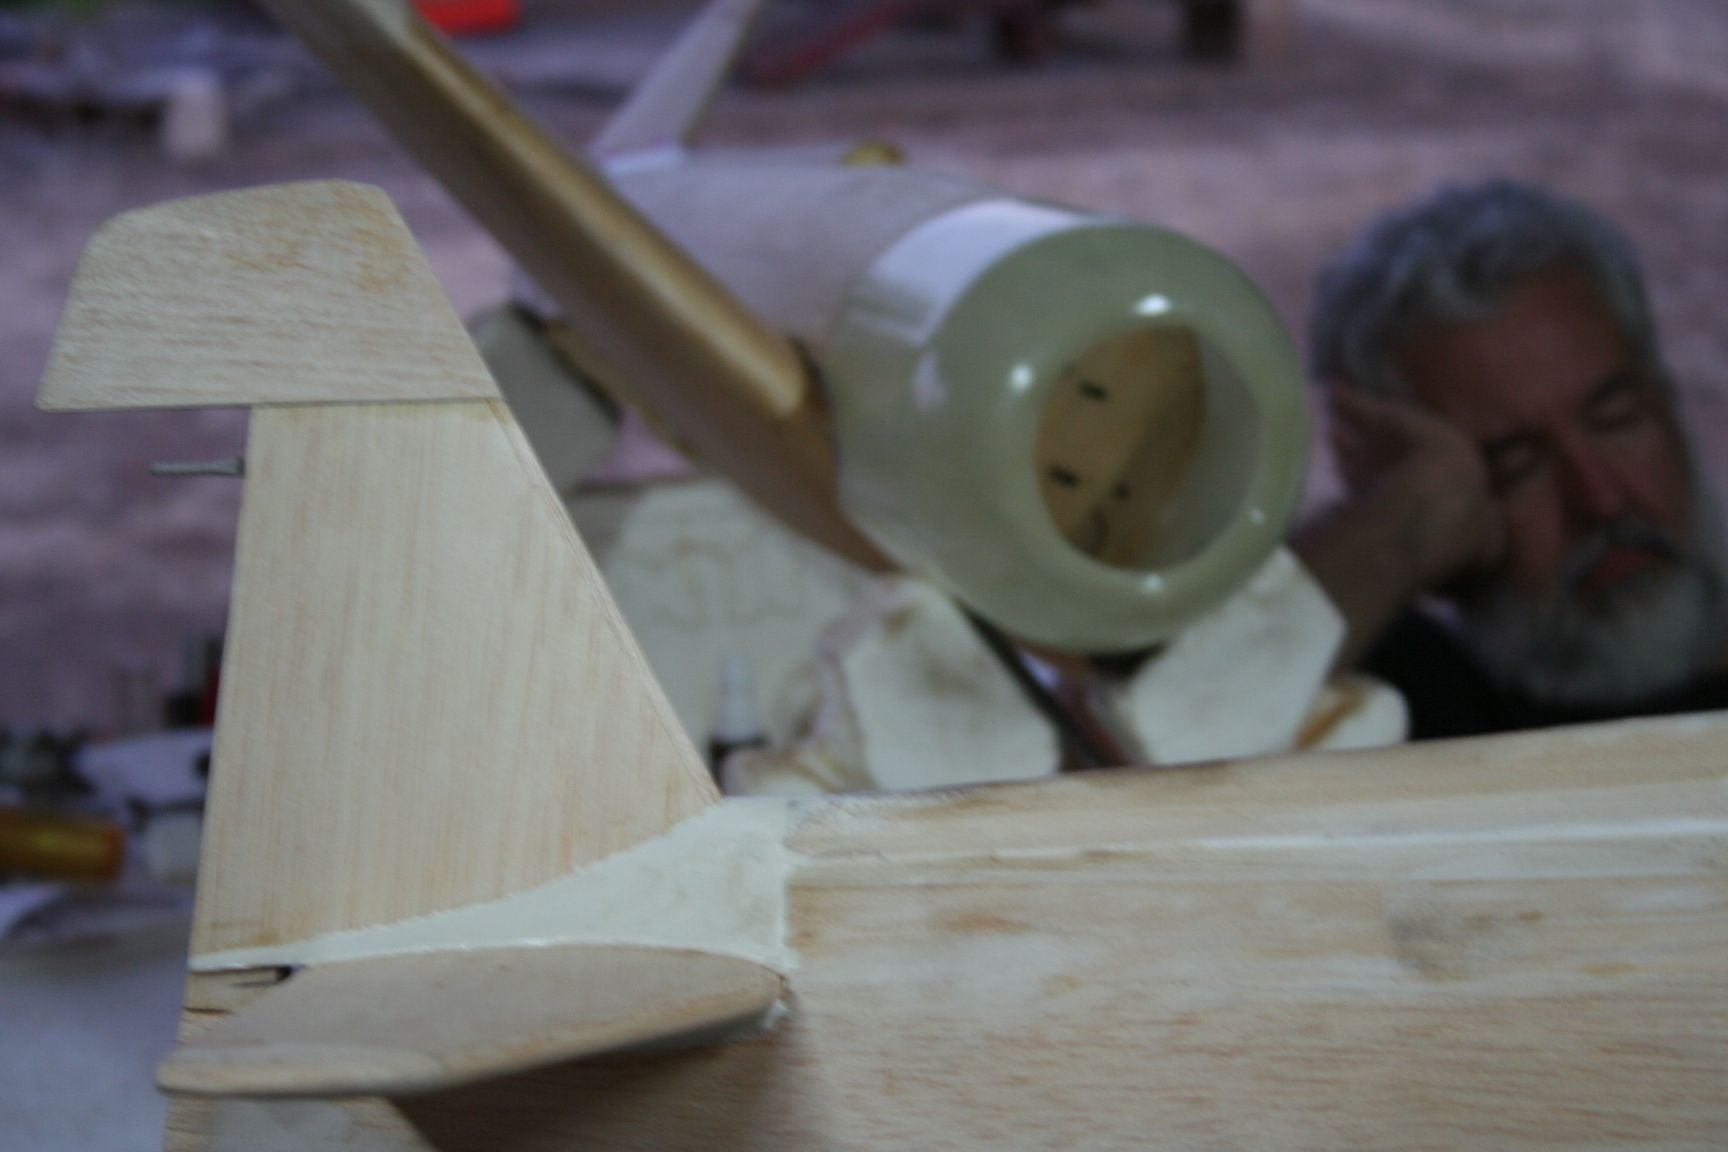
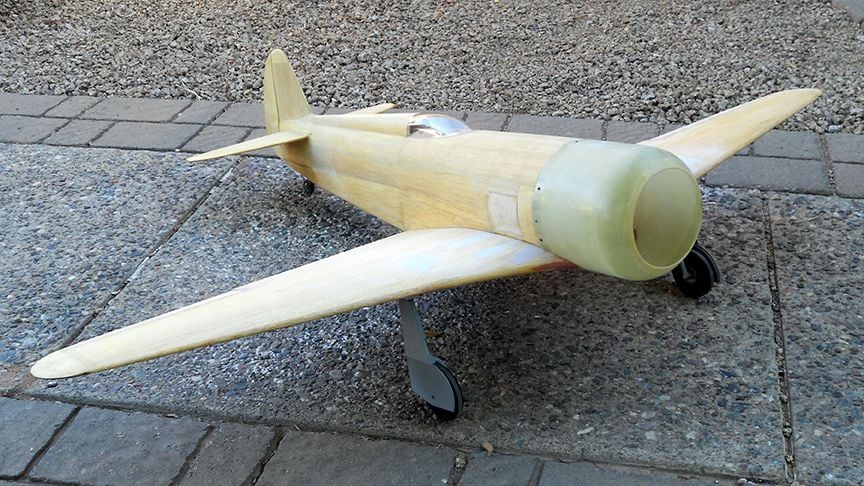
Before we call it a night, Tim takes a picture of Eric and I holding our planes. Tim's is partially visible, upside-down, on the bench (behind and underneath mine) to my right.
What do you think . . . starting to look like CzechMate?
What do you think . . . starting to look like CzechMate?
08-11-2020, 06:42 PM
#311
Thread Starter
. . . And then, COVID-19 happened!
We have been stuck, each separately sheltering in-our-own-places for months.
It stunk having to end my teaching career away from my students and colleagues, due to the COVID outbreak and the resultant Distance Learning; but, I finally retired in June. Even though there was one less person to have major work conflicts in getting-together to continue the build, CA was on lock-down.
Well, months later the restrictions are a little looser, so tired of being completely isolated, we are back at it -- sort of. Tim and I are back at it. (Eric, is rightly being cautious -- keeping his distance, watching this thread from his home in order to follow-on independently with upcoming steps as I detail them.
It's been months, so let's resume building some CzechMates!
08-11-2020, 06:47 PM
#312
Thread Starter
We left-off with Eric and I having just glued our tail feathers in-place. Tim didn’t bring his plane last time, so he had some catching-up to do.
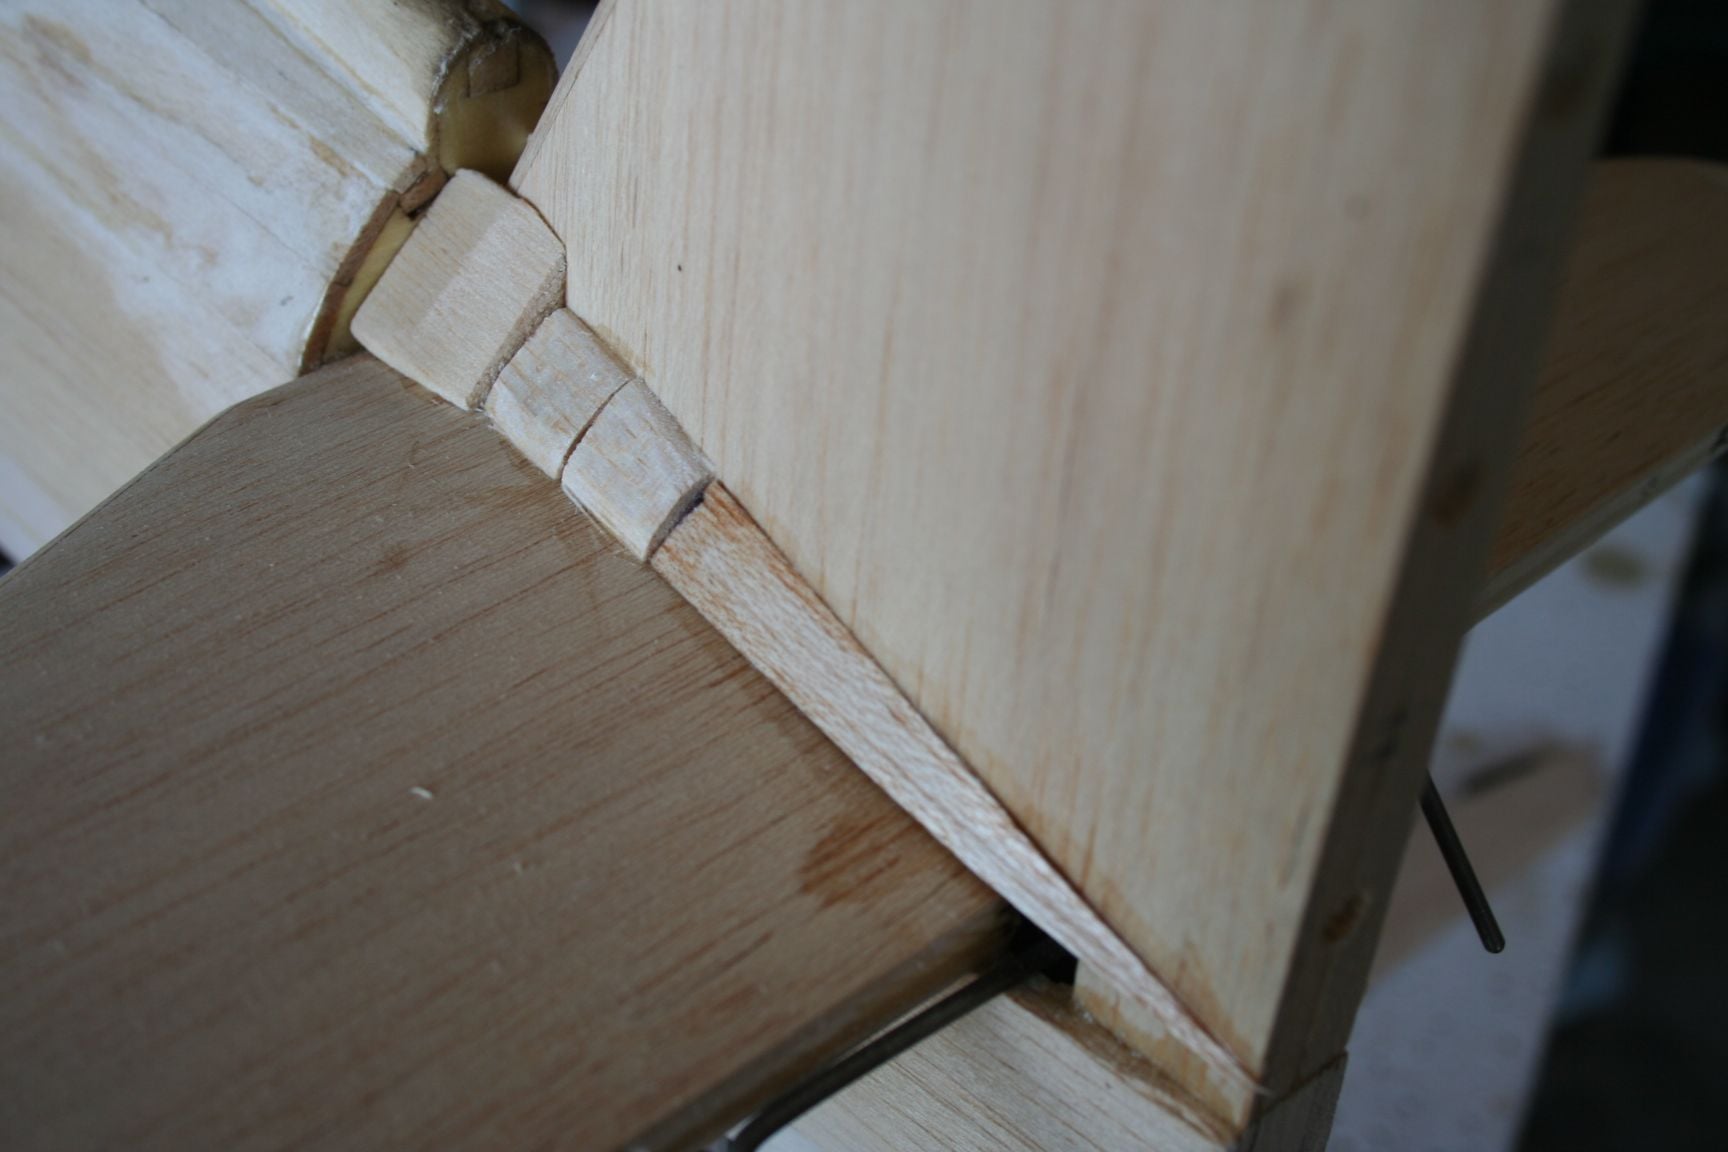
Once he had caught-up, it was time to reinforce and fair the tail feathers into the fuselage. I used short lengths of a couple sizes of triangle-stock for approximately the first two-fifths back from the leading edge. I sanded them to the rough contours necessary to ensure a proper fit and strong glue bond between the compound curvatures due to the airfoiled stab and vertical fin; as well as a convex curvature to match the turtledeck. The rear section of the fairing is a narrow triangular strip of scrap 3/32” balsa sheet that I beveled inward towards the joint.
(Tim used longer strips of scrap 3/32” balsa sheet, fit together much wider at the LE, and still to a point at the TE -- without tri-stock. Sorry, no pics of his installation were taken.)
Last edited by Iron Dog; 08-11-2020 at 07:40 PM.
08-11-2020, 06:53 PM
#313
Thread Starter
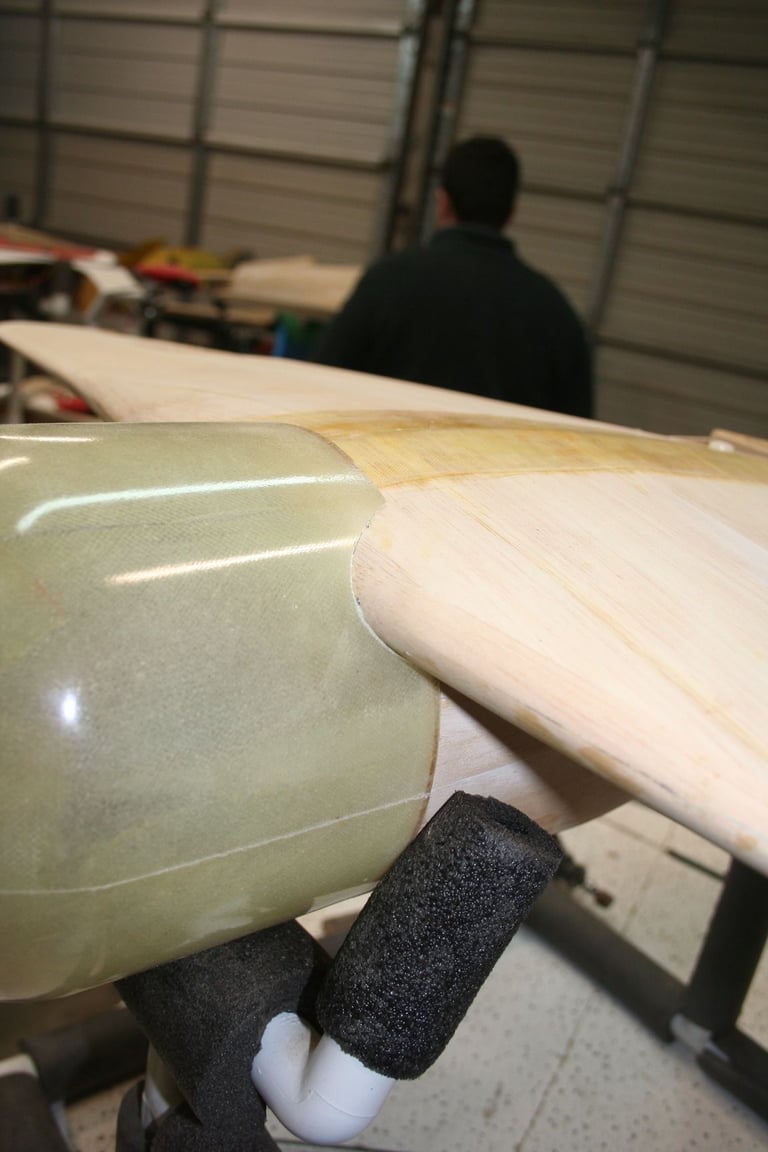
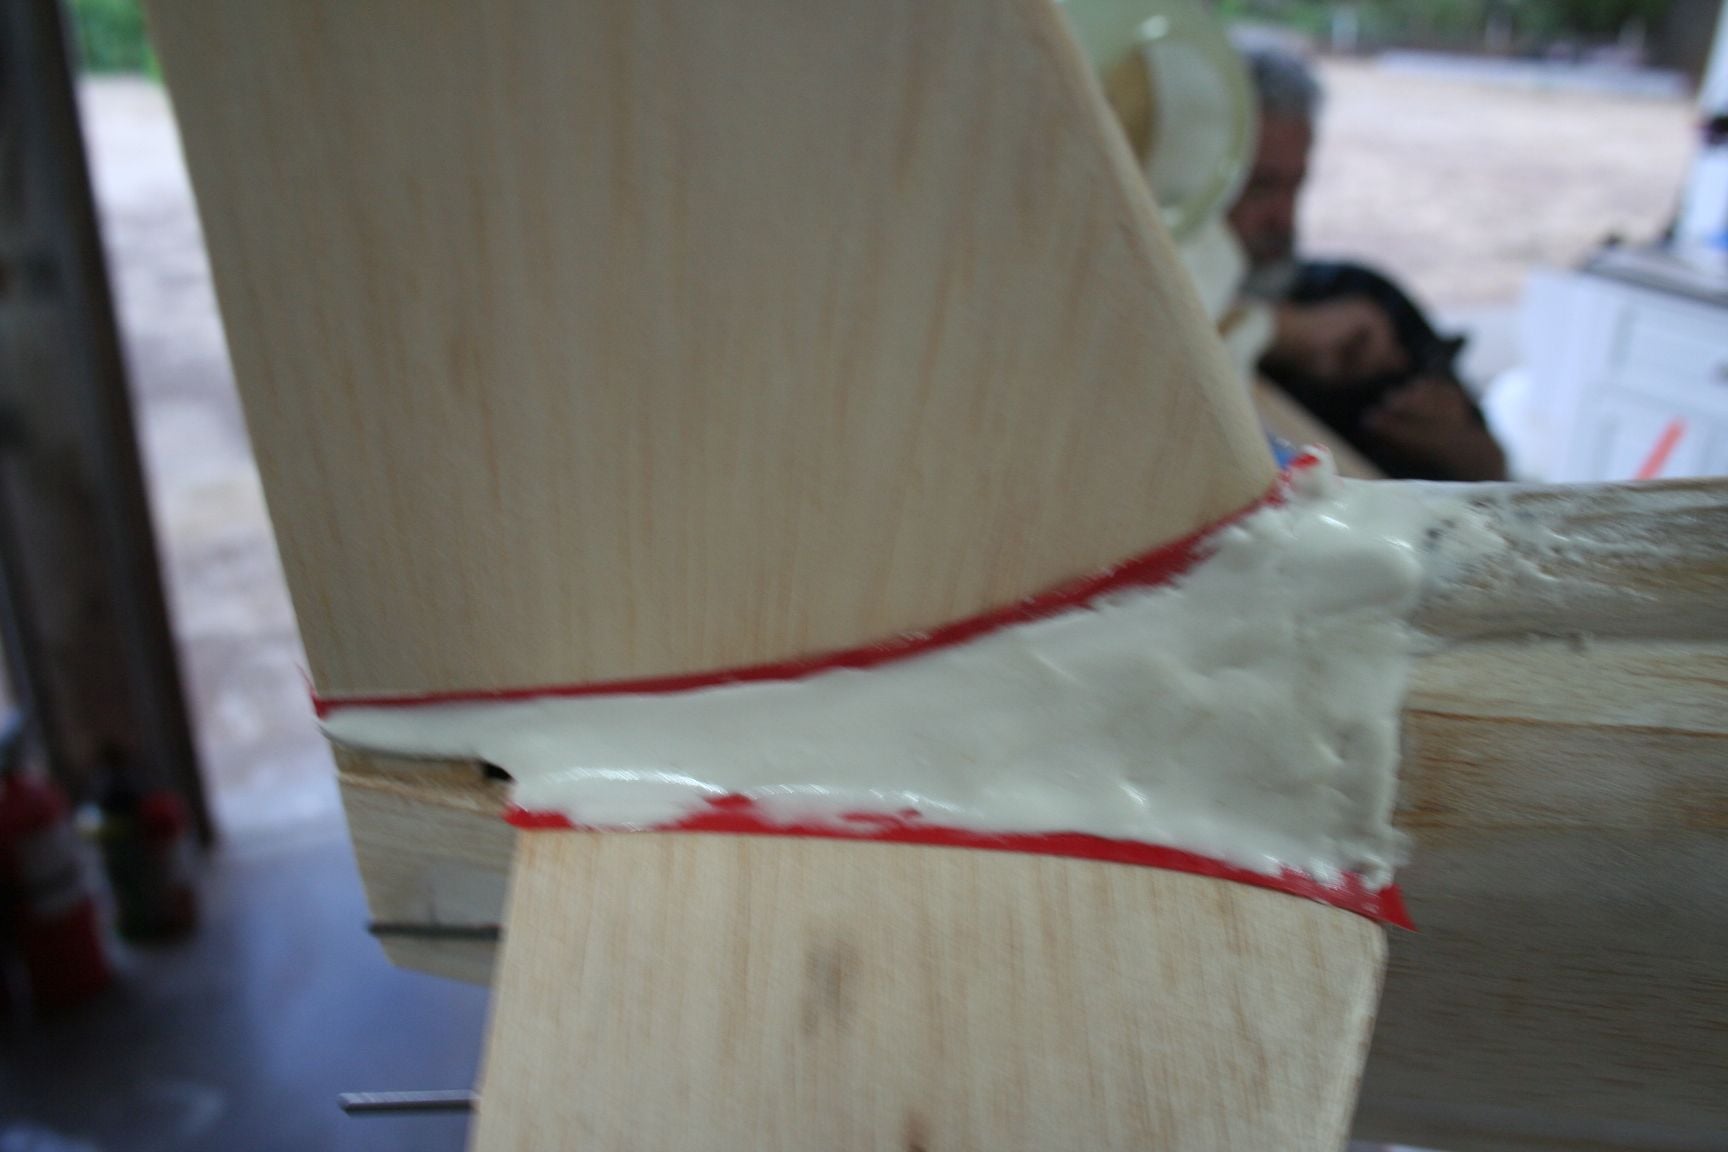
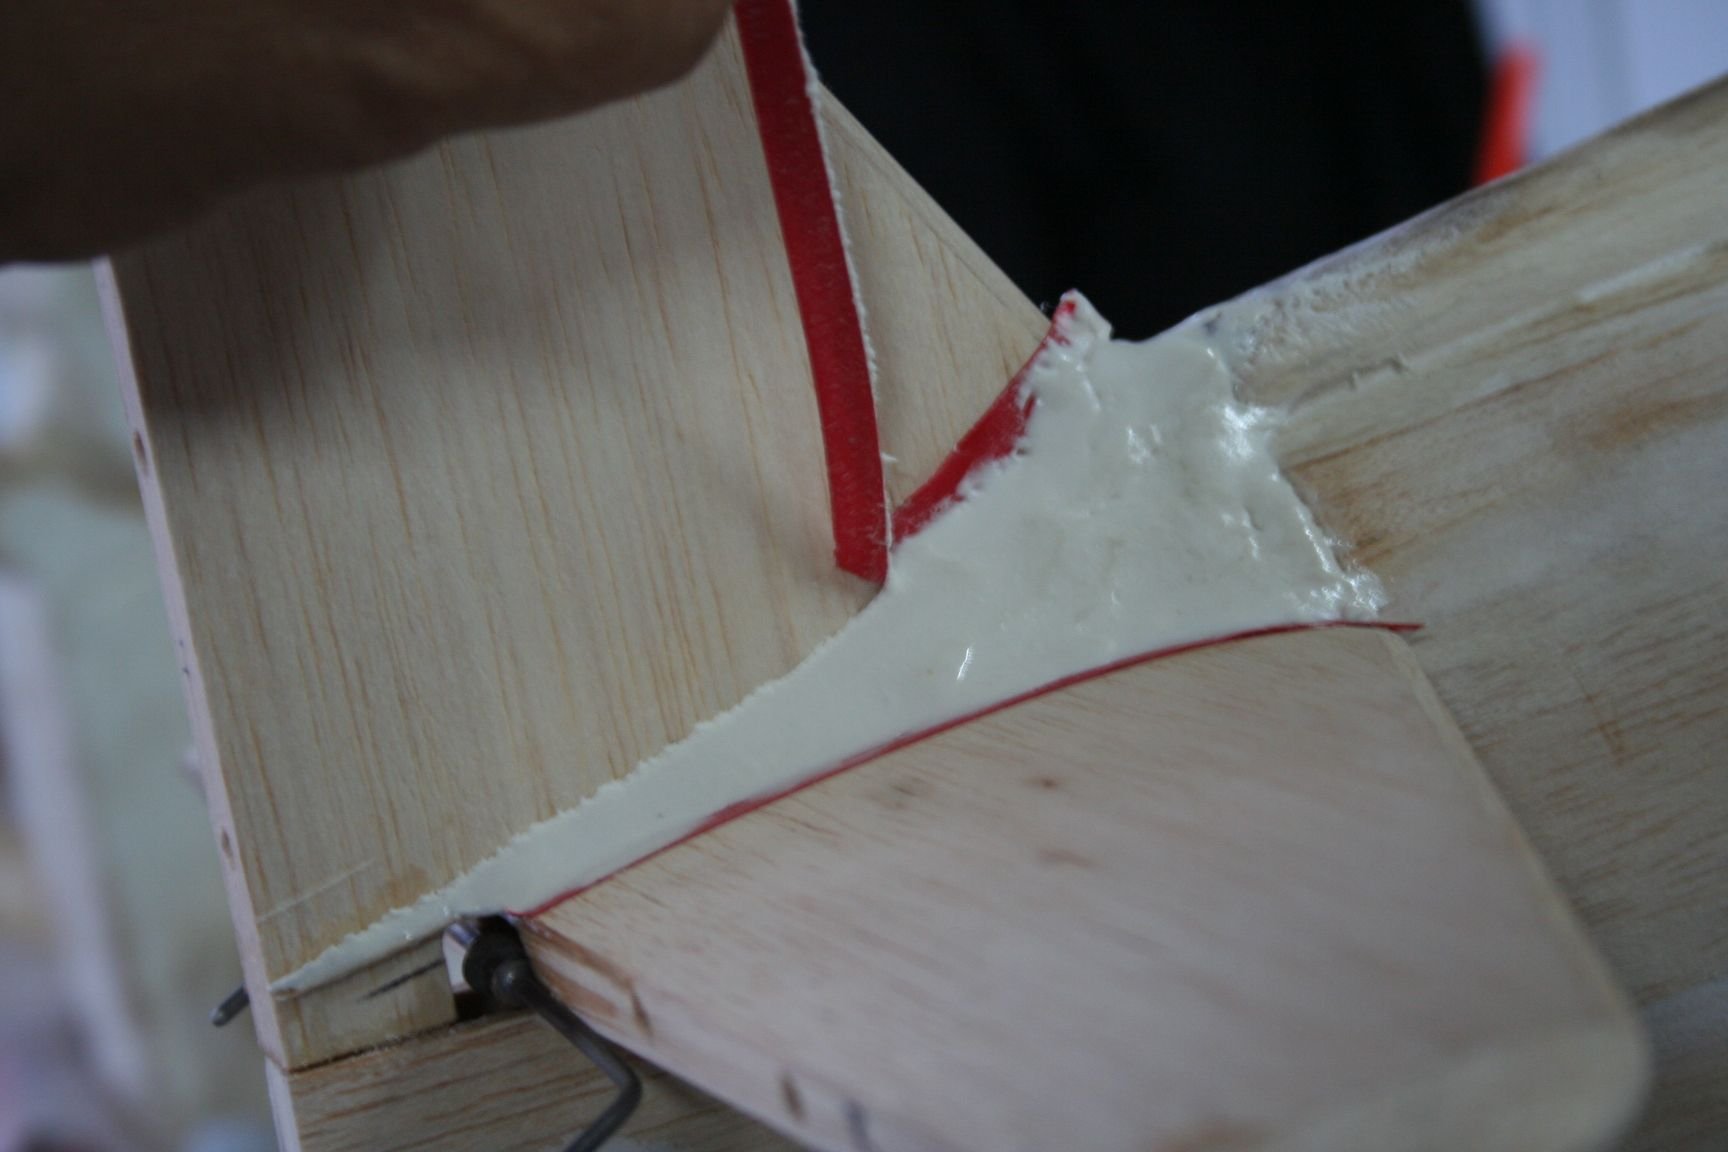
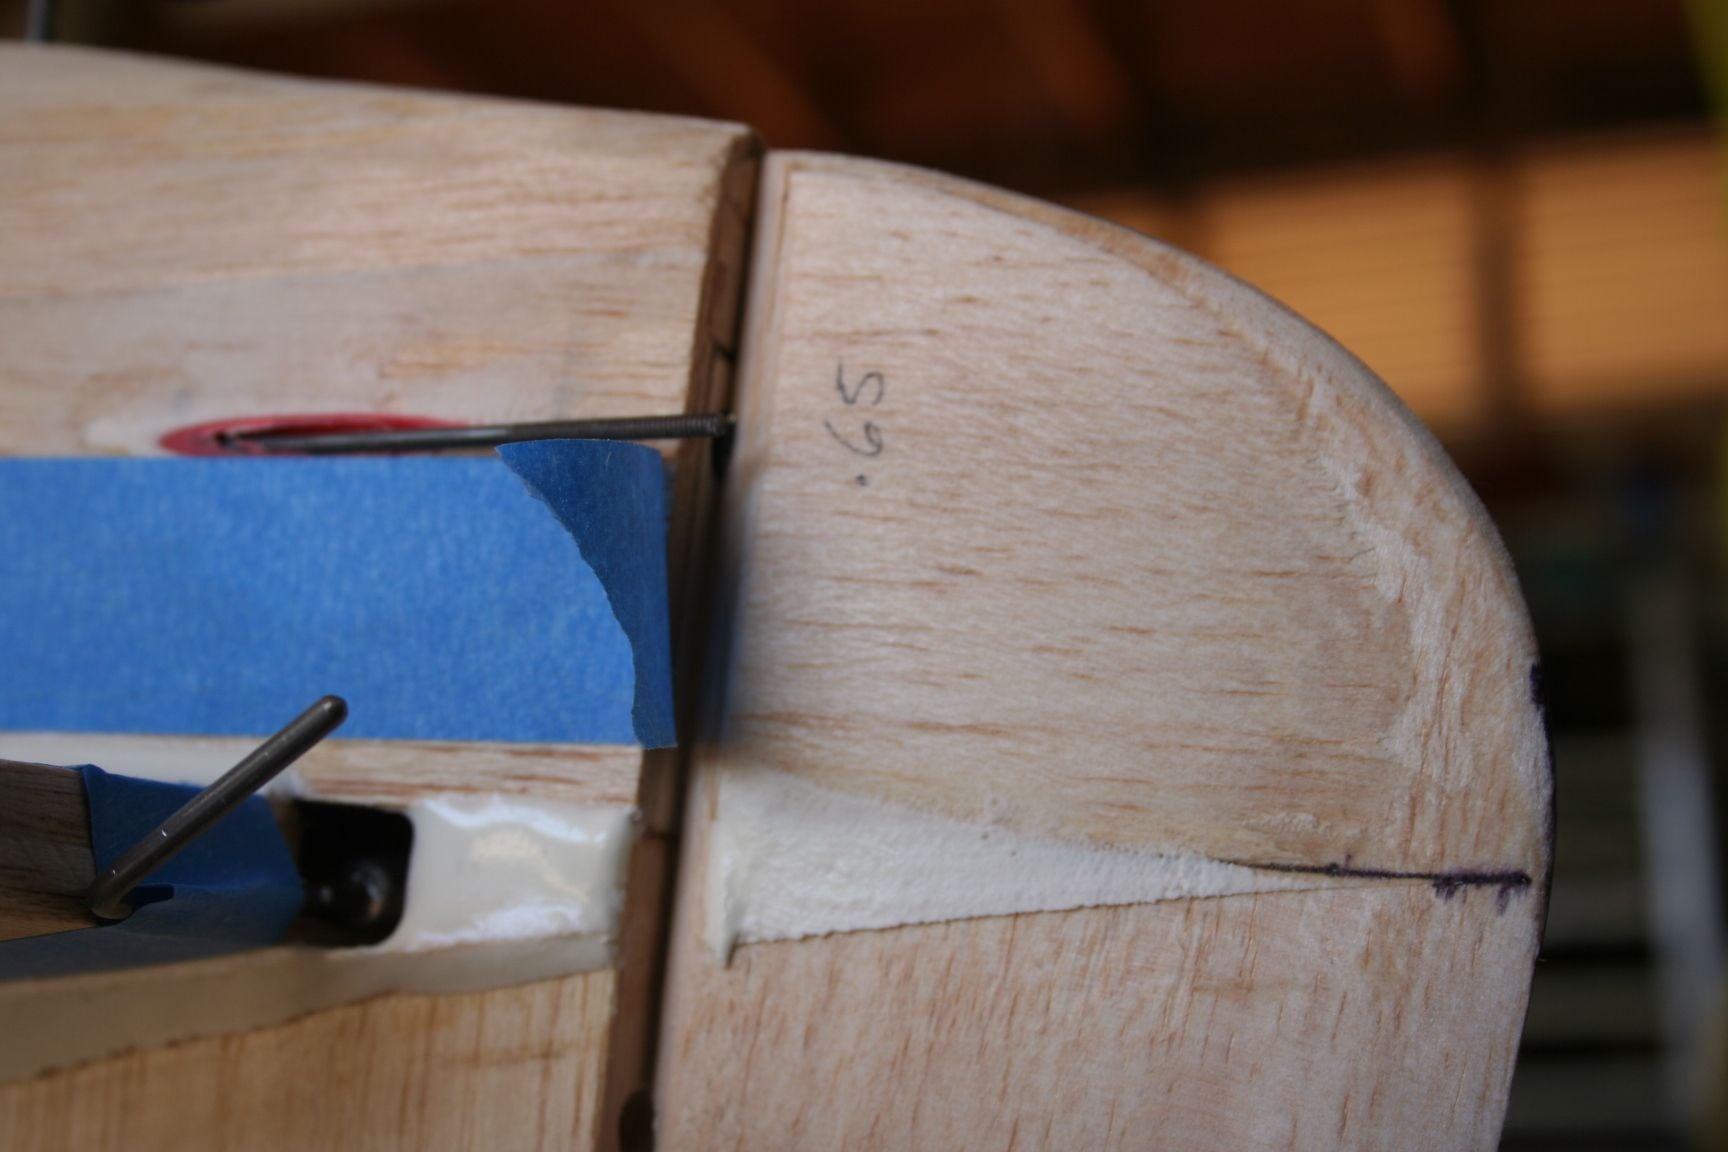
Referencing pictures of CzechMate’s tail section, I outlined the curvature of the fin fairing using 1/4” red vinyl tape — top and bottom, and on each side of the fuse. Tim and I mixed-up micro-balloons and resin until we achieved a “peanut-butter” consistency, and slathered-it-in to completely fill-in and more accurately shape the fairing.
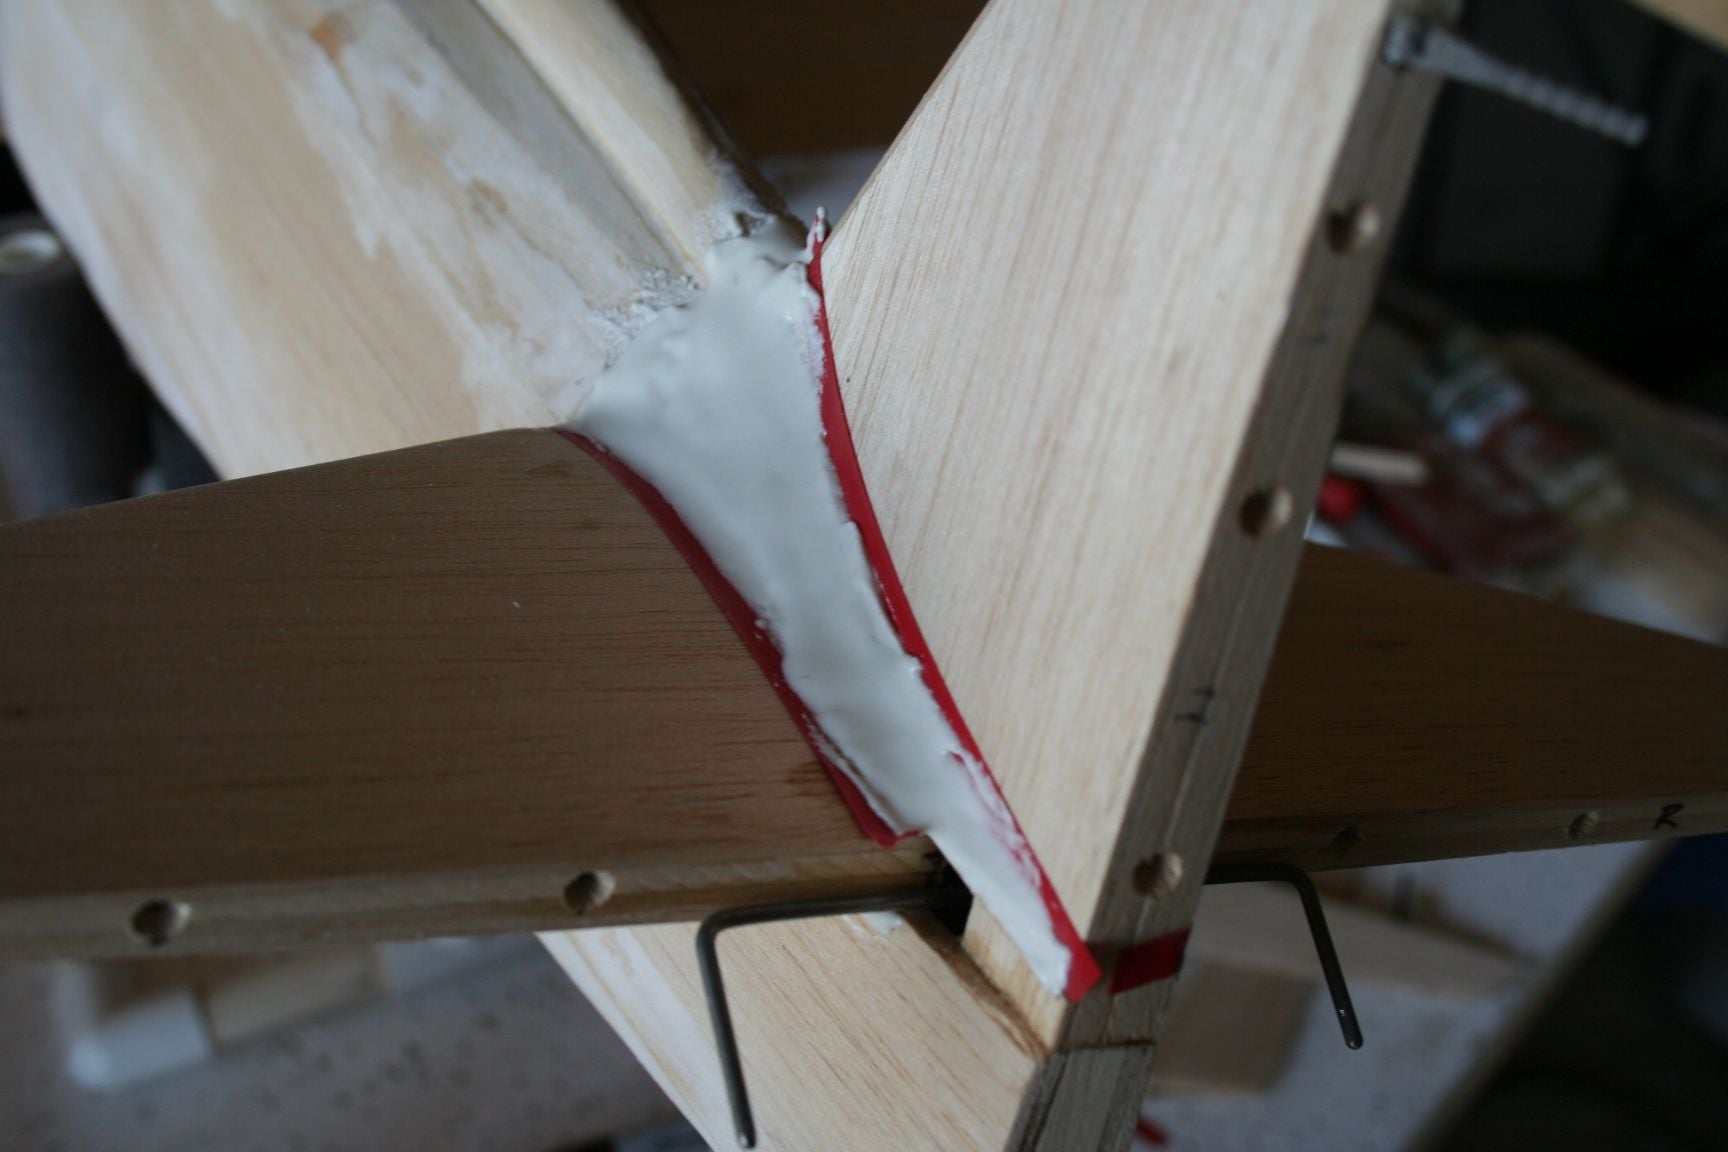
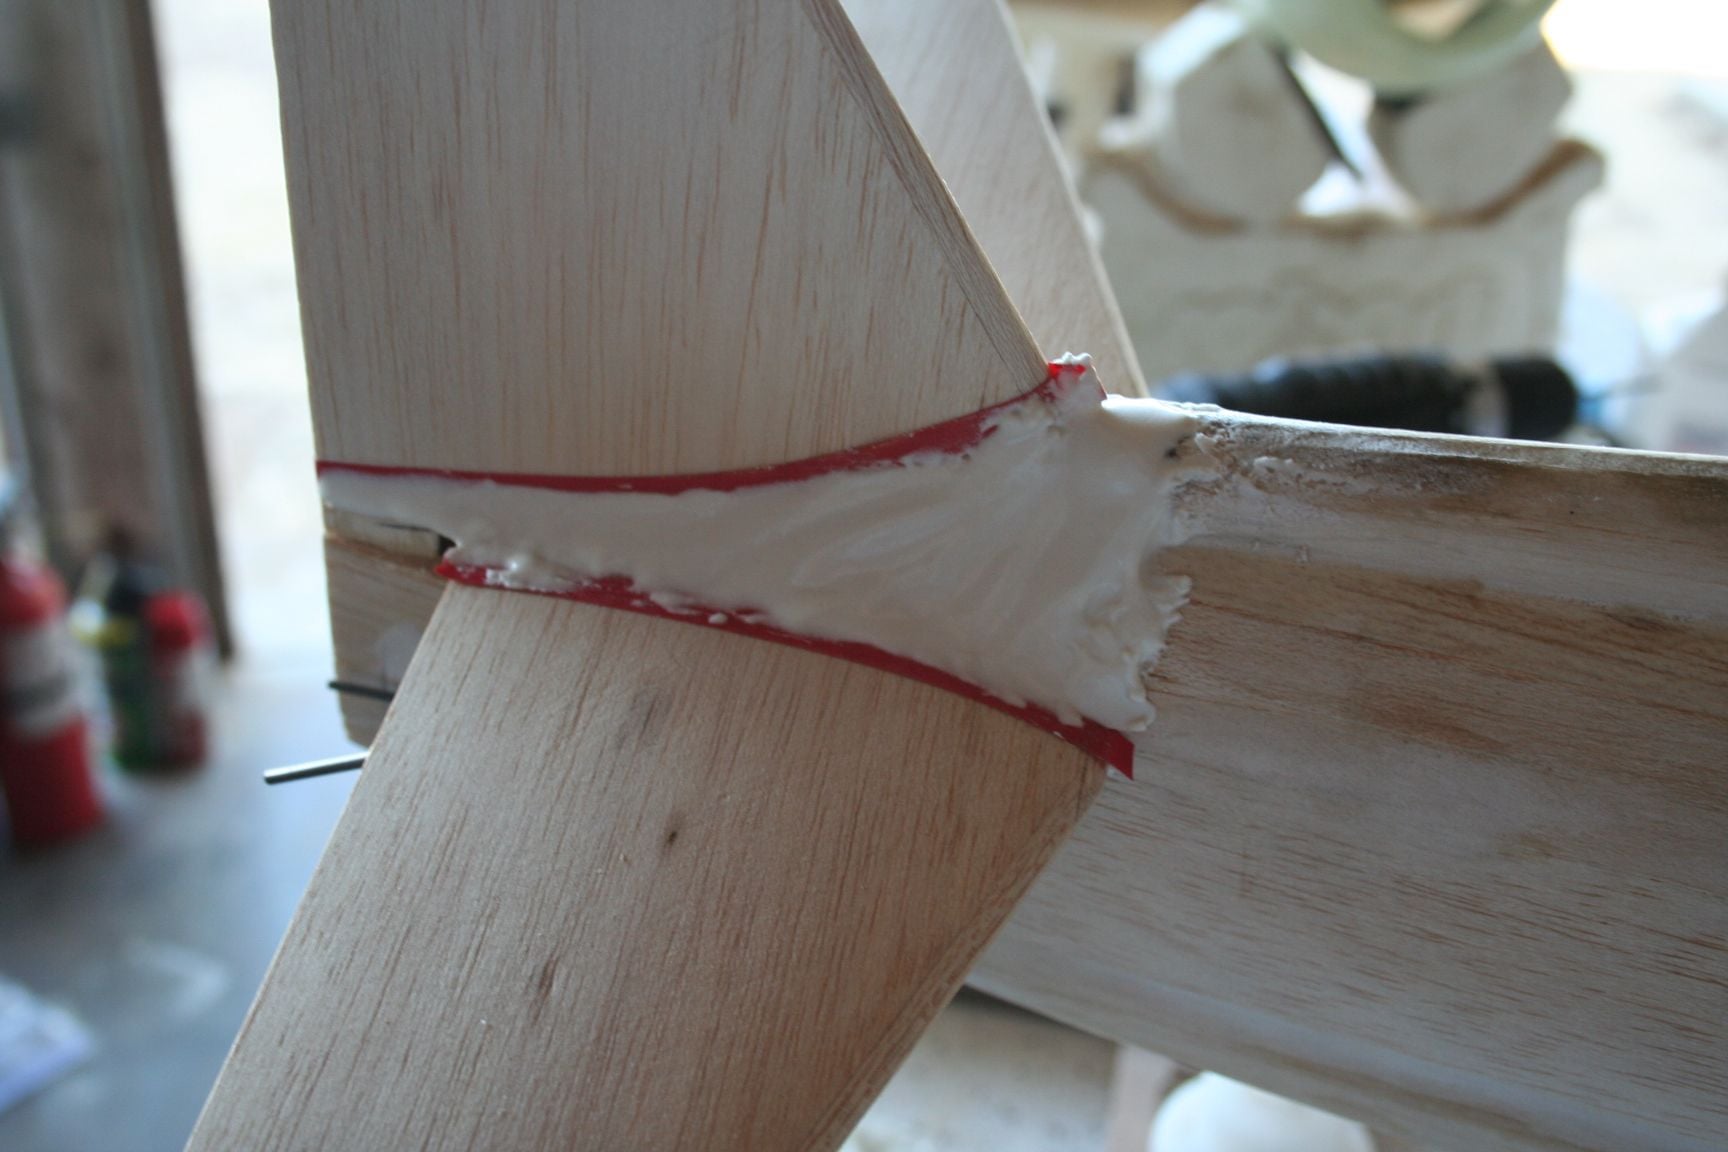
Tim taped the top (at the fin), opting not to tape the bottom (at the stab).
Tim taped the top (at the fin), opting not to tape the bottom (at the stab).
08-11-2020, 06:58 PM
#314
Thread Starter
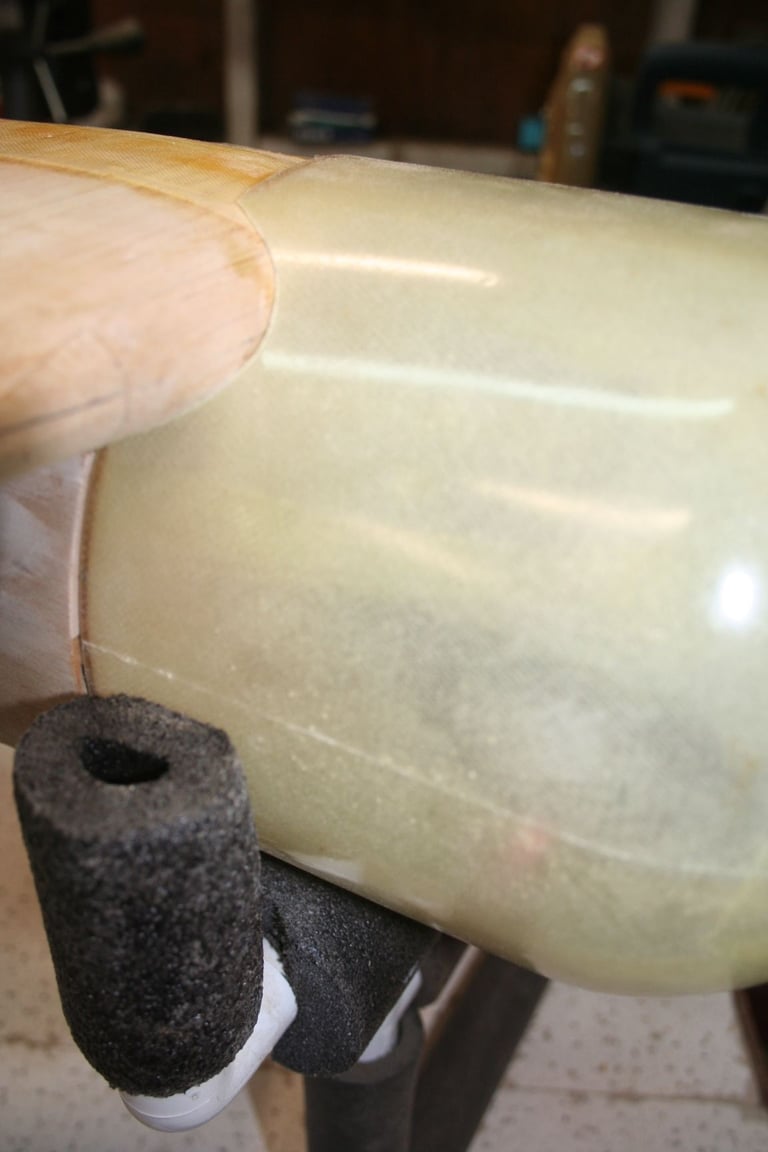
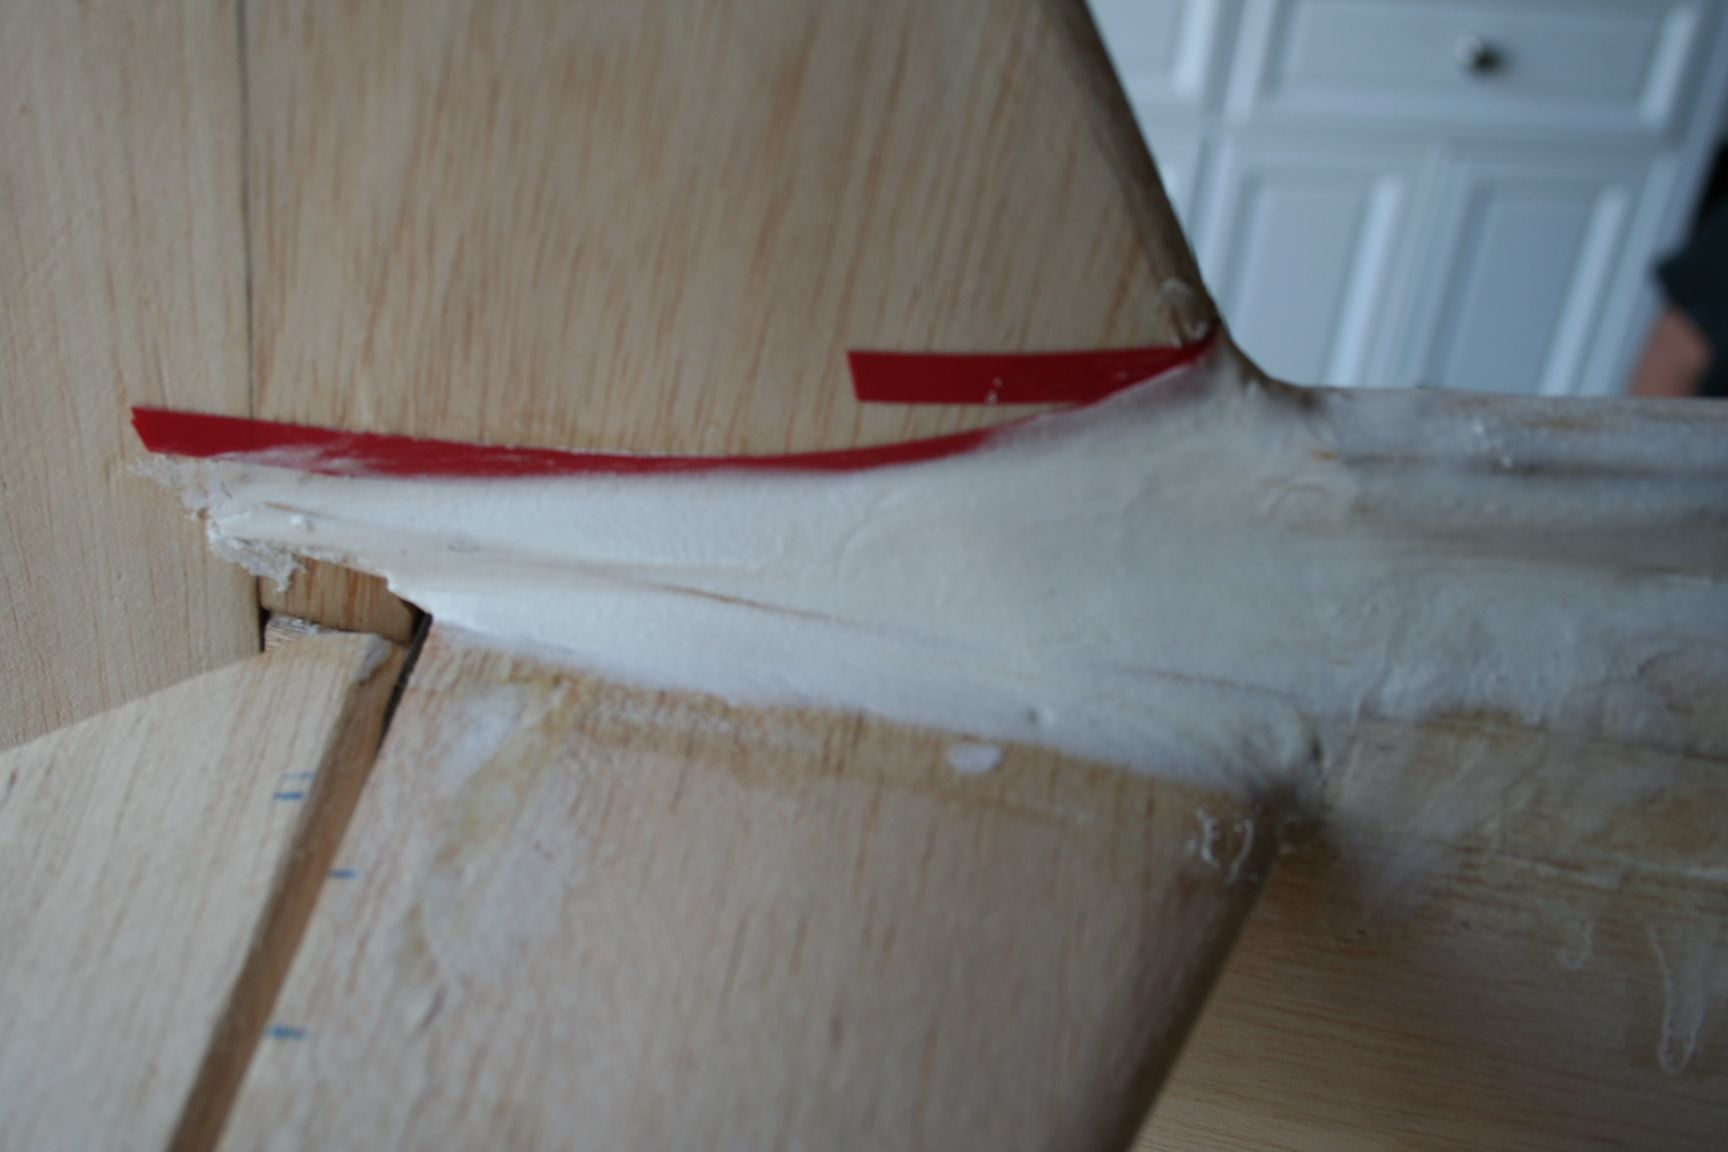
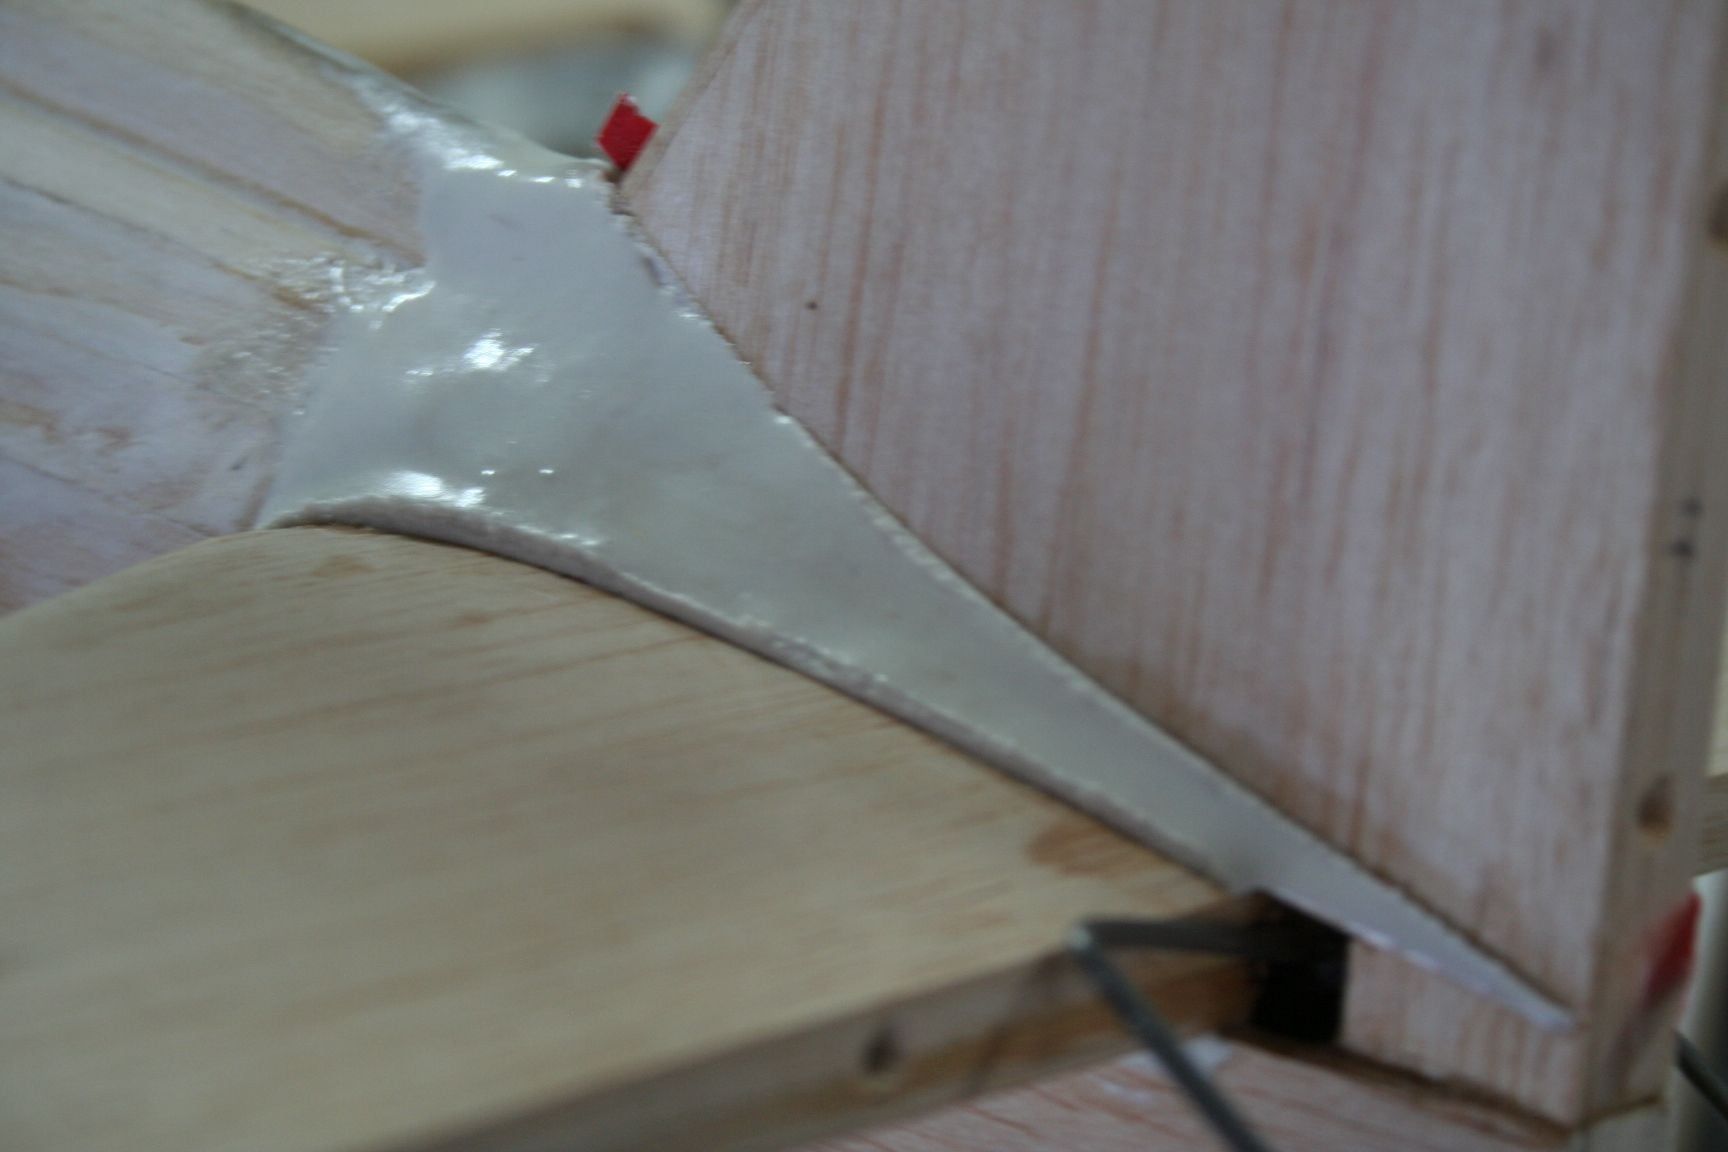
When I was happy with the top stab to fin area, I used the leftover filler to fair-in the bottom of the stab, and the leading edge to the fuse side, too.
Last edited by Iron Dog; 08-11-2020 at 07:01 PM.
08-11-2020, 07:12 PM
#315
Thread Starter
It takes a while for the micro-balloons to begin to “set-up,” so we broke for dinner. (I can neither confirm — nor deny — if there may have been adult beverages involved.)
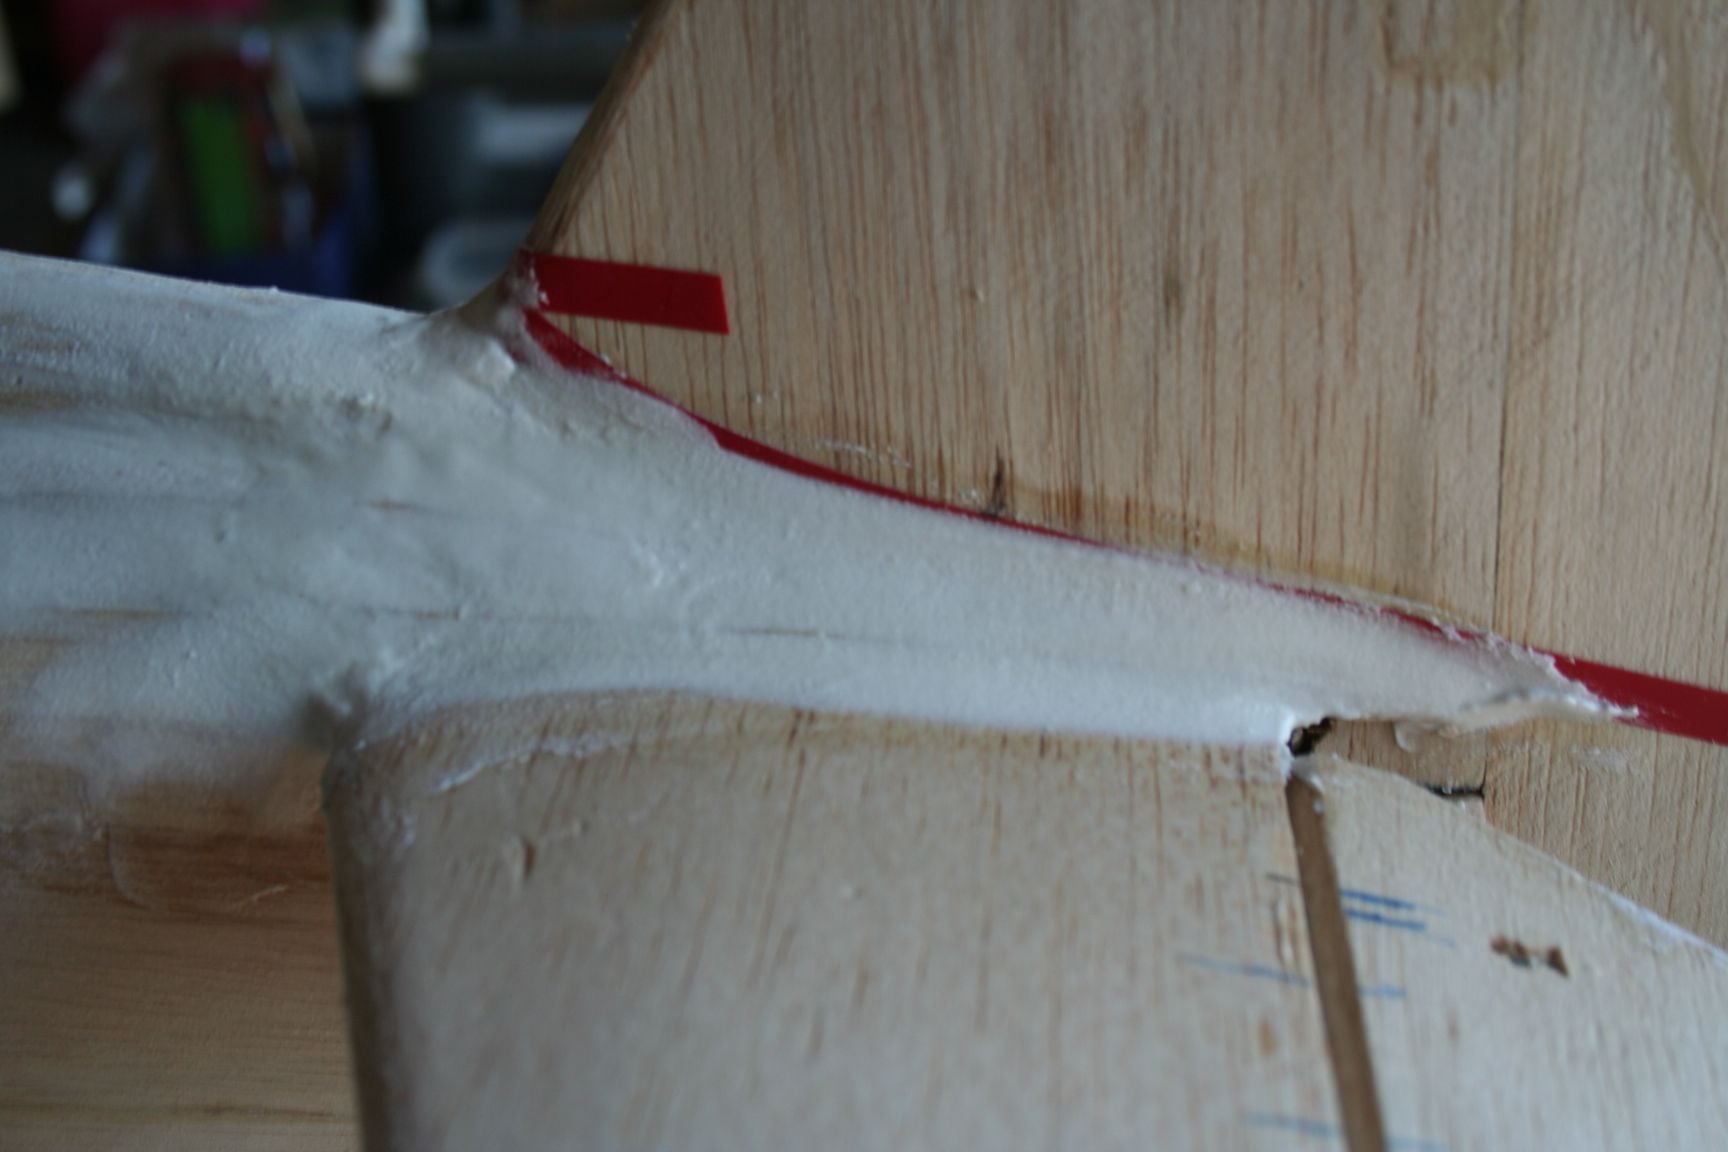
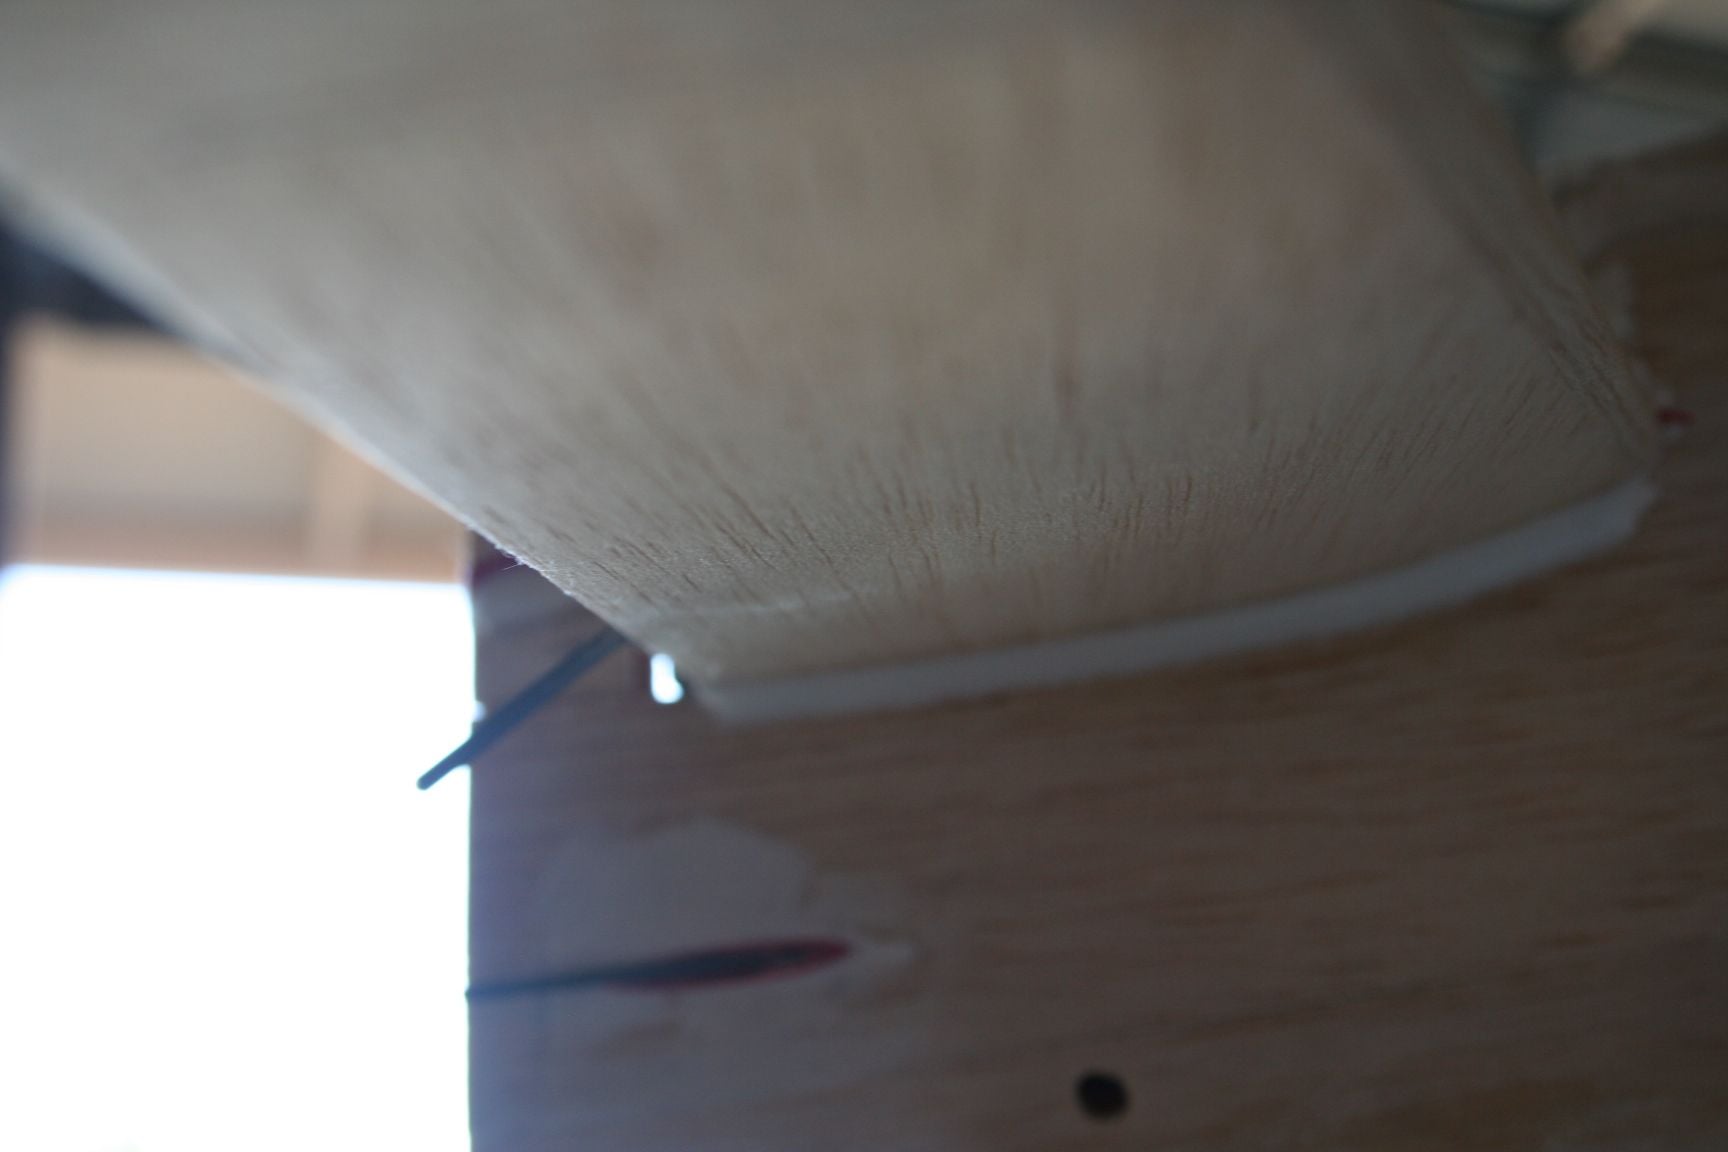
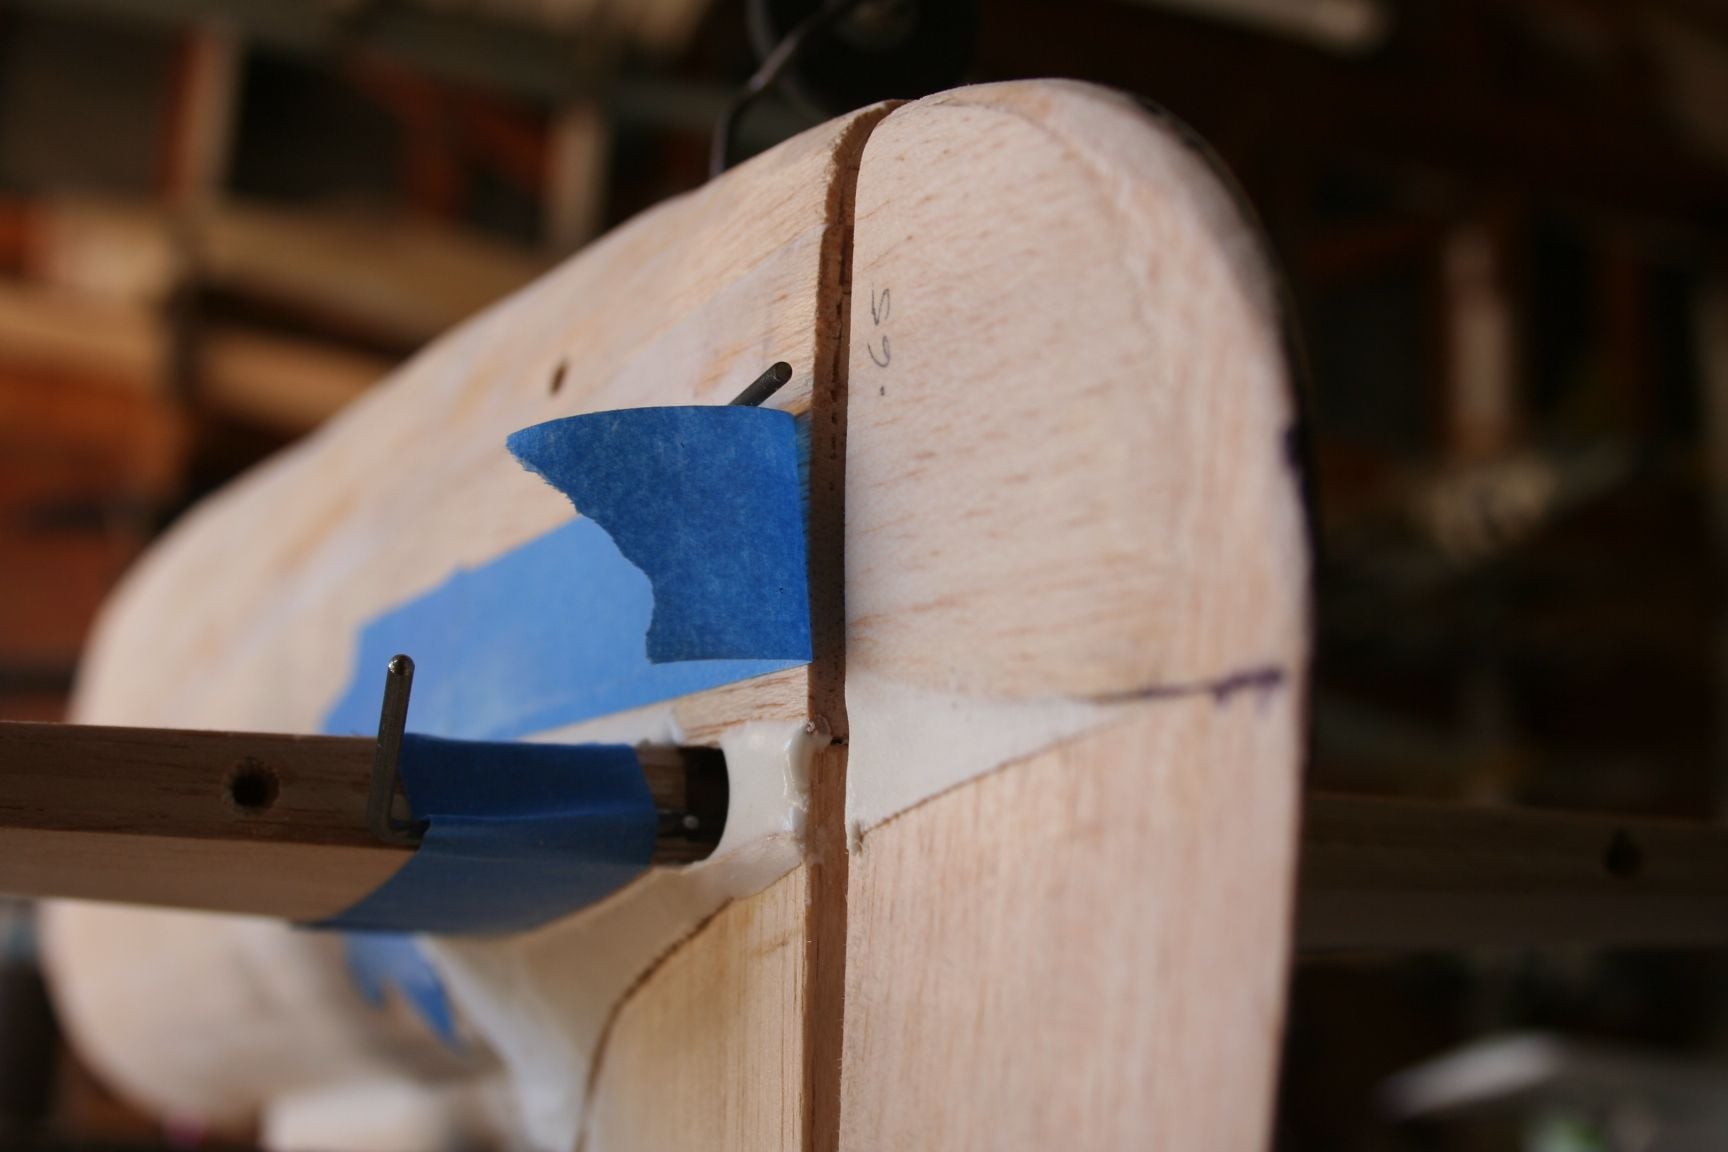
After dinner, the micro-balloons were starting to firm-up a little; and, we were able to remove the vinyl tape. If you time it relatively well, the filler is still pliable enough to cleanly and easily remove the tape -- pulling-away any excess filler and revealing a clean "panel line."
After dinner, the micro-balloons were starting to firm-up a little; and, we were able to remove the vinyl tape. If you time it relatively well, the filler is still pliable enough to cleanly and easily remove the tape -- pulling-away any excess filler and revealing a clean "panel line."
08-11-2020, 07:19 PM
#316
Thread Starter
Well, perhaps it would be more accurate to say, "I was able to remove my vinyl tape."
(Again, I can neither confirm — nor deny — if there may or may not have been adult beverages involved. Or whether Tim is a lightweight.)
(Again, I can neither confirm — nor deny — if there may or may not have been adult beverages involved. Or whether Tim is a lightweight.)
Last edited by Iron Dog; 08-11-2020 at 10:23 PM.


 08-11-2020, 10:15 PM
#321
Thread Starter
As most who have used micro-balloons before know, the cure of resin, mixed with micro-balloons, goes through stages throughout its cure. At the middle stage, it has thickened, yet is still quite pliable. One can smooth it out and/or help it along towards finer contours. Just wet it (or your finger) slightly first, then smooth it out with your finger. (Many prefer to wear gloves.)
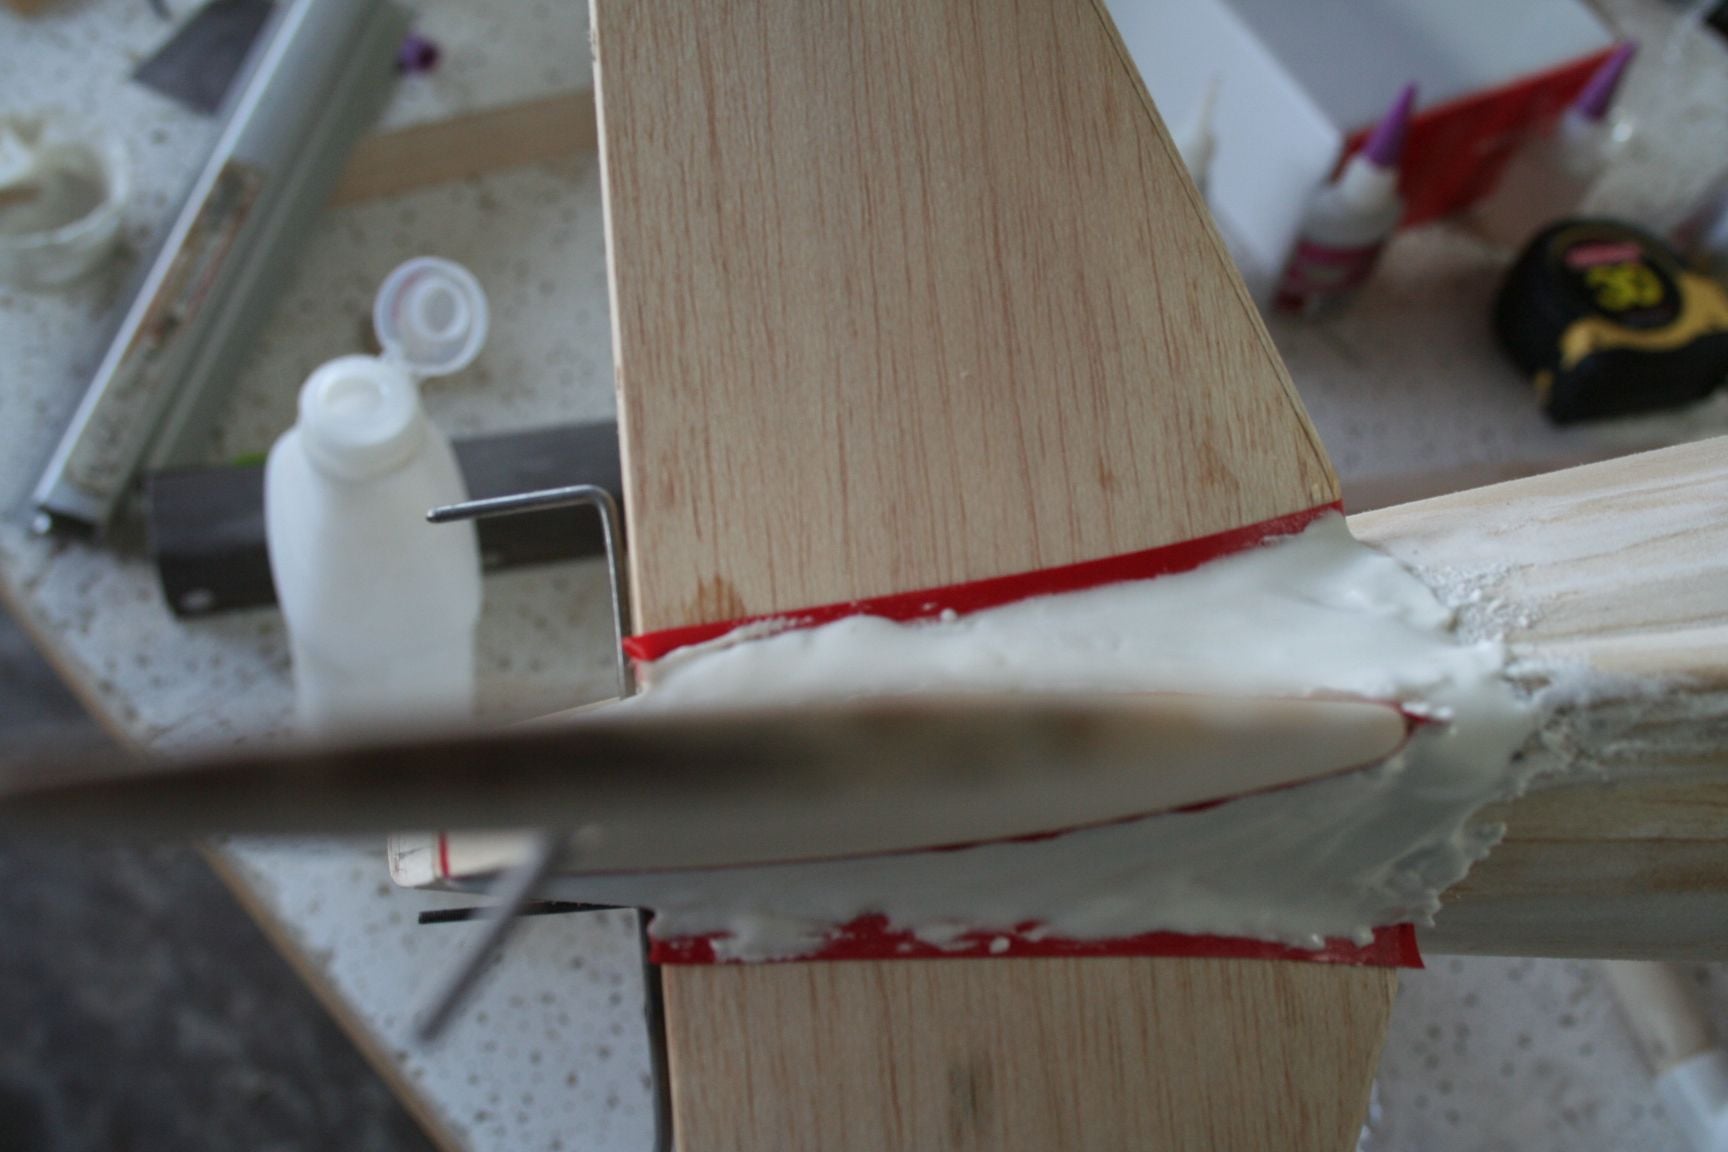
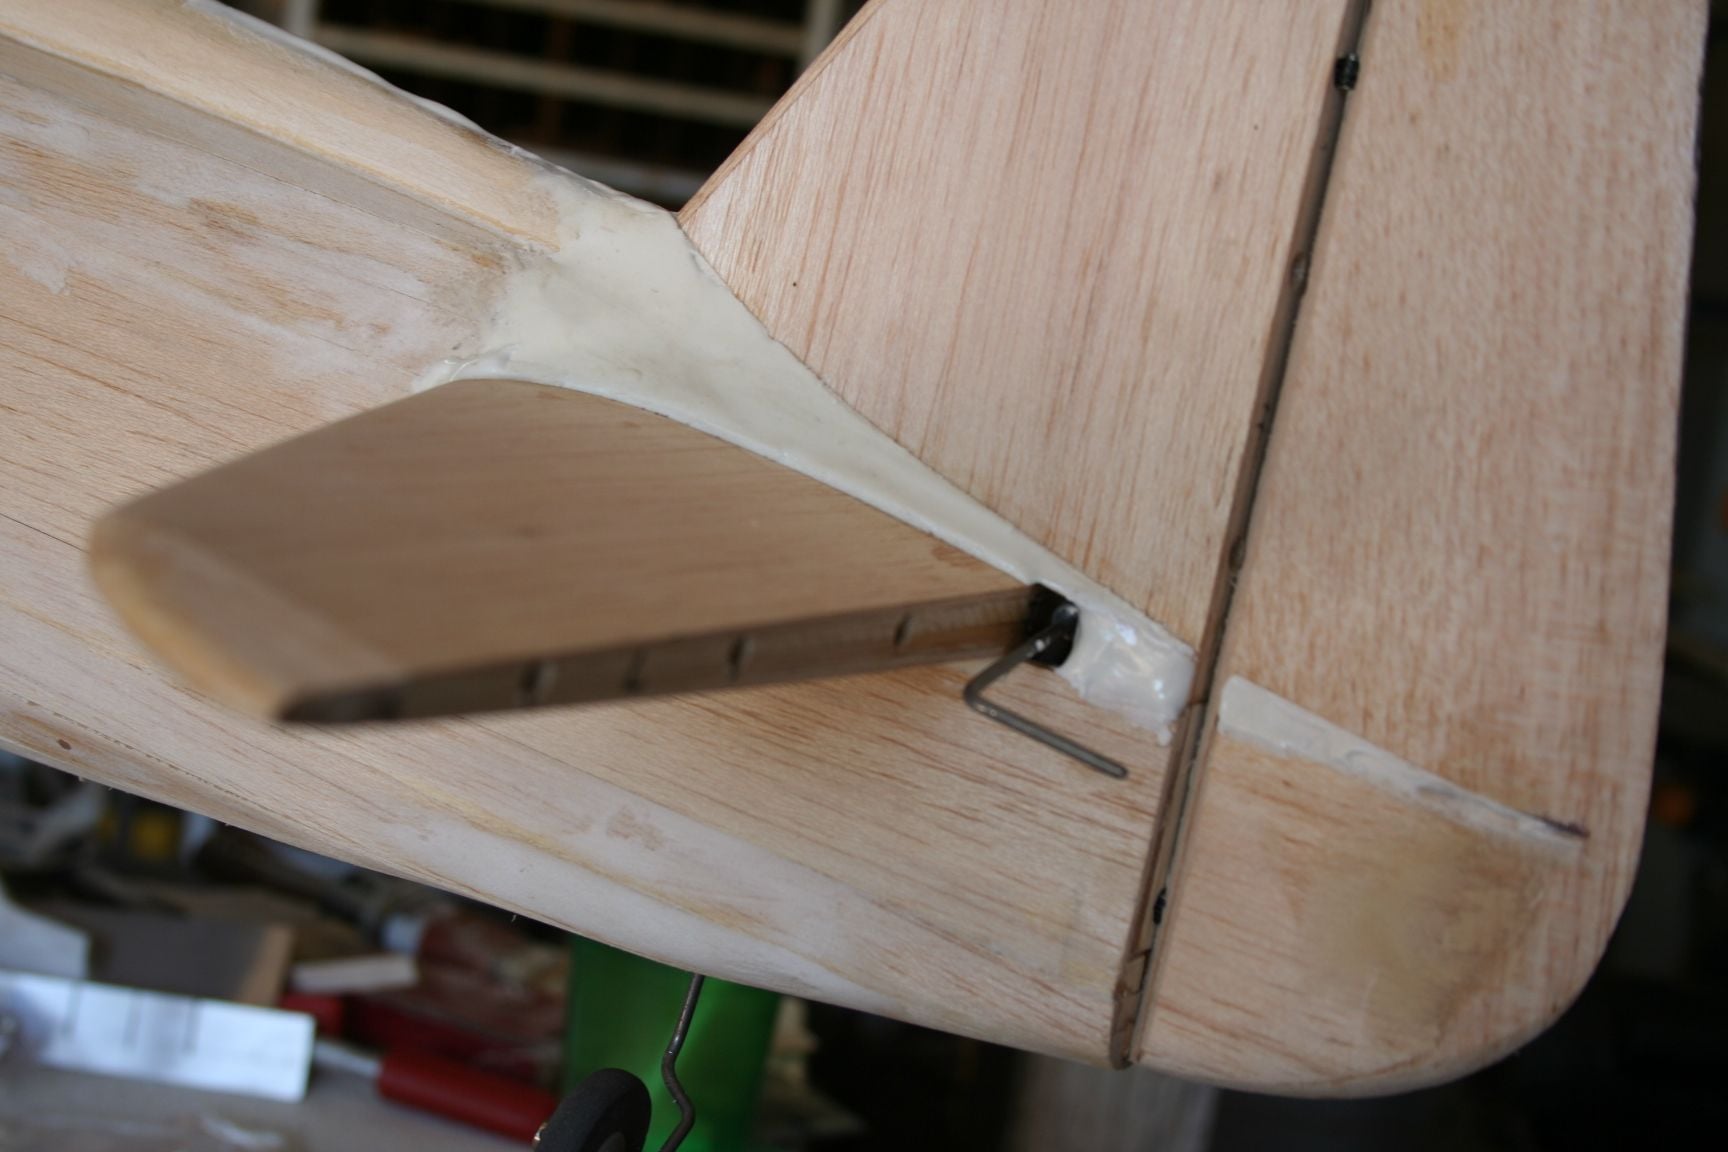
Once it cured, I was able to begin masking around the filler. Anytime I found a moment in-between other specific tasks as Tim was working, I would sand the filler a little at a time.

I have found that using different diameters of sanding drums greatly simplifies this task.

A narrow diameter drum gets into the tighter crevices, easily and uniformly rounding the fillet.
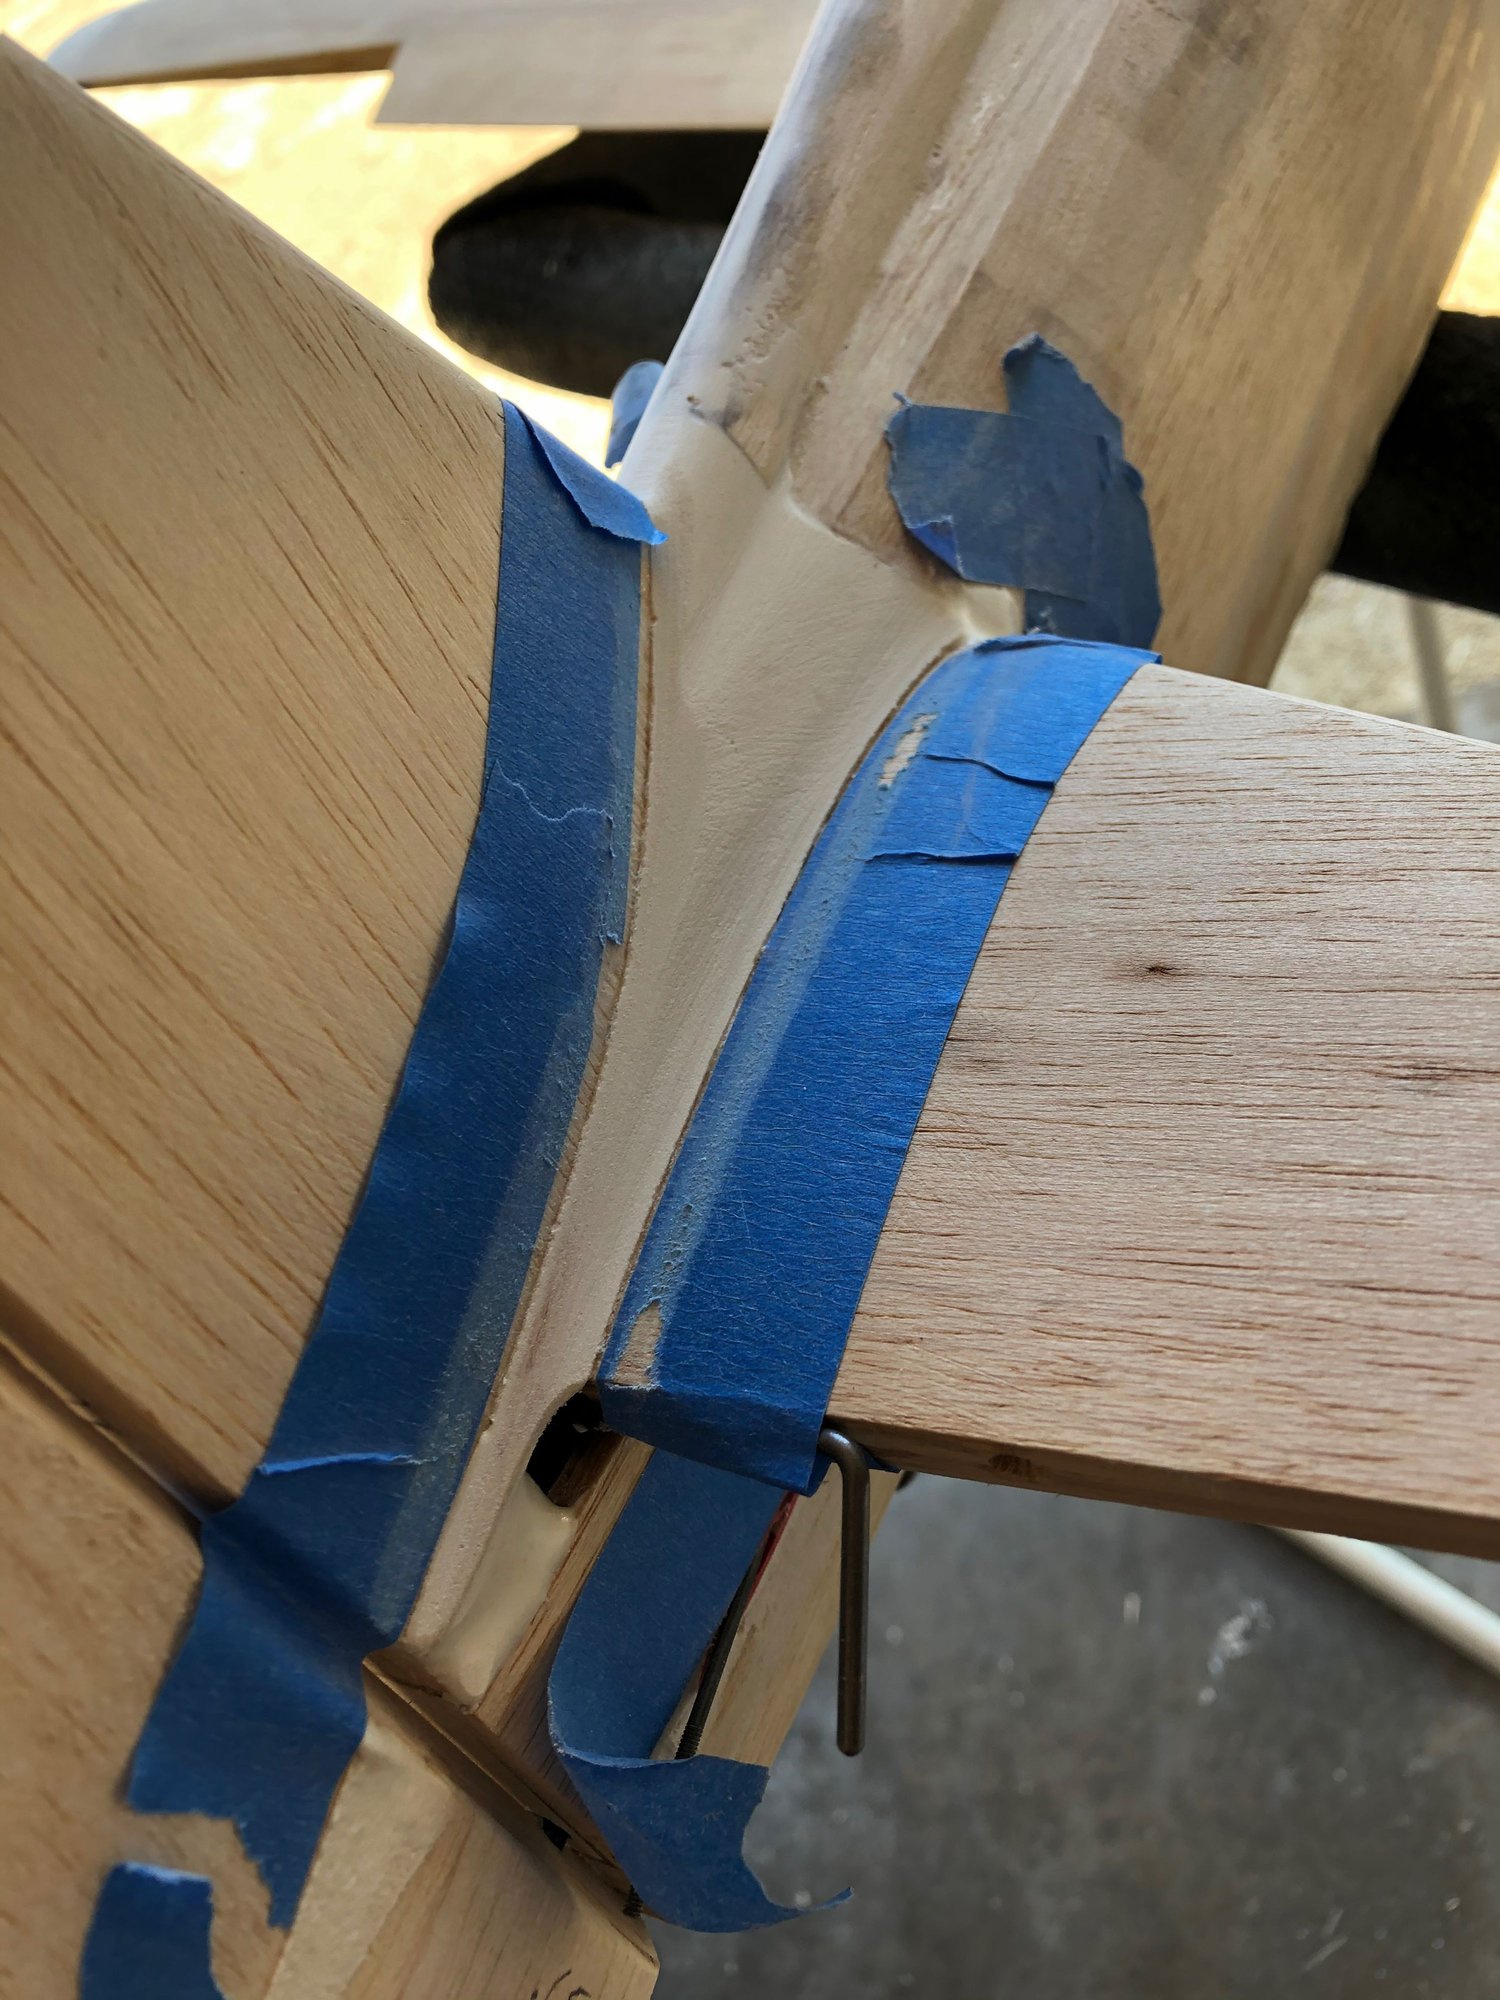
The masking tape reduces the chances of inadvertently "cutting-into" the sheeting. If you sand through the tape, remove and reapply another piece; then continue sanding.
Once it cured, I was able to begin masking around the filler. Anytime I found a moment in-between other specific tasks as Tim was working, I would sand the filler a little at a time.
I have found that using different diameters of sanding drums greatly simplifies this task.
A narrow diameter drum gets into the tighter crevices, easily and uniformly rounding the fillet.
The masking tape reduces the chances of inadvertently "cutting-into" the sheeting. If you sand through the tape, remove and reapply another piece; then continue sanding.
Last edited by Iron Dog; 08-11-2020 at 10:25 PM.
08-11-2020, 11:42 PM
#322

My Feedback: (60)
Join Date: Dec 2001
Location: Litchfield Park,
AZ
Posts: 7,677
Likes: 0
Received 25 Likes
on
23 Posts
I am still here and will be following along with anticipation. Very good to see progress being made again. I too am working again on my own Perestroika project which is coming up on the tenth anniversary of the day I started drawing the plans. Hard to believe. I recently finished up the gear doors which was the last big hurdle prior to starting finish work. It is my intention that it will fly before next summer arrives. Keep on truckin' gents!
08-12-2020, 04:45 AM
#323
 08-12-2020, 09:38 AM
#324
Thread Starter
That's great, Mike -- I love the creativity of taking a theme and "running away" with it! All the varied support and resources are what makes this hobby so great to be a part of; especially as a designer and/or scratch builder.
Speaking of which, brings me to Chad:
I just want to express again how grateful I am to you, for all the support and advice you have provided me (and so many others within the RCU community) over the years. I eagerly follow your builds, and have always been very impressed with the results. Your original CzechMates (built with your friend) were the very first version I ever saw modeled accurately. It was beautiful, and a joy to see take to the air. I look forward to seeing the progress of Perestroika, and its successful flights, as well.
Thanks for the continued encouragement, and for staying with us, gentlemen!
08-12-2020, 11:11 AM
#325
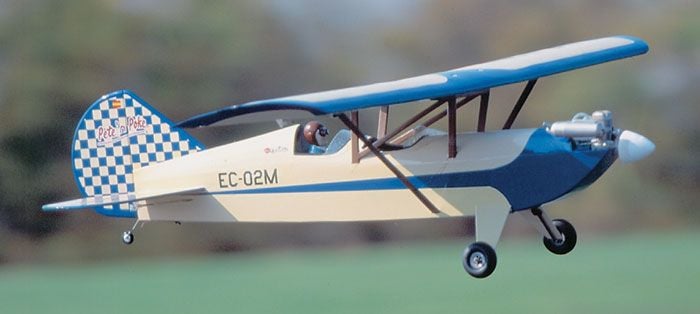
Chad looks like he is in the home stretch!
If the Pink N' Poke works out I have a partially built Goldberg Tiger II .40 size, acquired the same way, I plan on covering in orange and white with a crouching Hobbs on the sides. I may try my hand at painting a Saito .56 Bright Orange to match it. That would give me a bright yellow Cub, bright pink, and a bright orange fleet. I would have my own Flying Circus!
If the Pink N' Poke works out I have a partially built Goldberg Tiger II .40 size, acquired the same way, I plan on covering in orange and white with a crouching Hobbs on the sides. I may try my hand at painting a Saito .56 Bright Orange to match it. That would give me a bright yellow Cub, bright pink, and a bright orange fleet. I would have my own Flying Circus!