


Marutaka/Royal Sr. 60 Scratch Build Thread


 11-29-2020, 06:37 AM
#27
Member
Thread Starter
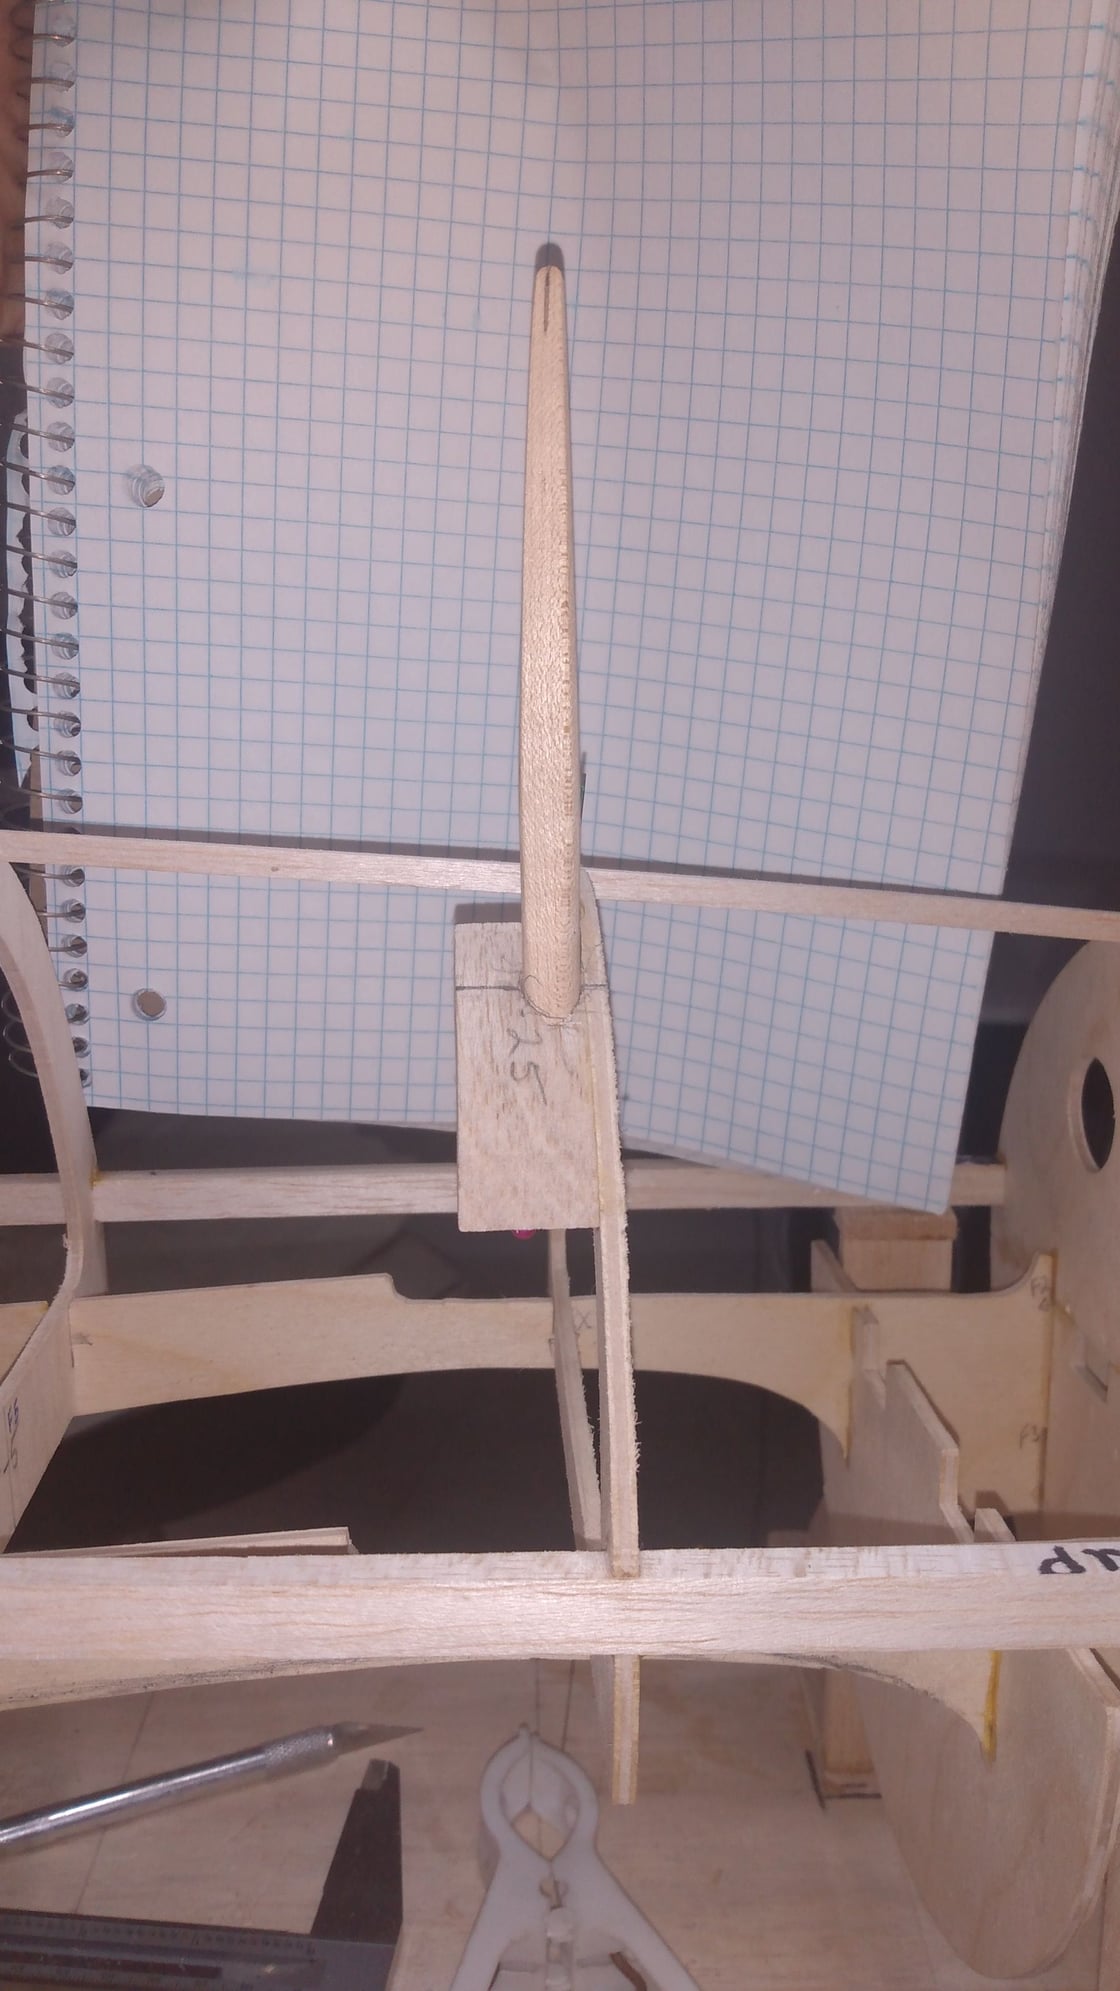
Cut and fit like a glove. No worries! Thanks for the clarification. Waiting on material. In the meantime, I'm trying my hand at sanding the forward antenna mast. It's maple and I'm looking for any info on how to make the antenna(s) and connecting hardware.

11-30-2020, 11:22 AM
#29
Member
Thread Starter
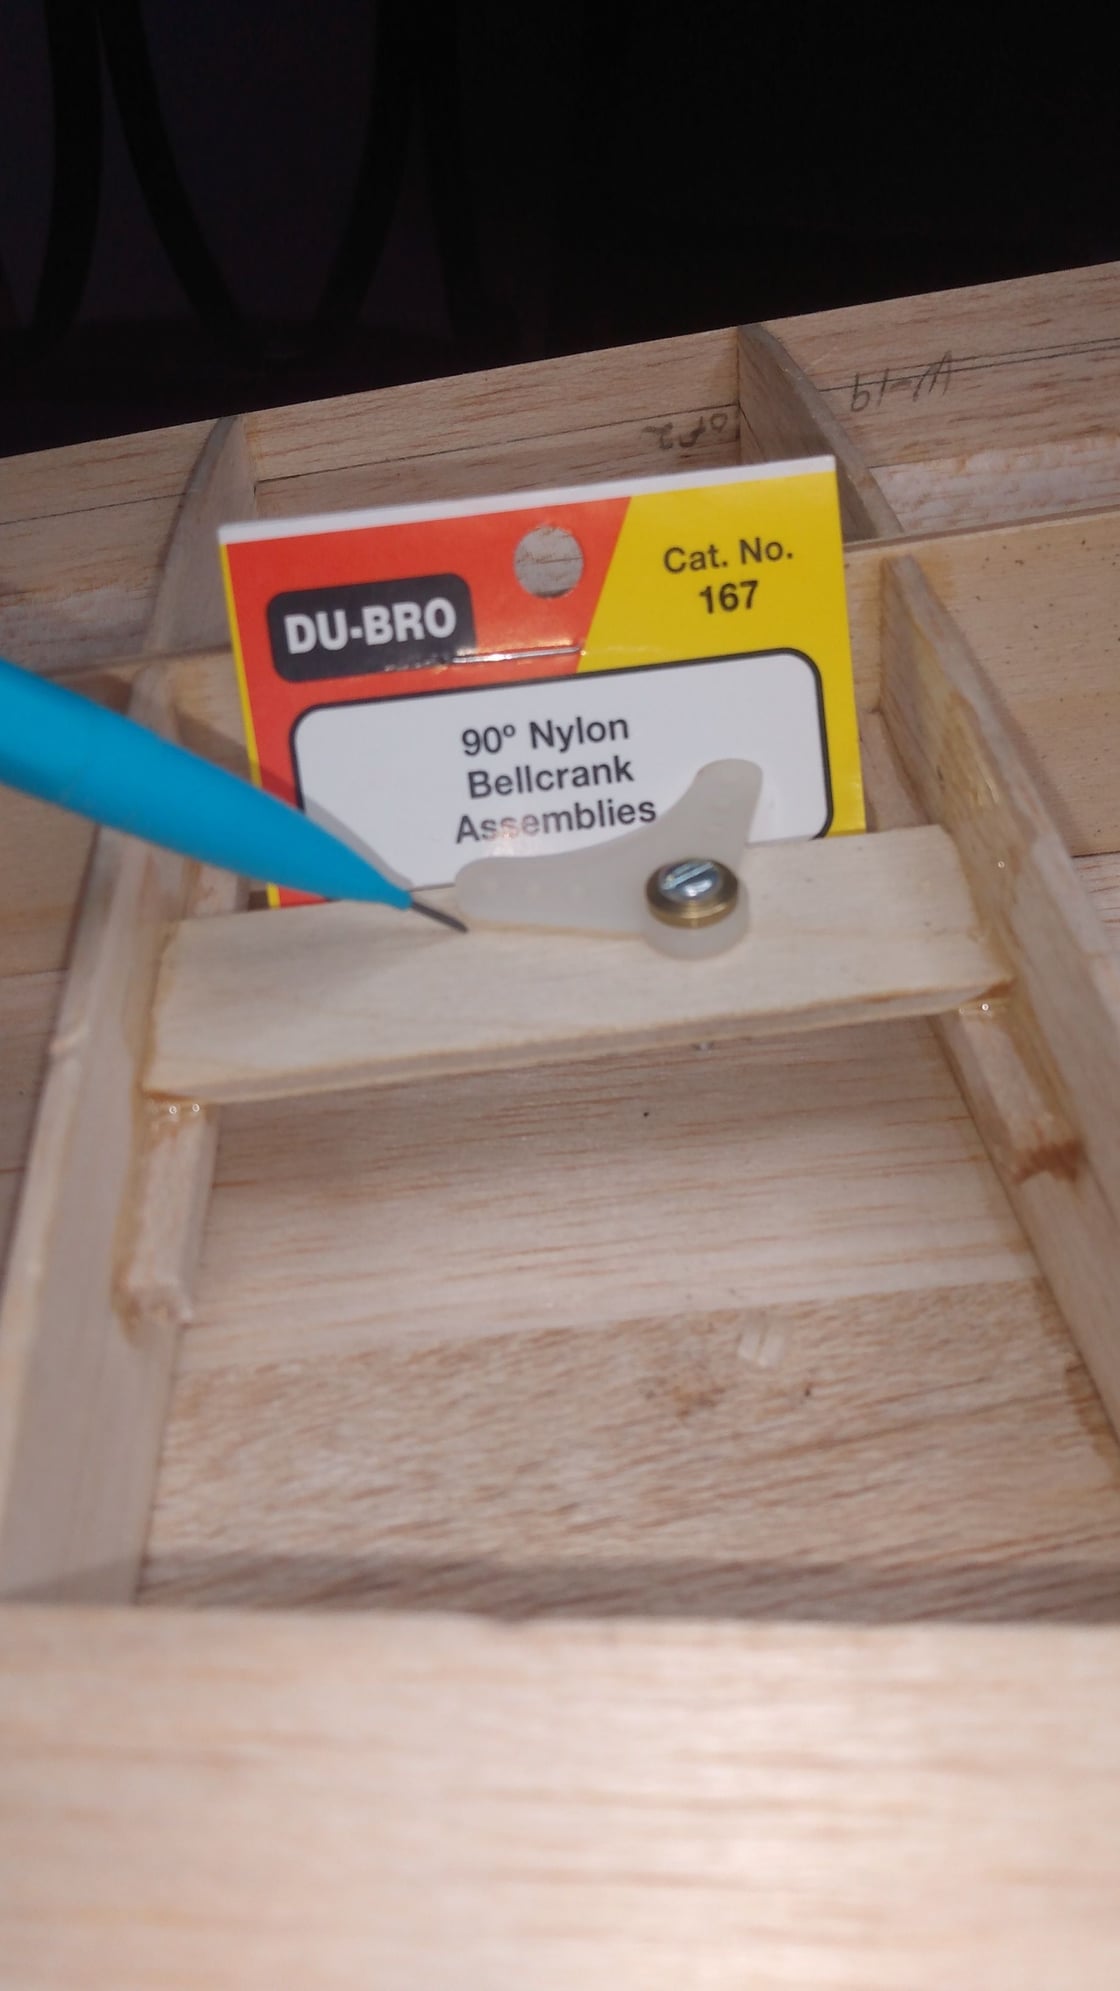
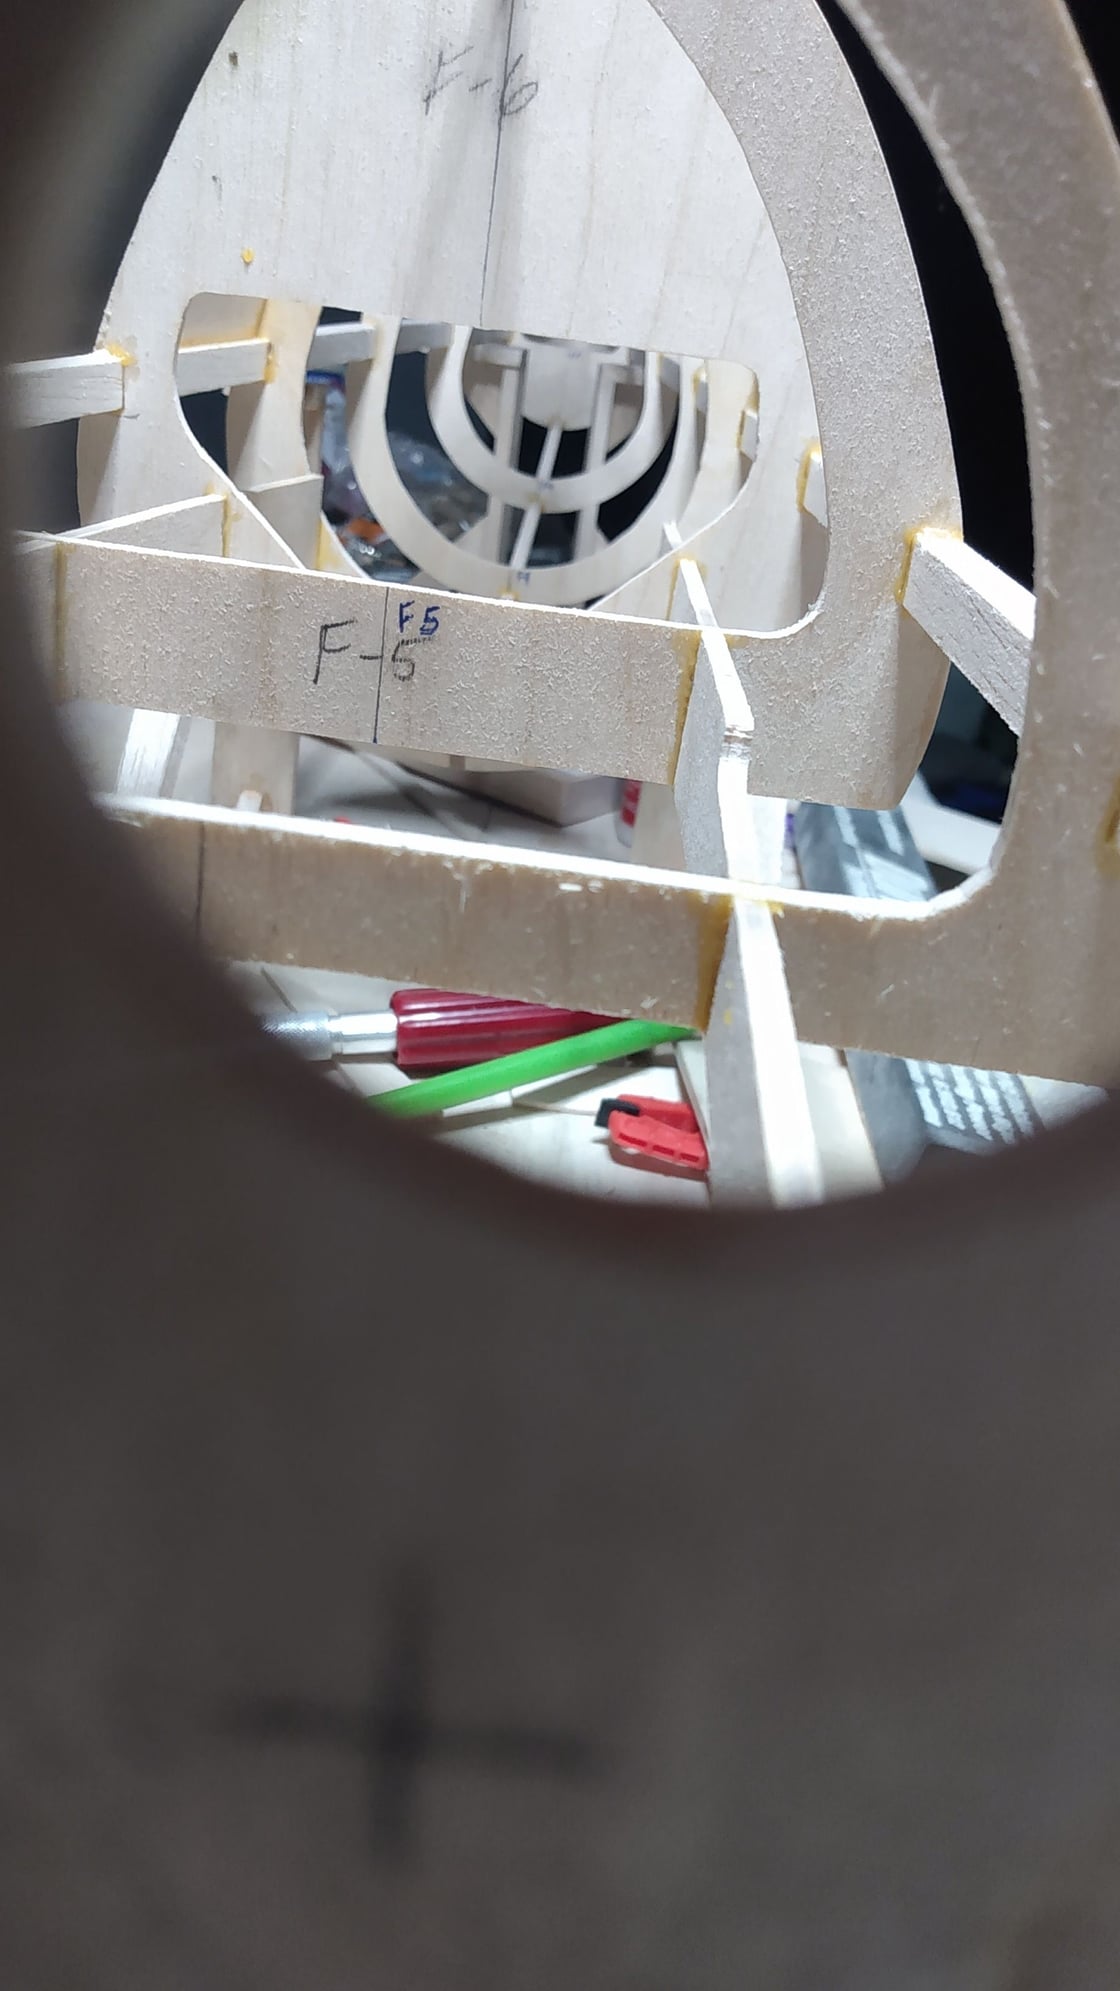
This is my novice question for the day...I hope the only one. What is the recommended clearance for bellcranks? Here's what I have and I don't like it. Maybe it's supposed to be that close of a tolerance but I wouldn't think so. If shims are needed, I was thinking of using plastic washers.
This is the scheme I've chosen. For today. Subject to change w/o notice.
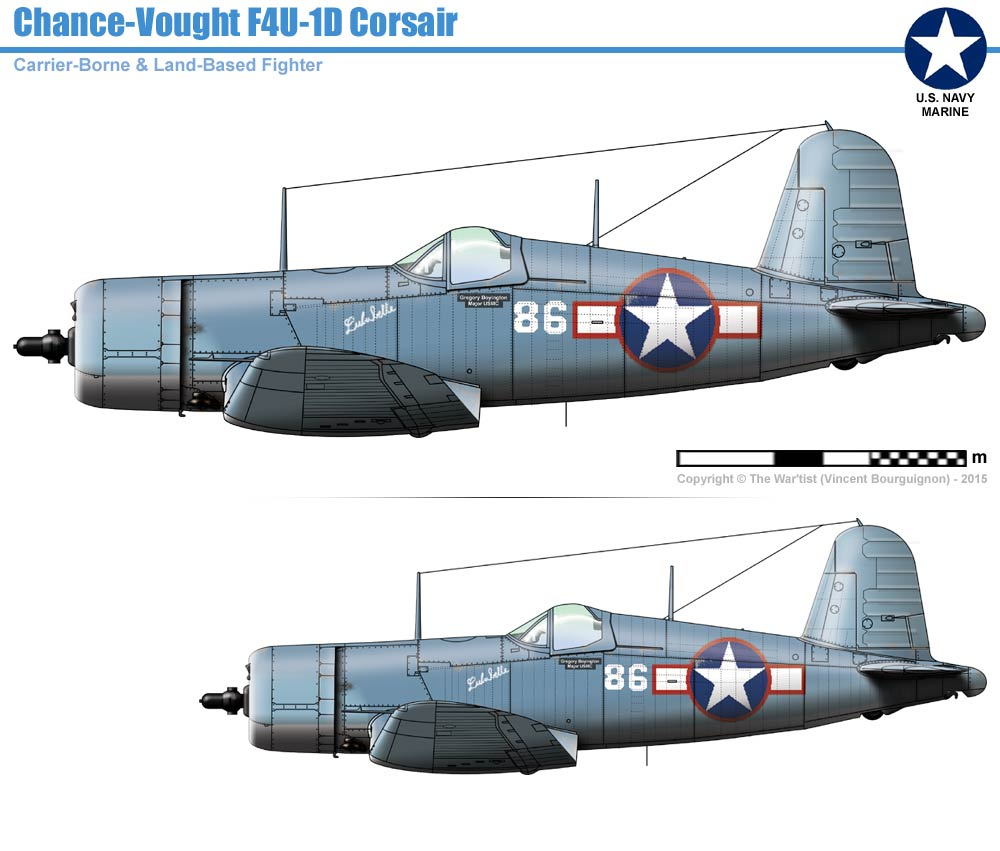
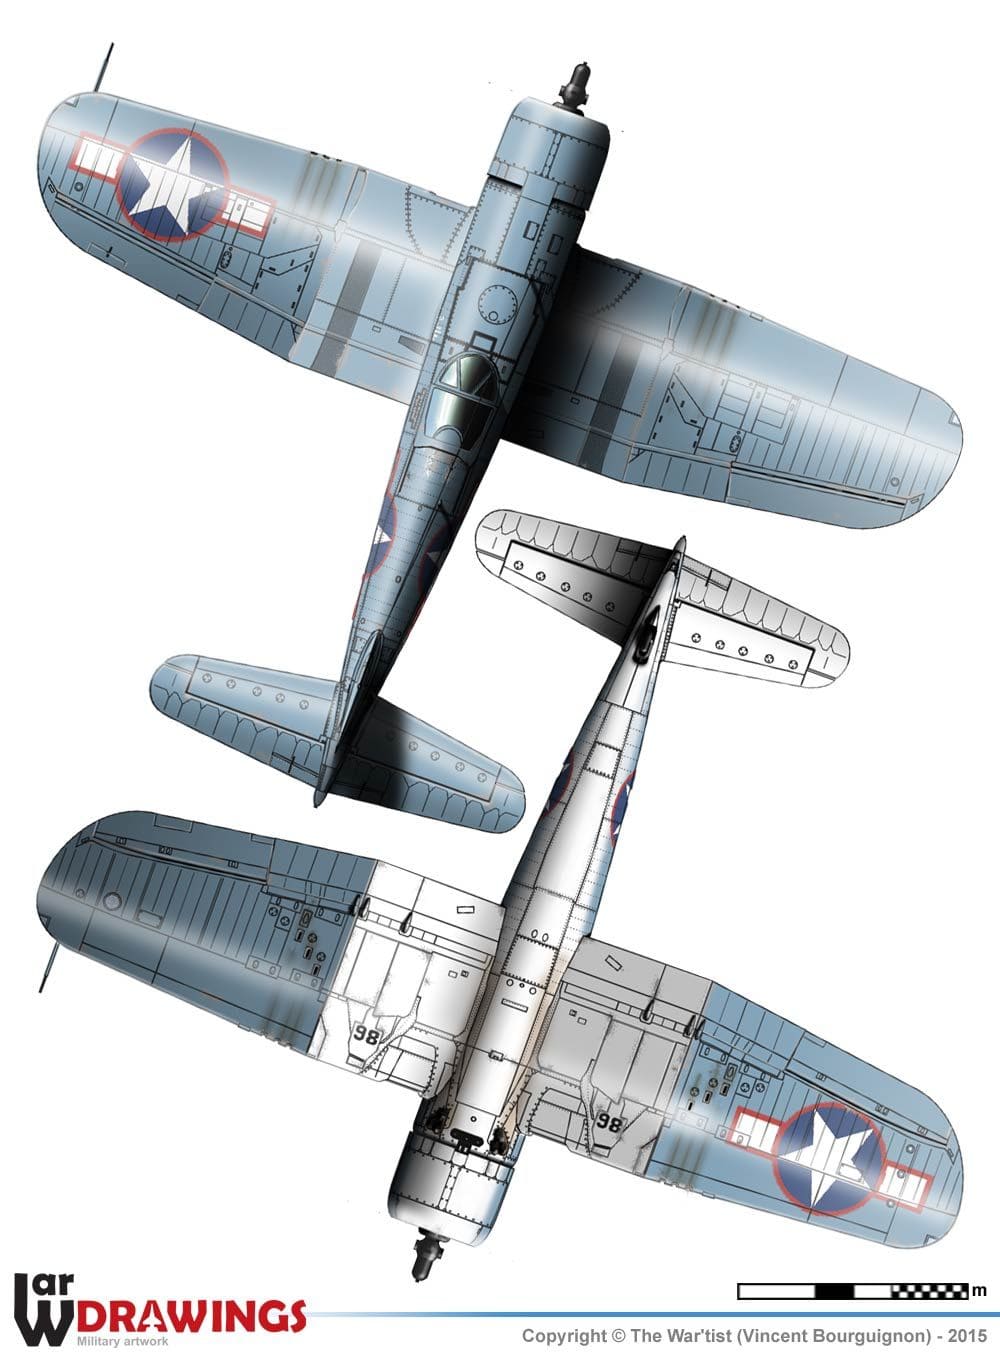
This is the scheme I've chosen. For today. Subject to change w/o notice.
12-03-2020, 05:00 AM
#30
Member
Thread Starter

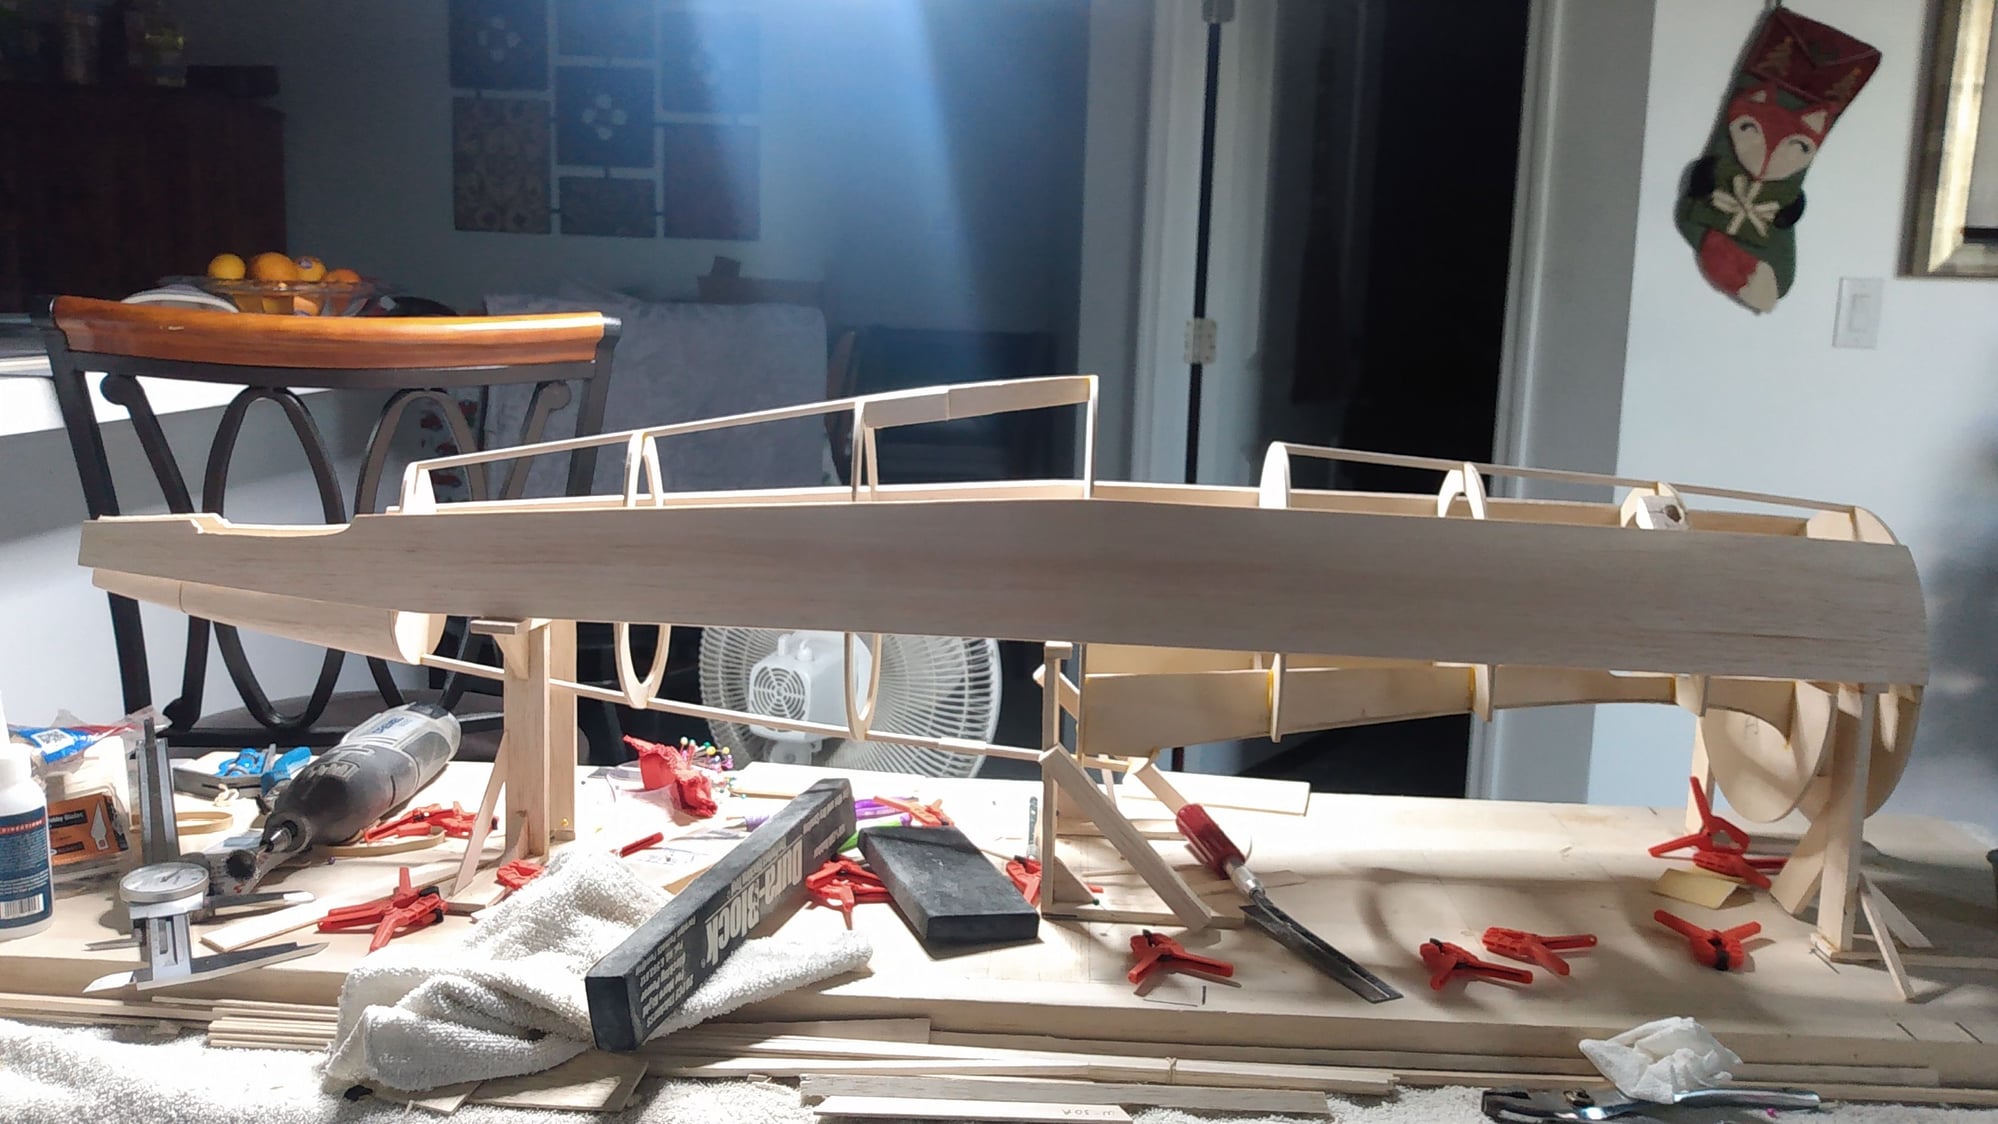
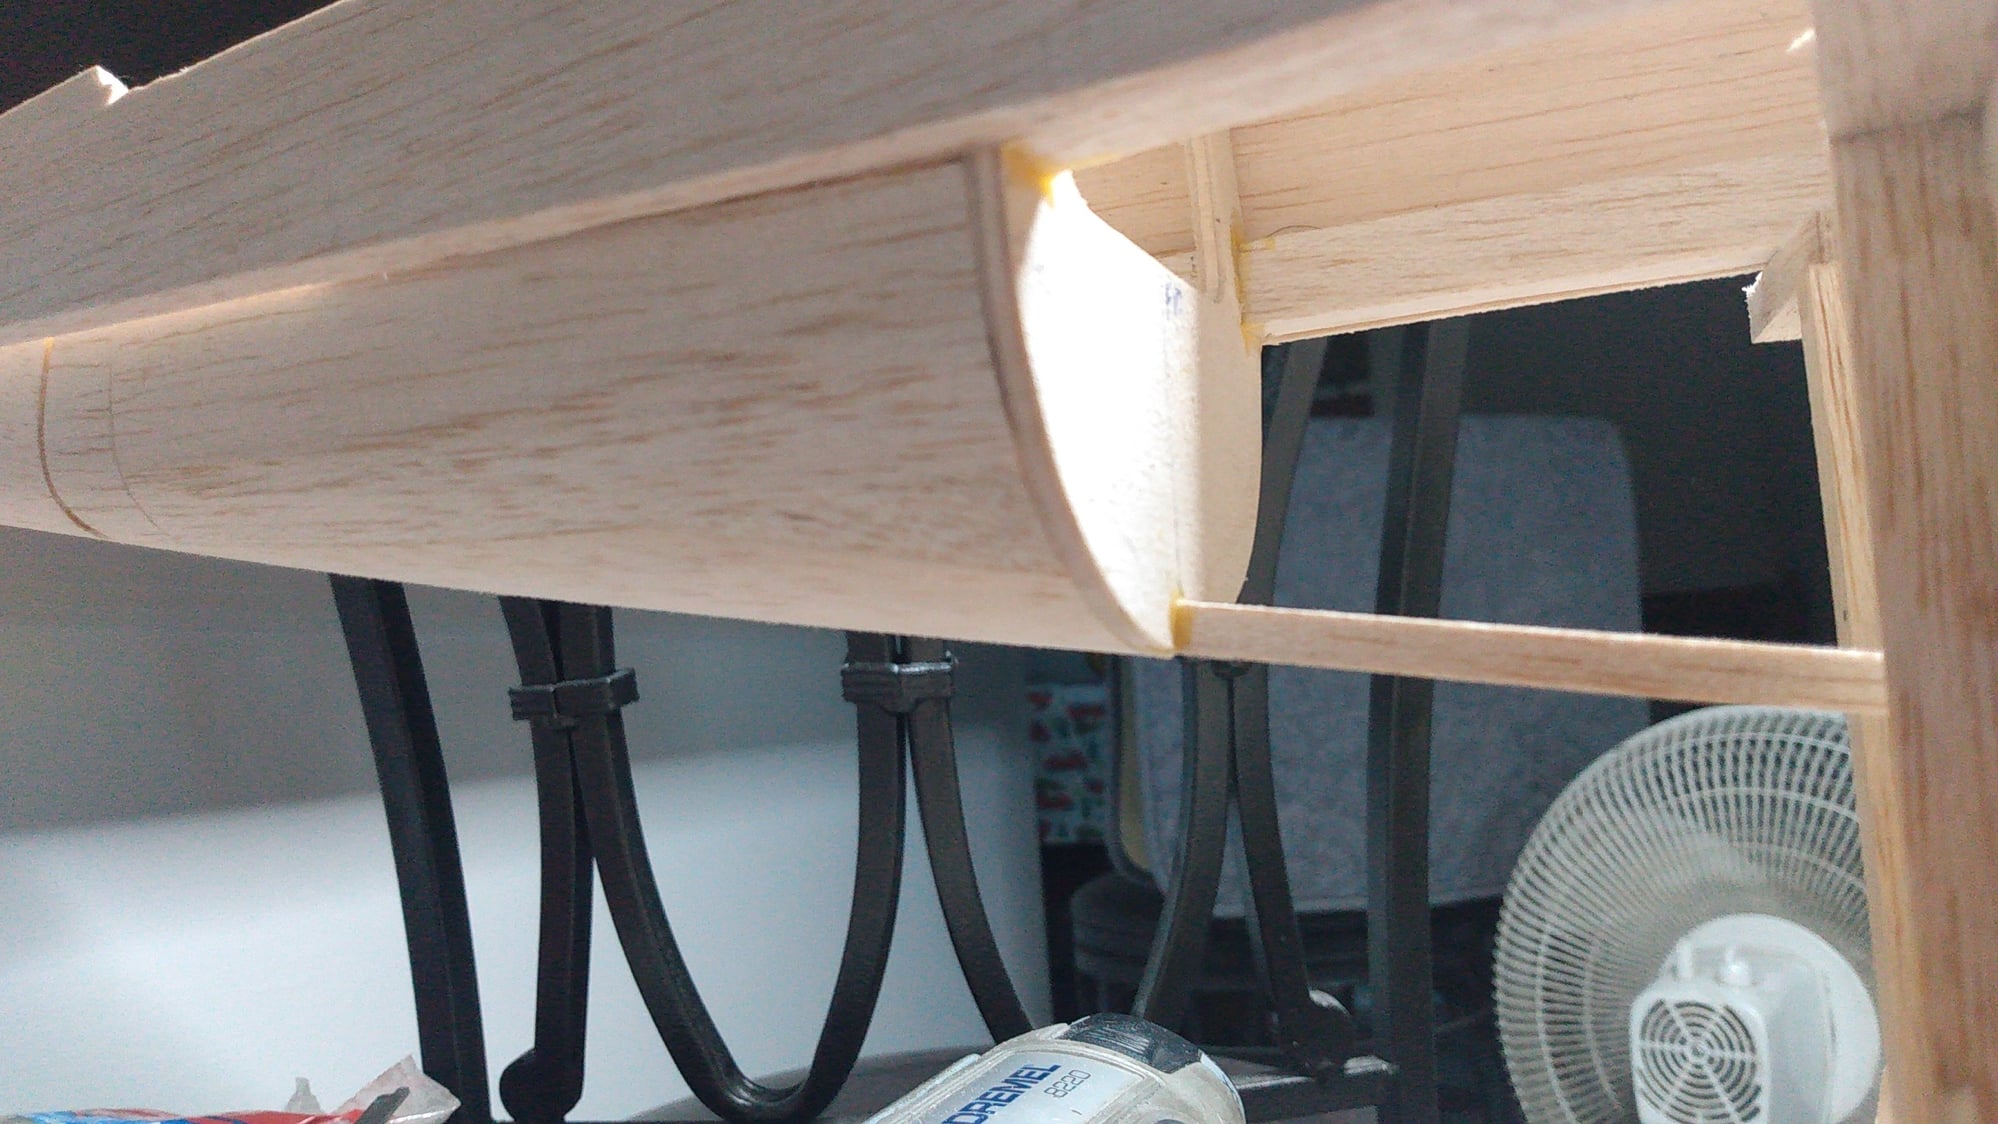
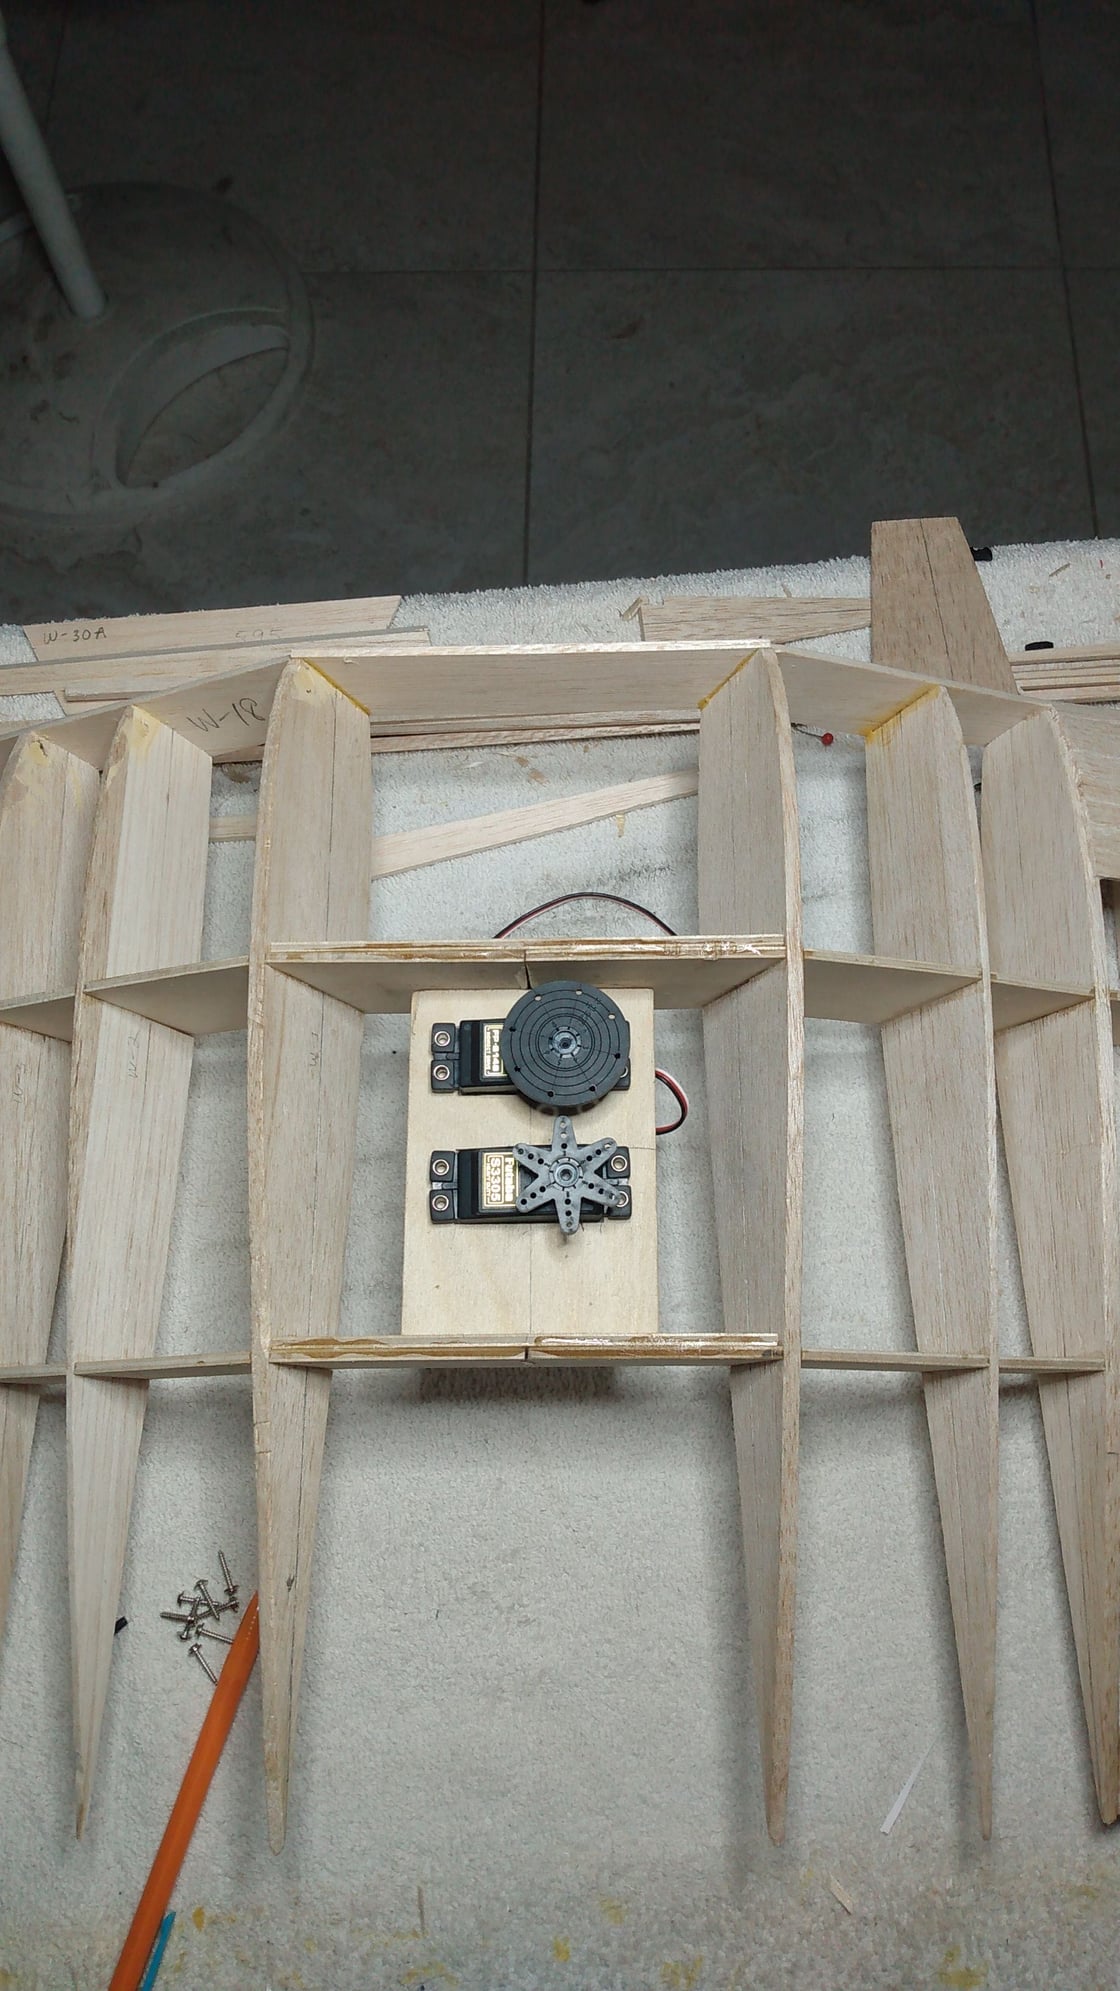
I've been making some headway. Leave it up to me to choose plans from the web that were incomplete and I'm such a novice that I didn't realize it until it was too late. I had already invested a good bit of coin into this endeavor. Oh well, live and learn. So much to learn. I'm quite thankful I have experience fitting and squaring weldments, otherwise this might have been a bit too much for me. I'm still kinda stuck on the ailerons. I trashed the originals I cut out and must make new ones. Straight ammonia was used for the 1/8" skins and it was a breeze installing them. Seriously impressed by that chemical reaction. CA is such a game changer as well! I had both sides on and fit up in less than ten minutes. All the servos and pertinent connection hardware is here. I'm going to start on the wing today by mounting the aileron and flap servos. Then, off to the remakes of the ailerons. Any advice is greatly appreciated.
Last edited by i.RIDE_H0ndA; 12-03-2020 at 08:49 PM.
12-09-2020, 07:52 PM
#31
Member
Thread Starter
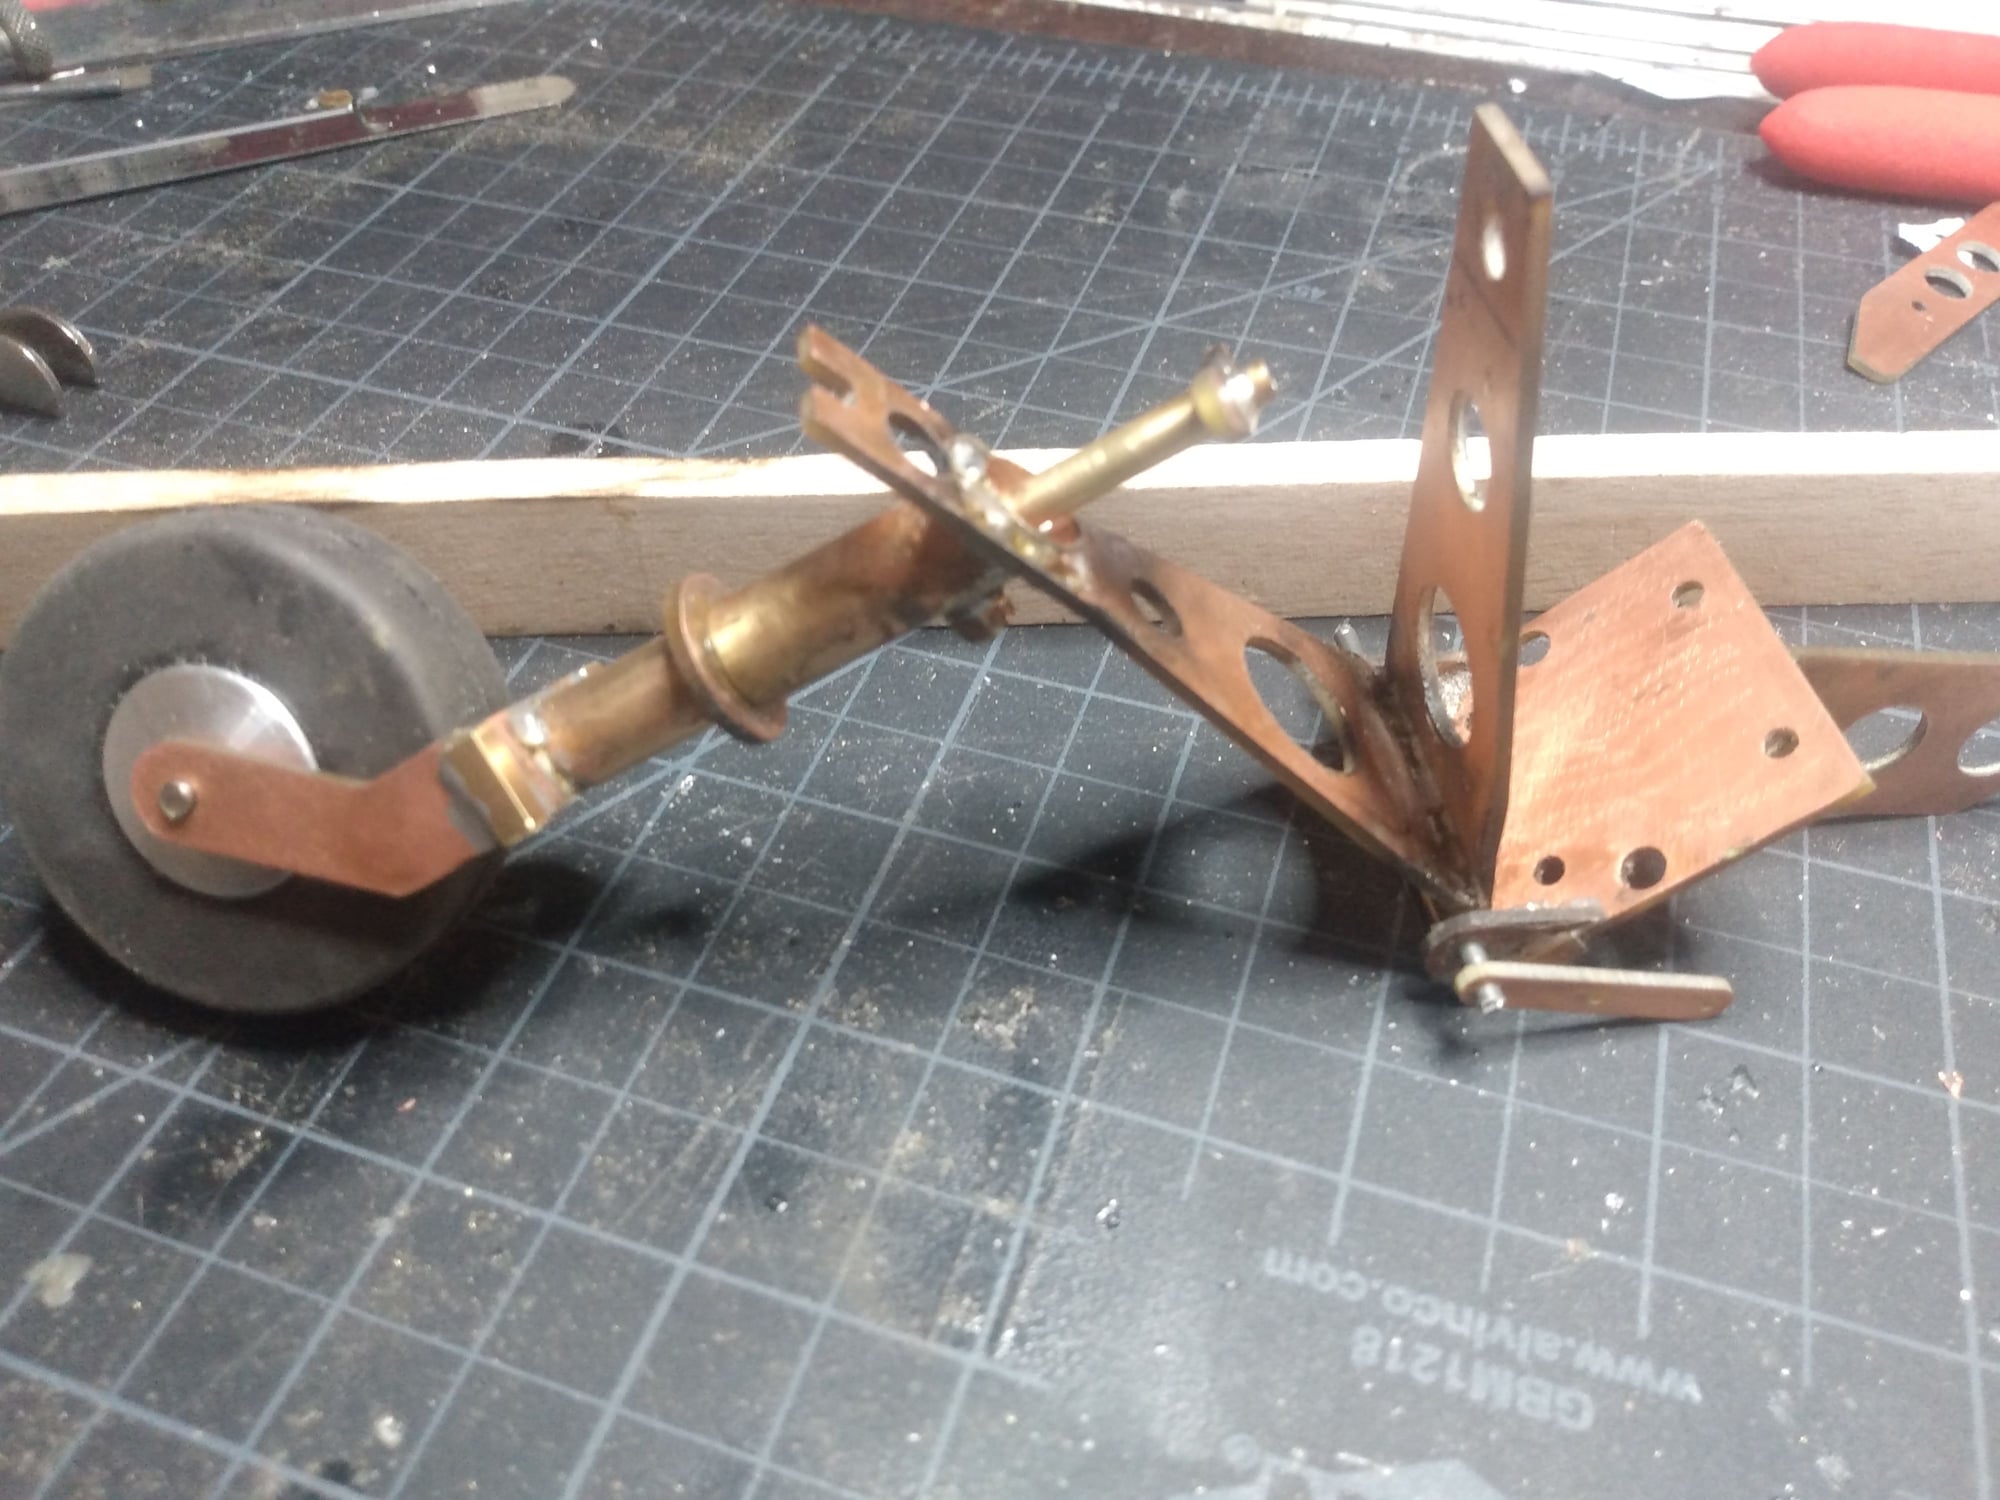
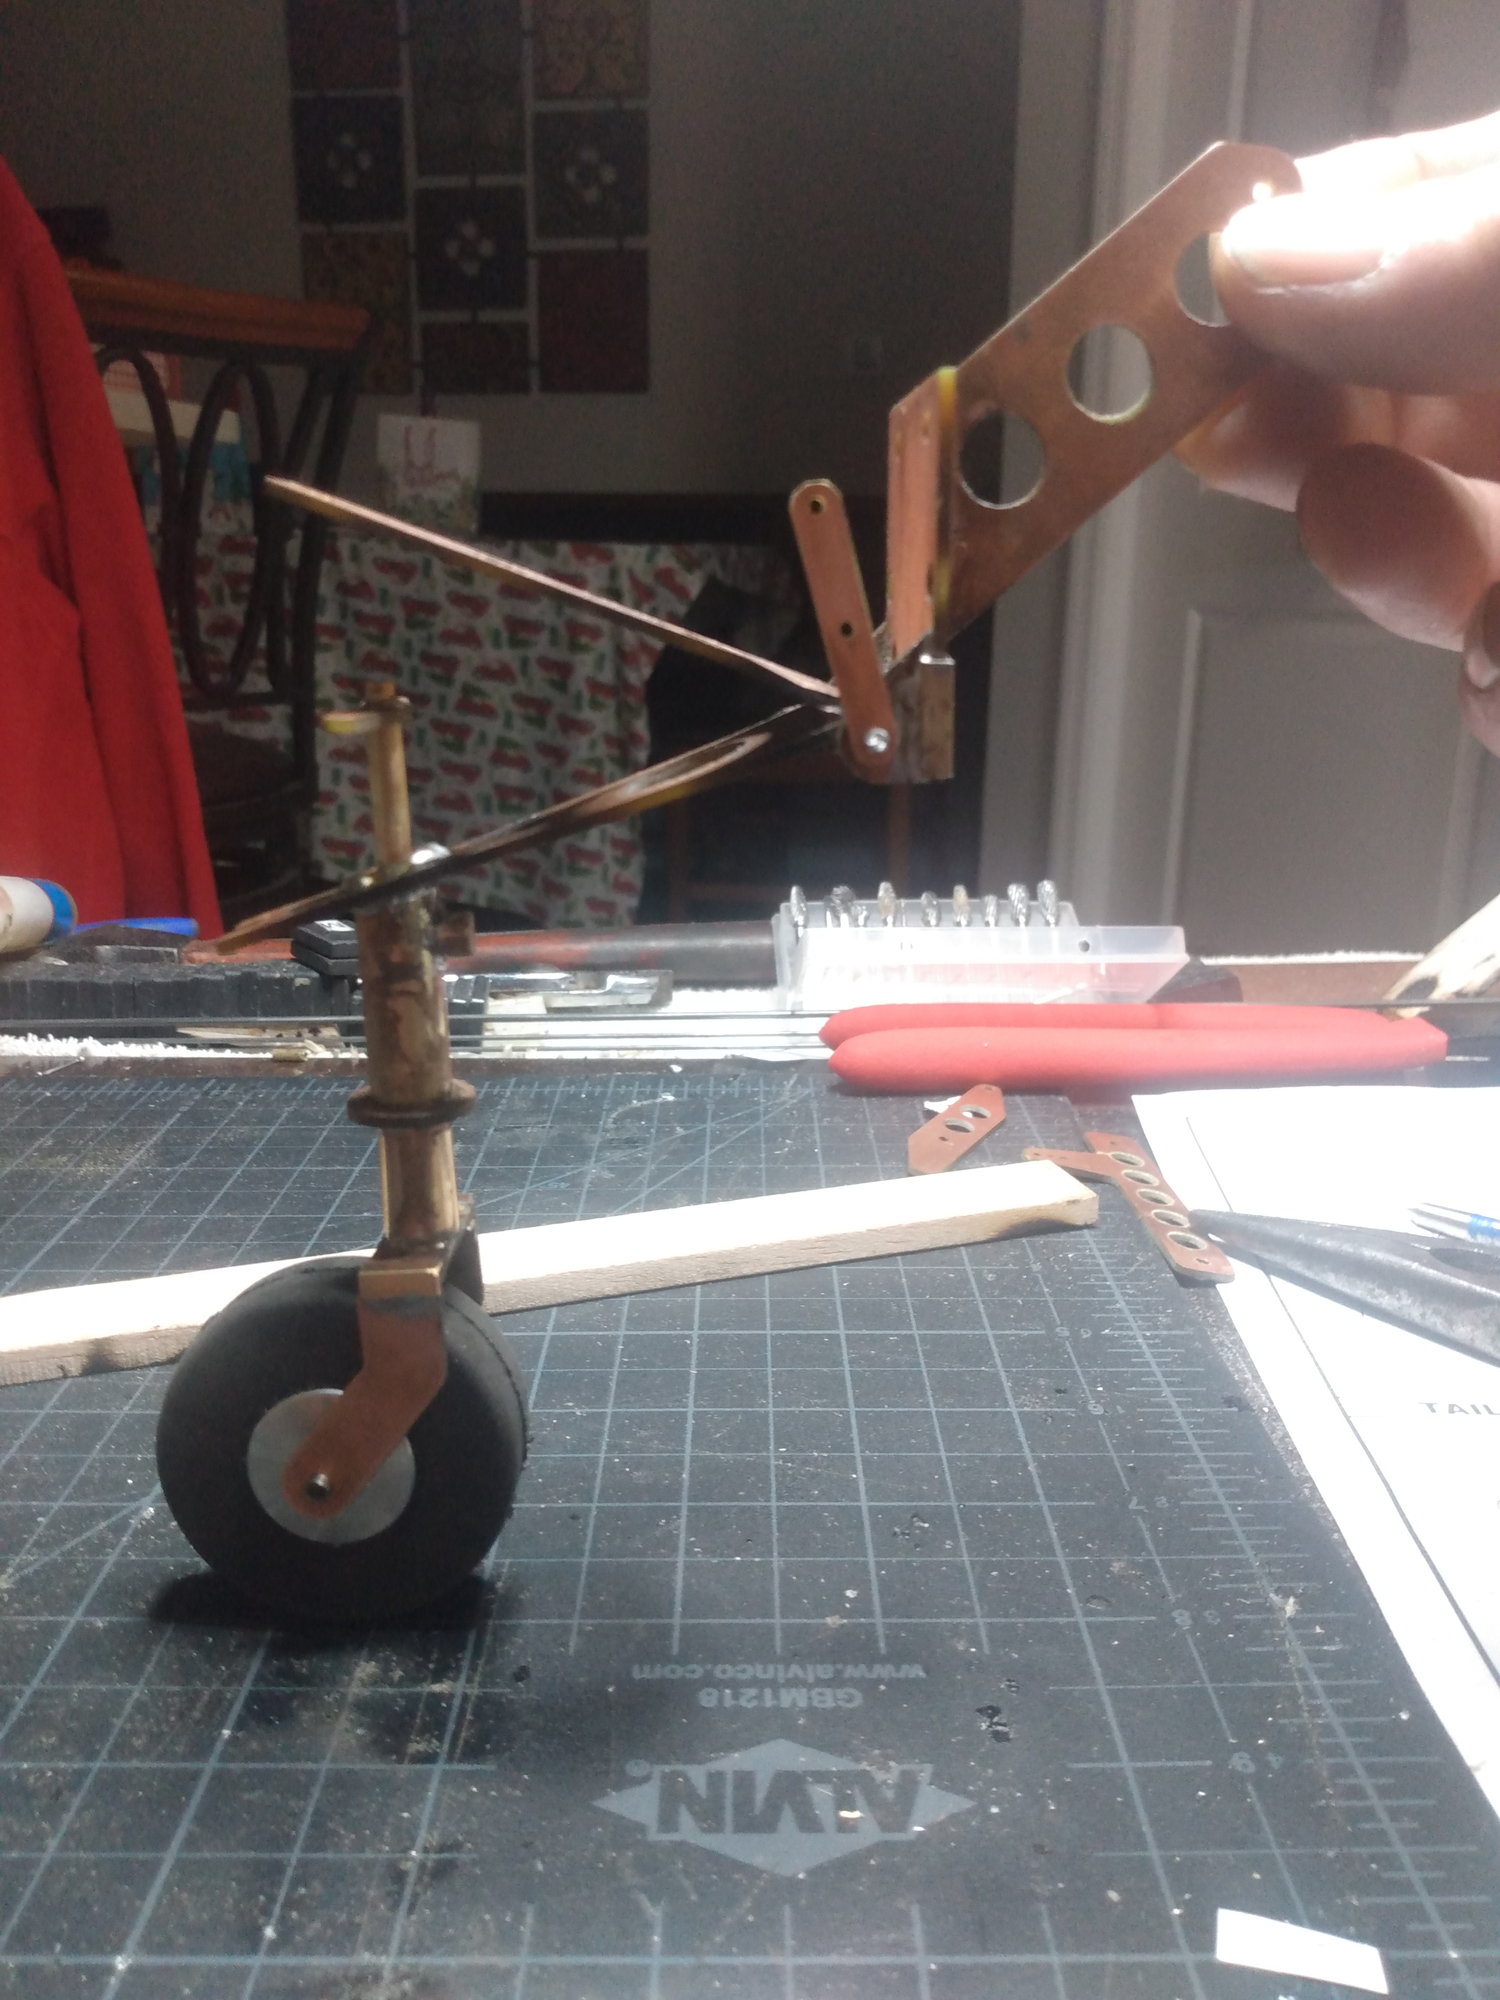
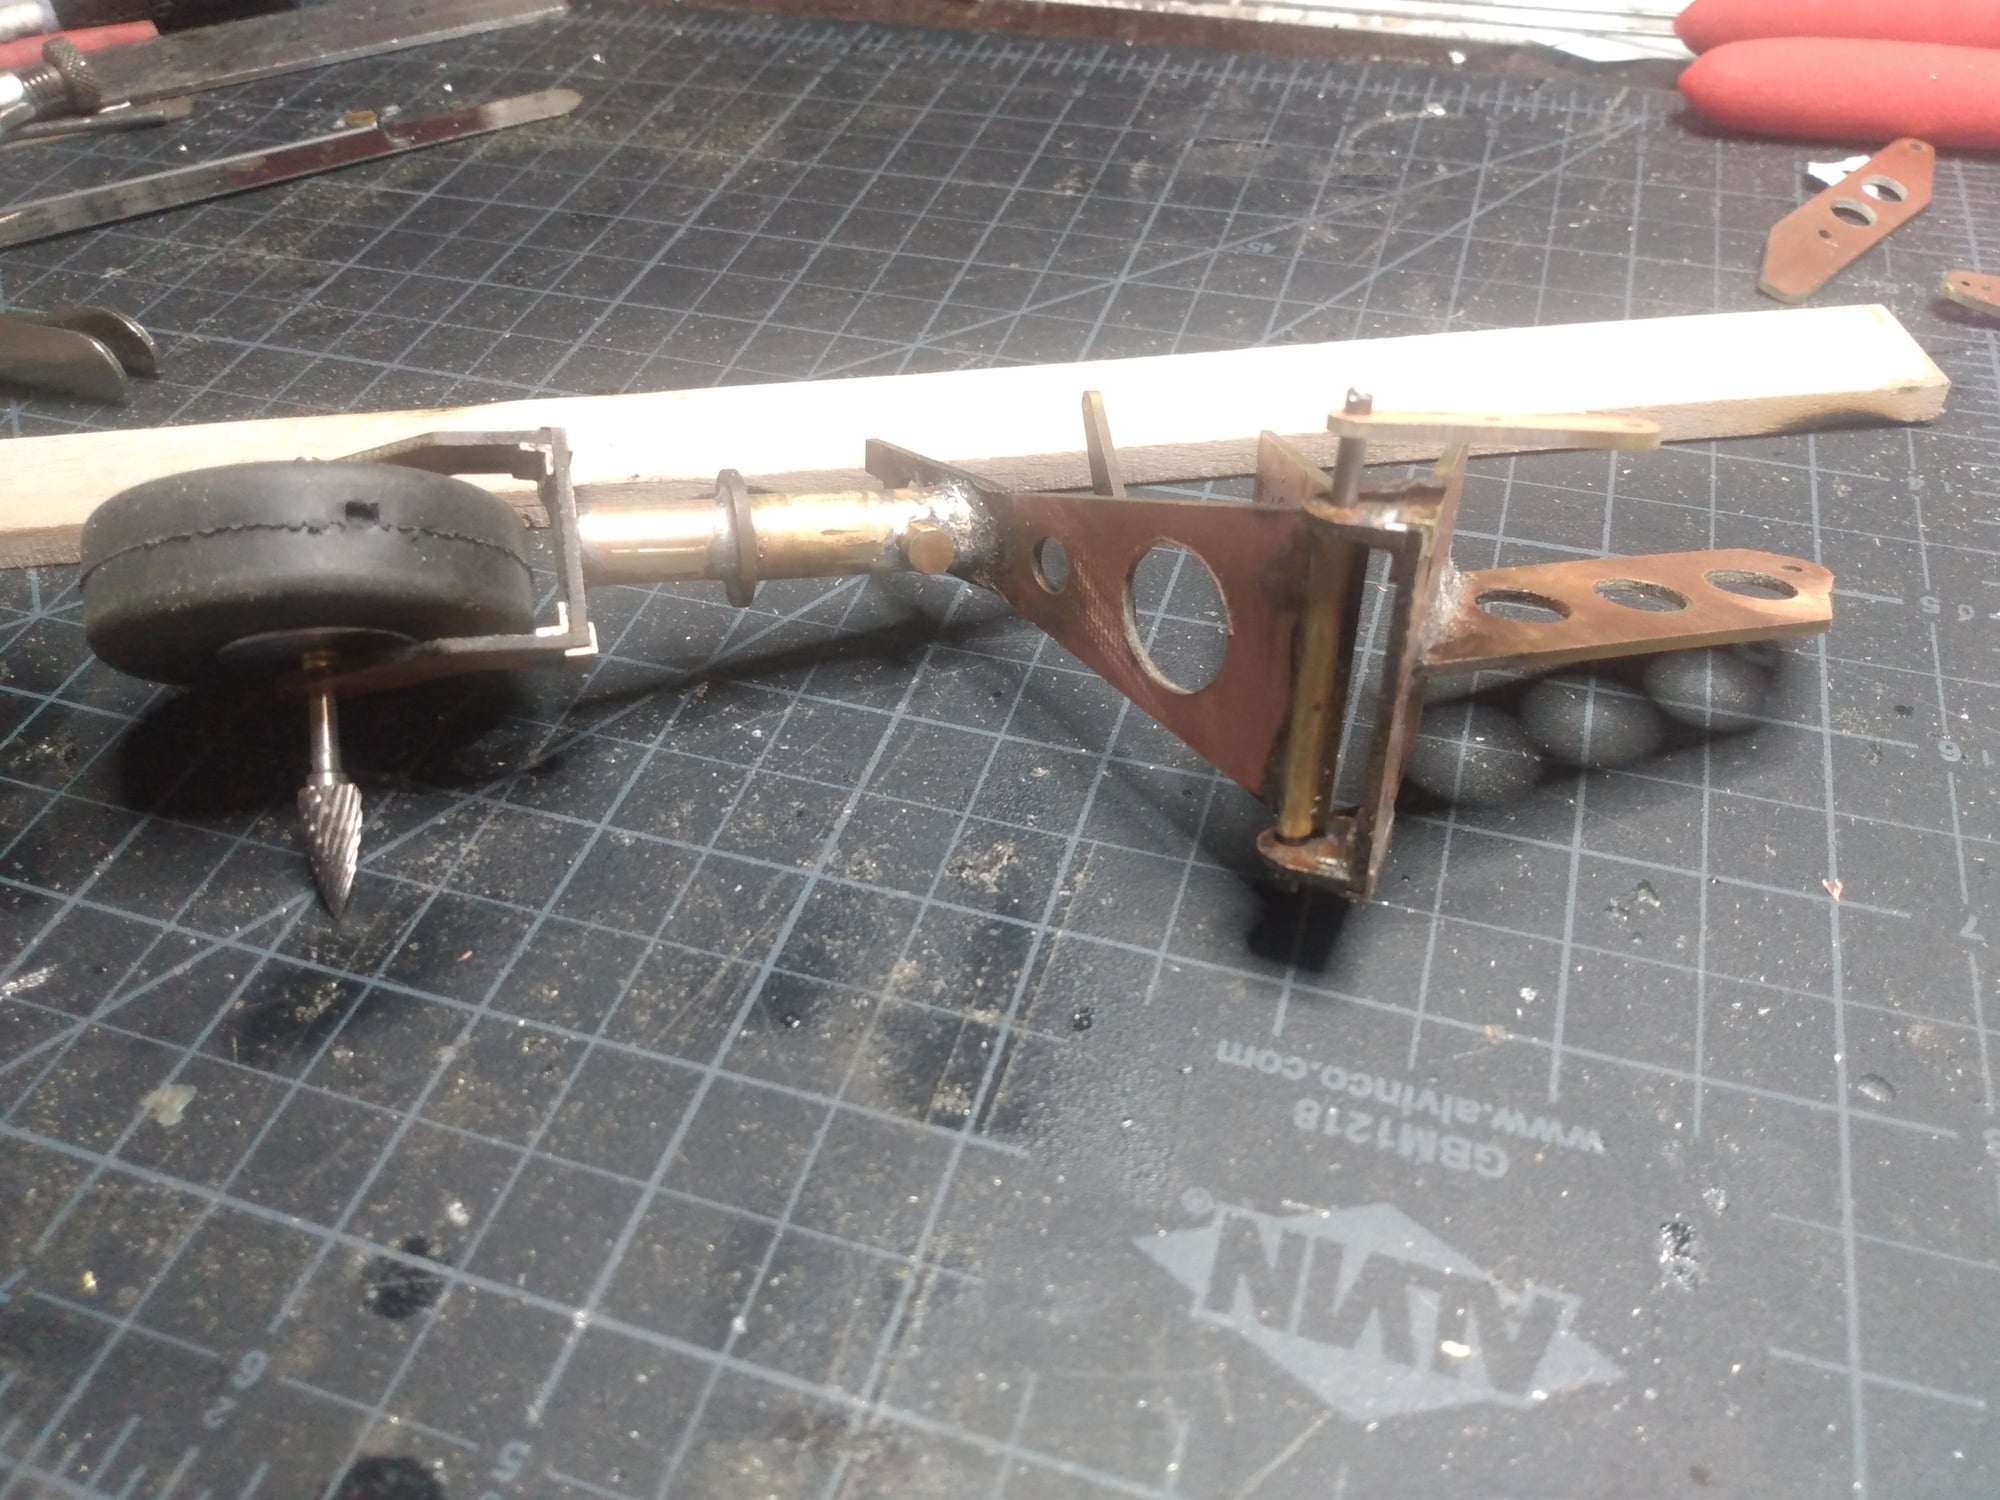
I'm working on the tail wheel now. Making some progress. I like the PC board material, it's easy to work with. Holiday season has definitely increased shipping times. Gathering tools because I don't have a lot of what I need yet and also consumables is enjoyable for me as well. I don't know what I need until I need it. You all know exactly what I mean.
I used a tiny punch that I sharpened to a finer point on each hole and a light touch does the trick as this stuff will bend if you manhandle it. I found that out quite quickly. Since the smallest hole in the assembly is 1/16", I drilled an .040 pilot for each hole. It made the job smooth as silk. I used 1.5 ~ 4"x6" sheets Waiting on material for several other aspects.

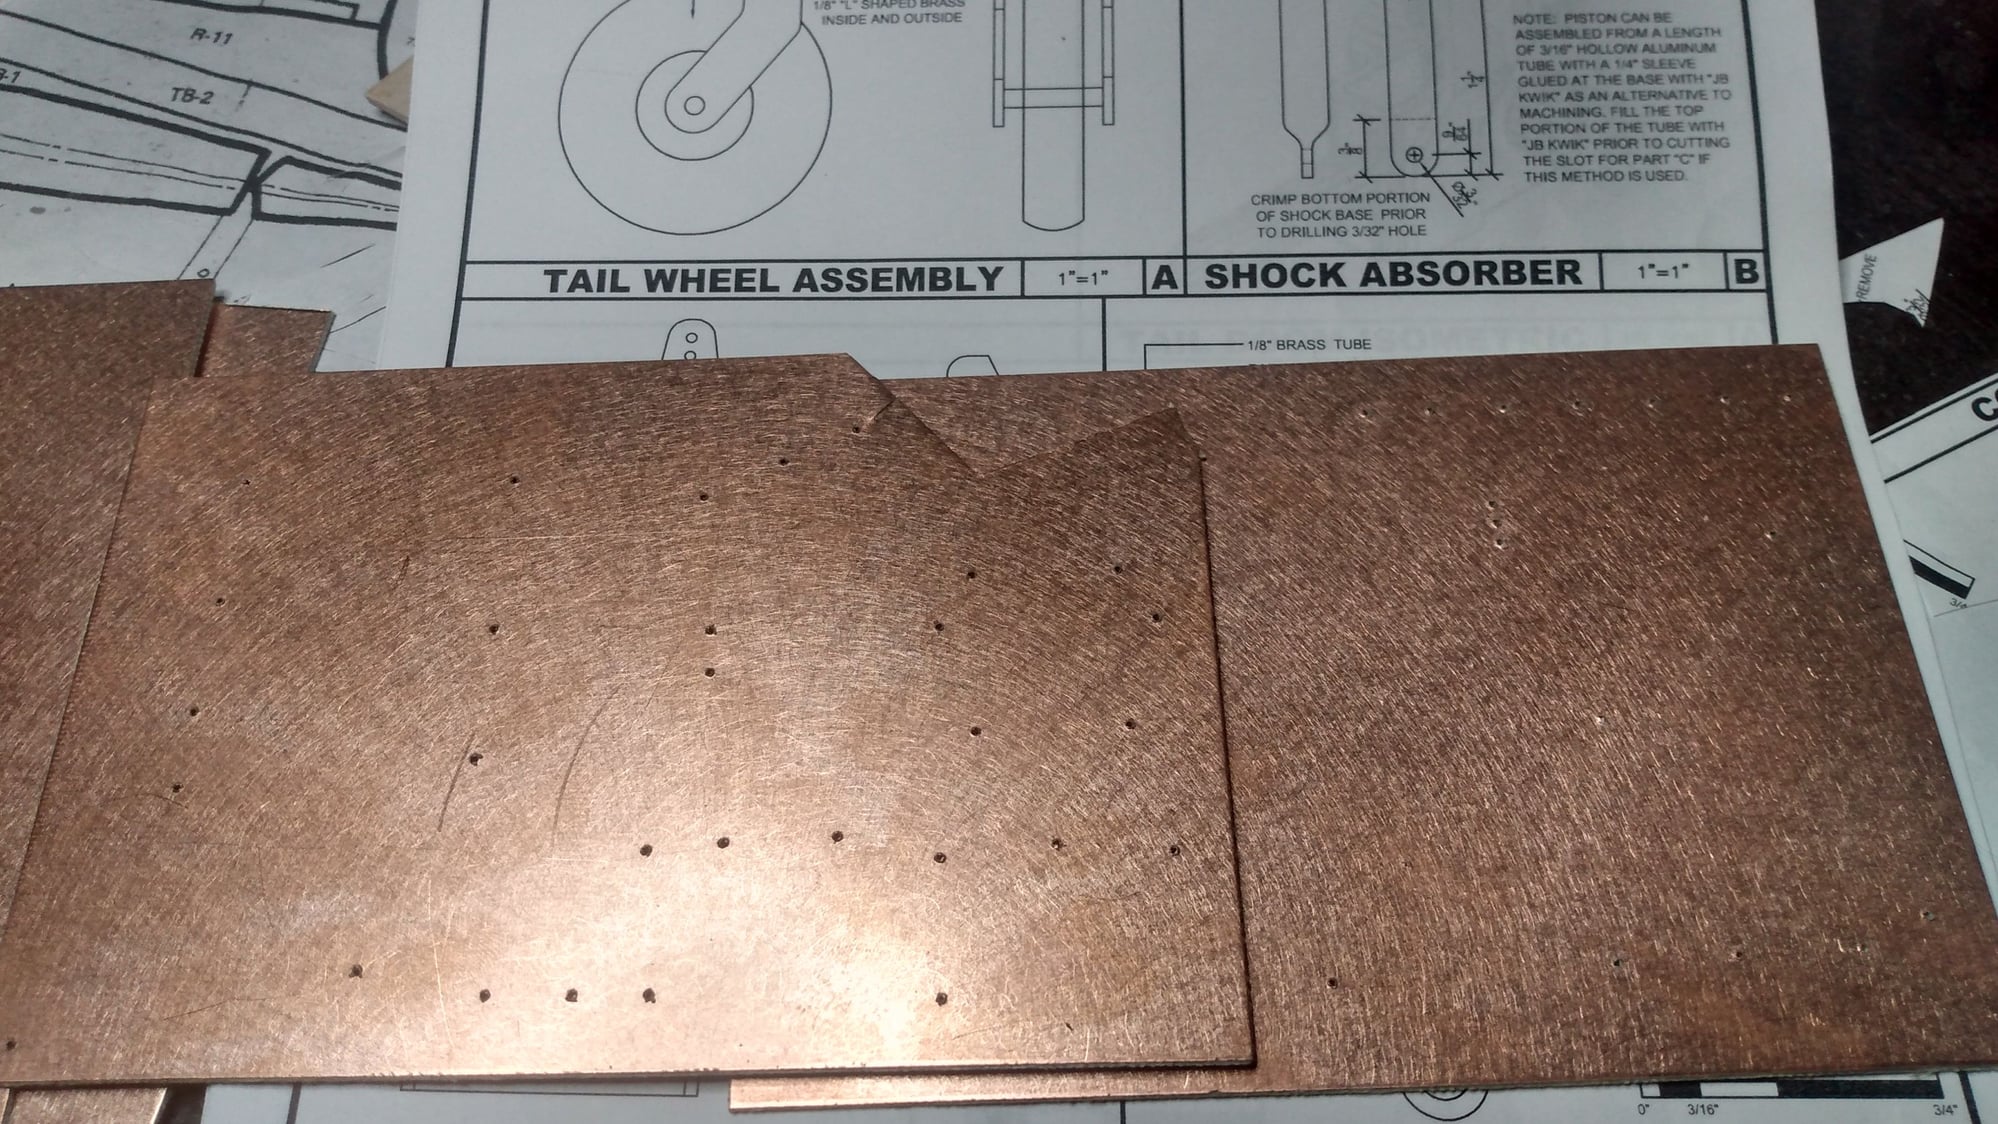
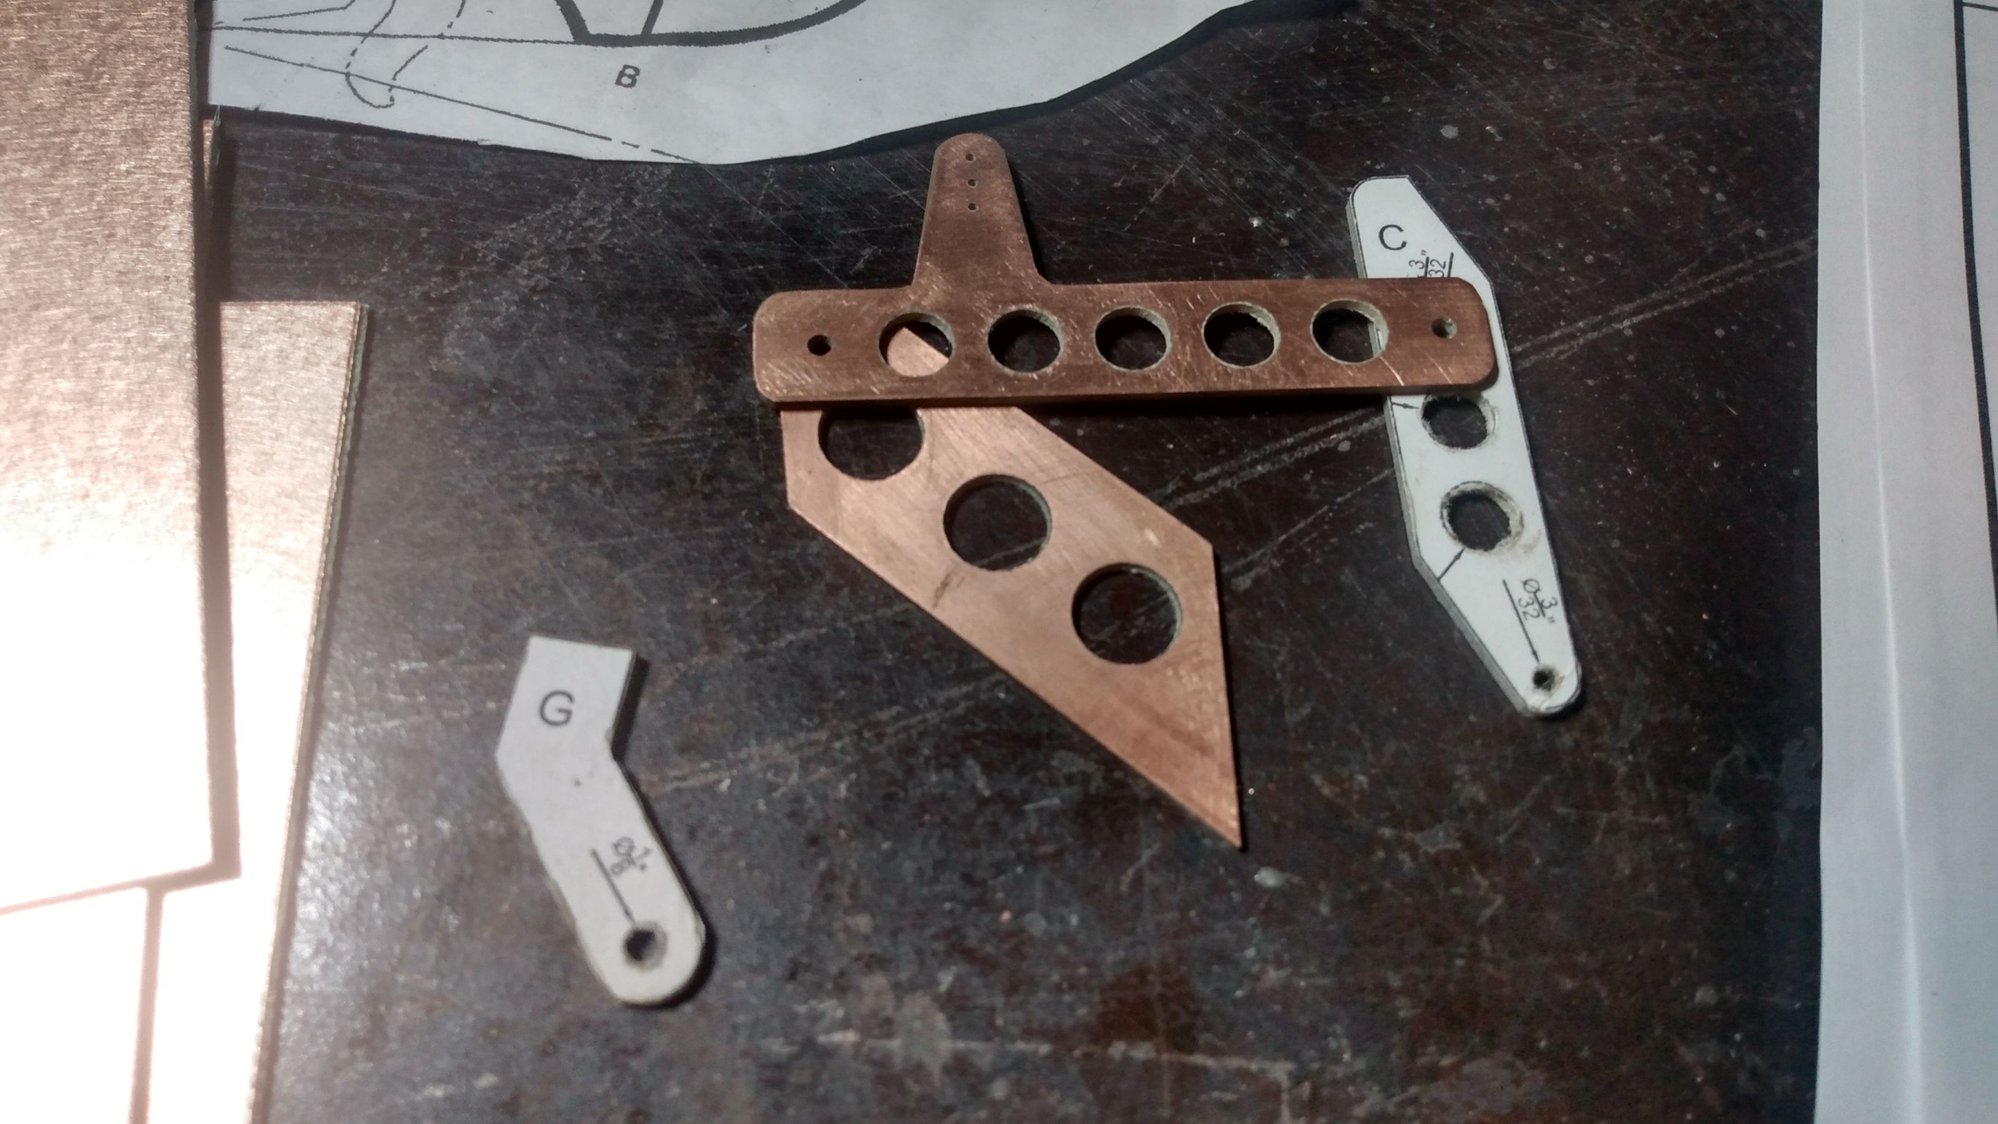
I used a tiny punch that I sharpened to a finer point on each hole and a light touch does the trick as this stuff will bend if you manhandle it. I found that out quite quickly. Since the smallest hole in the assembly is 1/16", I drilled an .040 pilot for each hole. It made the job smooth as silk. I used 1.5 ~ 4"x6" sheets Waiting on material for several other aspects.
Last edited by i.RIDE_H0ndA; 12-09-2020 at 08:04 PM.
12-24-2020, 02:37 PM
#34
Member
Thread Starter
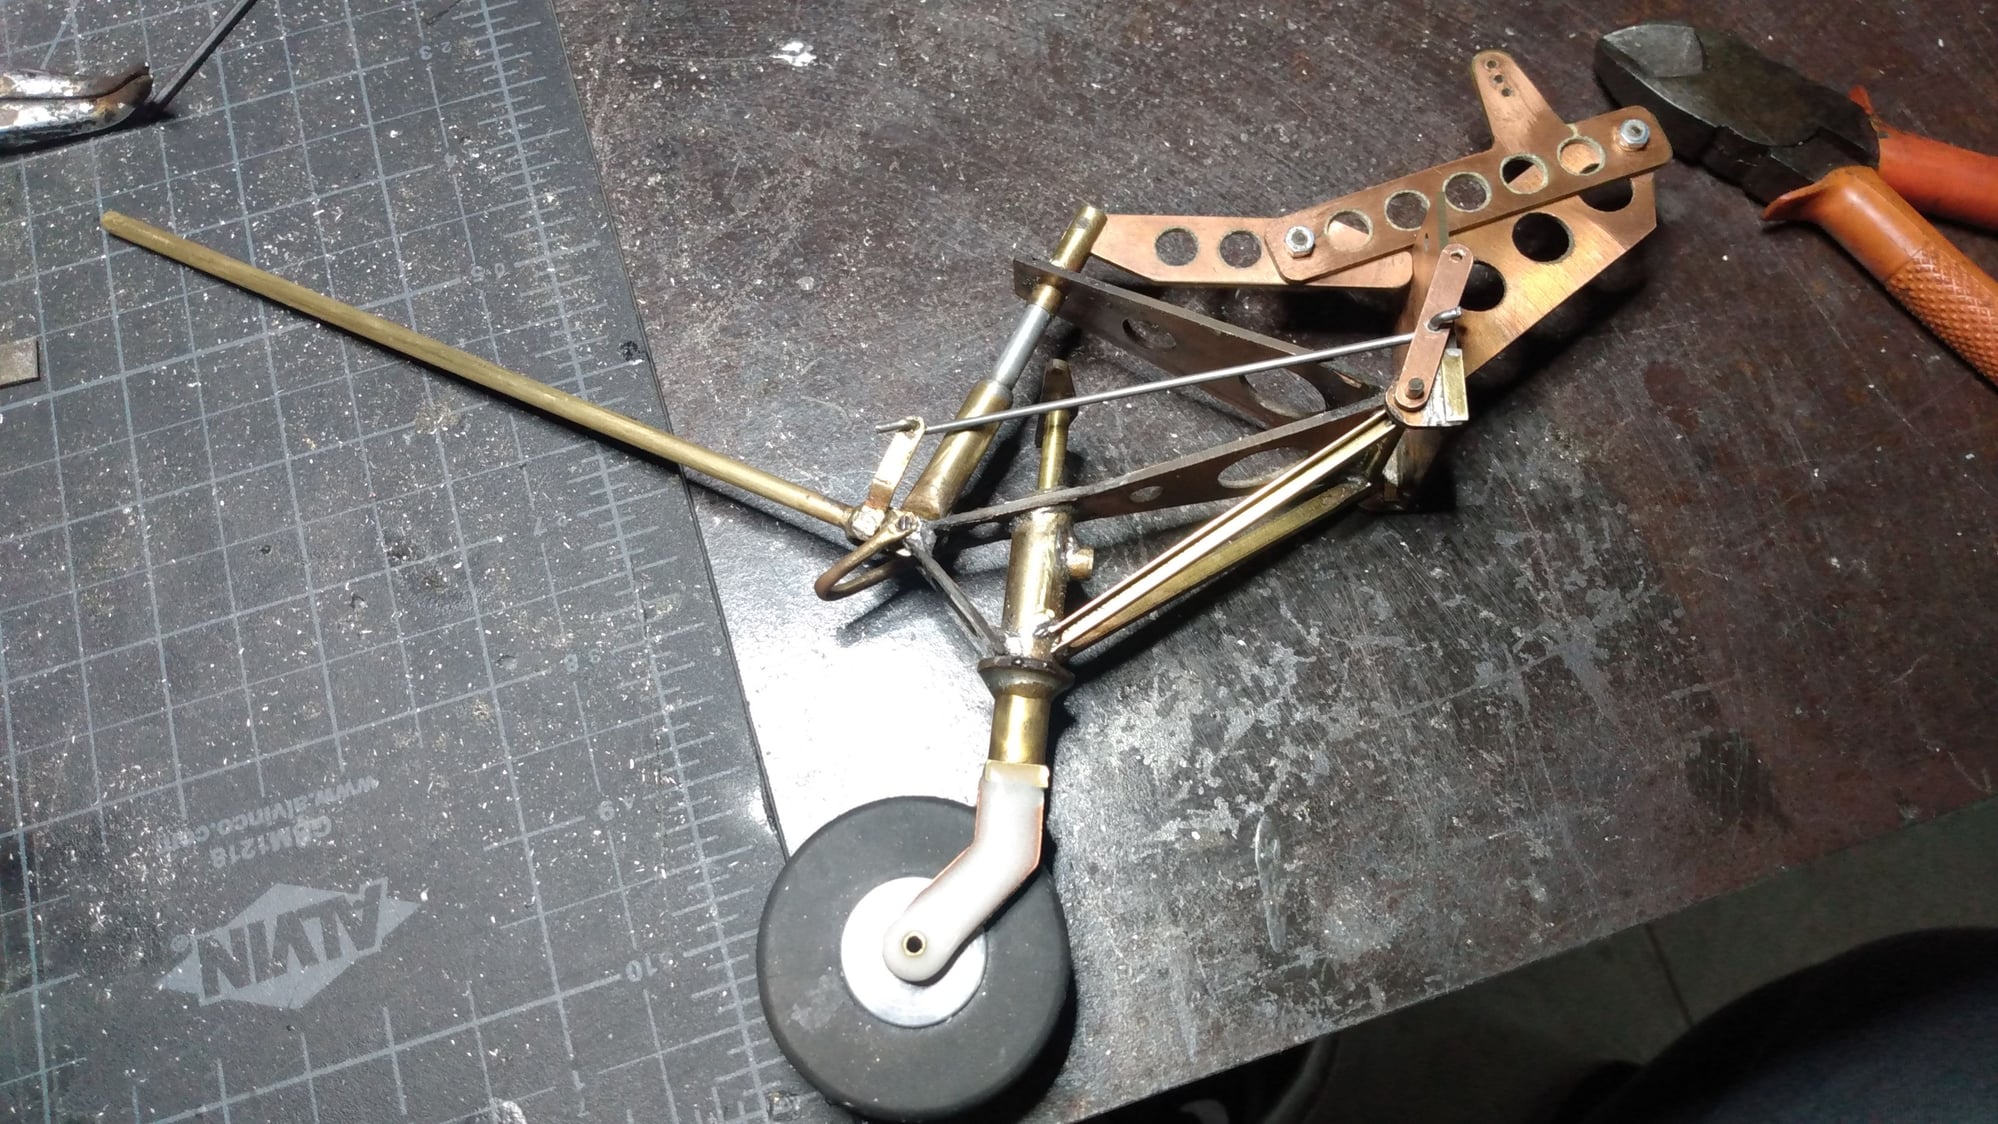
Making some headway. I have to be honest, I thought I'd screw up so I bought extra PC board. Turns out I didn't need it. After learning my new little torch and what heat the board needed to take the solder well, it was a breeze to work with. One can easily ruin a part by applying too much heat. I had a couple smaller parts that the laminate separated and had to make new ones. No biggie. I'm working on the tail hook now.
12-26-2020, 11:43 AM
#35

My Feedback: (60)
Join Date: Dec 2001
Location: Litchfield Park,
AZ
Posts: 7,677
Likes: 0
Received 25 Likes
on
23 Posts
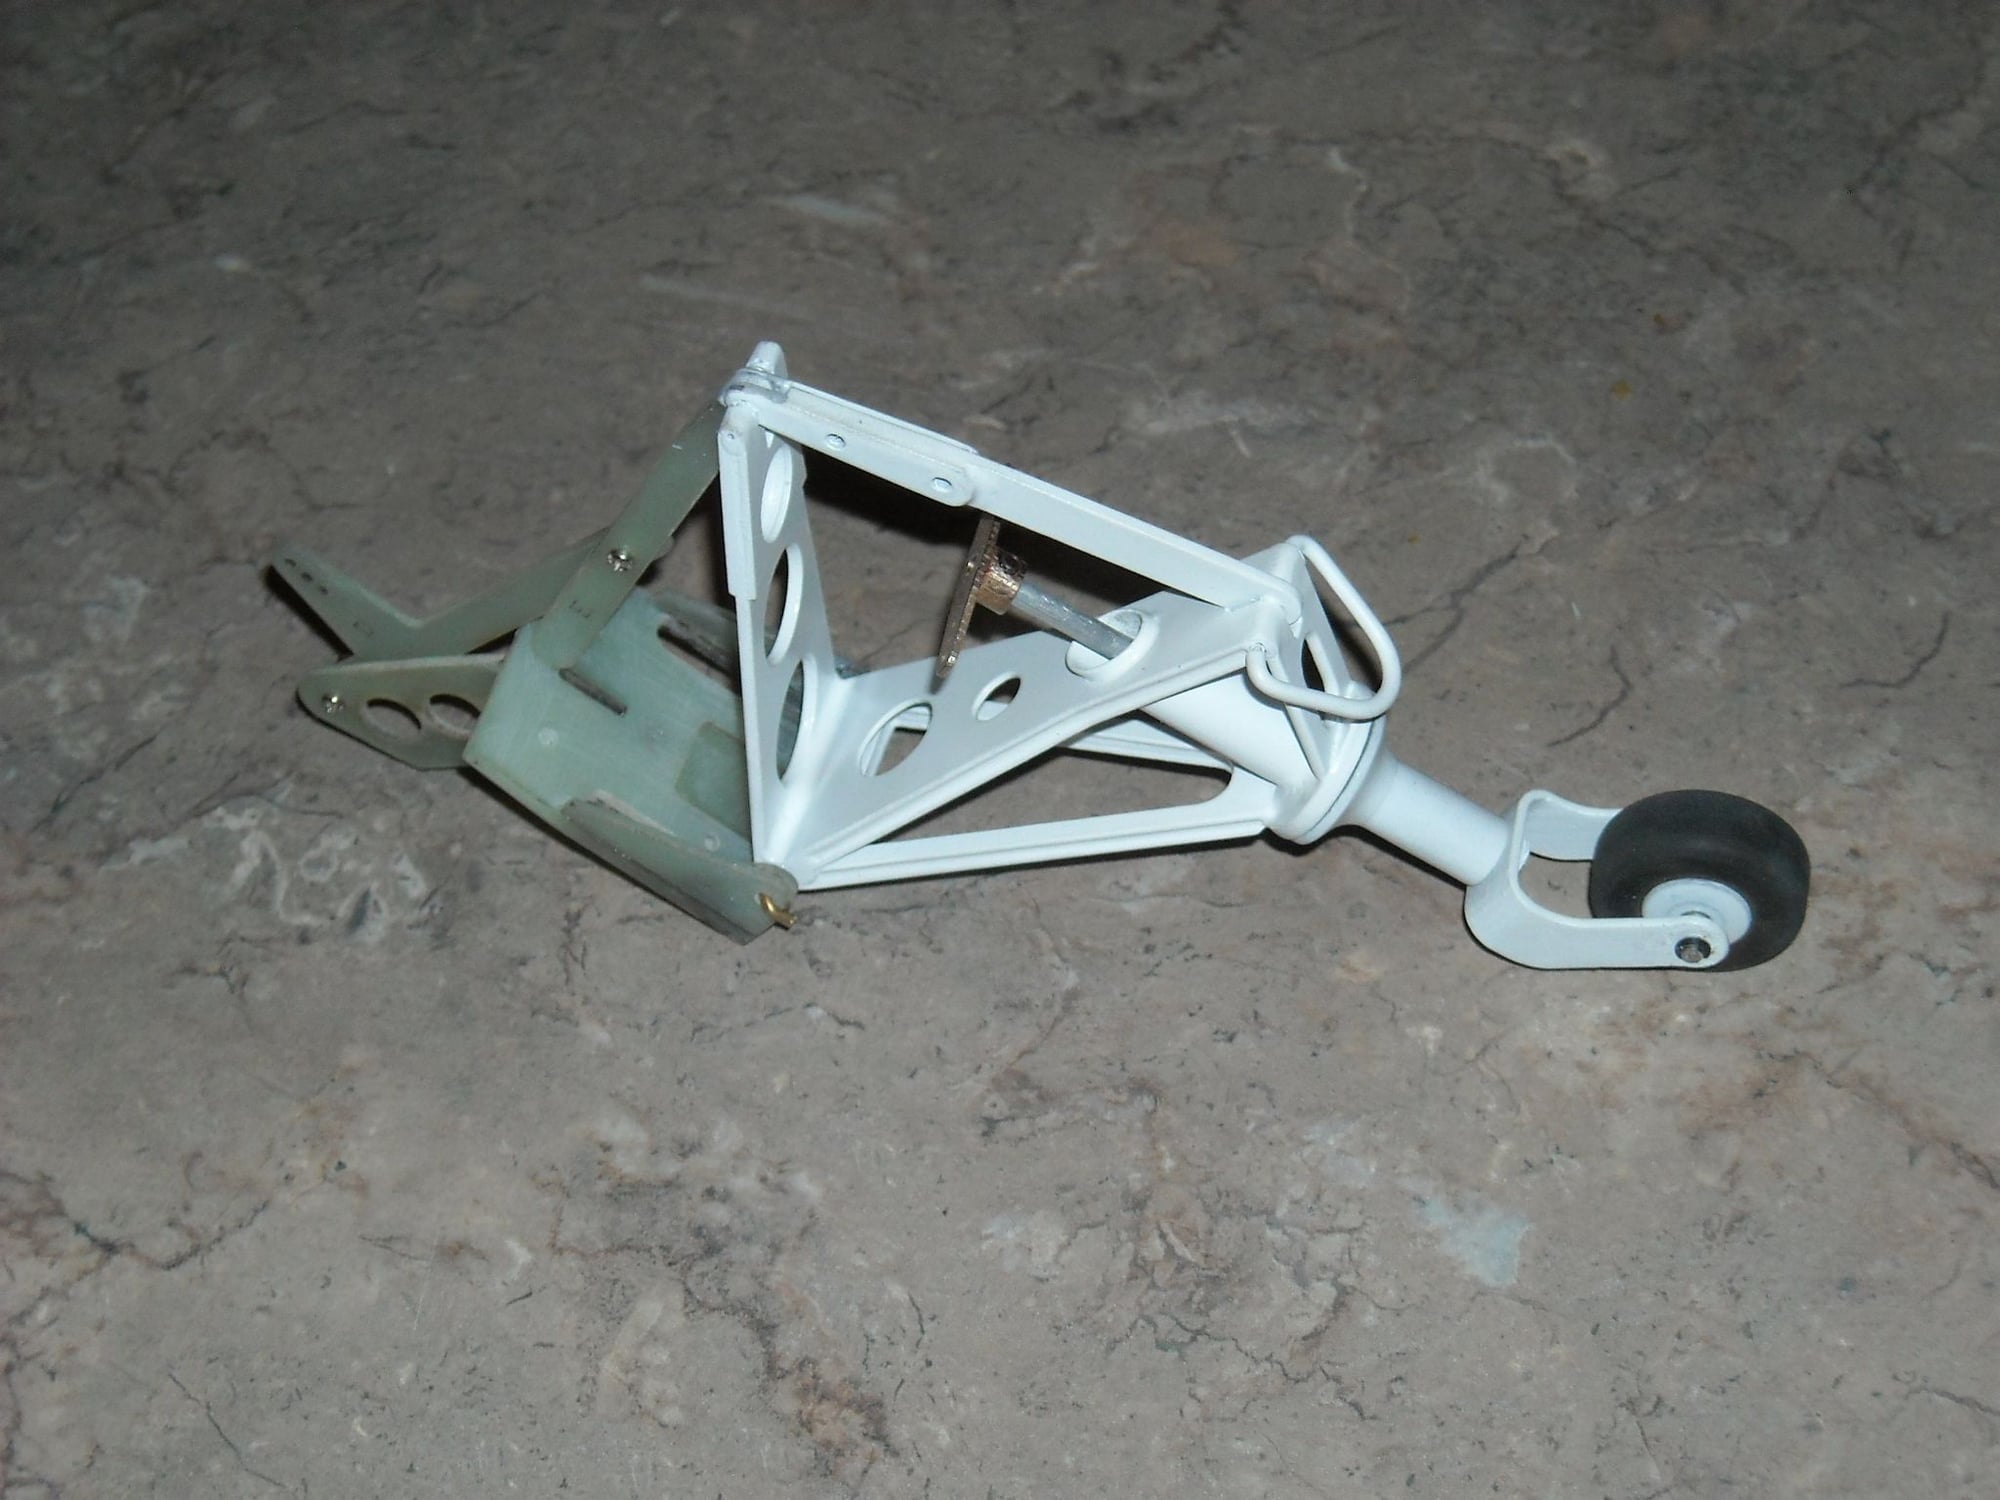
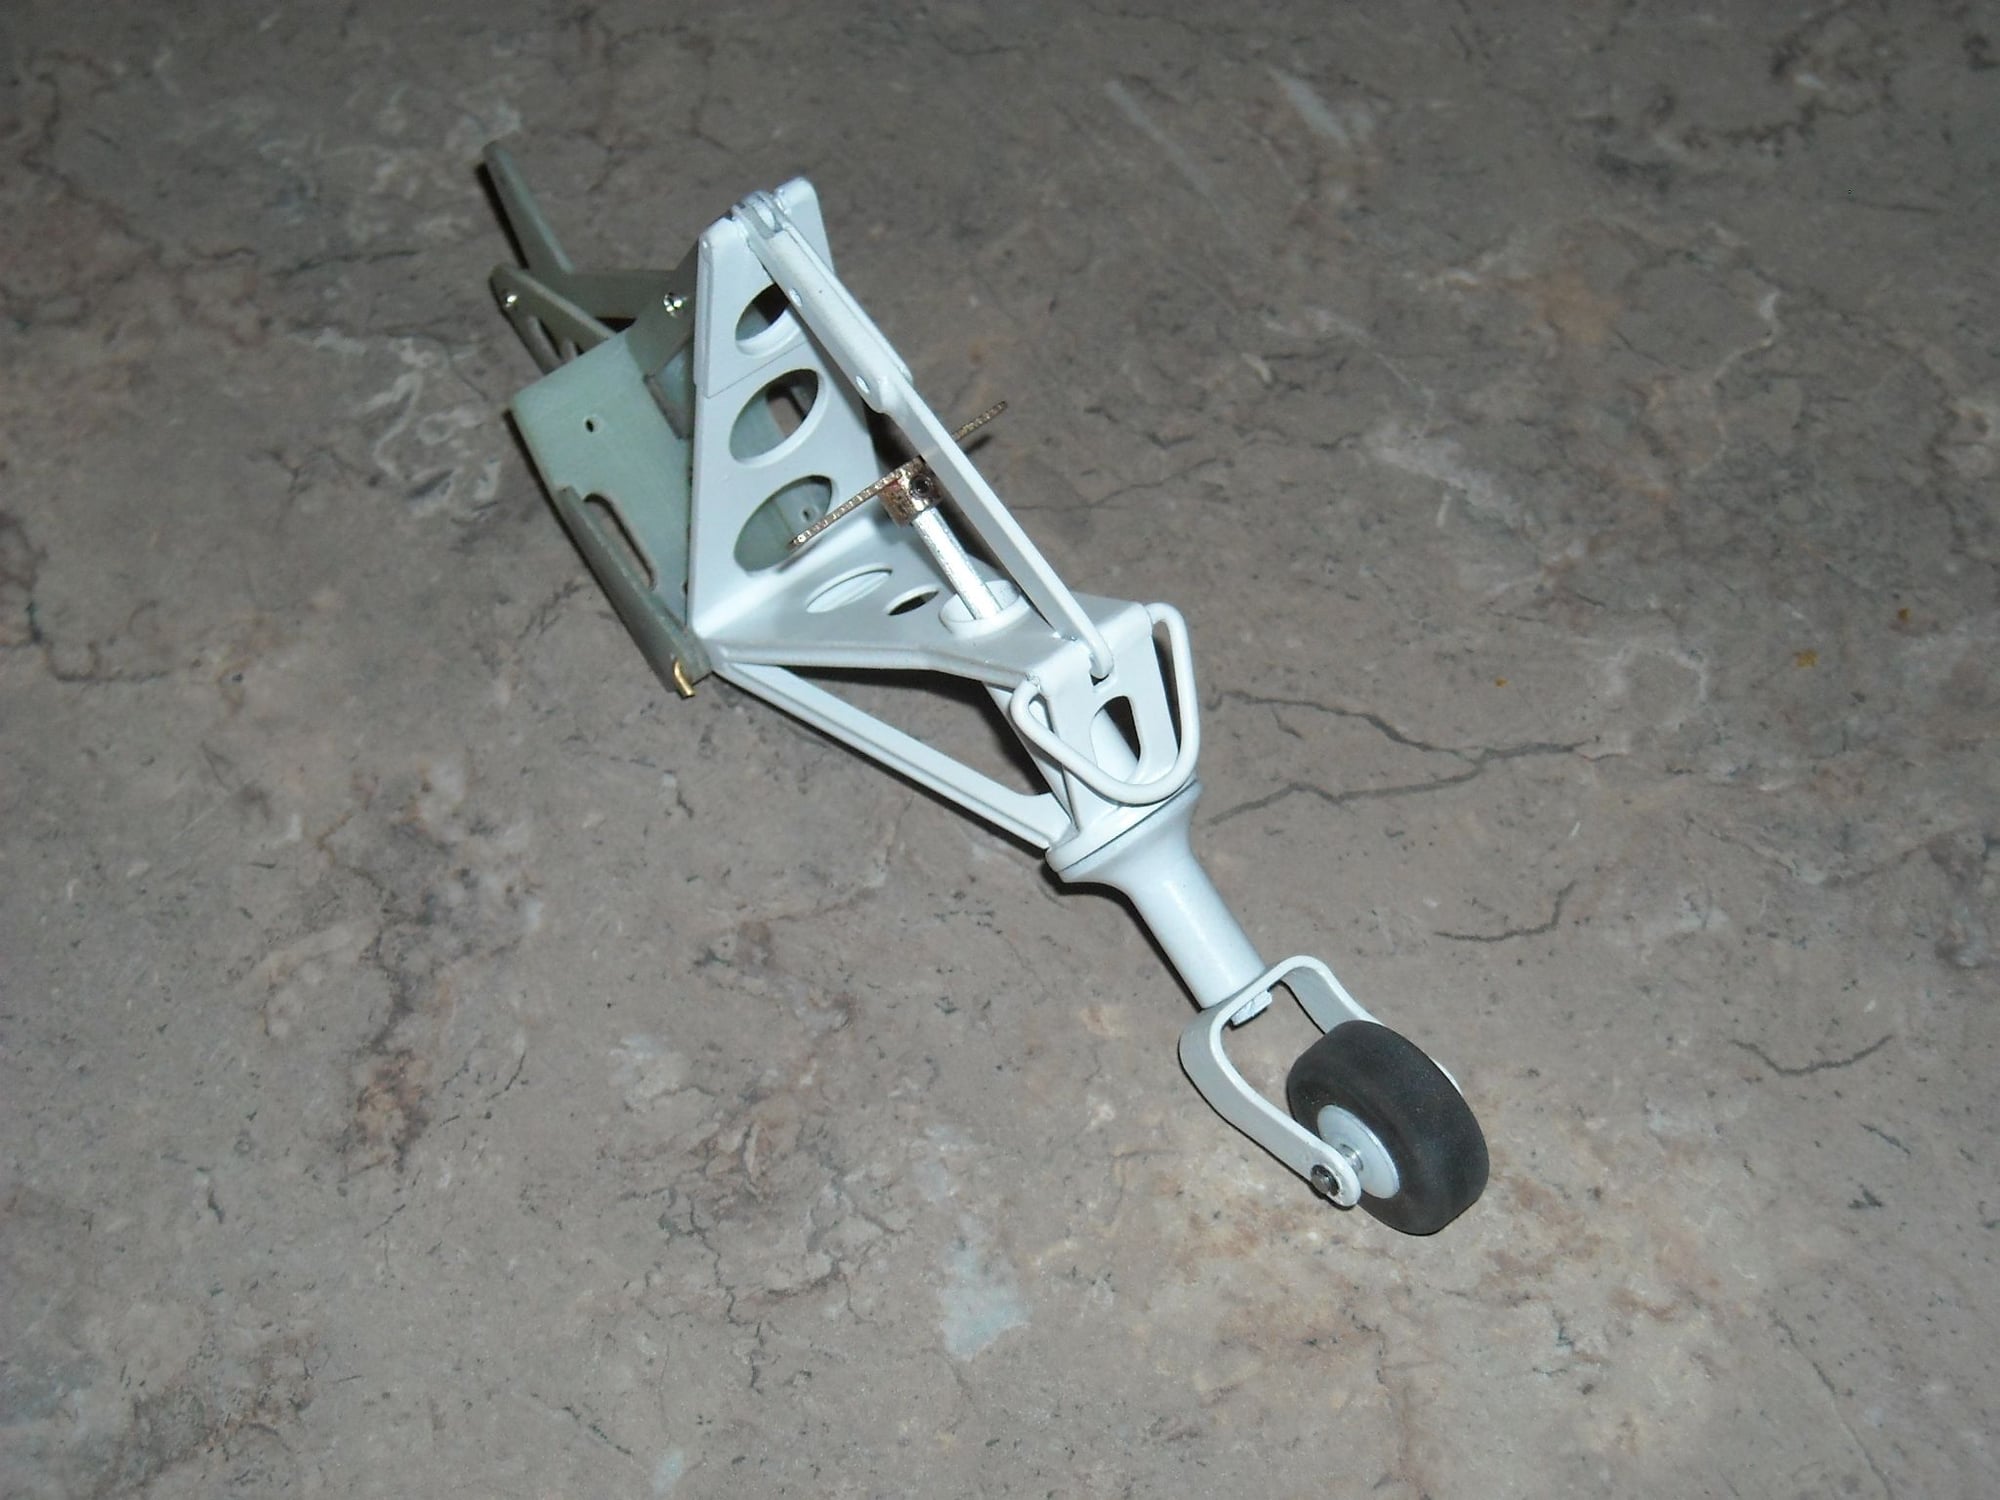
For anyone interested in building the tail wheel retract unit I can supply a stainless steel 3d printed fork (yoke) and steering arm to replace the built up units shown on the plans. The fork is a bit more scale and, of course, stronger than the built up unit. The two items save some time for the builder as well, although they are probably a tad heavier. The big drawback of course is the price which is currently $25 for each item separately or $42 if you buy them both. That includes shipping in the USA. Just to be clear these are being printed by Shapeways and the prices quoted are directly from them. These are offered simply to assist fellow Corsair builders and I do not add anything to the cost. Anyway, you can see both items as used on a tail wheel unit that I built a few years back. If you have any questions or would like to place an order please contact me at [email protected].


 11-09-2021, 02:38 AM
#39
Member
Thread Starter
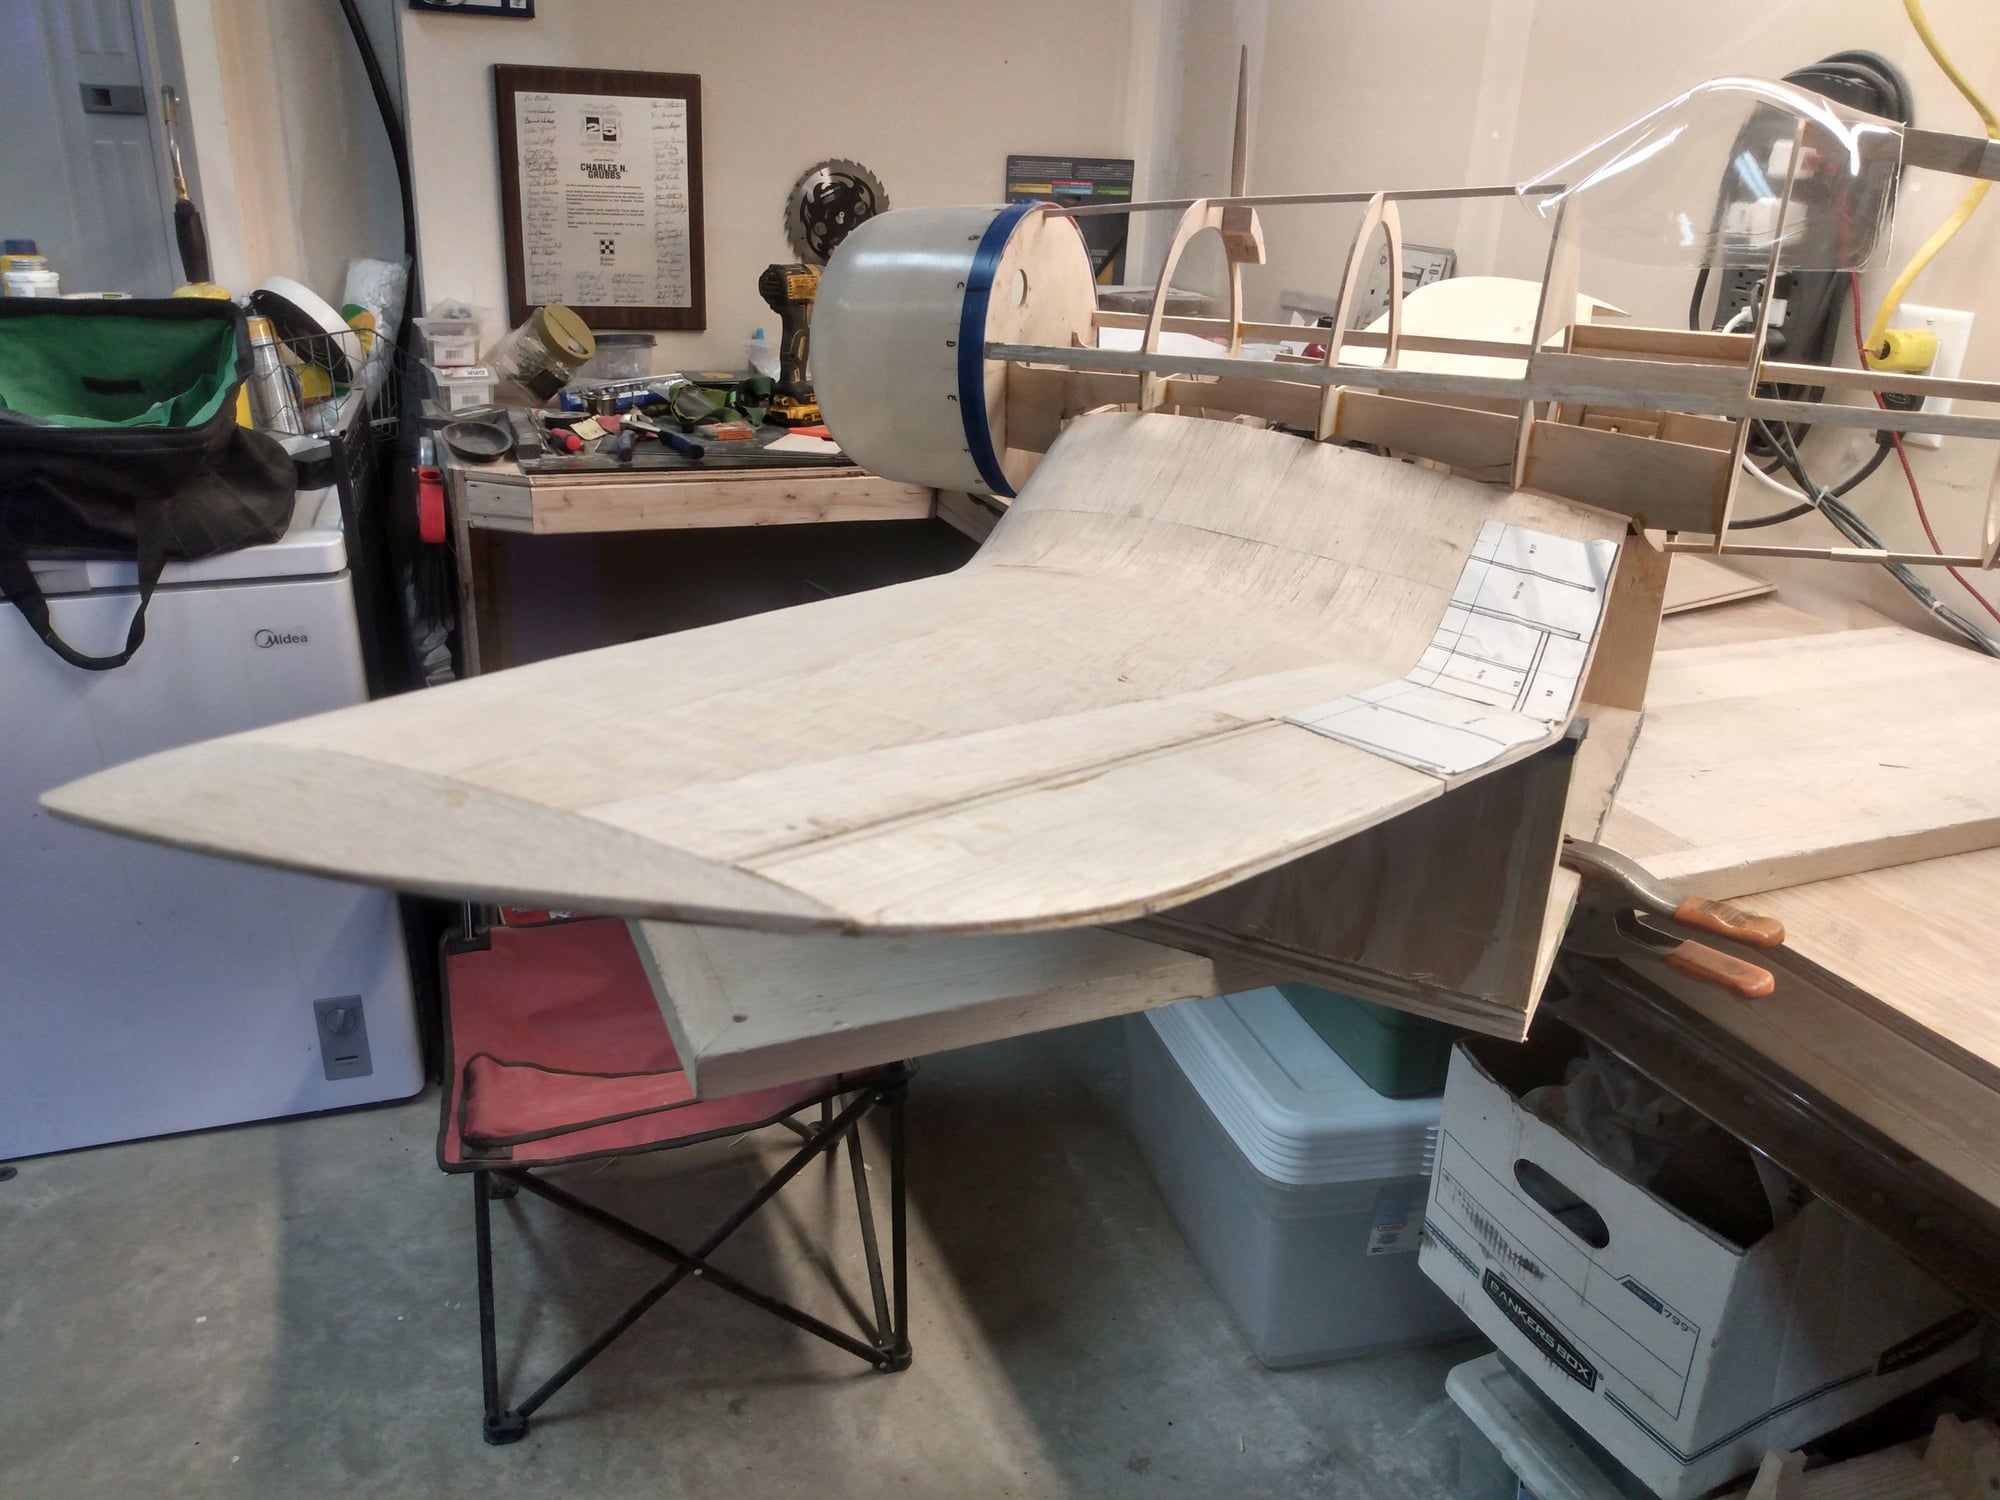
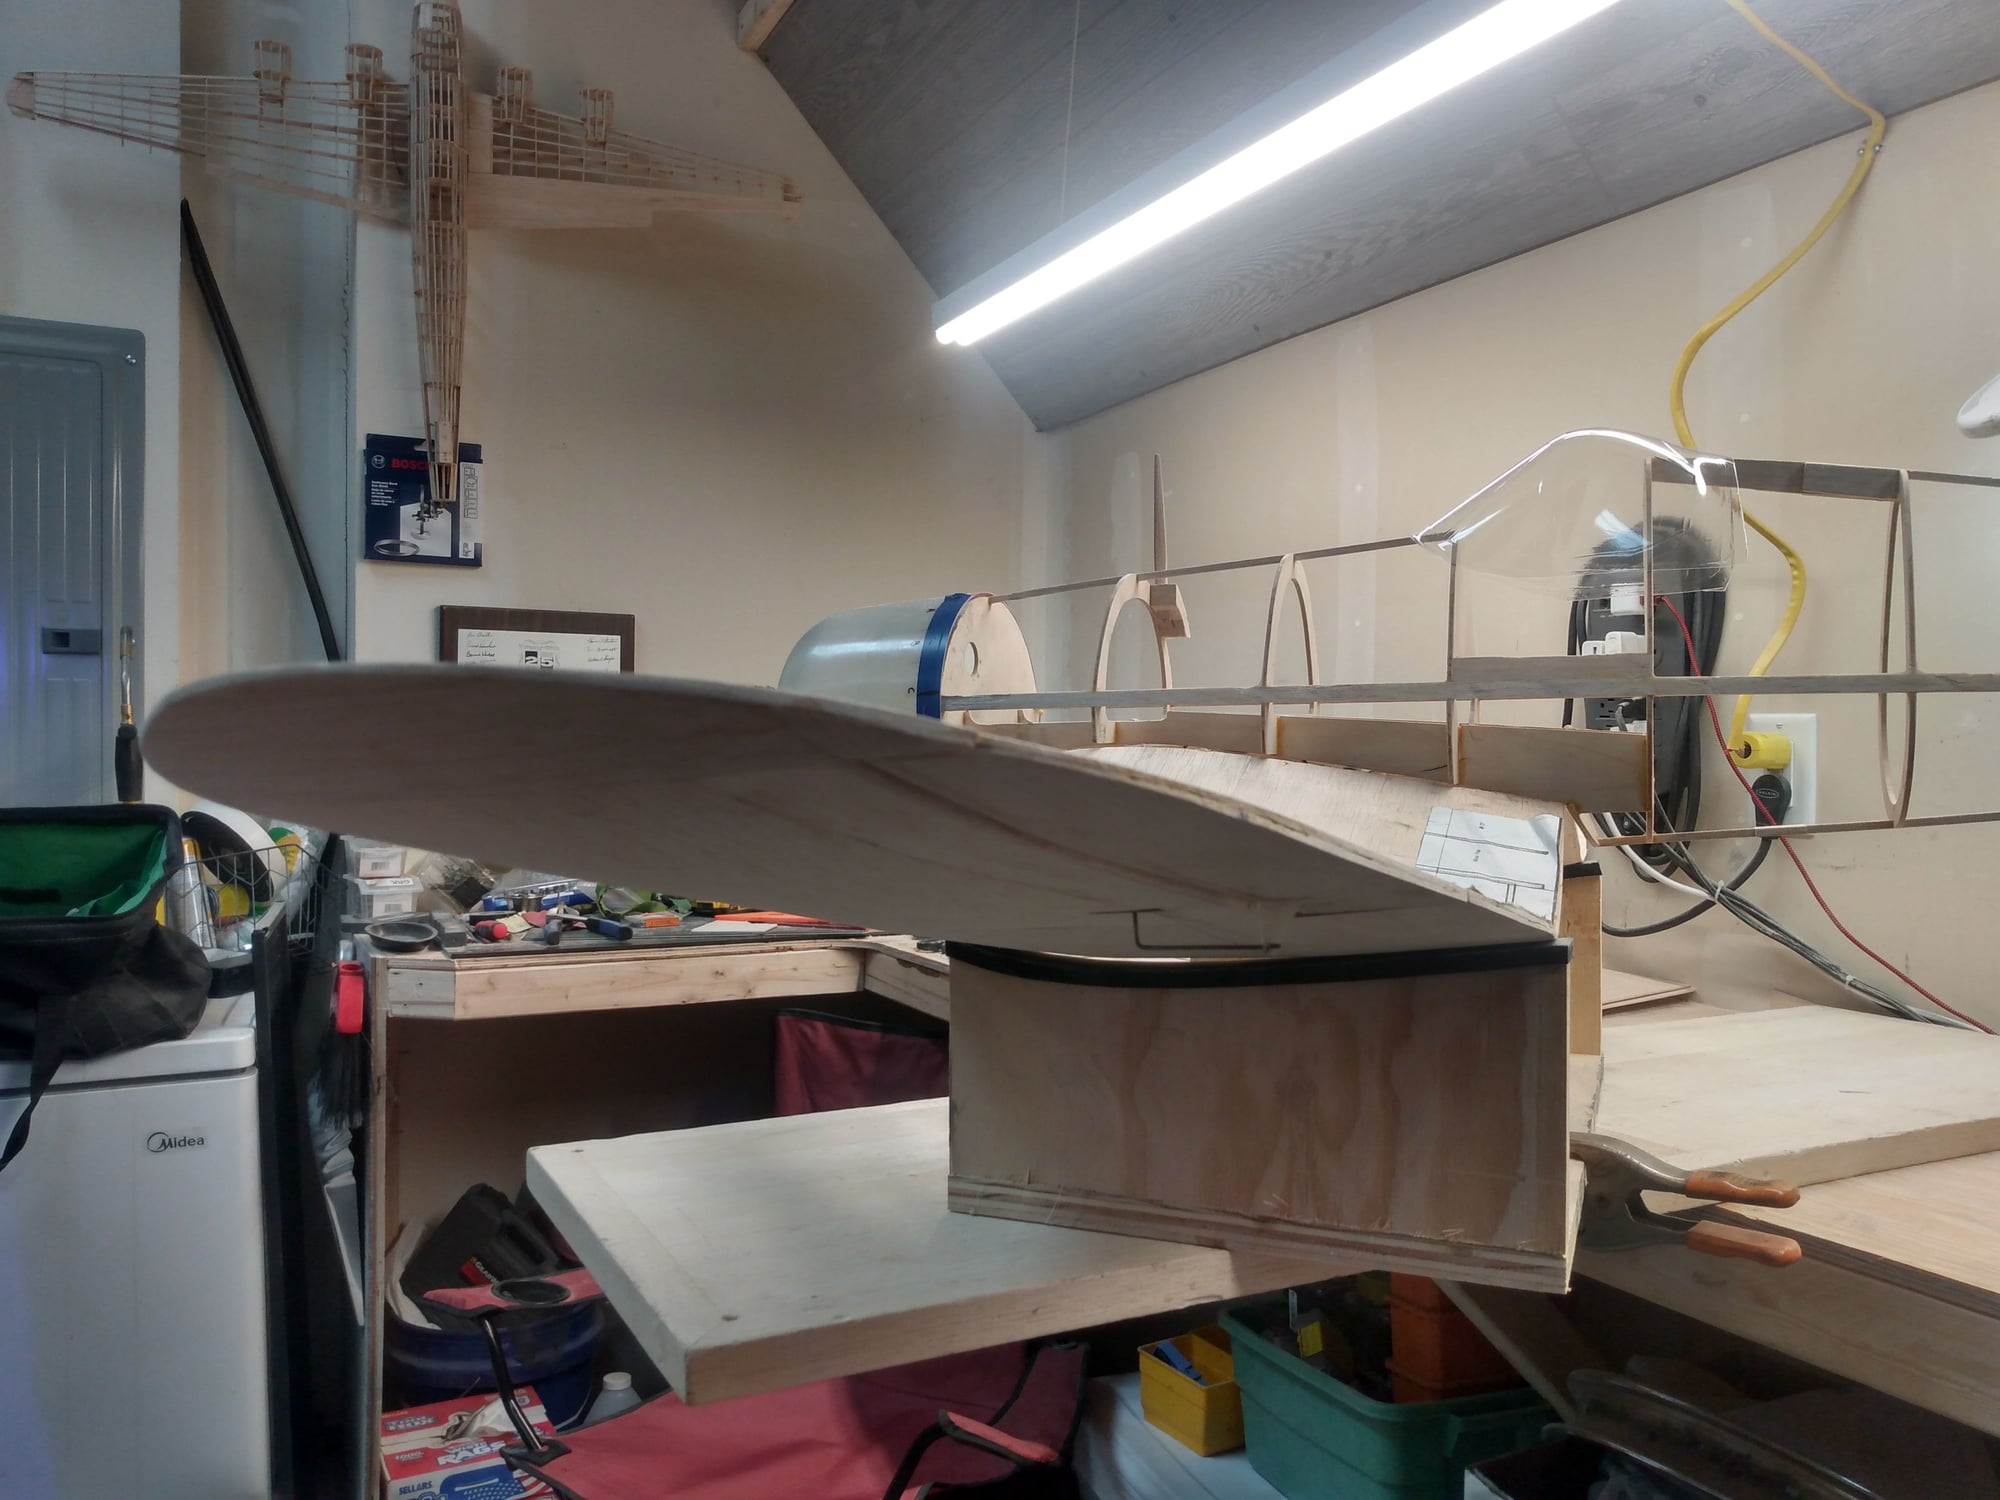
I apologize for the no activity on this thread. Life's curve balls sure are interesting. I'm back on it, making up for lost time. I'm to the point now where I have questions on servo locations, connections, proper servo layout....a bunch of questions on the rudder, elev., and tail wheel servo locations. Along with what size fuel tank or at least the proper way to choose the correct one for this build. Here's what I have so far.
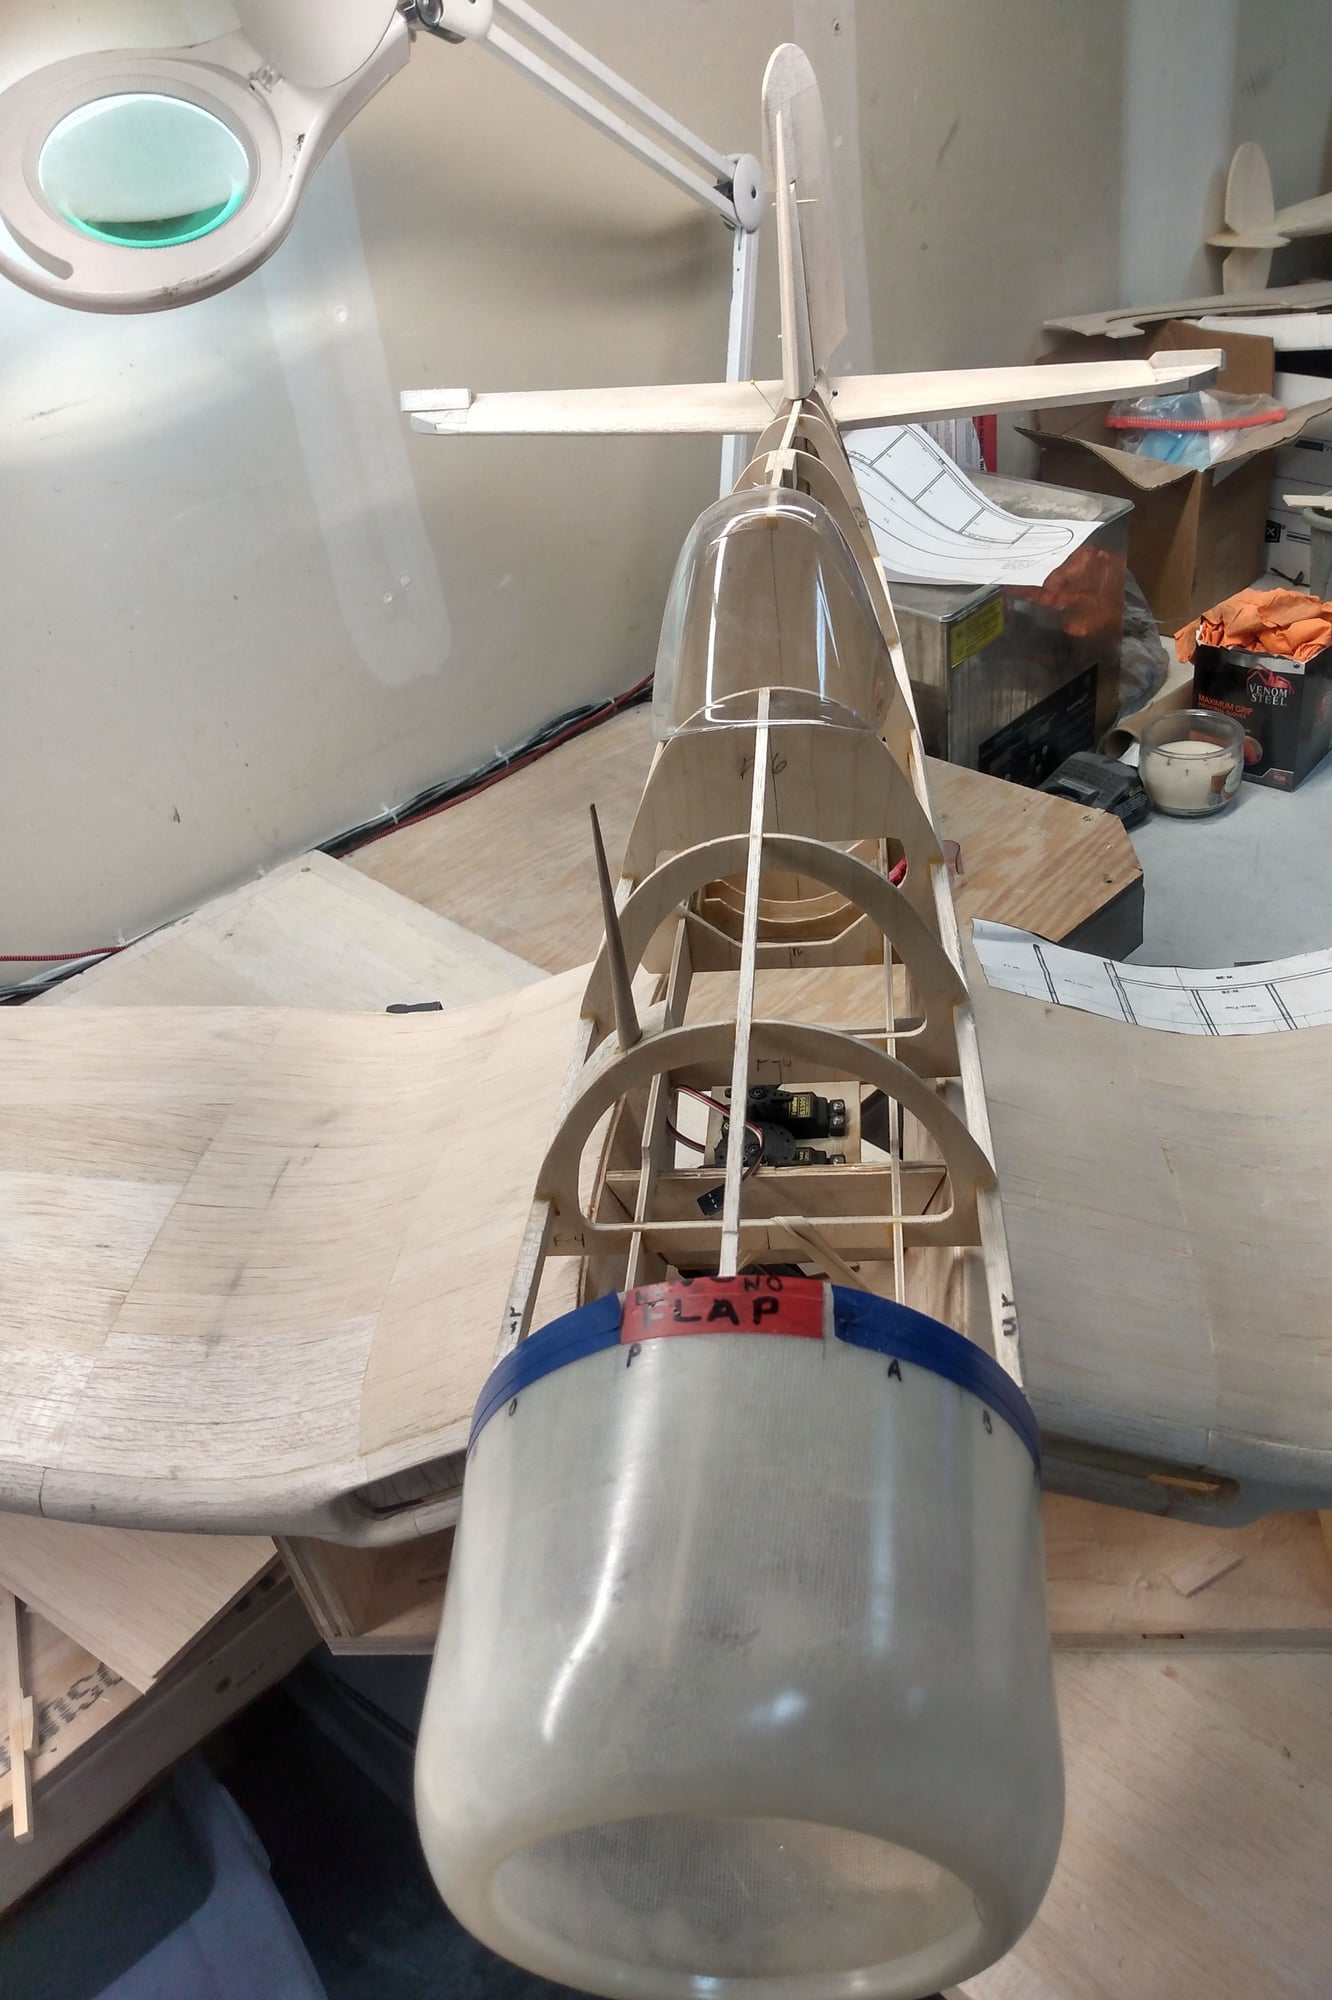
I'm hesitant to make the cut for the flaps. Not 100% on the cut line and what hardware for scale hinges, if possible.
I'm hesitant to make the cut for the flaps. Not 100% on the cut line and what hardware for scale hinges, if possible.
03-15-2024, 06:52 AM
#40
Member
Thread Starter
I have learned so much from my mistakes. It's been great!
This project was an ill prepared crapshoot from the beginning. I've now dropped back and punted. When I built the left wing, the first wing I'd ever built, I built the spars out of square, not by much but enough to throw it all off. When I went to make the connection, I couldn't get it square for the life of me. I've now rebuilt the wings and when I epoxied them, I had a very nice laser level telling me no lies. Waiting on some wood and I'll be on to the flaps and ailerons. It's interesting to note how much I realize just how finite and accurate and methodical a person must be in order to be proficient at this hobby. I cannot wait to maiden this bird!
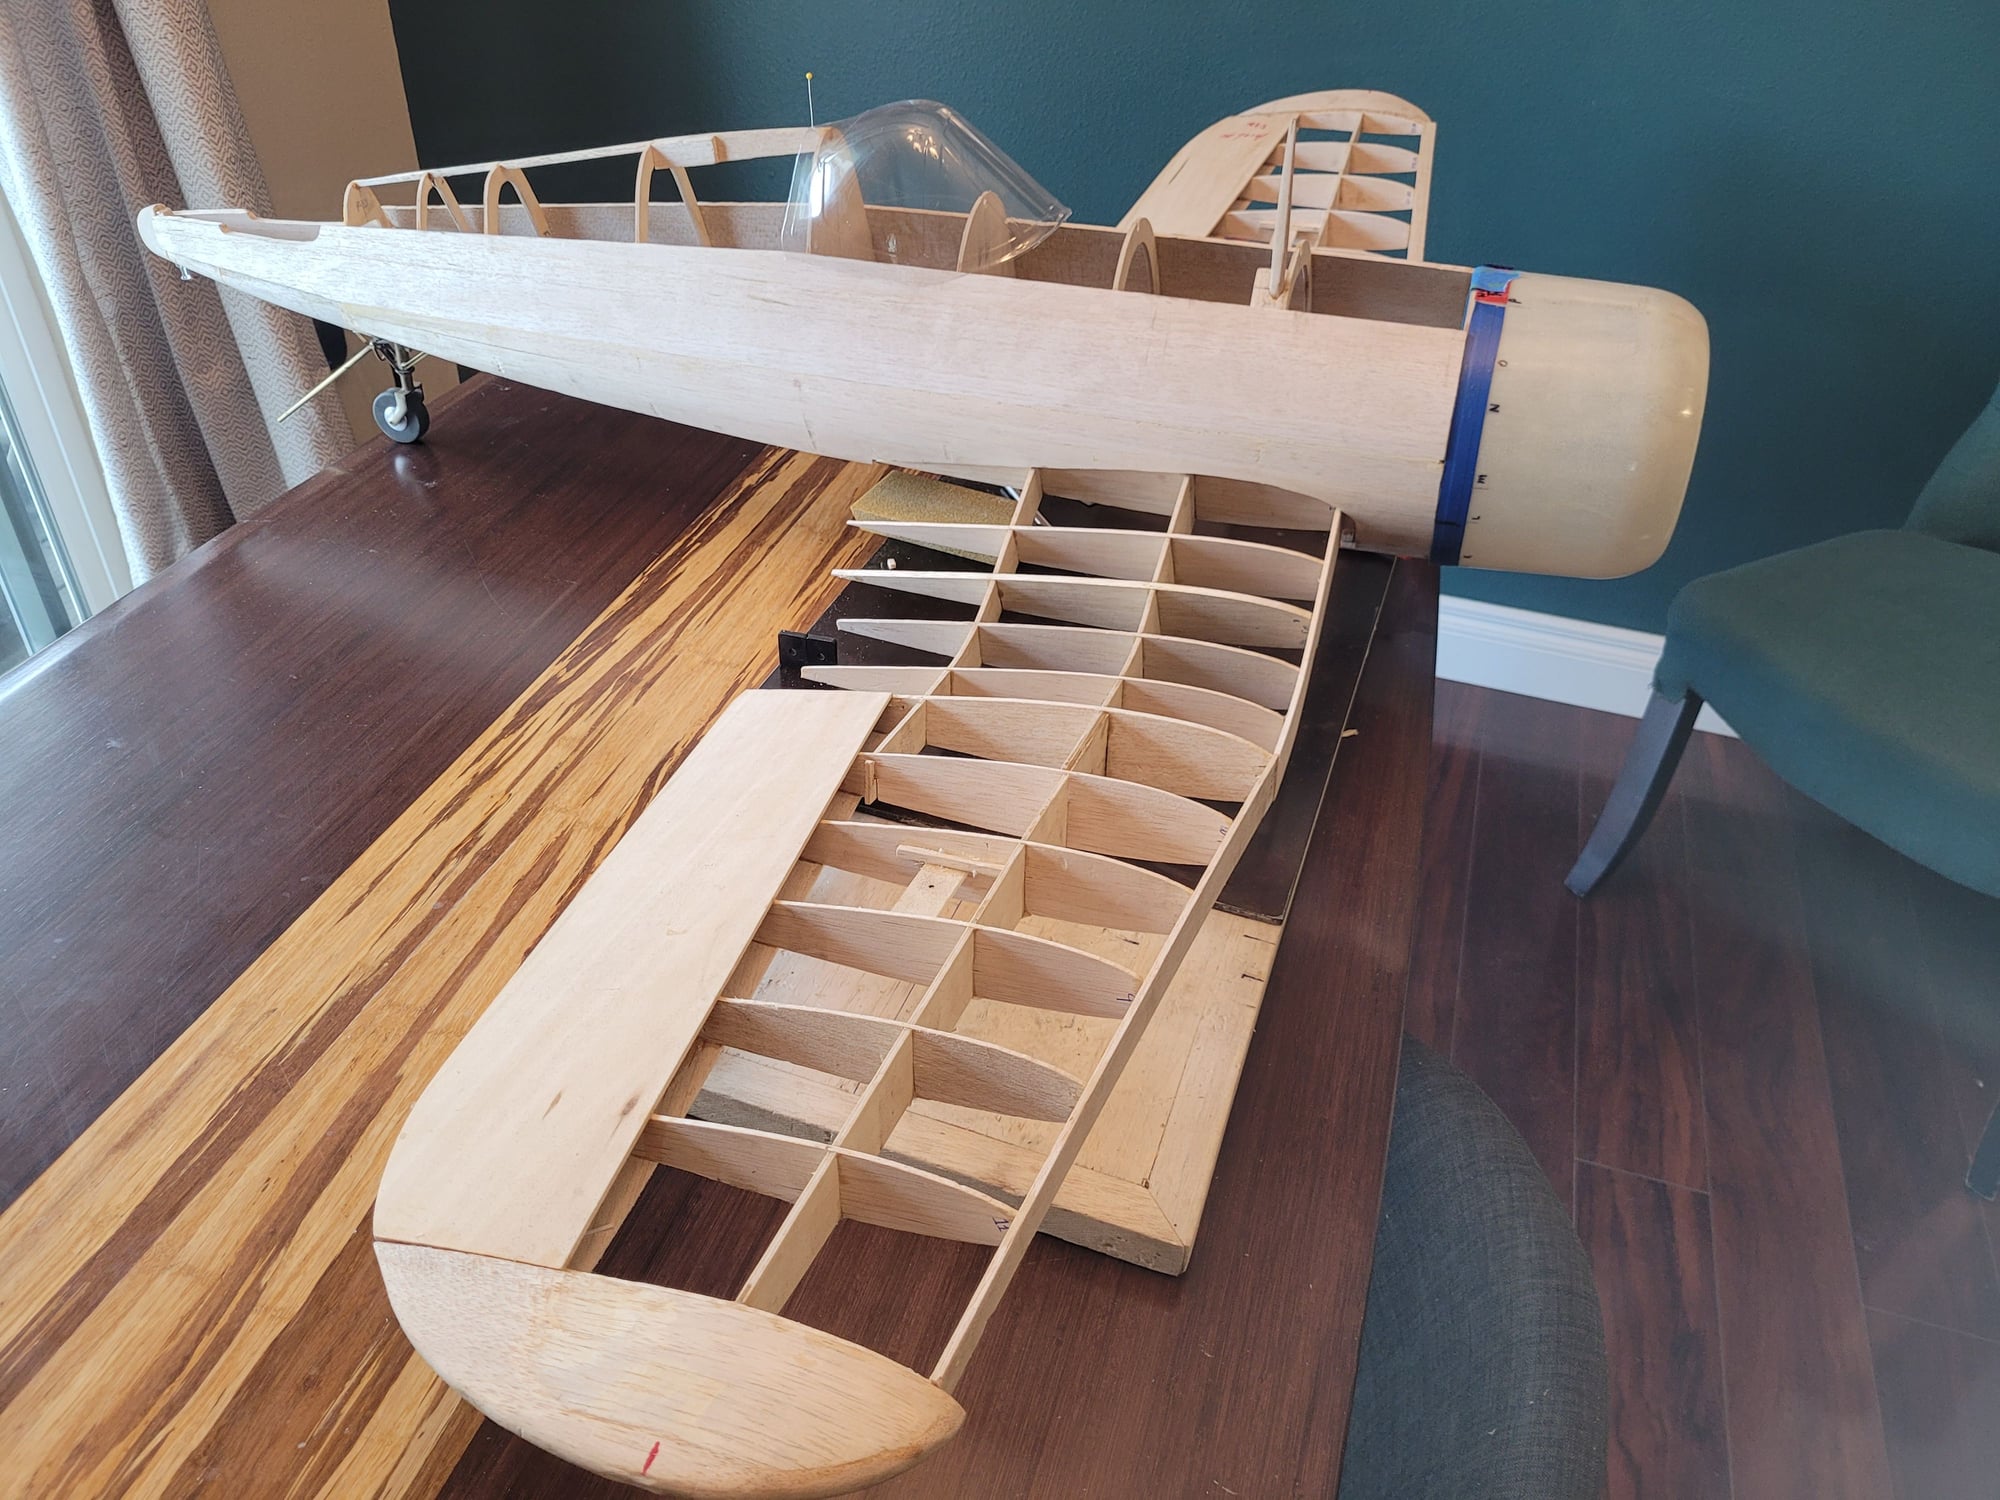
This project was an ill prepared crapshoot from the beginning. I've now dropped back and punted. When I built the left wing, the first wing I'd ever built, I built the spars out of square, not by much but enough to throw it all off. When I went to make the connection, I couldn't get it square for the life of me. I've now rebuilt the wings and when I epoxied them, I had a very nice laser level telling me no lies. Waiting on some wood and I'll be on to the flaps and ailerons. It's interesting to note how much I realize just how finite and accurate and methodical a person must be in order to be proficient at this hobby. I cannot wait to maiden this bird!
