


CARF Ultra Flash Evo build thread +


 11-27-2020, 08:54 AM
#52

Tks
11-27-2020, 11:48 AM
#53

Thread Starter
Rich
Yes, I have had them sometime, but was waiting till the end to add them. I have had a rough play around and they look like they will work, just too much else going on to get any real time in the workshop. I did paperwork all day so I could spend tomorrow building. Will see if I can get it on its wheels and the decals can go on.
Dave
11-29-2020, 10:35 AM
#56
Thread Starter
Still not got it on the gear ready for decals, too much time on Reno Racers and other jobs. But I did some work on the wings.
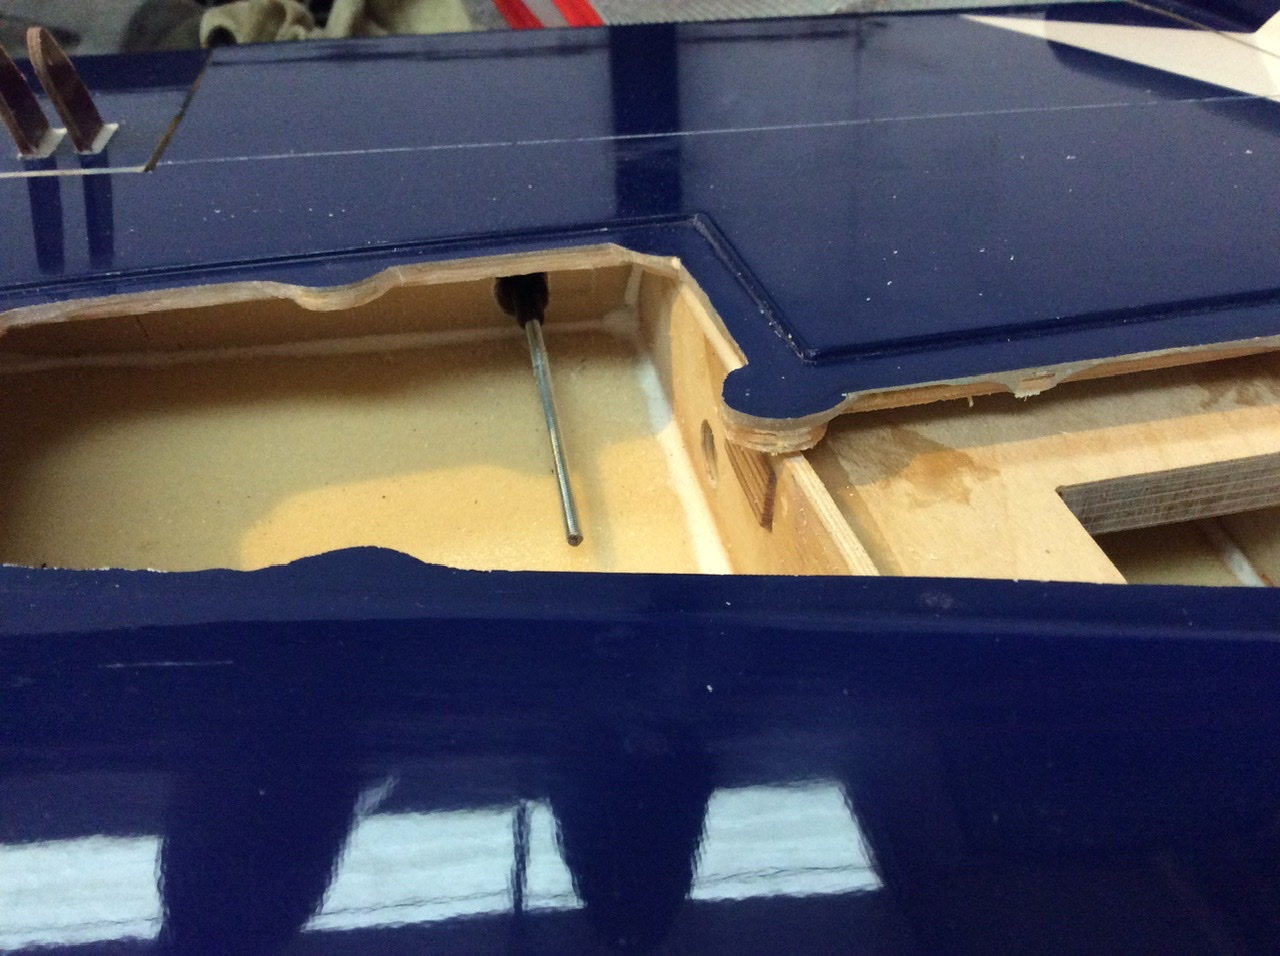
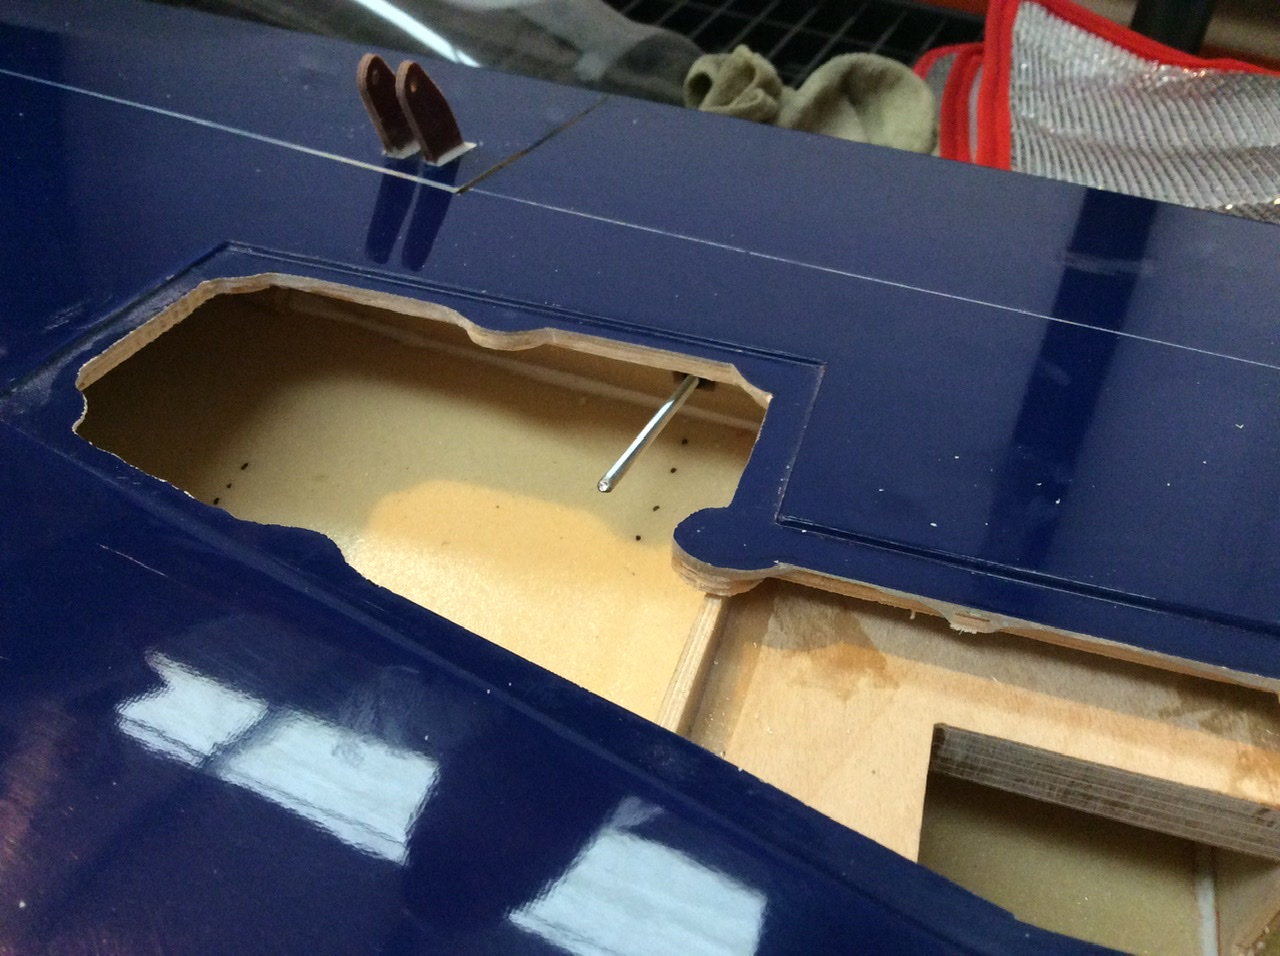
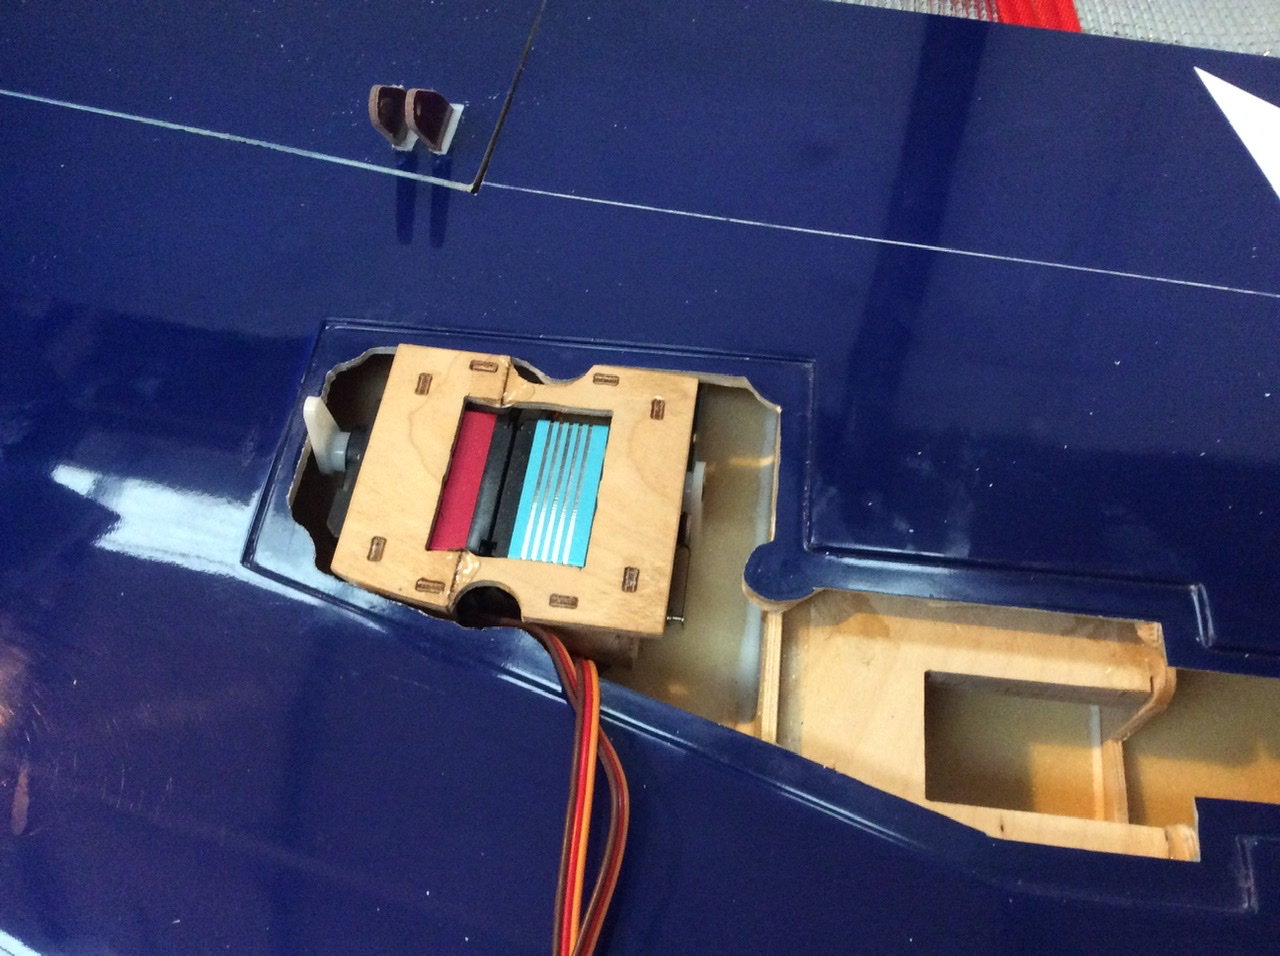
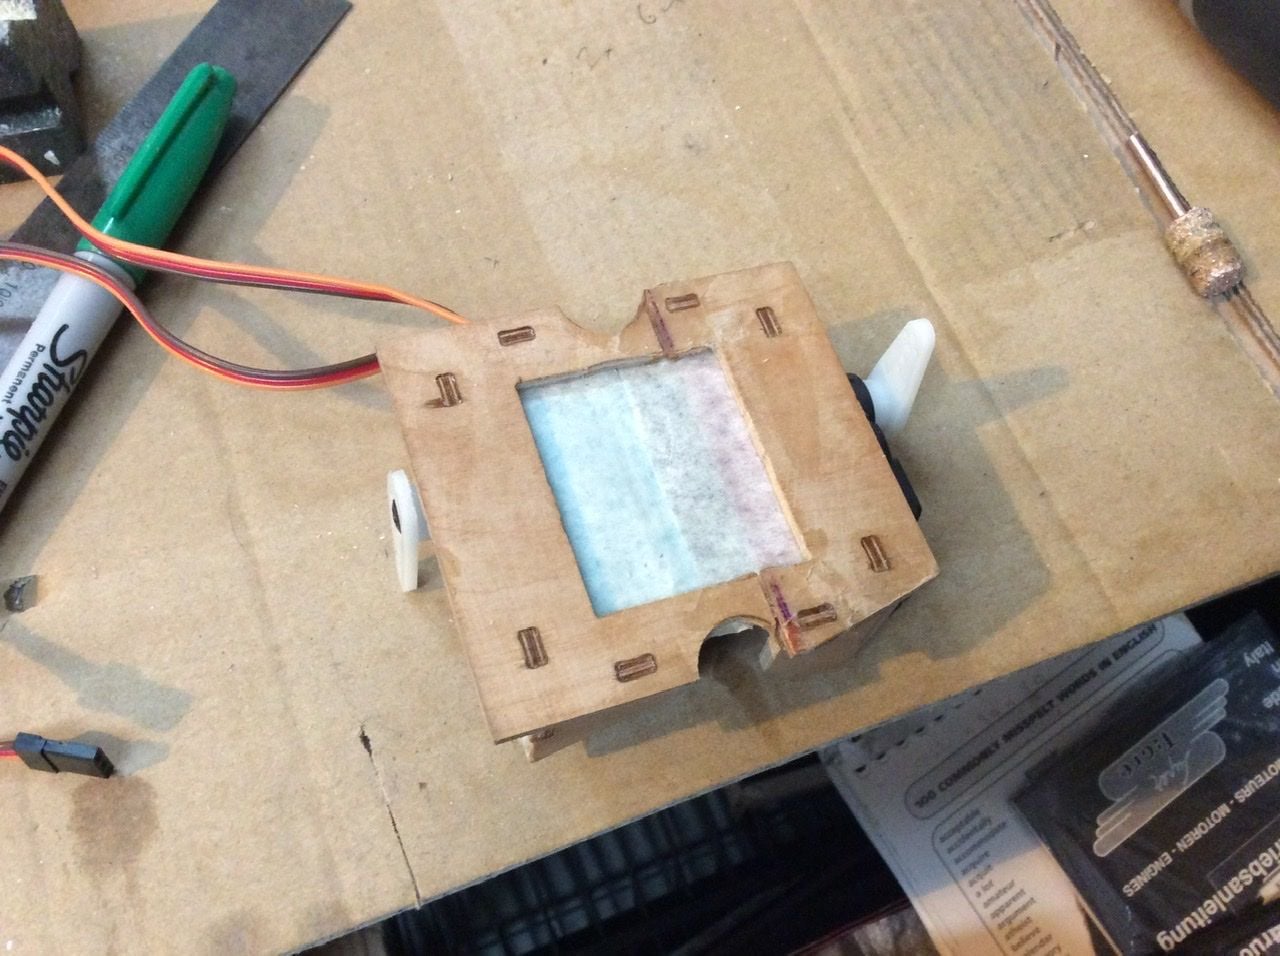
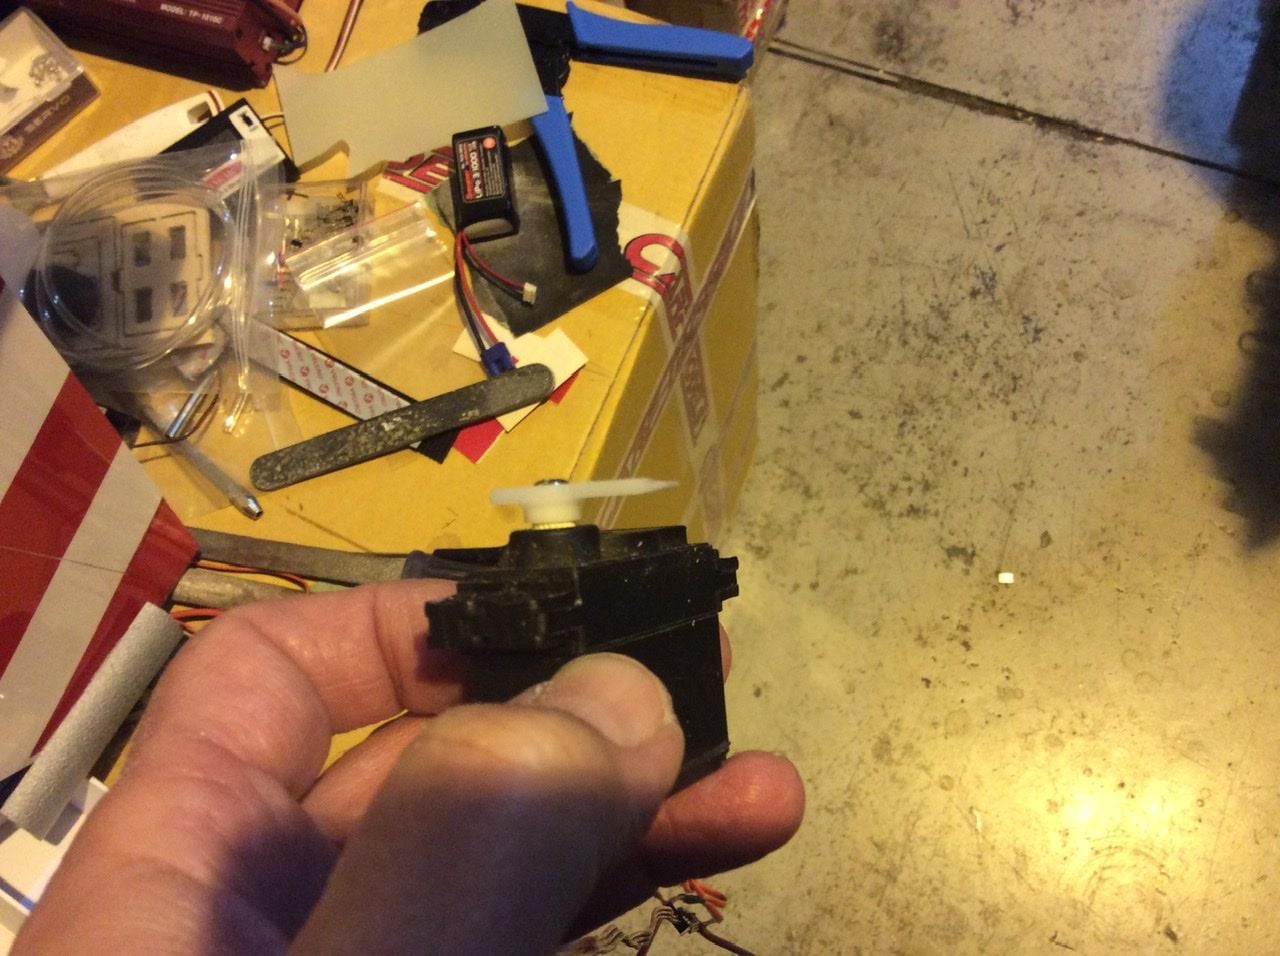
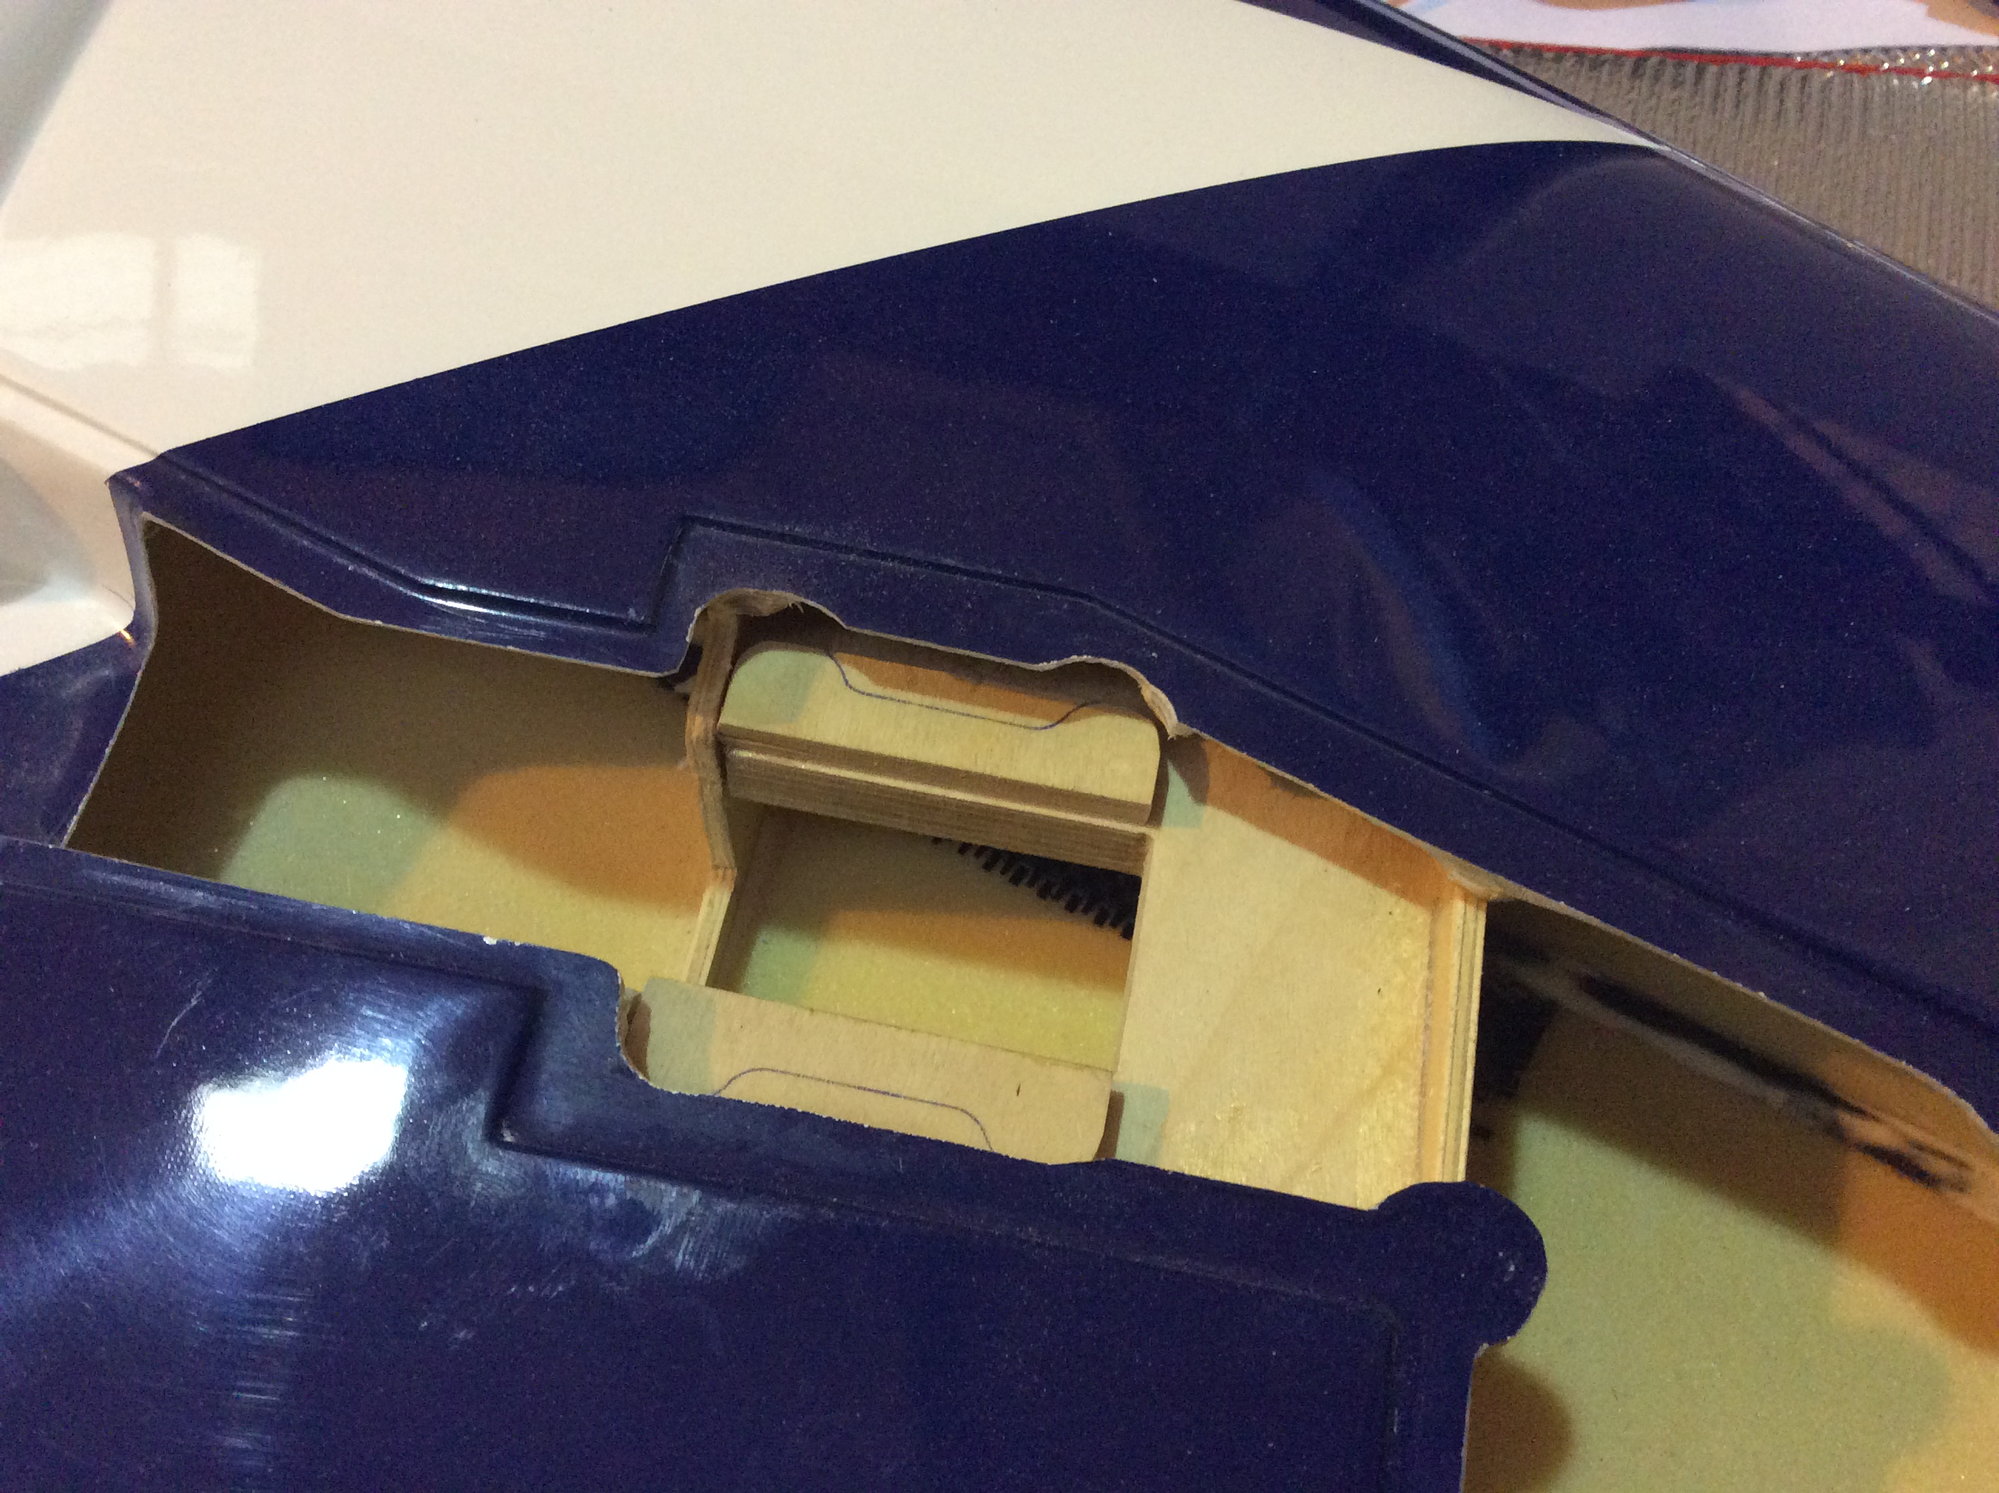
I am now ready to glue the servo mounts to the cover plate. Over the years the servos we use have grown from the amazing JR8411, and in the factory the flap horns have drifted away from their intended 180mm from root position (we are addressing this shortly) so I cut the tacked together mounts to bring the servos base to base. The increased servo width required a little filing to allow the larger JR 8911/8935 I'm using.to fit the mounts too.
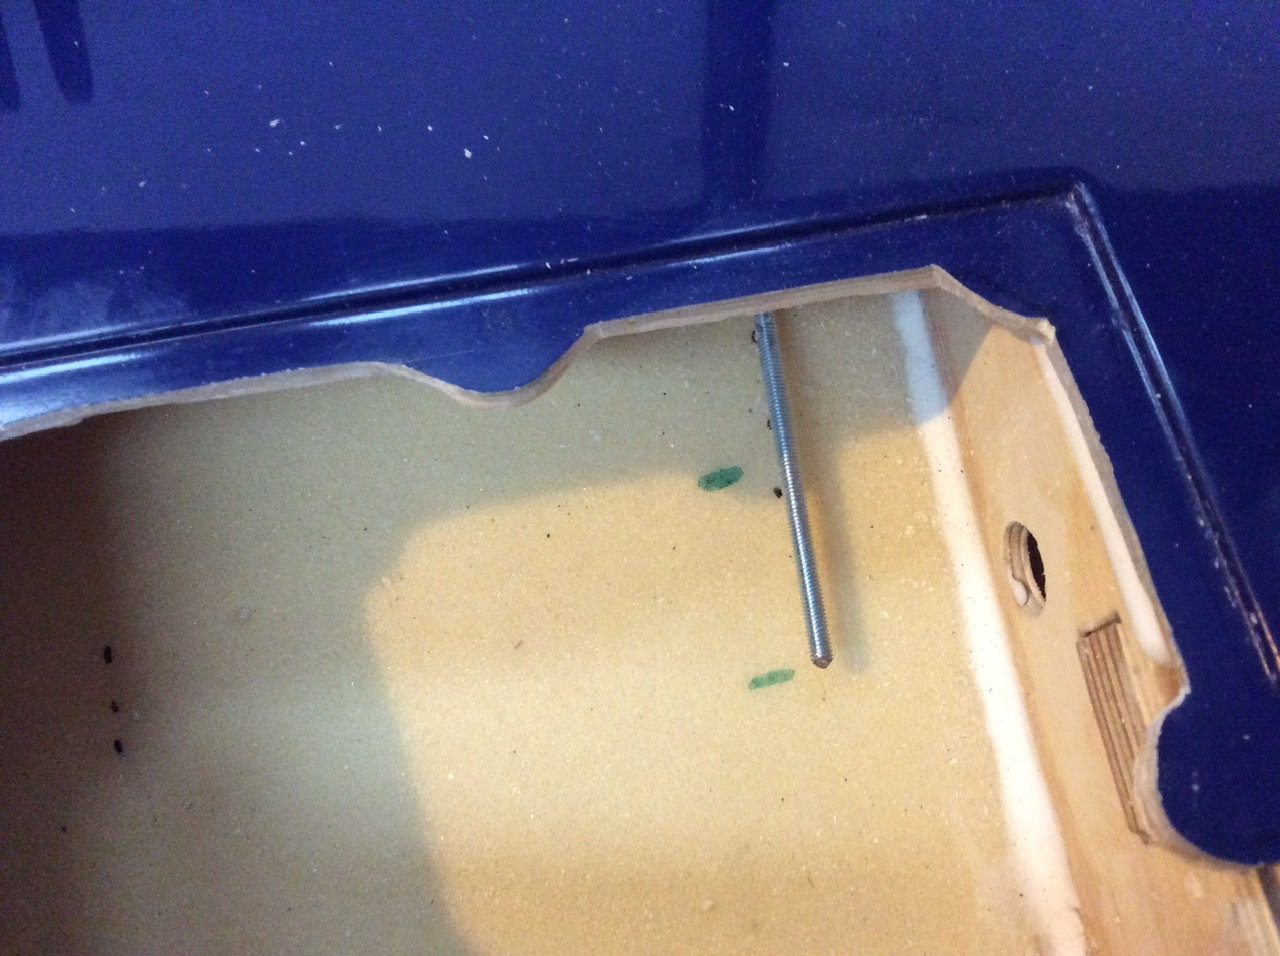
I always set up the linkage with the servo assembly loose, you can adjust the flap linkage before screwing everything down. To set up the flap servo I mark the pushrod movement (two green Sharpie marks) on the skin, that showed approx 25mm movement required, so I used the second hole out on my arms at 14.5mm. The Flap pushrods with this set up are 80mm centres. While you are adjusting I use a spare length of 3mm studding to hold the ball link in the flap horns, this reaches the edge so pulls in and out easier than fiddling with the M3 screw.
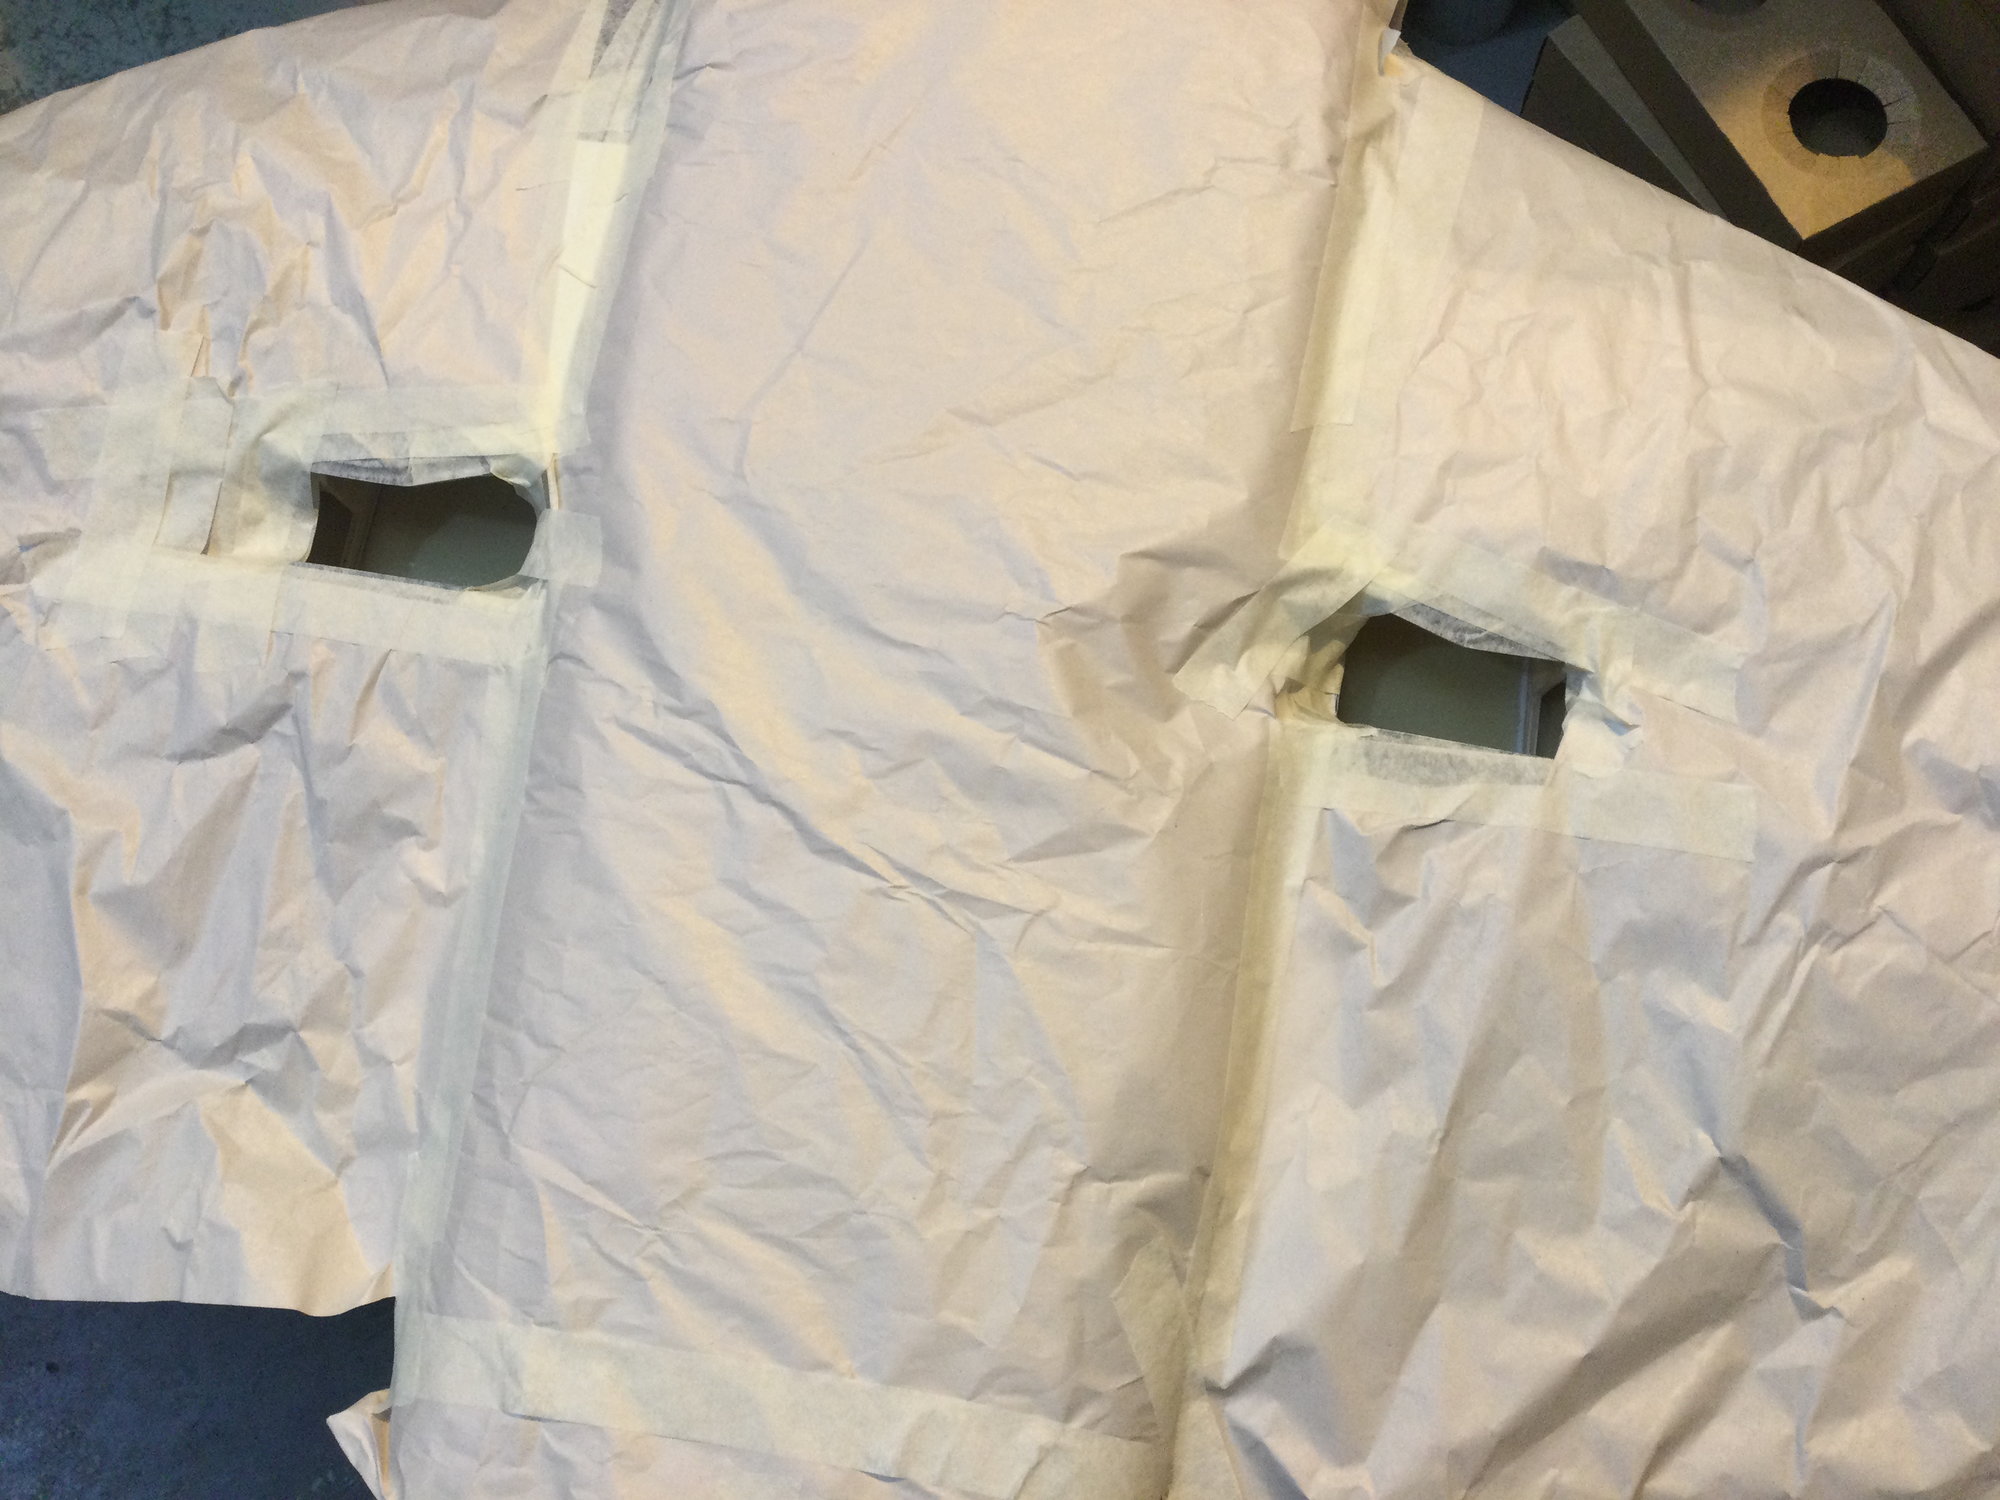
You can see that before mounting the servos the final time I lined the inside of the wood mounts with tape, this way I can glue the assembly as it is and no Hysol glue gets on my servo cases.
I am now ready to glue the servo mounts to the cover plate. Over the years the servos we use have grown from the amazing JR8411, and in the factory the flap horns have drifted away from their intended 180mm from root position (we are addressing this shortly) so I cut the tacked together mounts to bring the servos base to base. The increased servo width required a little filing to allow the larger JR 8911/8935 I'm using.to fit the mounts too.
I always set up the linkage with the servo assembly loose, you can adjust the flap linkage before screwing everything down. To set up the flap servo I mark the pushrod movement (two green Sharpie marks) on the skin, that showed approx 25mm movement required, so I used the second hole out on my arms at 14.5mm. The Flap pushrods with this set up are 80mm centres. While you are adjusting I use a spare length of 3mm studding to hold the ball link in the flap horns, this reaches the edge so pulls in and out easier than fiddling with the M3 screw.
You can see that before mounting the servos the final time I lined the inside of the wood mounts with tape, this way I can glue the assembly as it is and no Hysol glue gets on my servo cases.
 12-21-2020, 12:01 PM
#59
Thread Starter
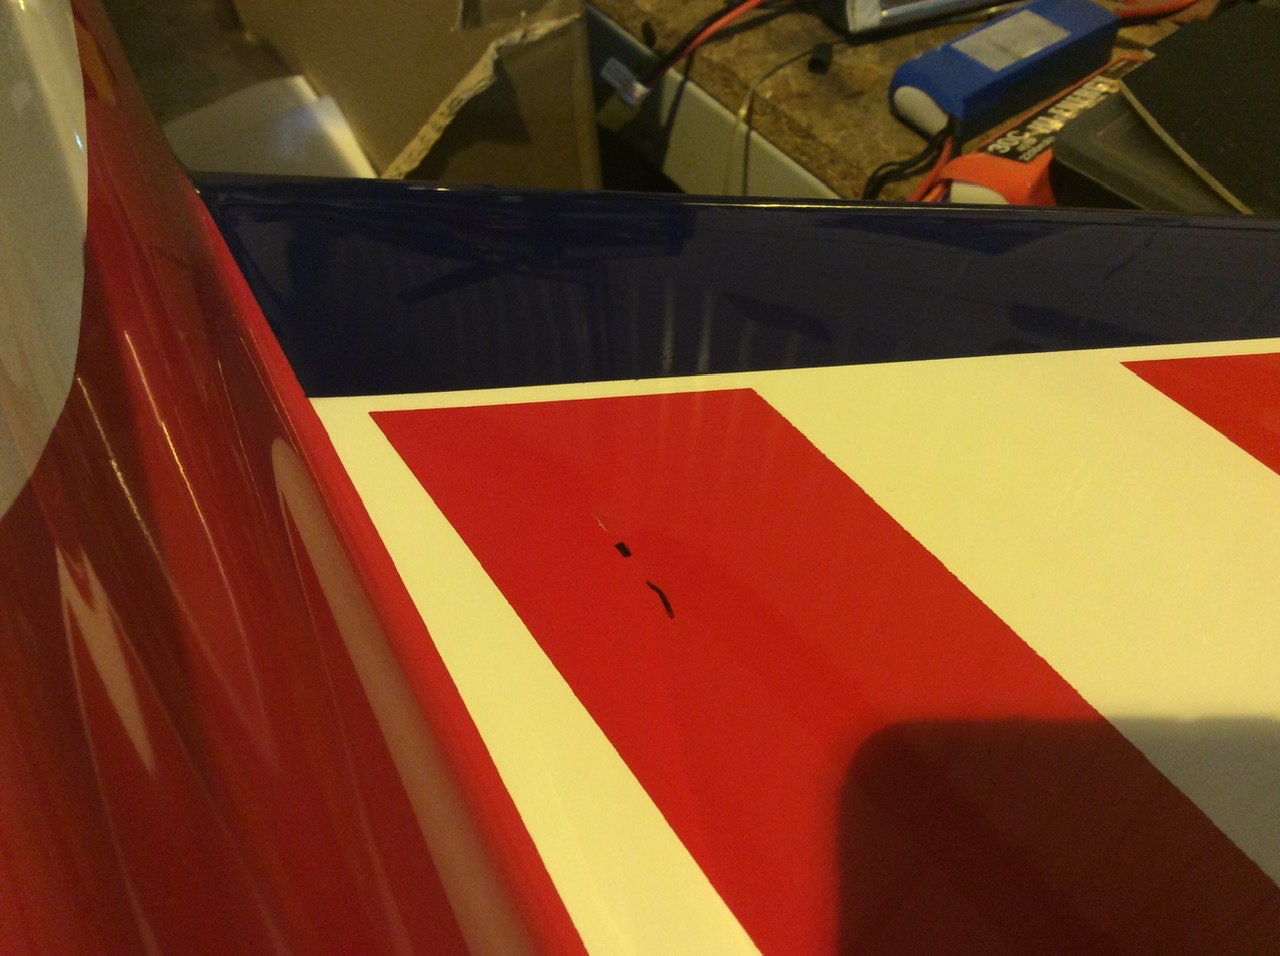
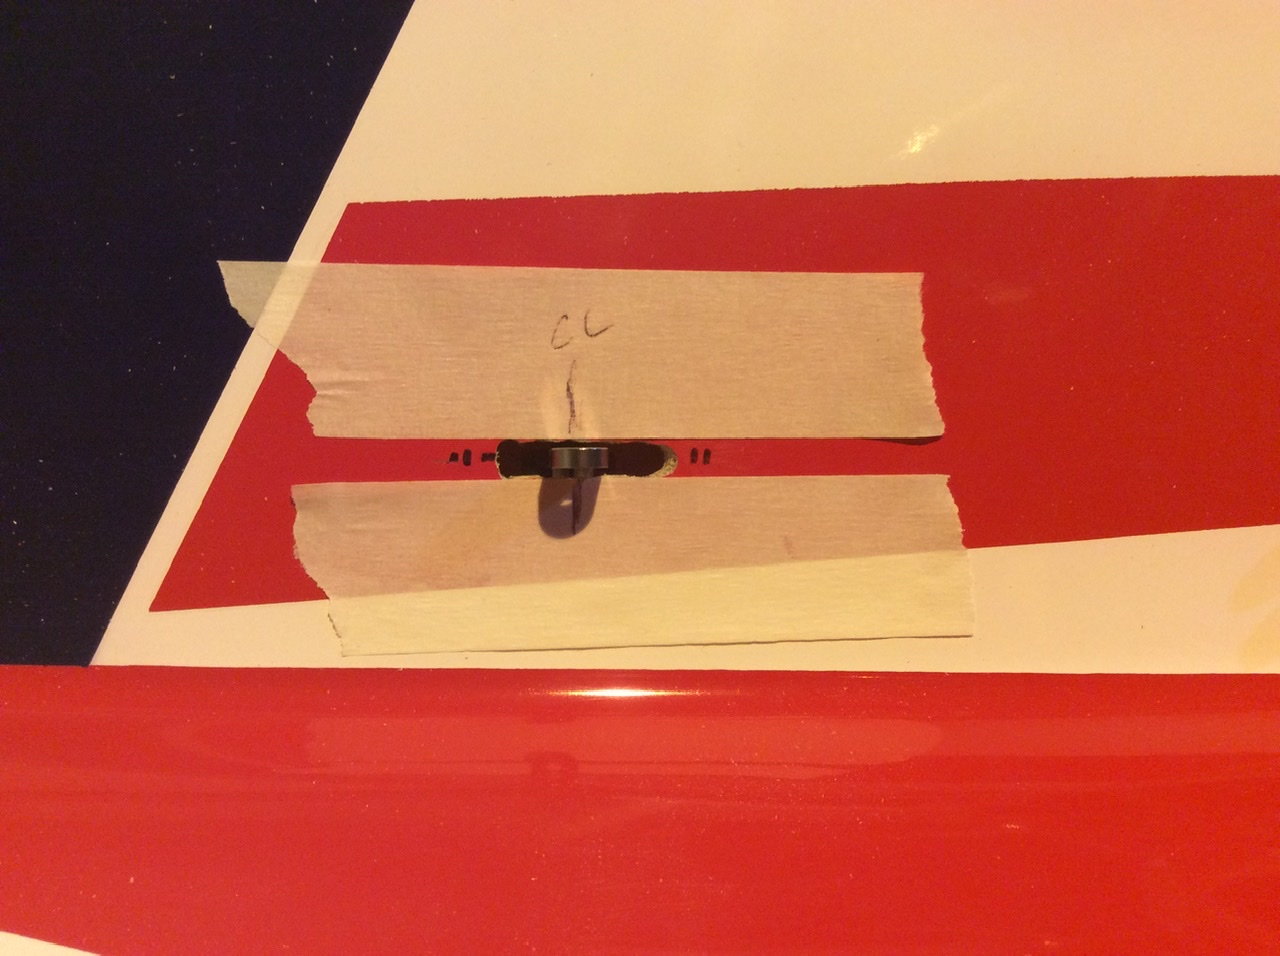
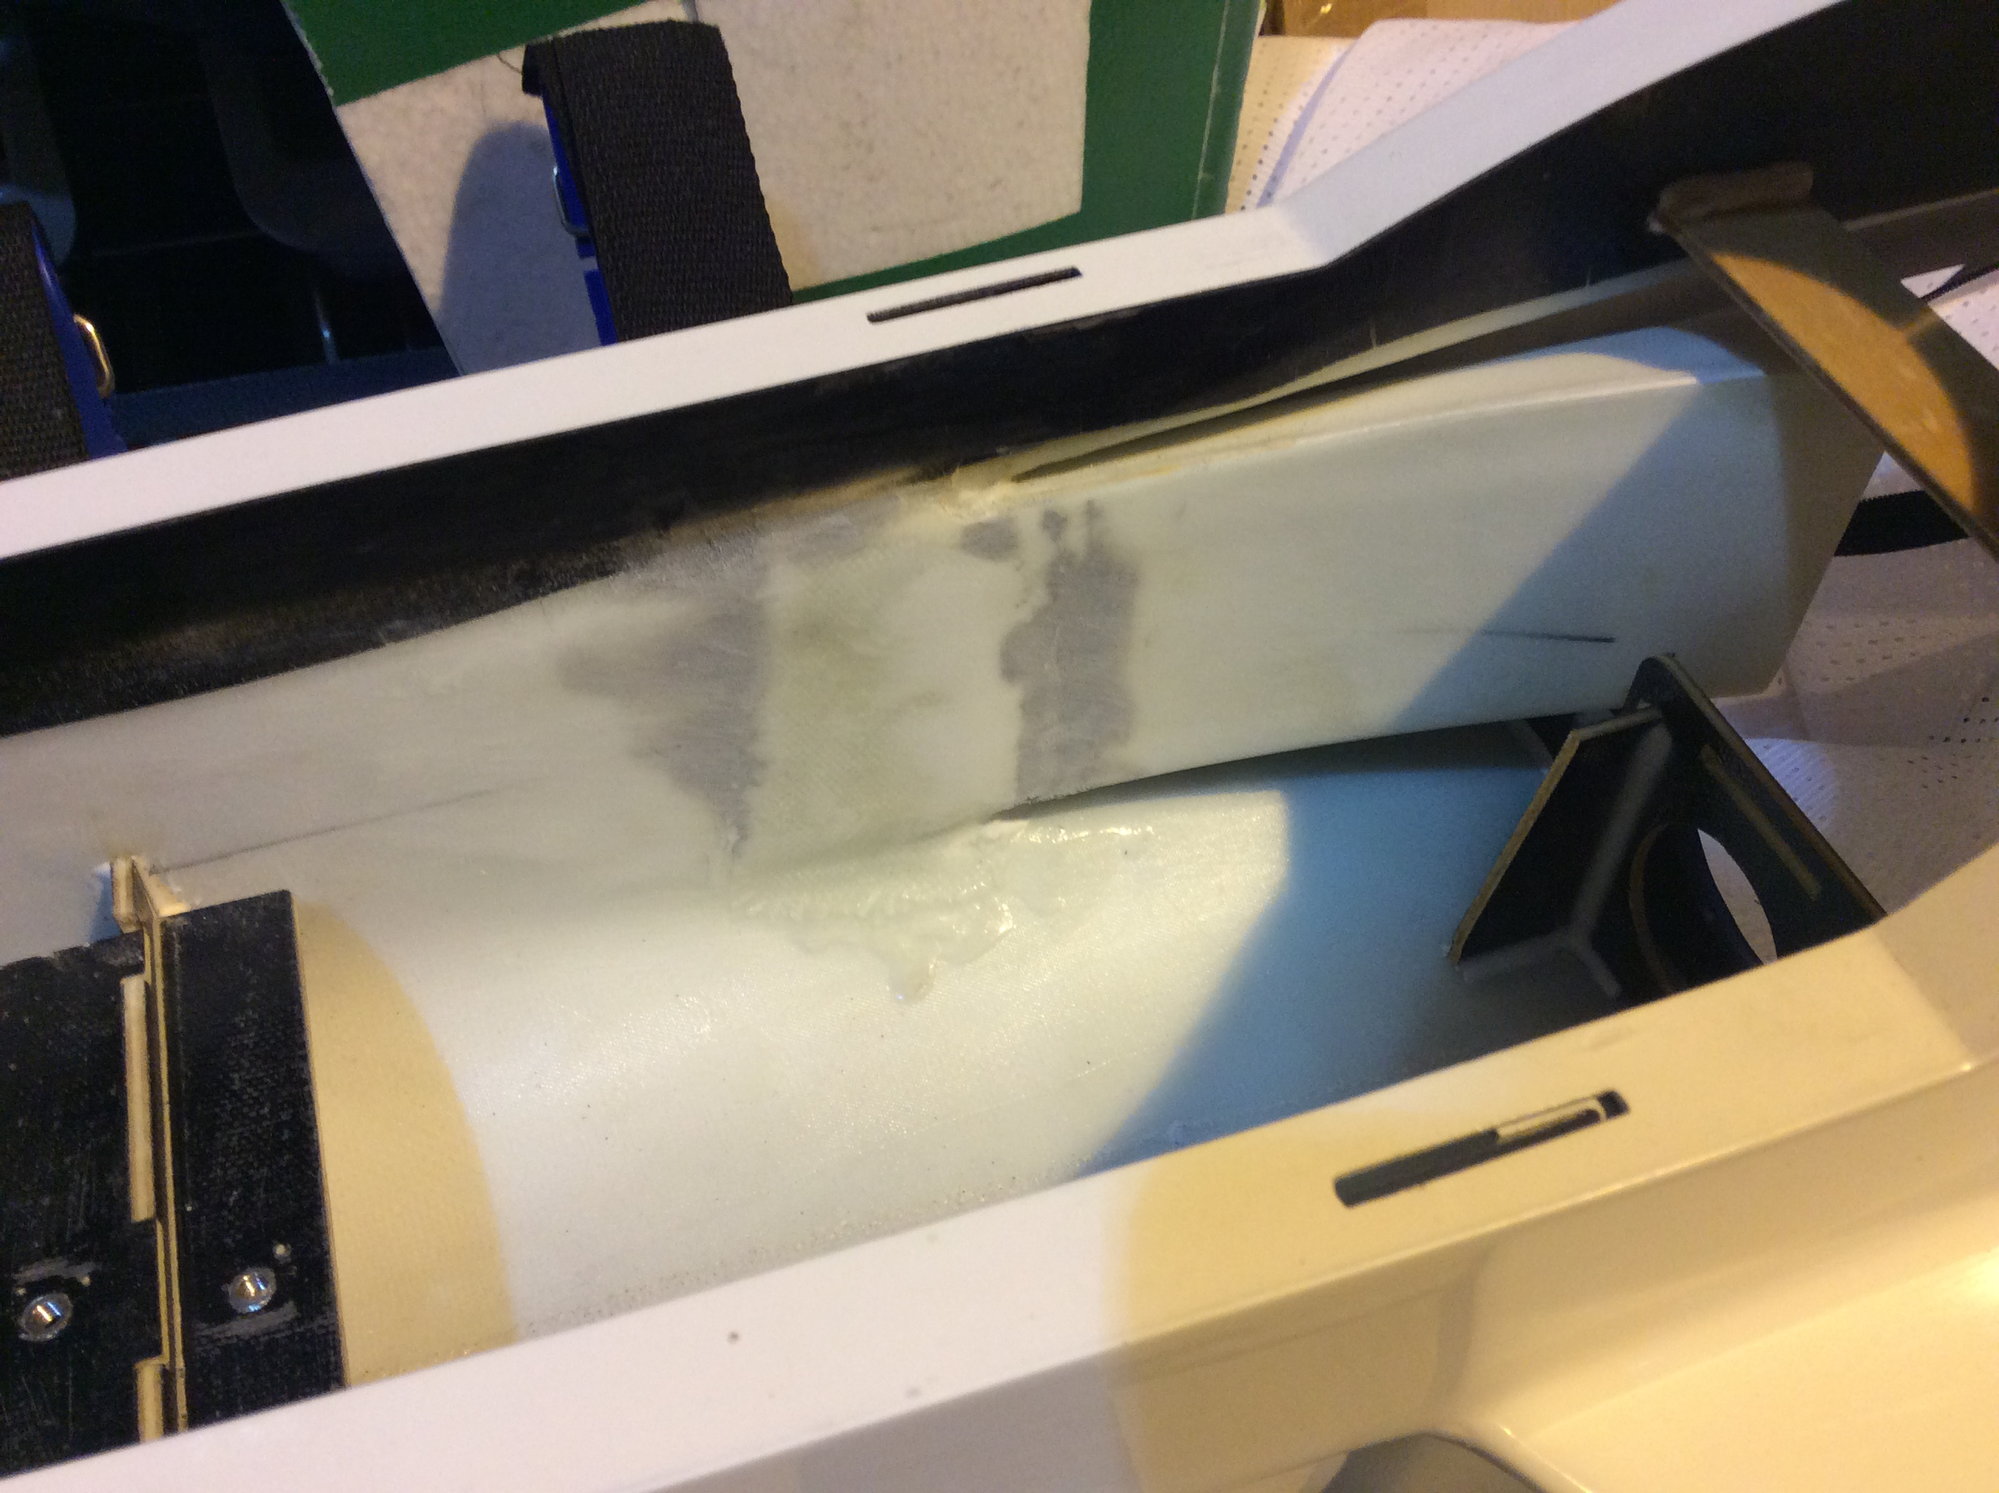
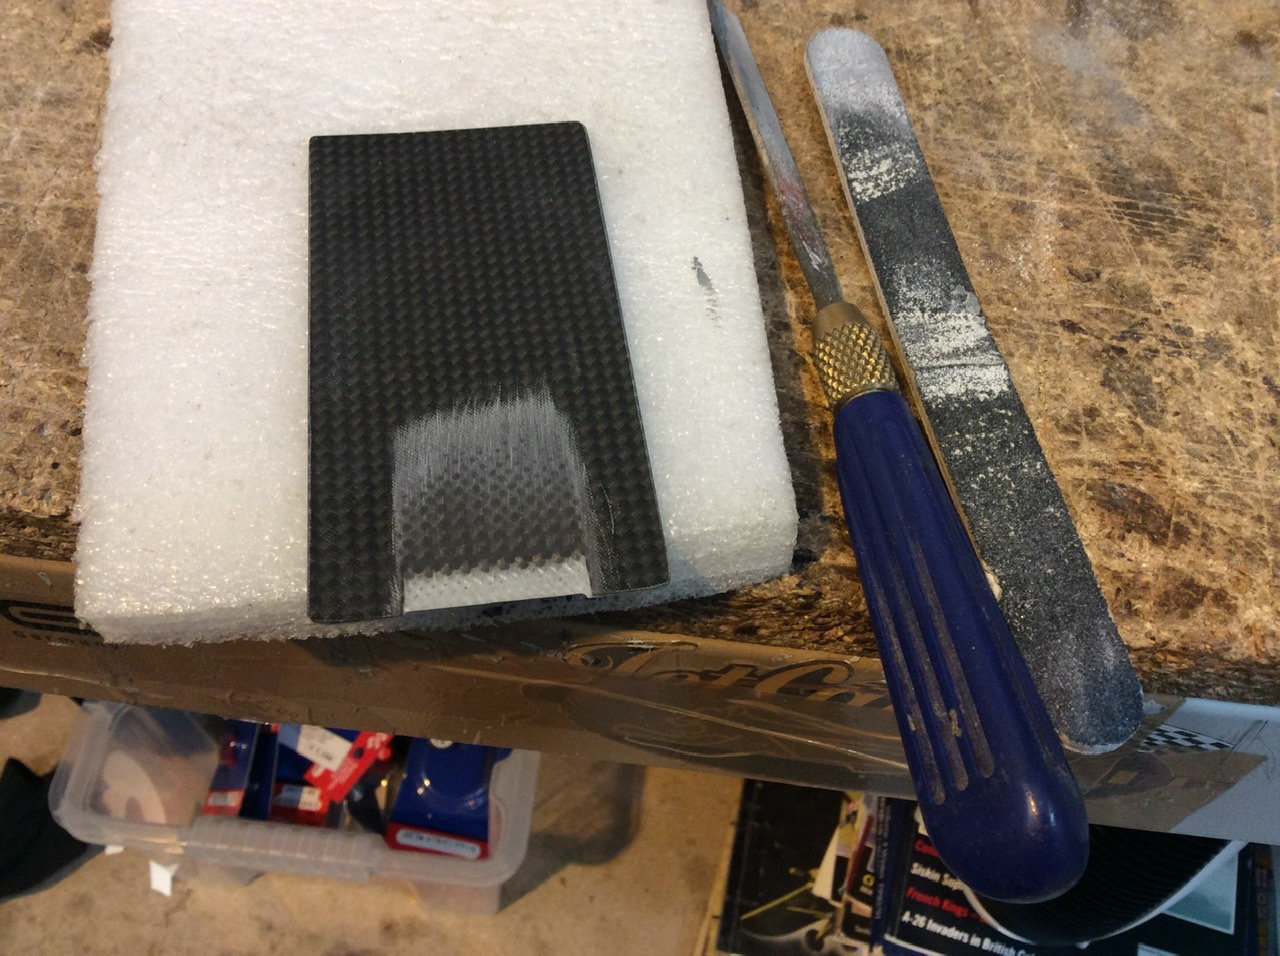
The latest lock-down/meltdown in the U.K. has given me a chance to get back on the Evo. As my last UF I am using an Intairco 1� arm for the rudder. Finding the arm position used my usual nylon arm scratch tool. Operate the servo with a tester and it cuts the foam. You can just see the marks near the black pen. The hole is started with a Dremel tool and then finished with a Permagrit file set.
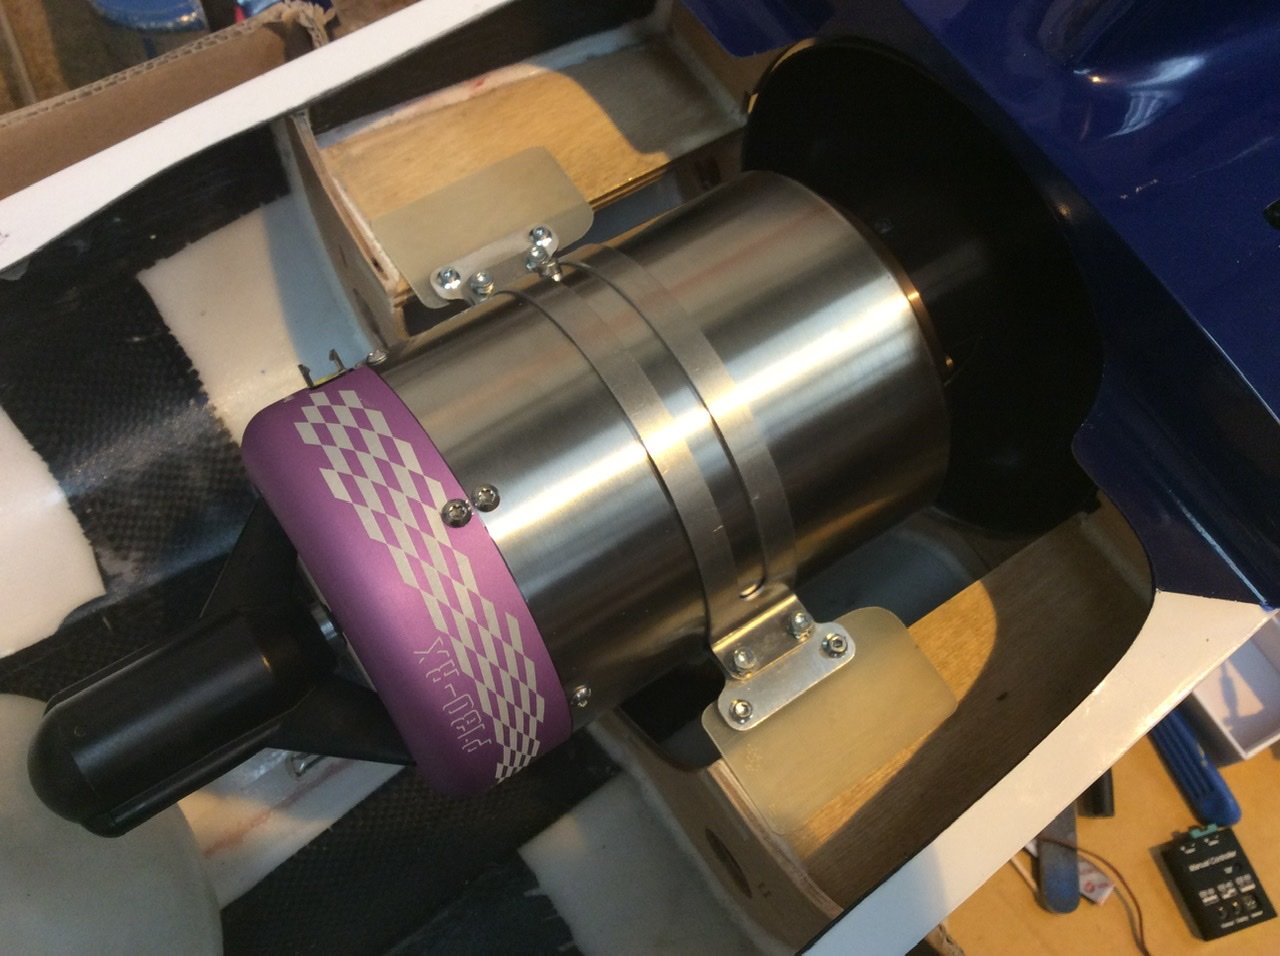
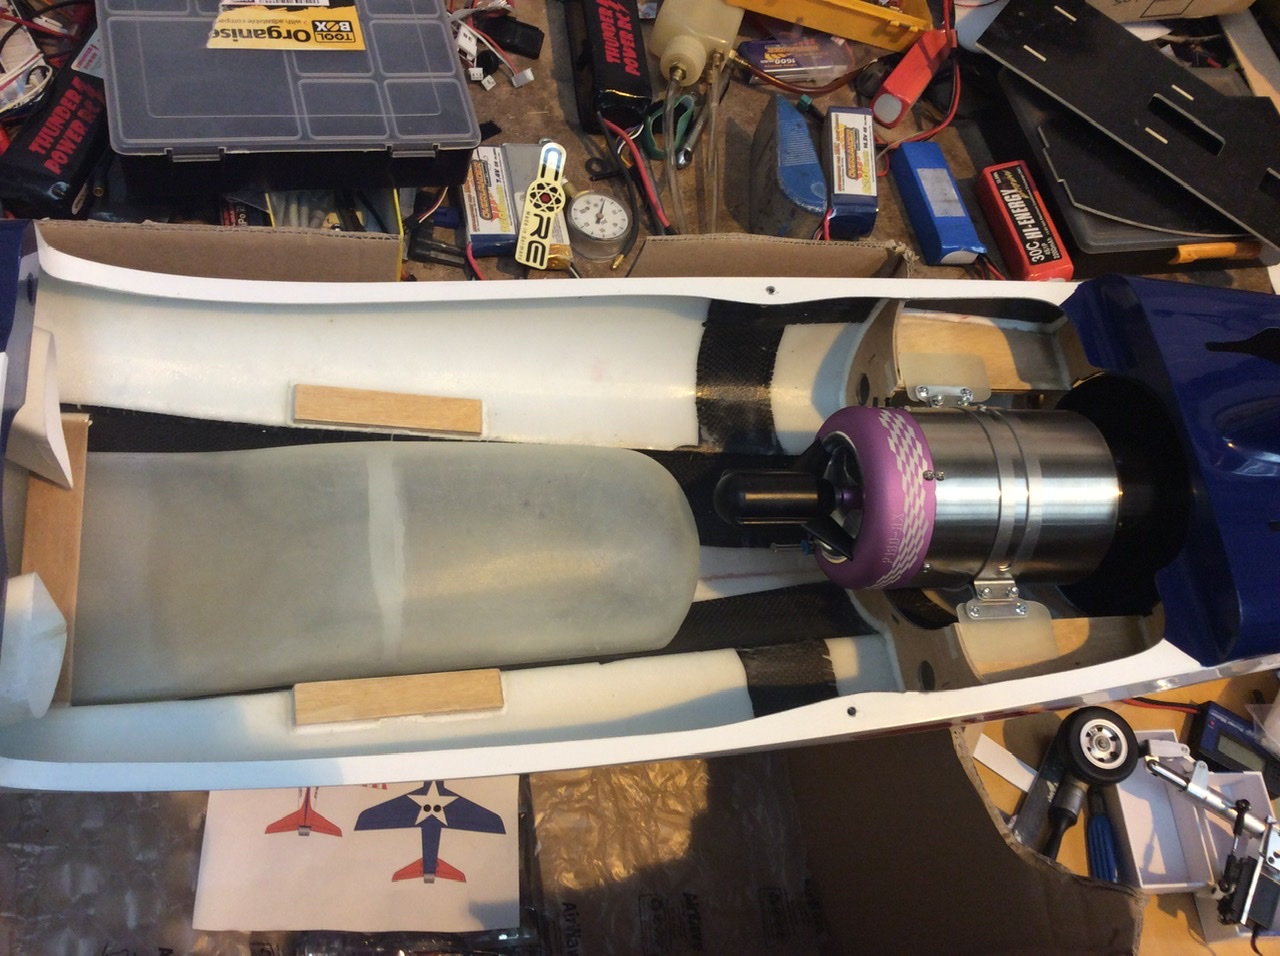
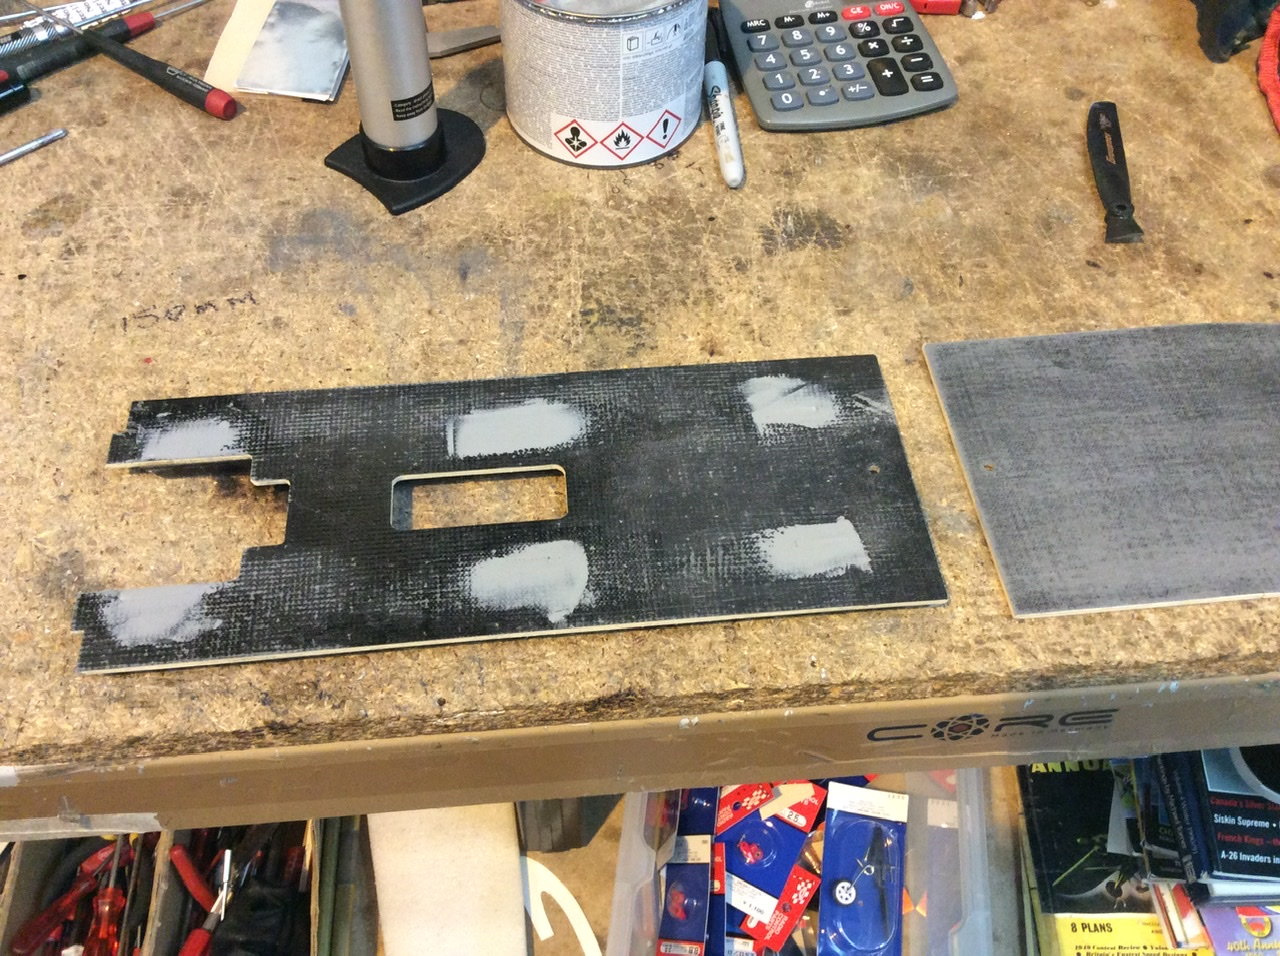
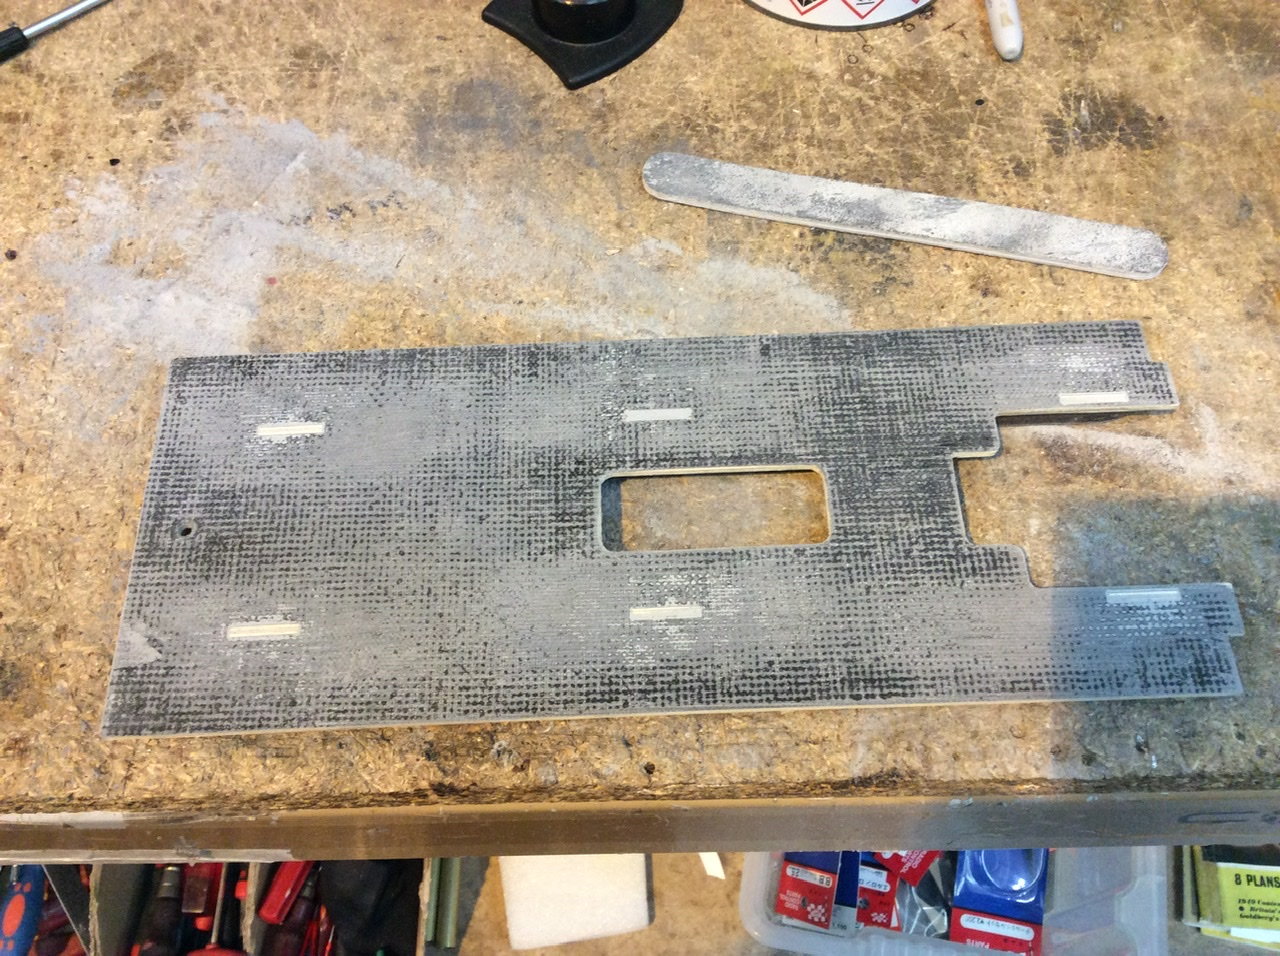
I also started mapping out the turbine install. Initially I was going to glue plywood bearers to reduce the width...then I realised the tailcone would not slide past 🙂
So thin G-10 plates will be mounted to the turbine strap and then screwed to the turbine rails.

I also started mapping out the turbine install. Initially I was going to glue plywood bearers to reduce the width...then I realised the tailcone would not slide past 🙂
So thin G-10 plates will be mounted to the turbine strap and then screwed to the turbine rails.
12-21-2020, 10:06 PM
#61
Thread Starter
Depends which version you order. Since the first release the options changed so the customers could decide. I ordered the parts separately so I could do things my way. If you order the ARF Plus the gear etc is installed at the factory.
Dave
Dave
12-24-2020, 05:20 AM
#62
Thread Starter
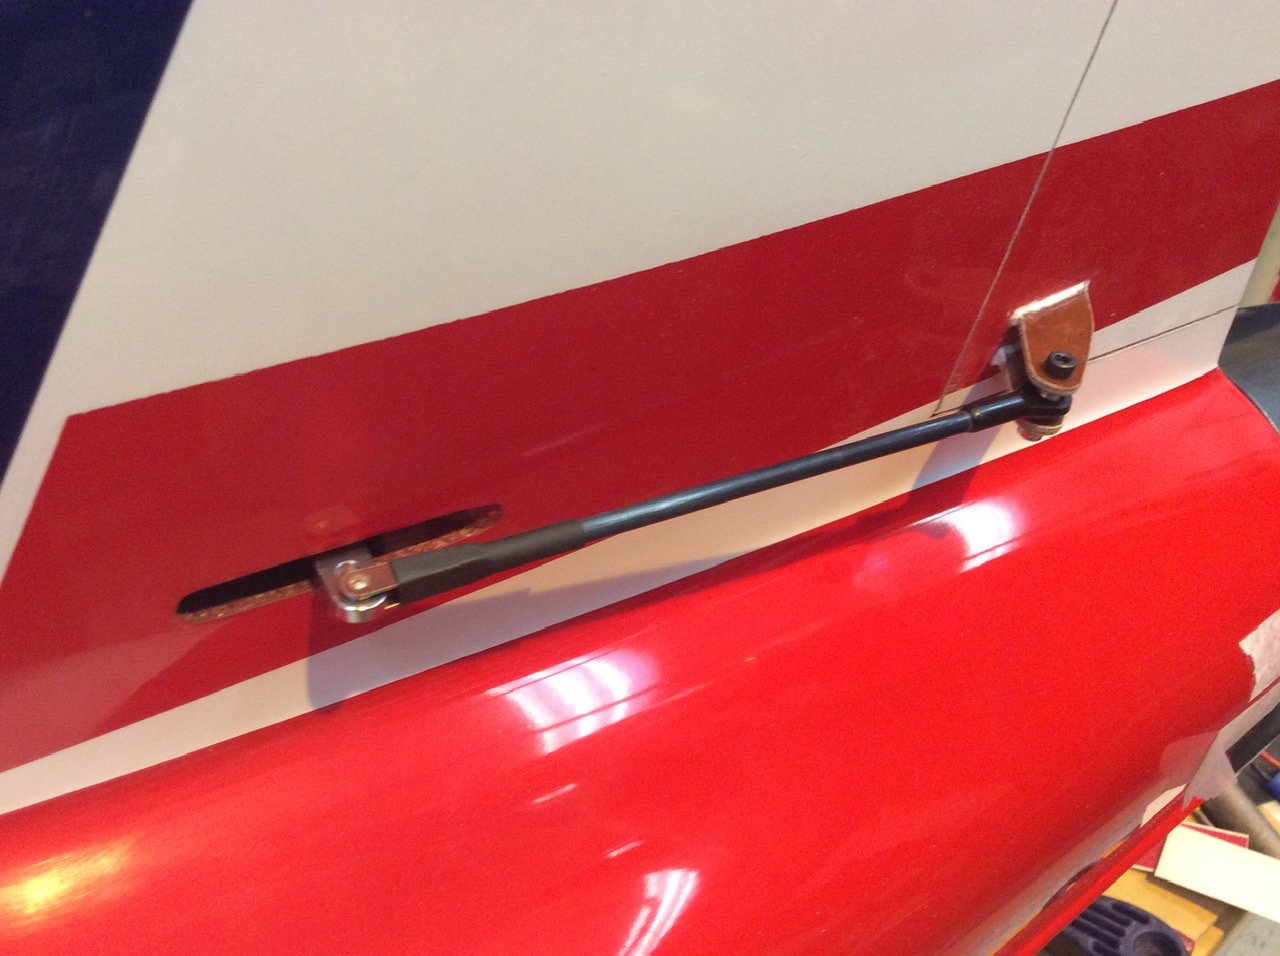
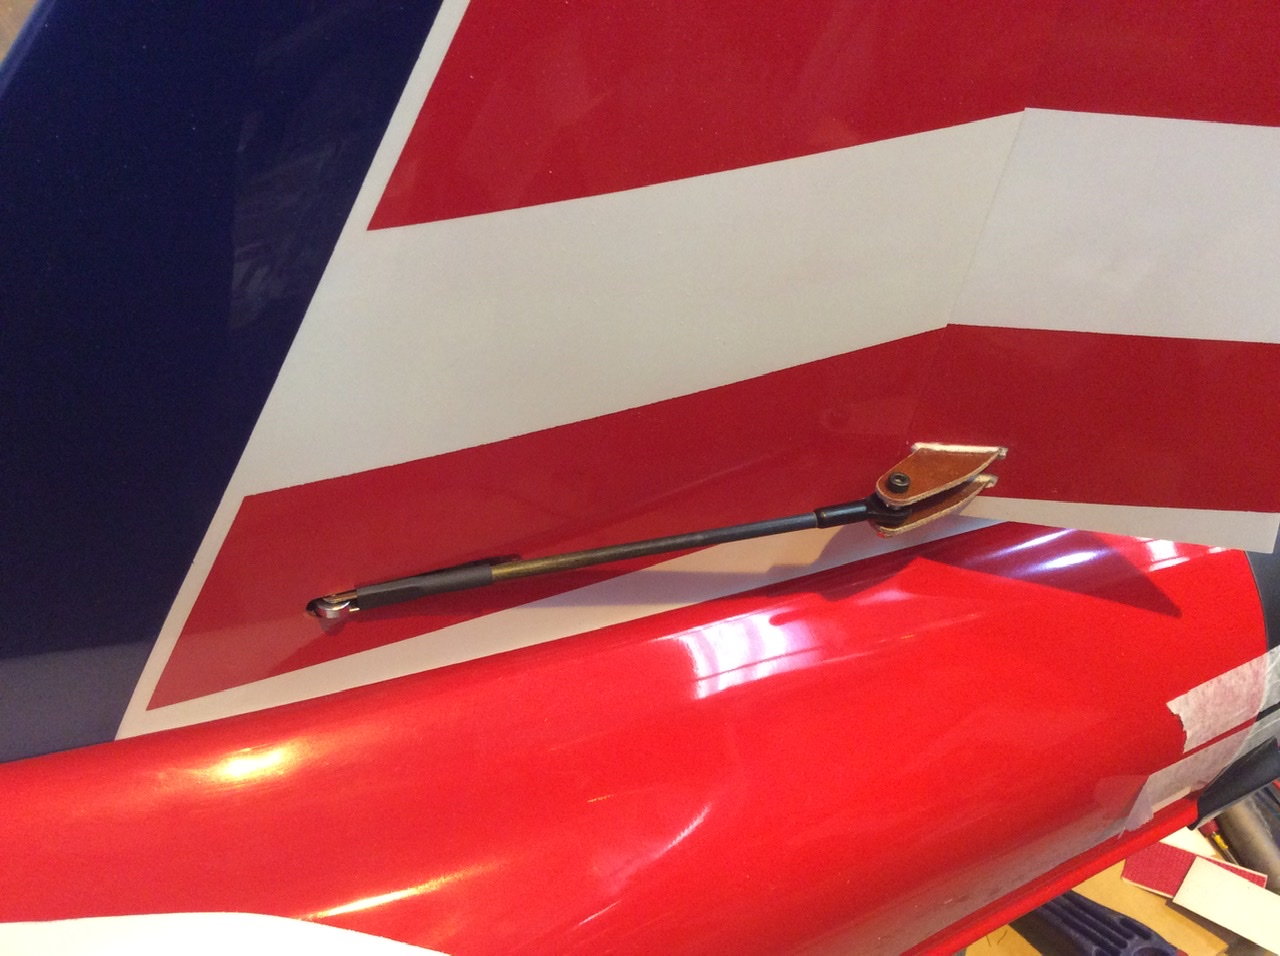
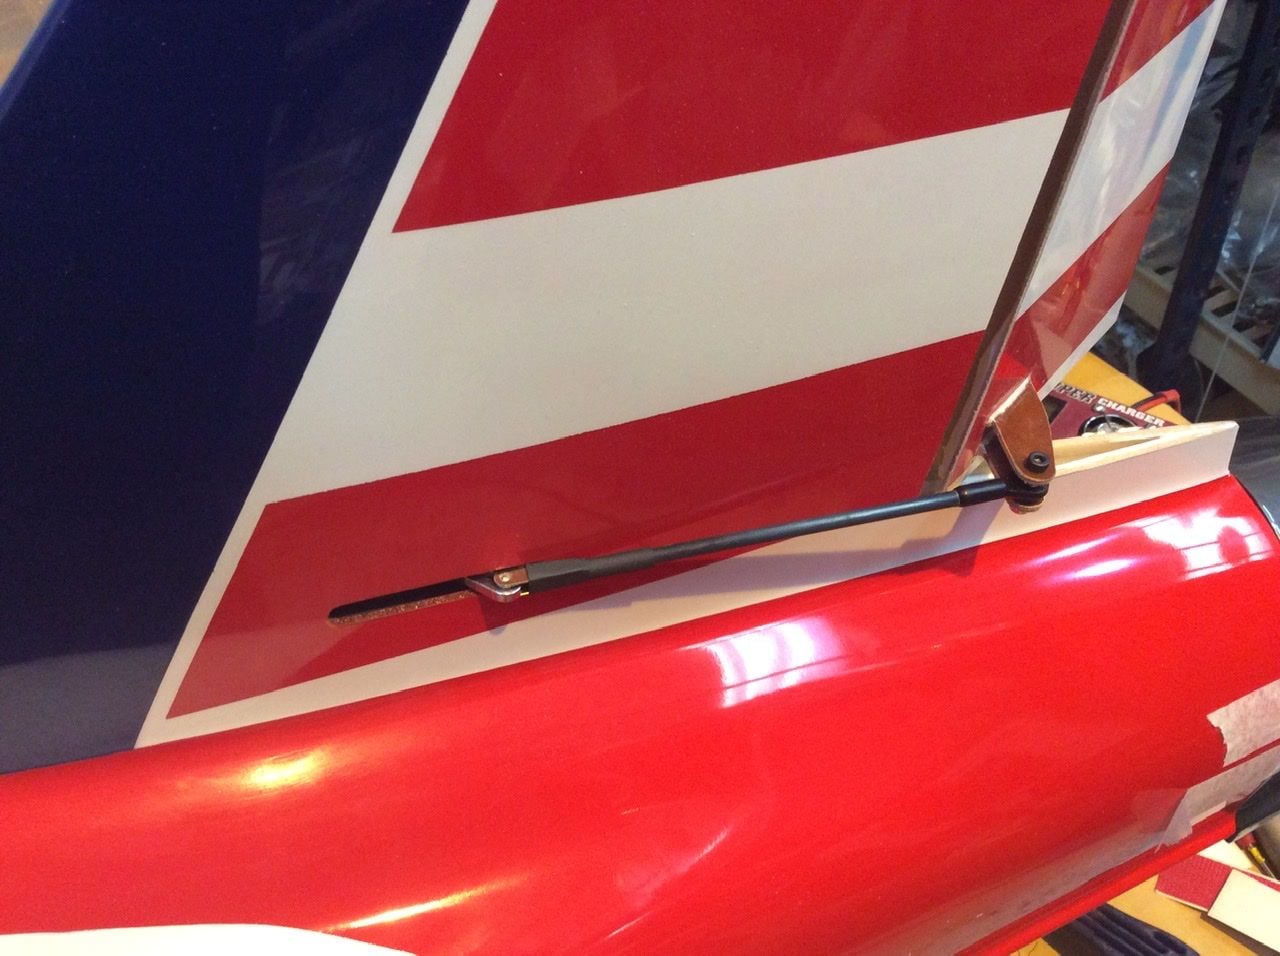
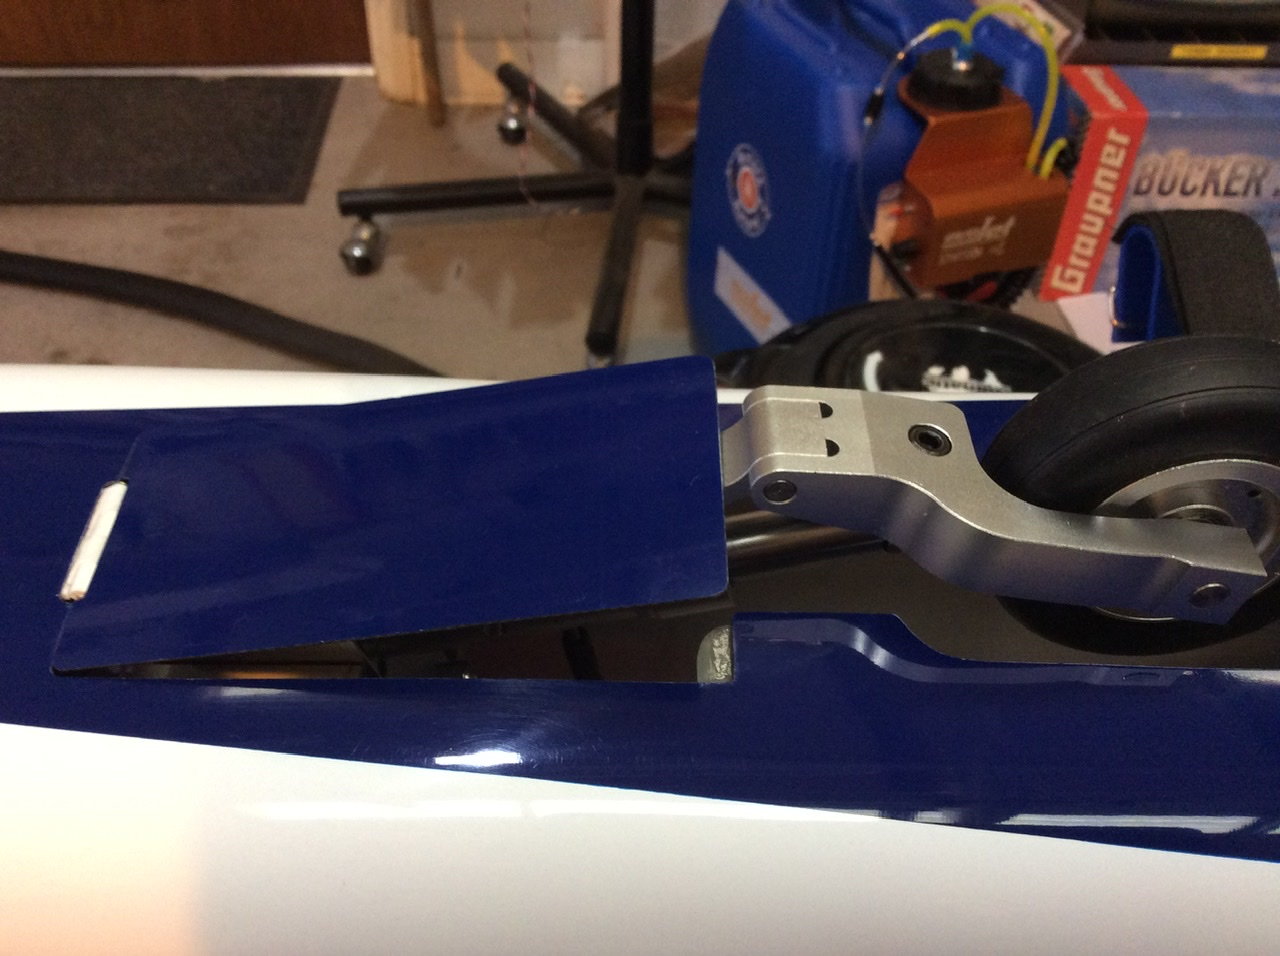
Rudder completed I can start working forward, when pushing the canopy pin in is the last job it will be ready to fly 🙂
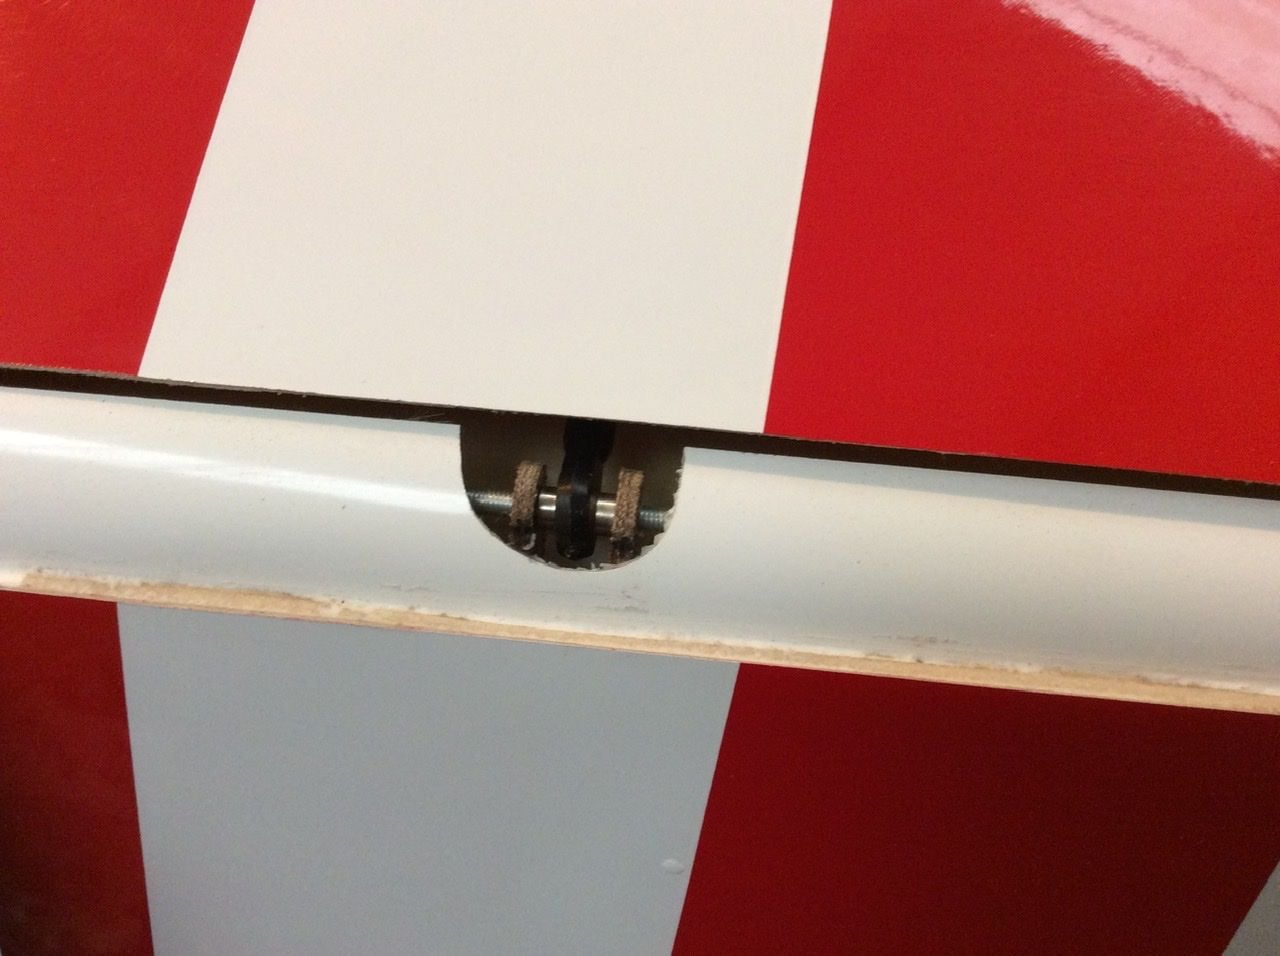
Because of the live hinge design we need slightly more left rudder than right, hence the clevis just goes inside the fin.
I am going to use the stock trays, so I have started preparing the wood plates.
Because of the live hinge design we need slightly more left rudder than right, hence the clevis just goes inside the fin.
I am going to use the stock trays, so I have started preparing the wood plates.
The following 3 users liked this post by Dave Wilshere:
12-31-2020, 09:52 AM
#64
Thread Starter
Same as the normal UF. 230mm ish balance with landing fuel is a good starting point. Manual movements are mine...but I tend to like more than many, so adjust to suit your ideal.
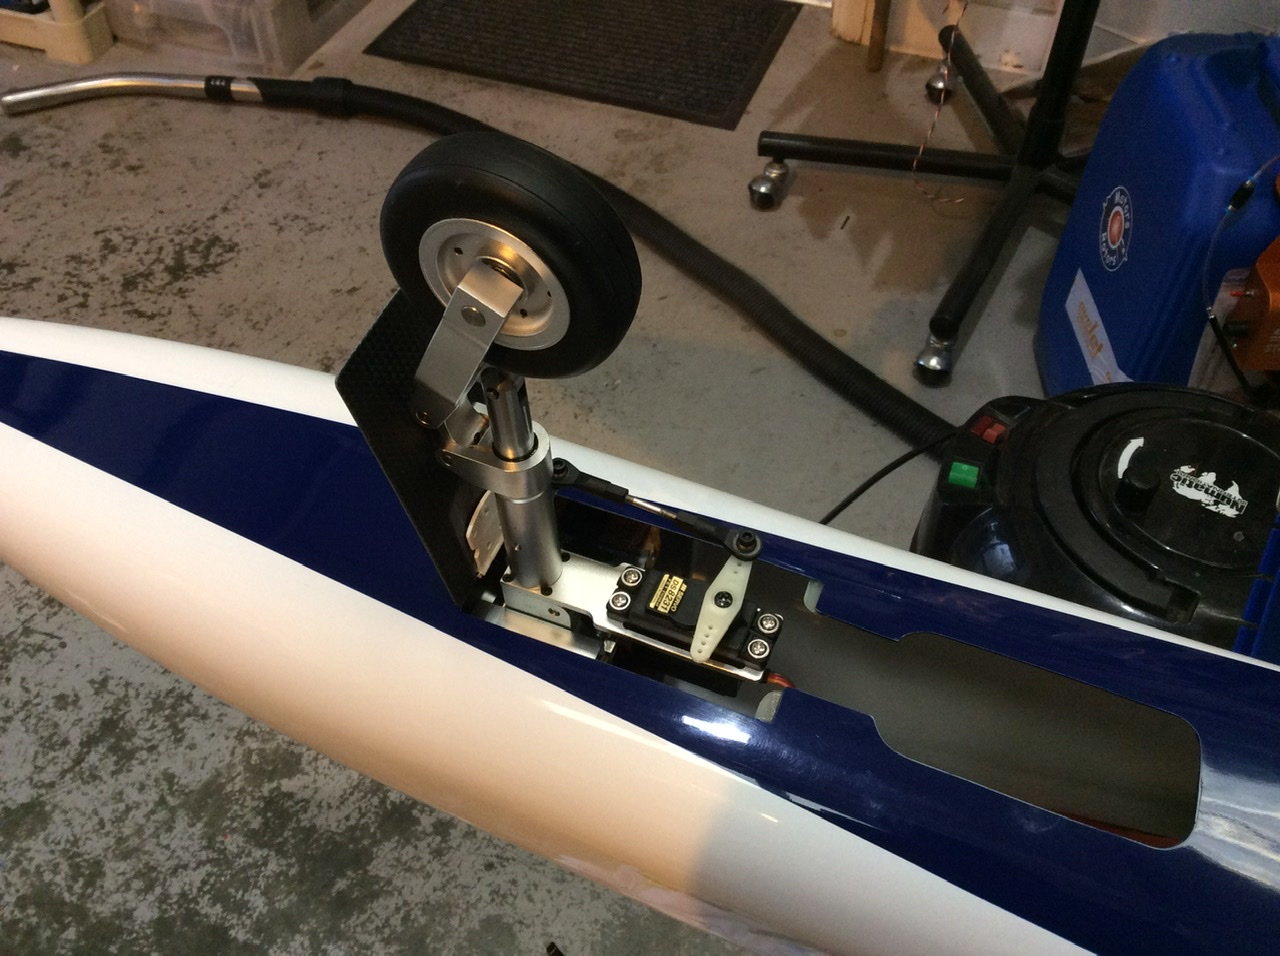
Managed a little more work over the break. JP gear needs packers to lift the units enough. I decided to paint in the wheel openings too even though you don�t notice really. Trimmed the cover plates fully so I can now glue the servo frames in place, once the gear is screwed down the wings are done! Did some more prep on the mounting plates for the fuselage.
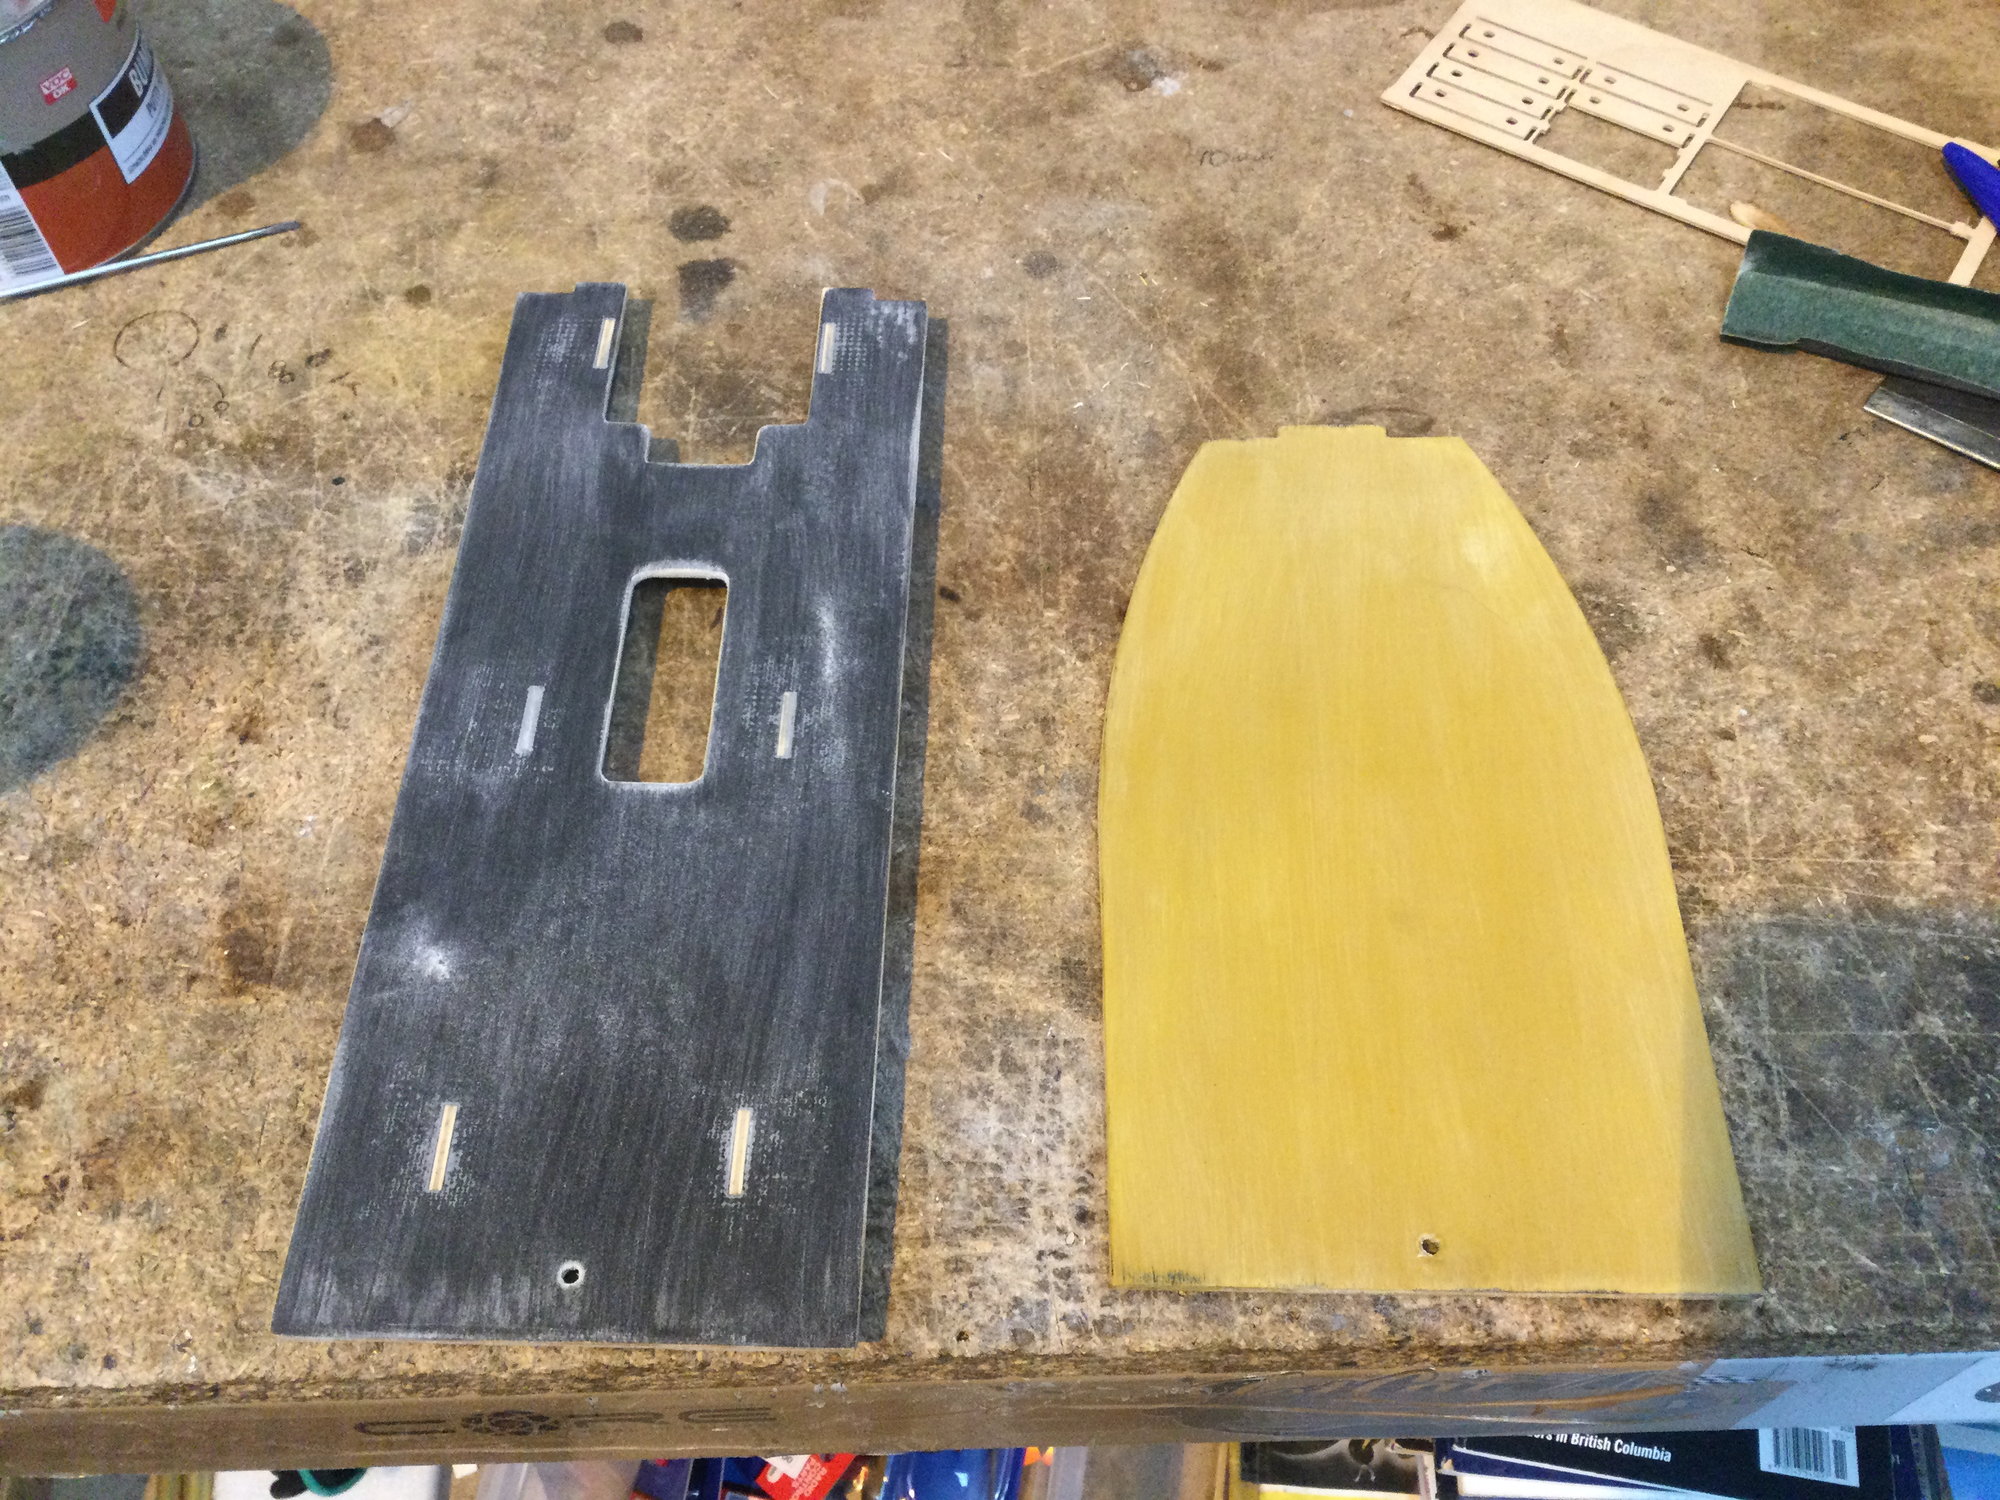
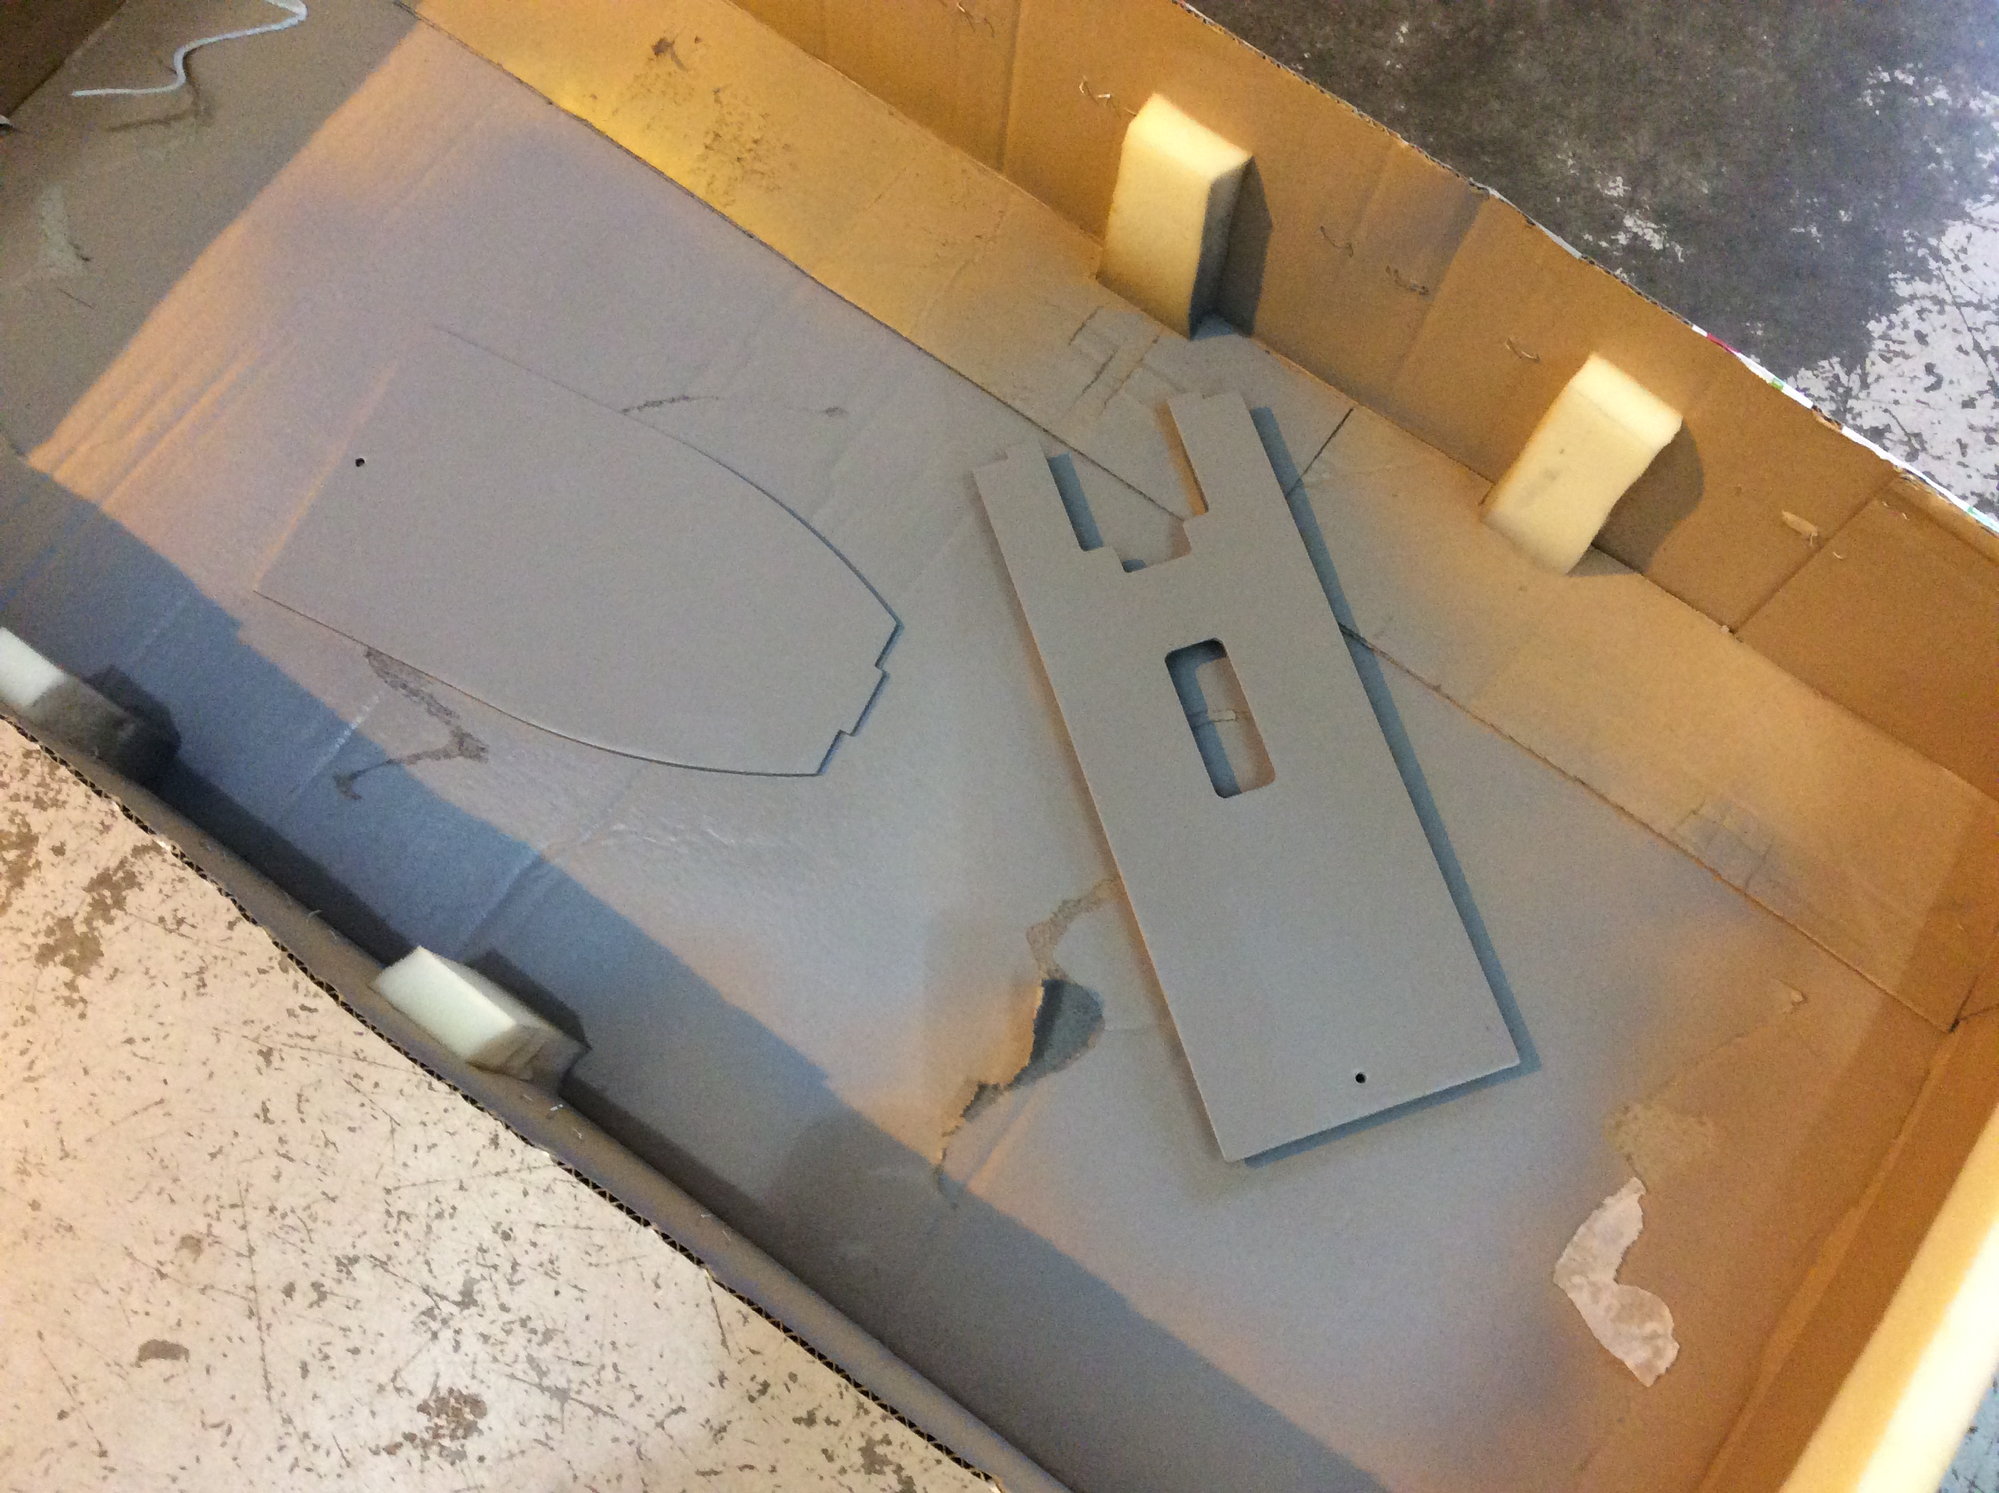
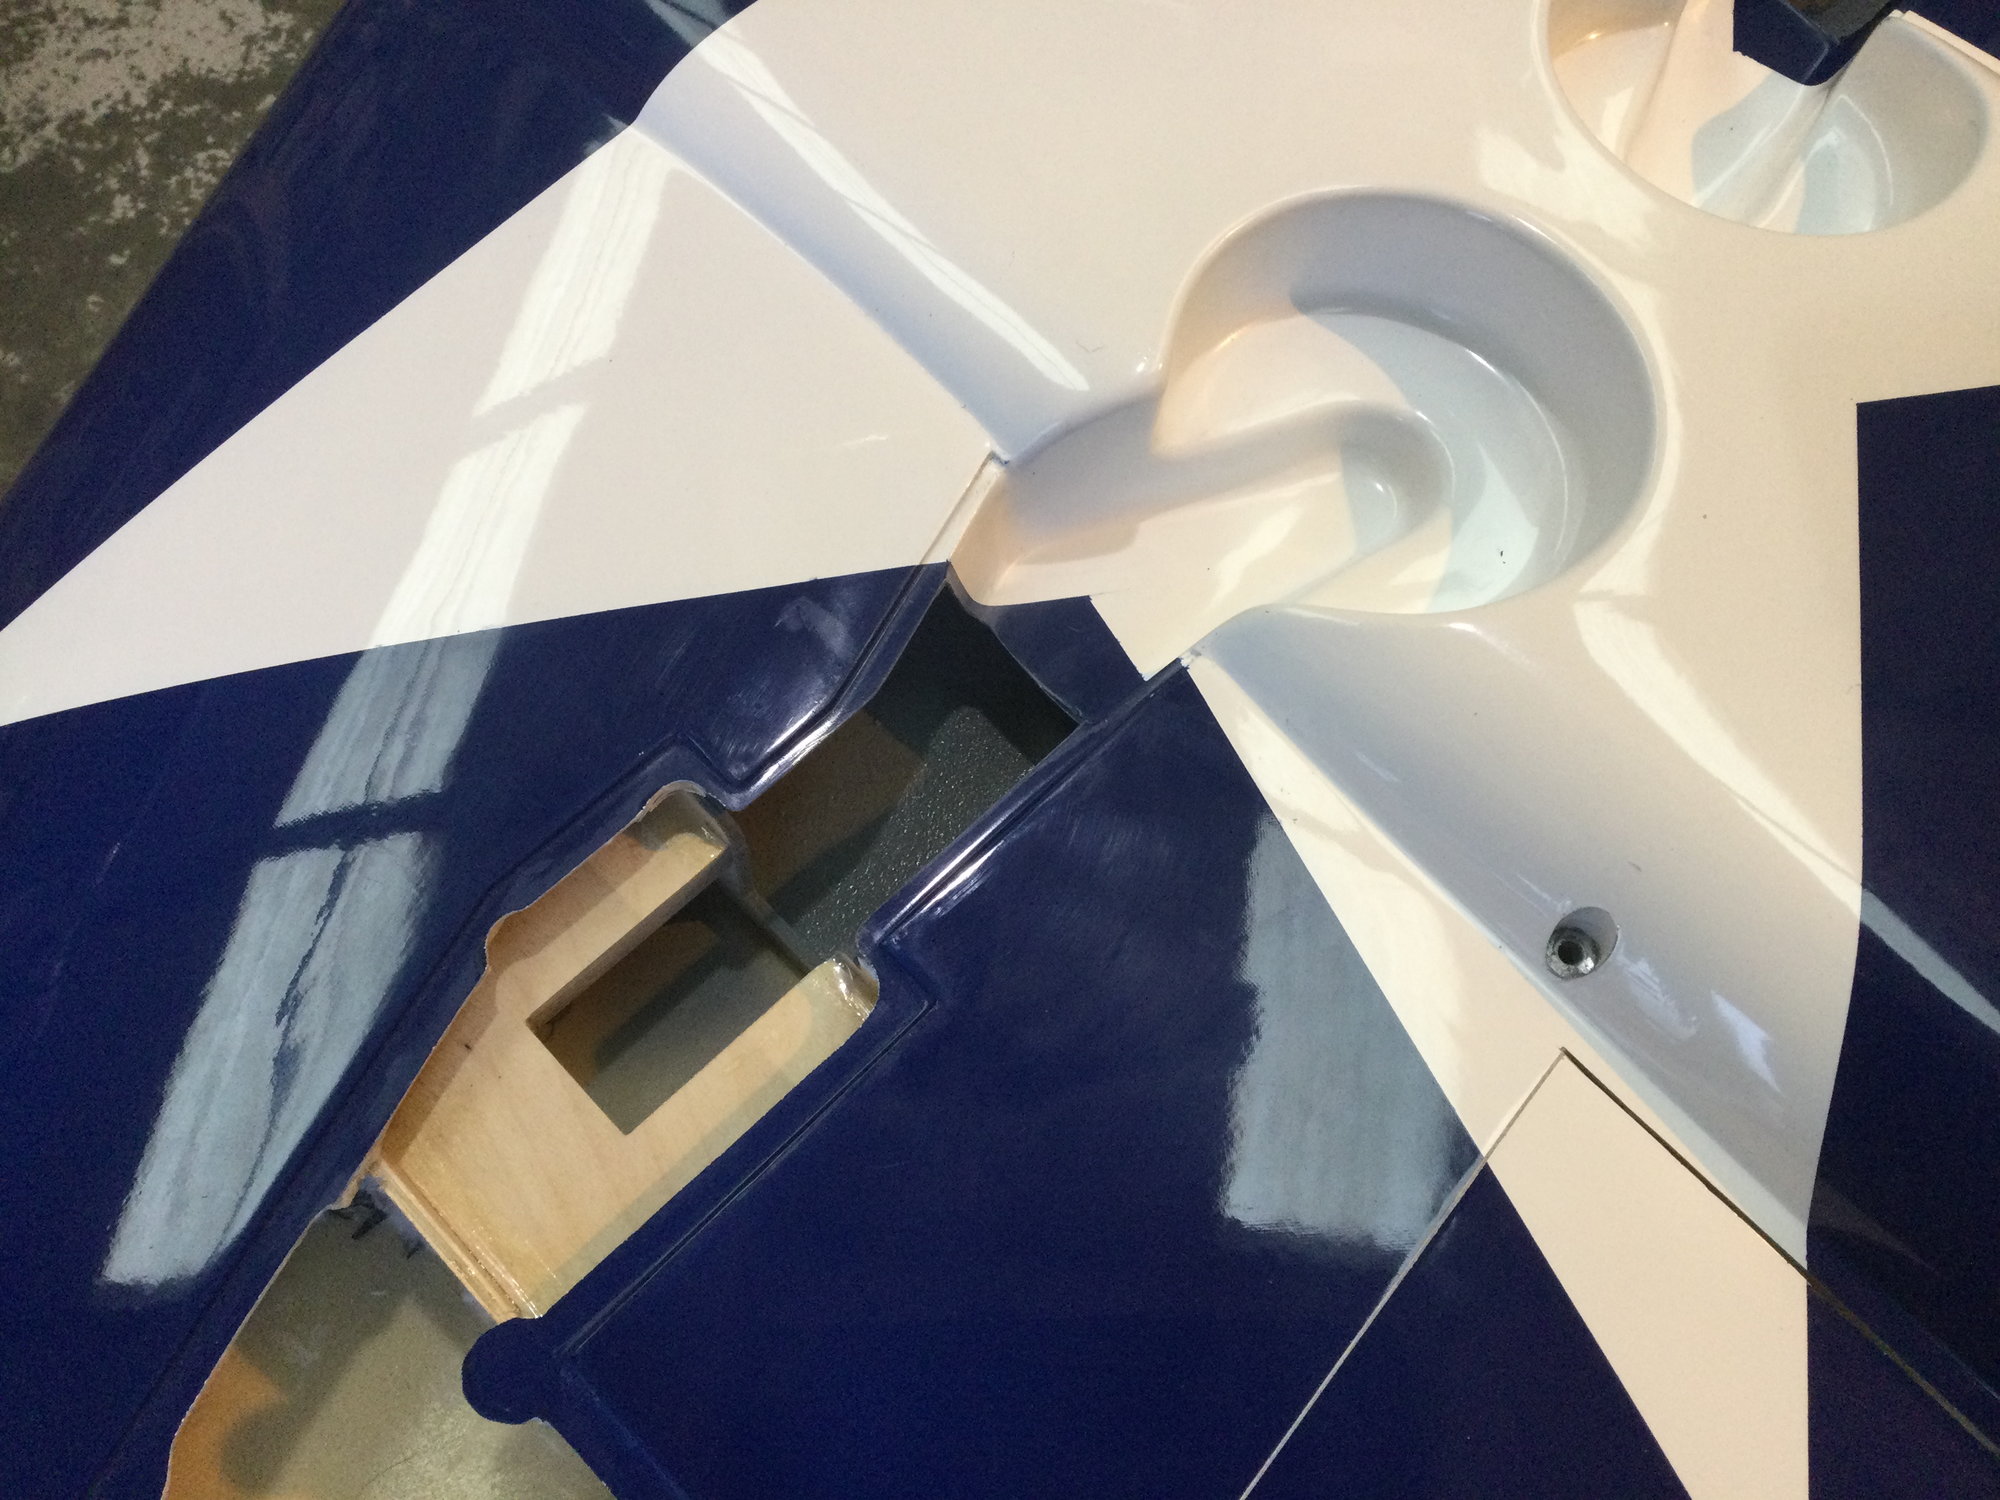
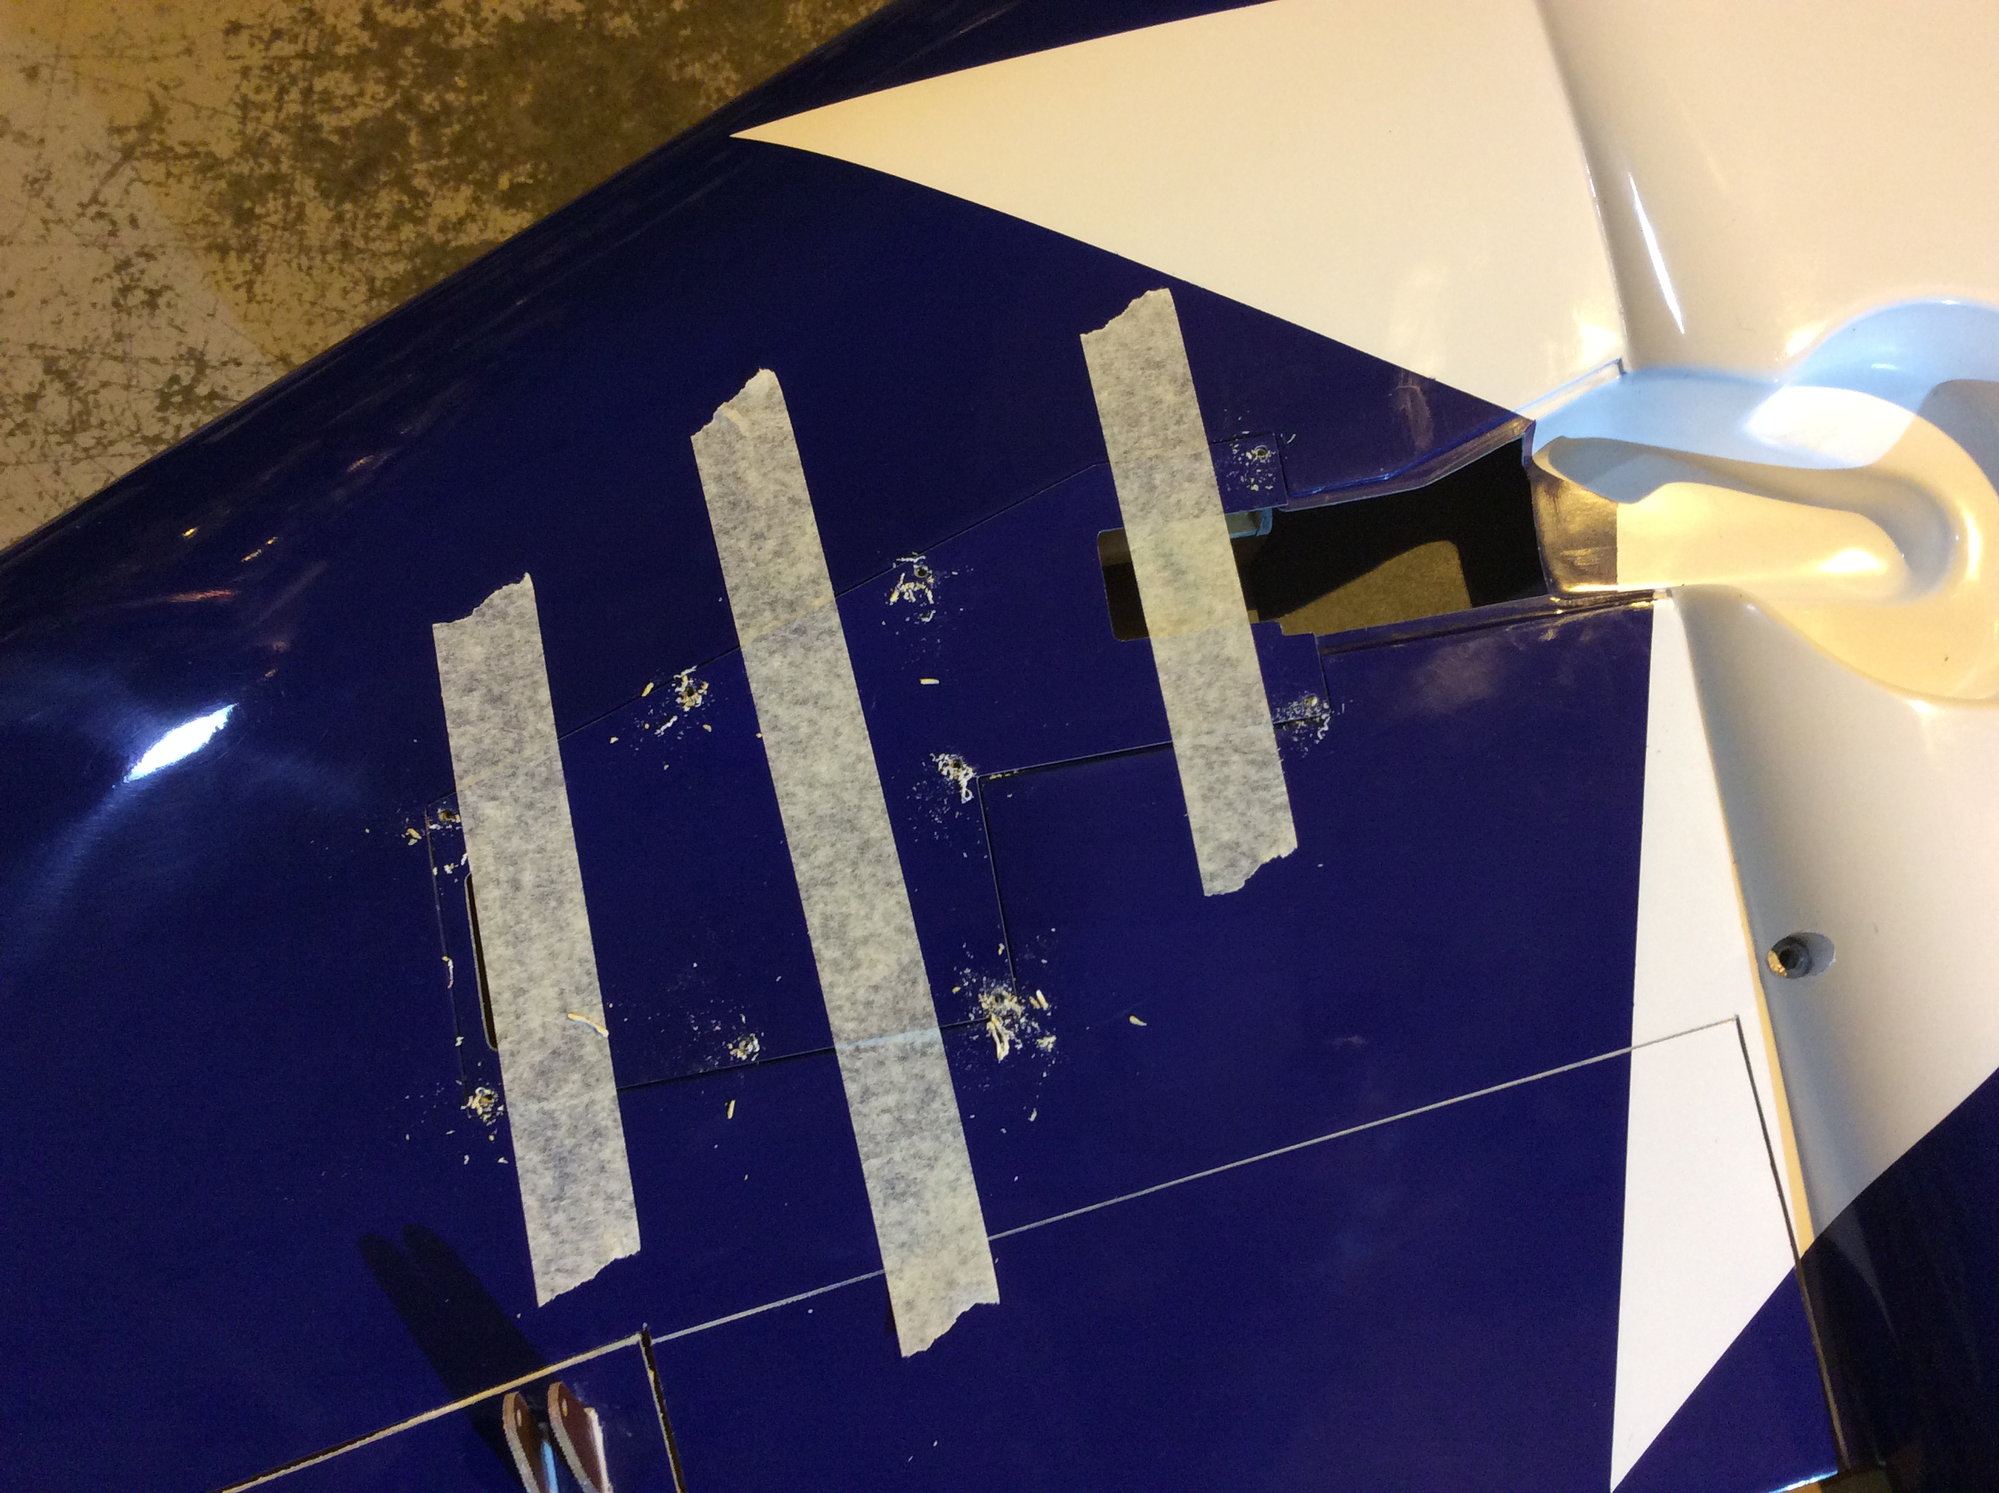
Managed a little more work over the break. JP gear needs packers to lift the units enough. I decided to paint in the wheel openings too even though you don�t notice really. Trimmed the cover plates fully so I can now glue the servo frames in place, once the gear is screwed down the wings are done! Did some more prep on the mounting plates for the fuselage.
12-31-2020, 08:29 PM
#68
I have used sikaflex on mine. Make a small wooden spacer which fits between the leg and the strut cover when the gear is up. Apply sikaflex to both sides of the spacer. This works really well as you end up with zero gap between the cover and wing. Trim exess sikaflex off with exacto. Nice finish.
Never had a strut cover come off. That sikaflex sticks pretty good.
Never had a strut cover come off. That sikaflex sticks pretty good.
01-01-2021, 08:29 PM
#71
I used the marine stuff.
I reckon you would have to cut them off with a knife.
https://www.google.com.au/url?sa=i&u...r4kDegUIARDfAQ
I reckon you would have to cut them off with a knife.
https://www.google.com.au/url?sa=i&u...r4kDegUIARDfAQ
01-03-2021, 11:09 AM
#72
Thread Starter


A little more done today. I bonded the servo assembly to each cover plate last night, because the wing is curved and cover plate flat, when I do this I pack up the back edge 1mm on each cover plate and weigh down the servo frame, this creates a slight curve on the plate as the Hysol dries.
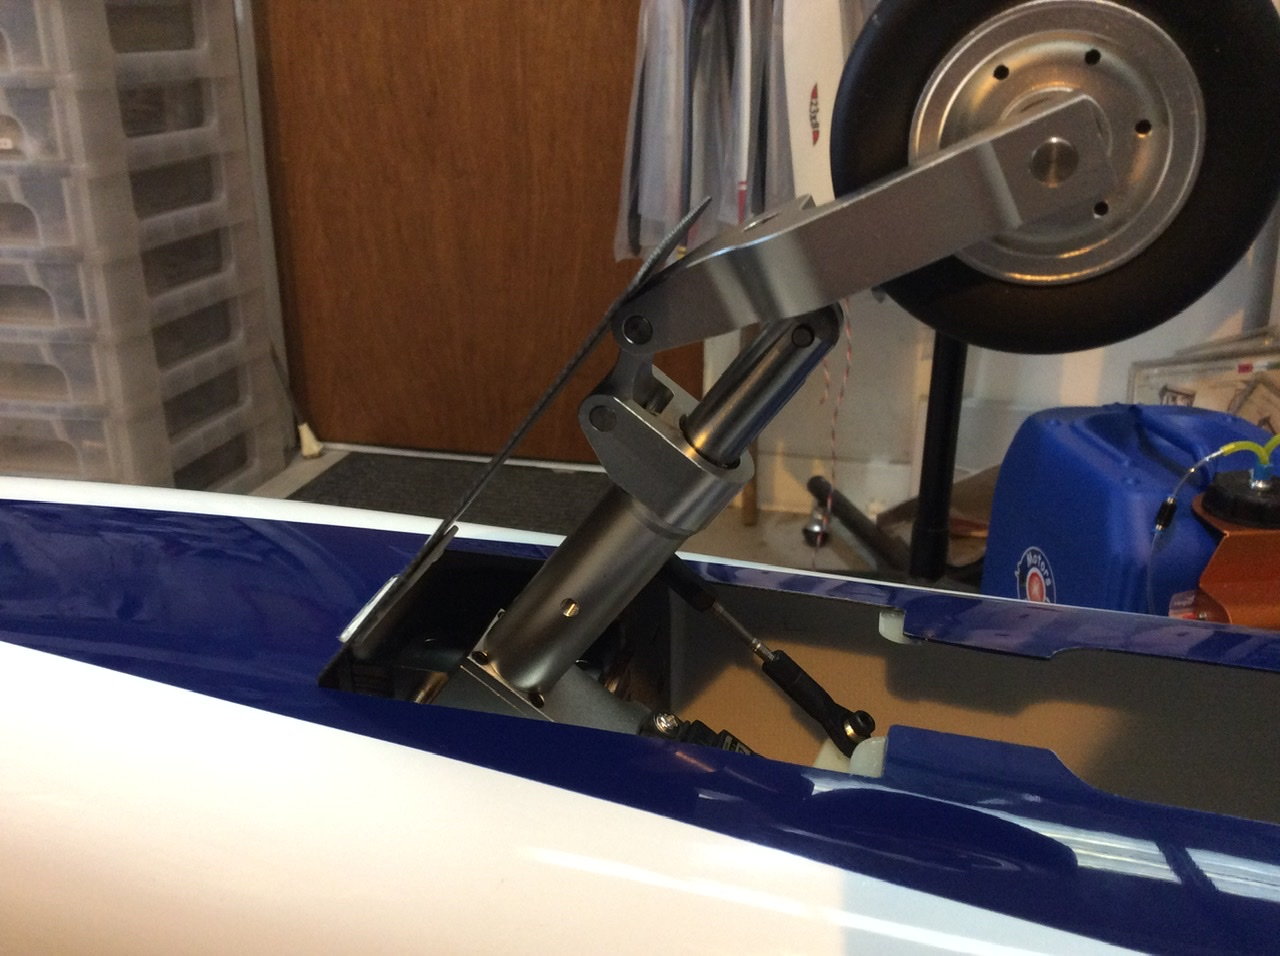
I�ve been playing with the brake cable run down the leg, so have not screwed the units in place yet. The nose door is tacked in place, the hinge area requires a long lead in to angle the hinge in an inverted V when the door is closed.
The JP gear works well on the nose, as it is it does not need a ramp on the door to stop the door catching the knuckle as the nose leg extends.
I�m going to pack the nose unit off the plate, so that may change things, we will see.
 01-06-2021, 07:13 AM
#75

I've been a long time RCU member, but couldn't recover my old account. I haven't been active on the airplane side of things for a very long time (spent the last 20 years absorbed by helicopters). I got an Ultra Flash EVO last year, which rejuvenated my interest in r/c. It's typically the only thing I bring to the flying site now, and I can not get enough of it. I followed the original CARF UF build thread as I awaited the arrival of mine, which prepared me for assembly and made things way quicker. I recently installed a lighting kit from unilight. Although it's not a scale model, the lights add another item of realism... and I like gadgets. The UF is is already so light (22lbs RTF sans fuel), I figured I could stand to add the lights for what it will gain in weight. My only regret with this model is not putting a larger turbine in it, I used the 140 out of my old Skymaster F16, and although it's fast enough to have fun... I wish it were a bit faster.
I've tried to attach photos of the lighting kit install, but RCU won't let me until I've got 10 posts under my belt.
Colin
I've tried to attach photos of the lighting kit install, but RCU won't let me until I've got 10 posts under my belt.
Colin
Last edited by ColinBell; 01-06-2021 at 08:23 AM.
The following users liked this post:
Canadian Man (01-06-2021)